manuals.online logo
Brands
  1. Home
  2. •
  3. Brands
  4. •
  5. Bradley
  6. •
  7. Dispenser
  8. •
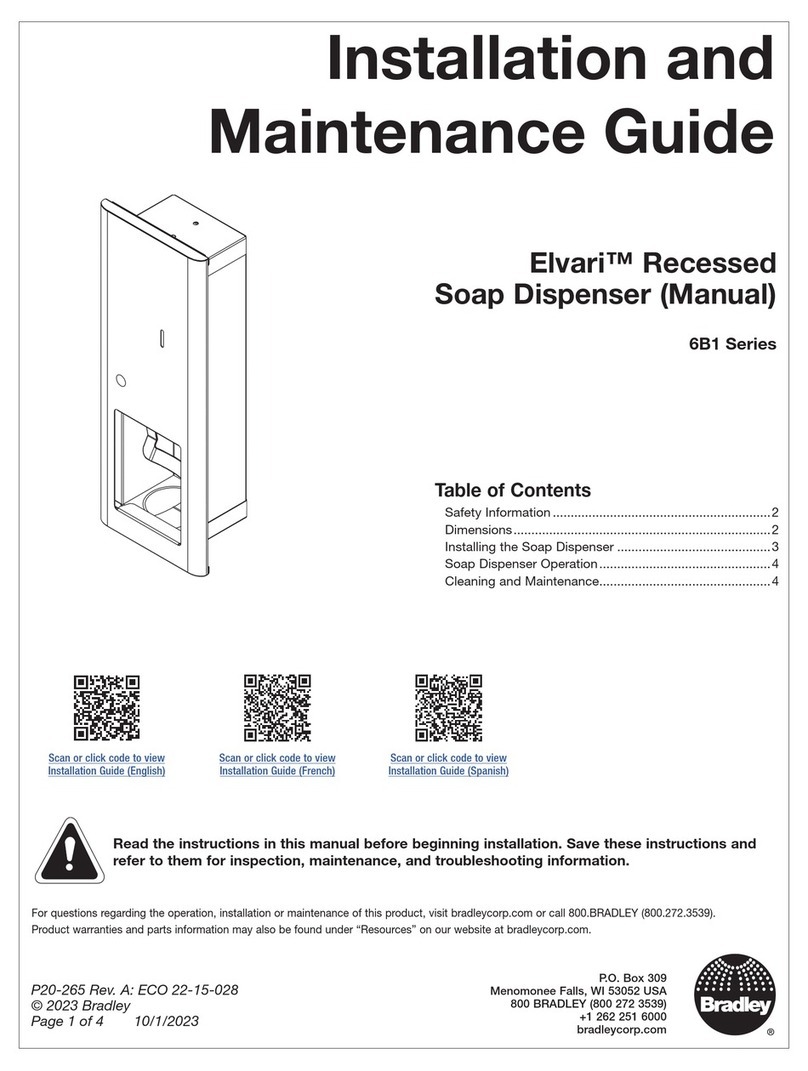
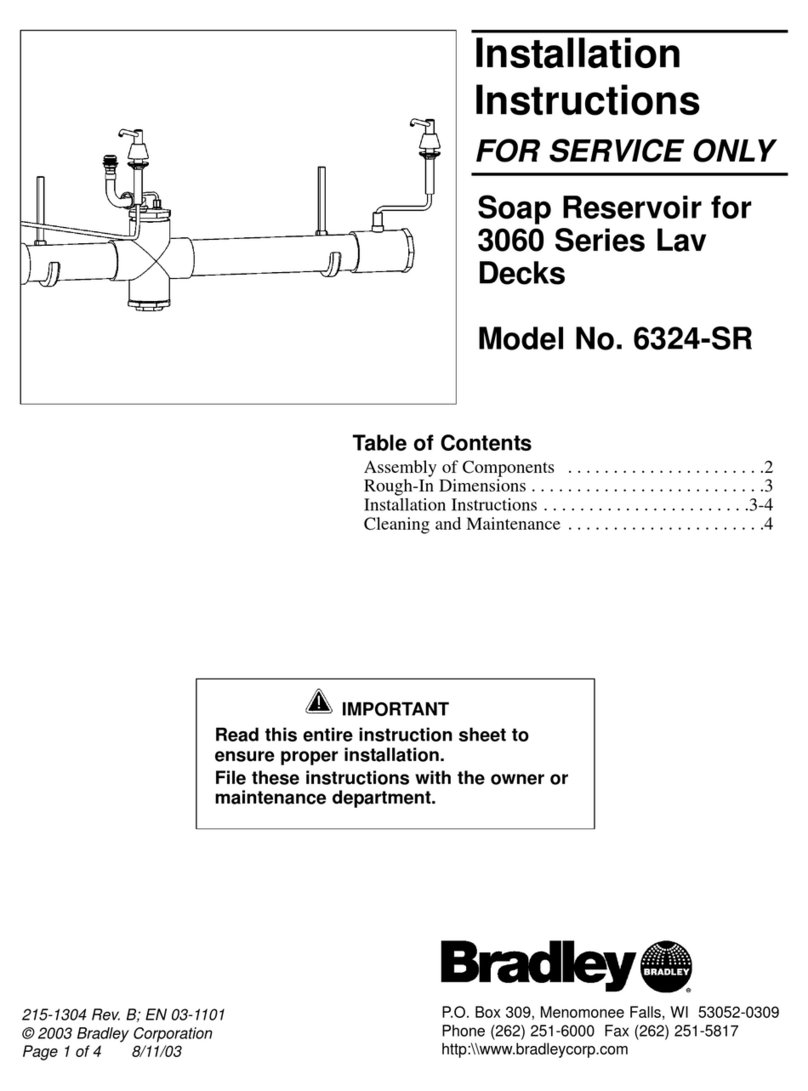
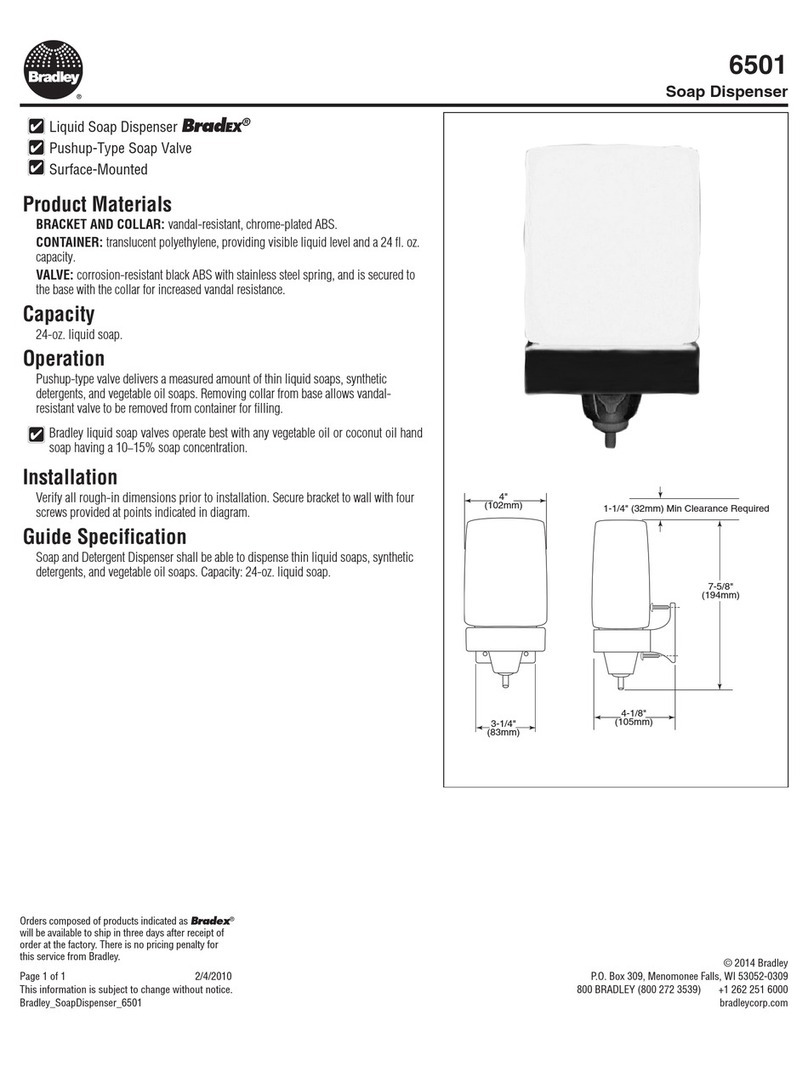
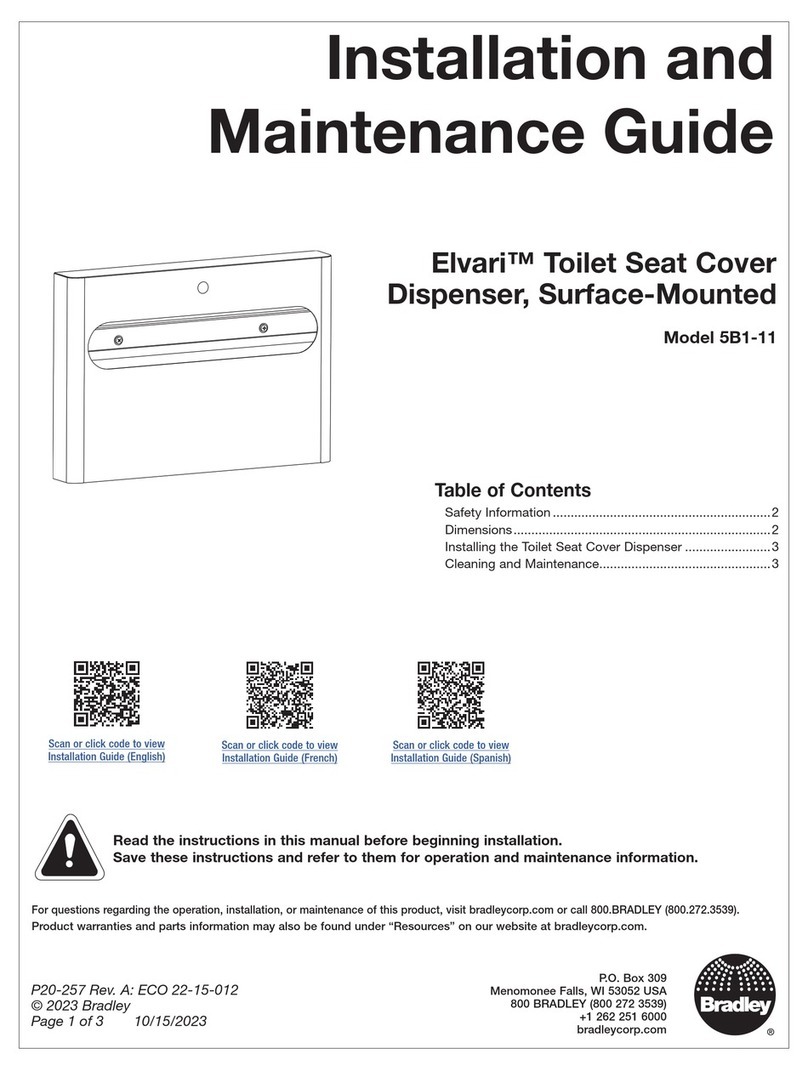
  9. Bradley 6A01-110000 User manual

Bradley 6A01-110000 User manual

Dimensions (W x H x D) {inches (mm)}
Soap Tank Capacity {fl oz (ml)}
Battery Type Required
Battery Life Estimated
Detection Range Automatic
Room Temperature {°F (°C)}
Dispensing Volume {fl oz (ml)}
Unit Net Weight empty {oz (kg)}
Operation Mode
Supply Reservoir Types
1. SPECIFICATIONS:
DISTANCE (MINIMUM TYPICAL)
NORMAL COUNTER TOP
At least 7-7/8 inch (200 mm)"
2. RECOMMENDED INSTALLATION:
1.Tape the installation template at the appropriate location on the mounting surface.
2.Drill four (4) holes at marked locations 5
3.Insert four (4) plastic anchors (supplied) into drilled holes; remove template (fig. 1).
4.Insert two (2) screws (supplied) into top plastic anchors and leave 1/8" (3) space from
the wall under head (fig. 2 and fig. 3) for hanging dispenser.
5.Hang the dispenser on the two (2) screws through the keyhole slots at backplate top.
6.Use key to unlock and pull forward the housing cover (fig. 4 ).
7.Remove soap reservoir and lock dispenser to wall with remaining two (2) screws
(supplied) through the holes at backplate bottom. Tighten all screws ( fig. 5).
/16 diameter (Ø8)."
3.1 INSTALLATION STEPS, Tile or Dry Wall
3.2 INSTALLATION STEPS, Adhesive on Mirror
1.Using isopropyl alcohol, clean the mounting surface area where the dispenser will be installed.
2.Mark outline of dispenser on mirror with masking tape.
3.Remove paper liners from self-adhesive pads on dispenser backplate.
4.Place unit on mounting surface with even steady pressure and hold for 1 minute.
5.Let tape cure for 10 hours prior to filling dispenser with soap for use.
Auto Soap Dispenser
Auto Soap Dispenser
Auto Soap Dispenser
1
Auto-detecting sensing distance
WALL
DISTANCE
COUNTER TOP
SOA D SPEN ER MOU T G EM A EP I S N IN T PL T
Ø5/16 (8)"mm
fig.1
Item 5 Item 6
fig.2
1/8 (3 )"mm
fig.3 fig. 4 fig. 5
Model:6A01-110000
6A02-110000
4.61 x 10.55 x 4.17 (117 x 268 x 106)
27.1 (800)
Alkaline (1.5V) AA size, Qty 4
25,000 cycles or 1 year
2.40 (60) ± 1.50 (38)
41 to 104 (5 to 40)
Foam Soap (6A01-110000): 0.023 to 0.033 (0.7 to 1.0)
Disinfectant spray (6A02-110000): 0.027 to 0.037 (0.8 to 1.1)
24.7 (0.7)
Automatic from Sensor Trigger
850 ml
4. OPERATION INSTRUCTIONS
1. Open housing with included security key.
2. Open cover on battery compartment, remove battery box and unplug cable.
Install four (4) new Alkaline Type AA 1.5V batteries with correct polarity
(note the +/- indication) to obtain 6V DC ± 10% at the plug.
3. Reinstall battery box and close compartment cover.
4. Remove, clean out and refill the included reusable soap reservoir with foam soap,
ensure that soap container cover is closed, air vent hole is open and nozzle is not clogged.
The soap container should be clean (no spill over) and not leaking. Install the reusable reservoir
into the dispenser. Make sure the nozzle flange is below the housing cradle rib to stretch the
valve tube.
5. Make sure to latch the cradle gate.
6. Close the housing cover and lock it with the included security key previously retained.
7. Observe that the LED light is blue and then flashes four (4) times. This indicates that
the environment has been detected.If there is no object under the dispenser,
the default sensing distance is 3.15" to 3.93" (80mm to 100mm). If there is an object
(such as a basin or counter)under the dispenser, the sensor will detect the installation
height and environment light to set a suitable sensing distance automatically.
8. Trigger the sensor with hands or a towel to check proper soap dispensing cycle .
6. BATTERY LOW INDICATION
With housing cover open and soap reservoir removed
(see Instructions) perform the following diagnostic test:
1.Press and push up the cover safety interlock switch
(blue stem) on bottom to click and hold it.
2.Observe that the LED
3.If LED continue s
positive to replace the batteries.
is lit blue and then flashes
four (4) times indicating proper operation “stand-by”
condition and battery charge level.
s to flash blue the indication i
1. Ensure no bright source is aimed or reflected at the
sensor from below.
2. Use fresh new foam soap only and clean the soap
container properly before each re-fill. Deposits of old
soap will lead to malfunction and jamming.
3. Do not dilute foam soap unless concentrate and do not
use soap containing abrasive. Observe indicated
viscosity factor of foam soap.
4. Do not immerse the soap dispenser in water or clean it
under running water. This will lead to short circuit.
5. Should the dispenser be out of order and batteries have
been replaced, do not attempt any repair work. Call your
dealer for professional assistance.
5.IMPORTANT NOTICE
AA (1.5V)
Caution : Batteries installed with incorrect polarity may cause malfunction.
7. Diagram
Base plate
Soap tank
Key
Lock
Spout nozzle
Valve pump
Tank cover
Cover
Electronic box
Battery box
Nut
Hinge nut Hinge screw
Retainer
screw
2
8. Provided in kit
1. Key x 1
2. Plastic Anchor x 4
3. Mounting Screw x 4
4. Mounting Template x 1
5. Self-adhesive Tape x 3

This manual suits for next models

1

Other Bradley Dispenser manuals

Bradley Elvari 6B1-11 User manual

Bradley

Bradley Elvari 6B1-11 User manual

Bradley Elvari 6B1 Series Product manual

Bradley

Bradley Elvari 6B1 Series Product manual

Bradley 6324-SR User manual

Bradley

Bradley 6324-SR User manual

Bradley Elvari 6B1 Series Product manual

Bradley

Bradley Elvari 6B1 Series Product manual

Bradley Verge Crestt Series Manual

Bradley

Bradley Verge Crestt Series Manual

Bradley Verge Crestt Series Manual

Bradley

Bradley Verge Crestt Series Manual

Bradley 270 User manual

Bradley

Bradley 270 User manual

Bradley 6501 User manual

Bradley

Bradley 6501 User manual

Bradley 6A01-110000 User manual

Bradley

Bradley 6A01-110000 User manual

Bradley 6322 Maintenance manual

Bradley

Bradley 6322 Maintenance manual

Bradley Elvari 5B1-11 Product manual

Bradley

Bradley Elvari 5B1-11 Product manual

Bradley 6334 User manual

Bradley

Bradley 6334 User manual

Bradley 2498 User manual

Bradley

Bradley 2498 User manual

Popular Dispenser manuals by other brands

Yaesu ZCUT-9GR instruction manual

Yaesu

Yaesu ZCUT-9GR instruction manual

GMCW GRINDMASTER GTD2 Series Operator's manual

GMCW

GMCW GRINDMASTER GTD2 Series Operator's manual

NESTLE Vitality Express Extended Shutdown and Startup Procedure

NESTLE

NESTLE Vitality Express Extended Shutdown and Startup Procedure

Yaesu ZCUT-6 instruction manual

Yaesu

Yaesu ZCUT-6 instruction manual

Vermes MDV 3200A-HS-UF Quick reference guide

Vermes

Vermes MDV 3200A-HS-UF Quick reference guide

Gasboy 9800A Series Diagnostic manual

Gasboy

Gasboy 9800A Series Diagnostic manual

Vollrath LidSaver 3 installation instructions

Vollrath

Vollrath LidSaver 3 installation instructions

Advance Tabco 7-PS-104 installation and troubleshooting instructions

Advance Tabco

Advance Tabco 7-PS-104 installation and troubleshooting instructions

Bras AB 1/10 Operator's manual

Bras

Bras AB 1/10 Operator's manual

U-Line Rubbermaid H-7682 manual

U-Line

U-Line Rubbermaid H-7682 manual

Kold-Draft AKD-125 Installation & operation instructions

Kold-Draft

Kold-Draft AKD-125 Installation & operation instructions

Nordson Sealant Equipment 401 Customer product manual

Nordson Sealant Equipment

Nordson Sealant Equipment 401 Customer product manual

Adast Systems MAJOR V-line 46 Series Instructions for Operation, Maintenance and Installation

Adast Systems

Adast Systems MAJOR V-line 46 Series Instructions for Operation, Maintenance and Installation

TUFFA TANKS 1350SLBFS Installation, operation and servicing manual

TUFFA TANKS

TUFFA TANKS 1350SLBFS Installation, operation and servicing manual

Star Manufacturing Specialty Dispensers 1-12 Brochure & specs

Star Manufacturing

Star Manufacturing Specialty Dispensers 1-12 Brochure & specs

Franke RODAN RODX600ME Installation and operating instructions

Franke

Franke RODAN RODX600ME Installation and operating instructions

KWC STRATOS STRX627 Installation and operating instructions

KWC

KWC STRATOS STRX627 Installation and operating instructions

Graco Husky 515 series instructions

Graco

Graco Husky 515 series instructions

manuals.online logo
manuals.online logoBrands
  • About & Mission
  • Contact us
  • Privacy Policy
  • Terms and Conditions

Copyright 2025 Manuals.Online. All Rights Reserved.