manuals.online logo
Brands
  1. Home
  2. •
  3. Brands
  4. •
  5. Britax
  6. •
  7. Stroller
  8. •
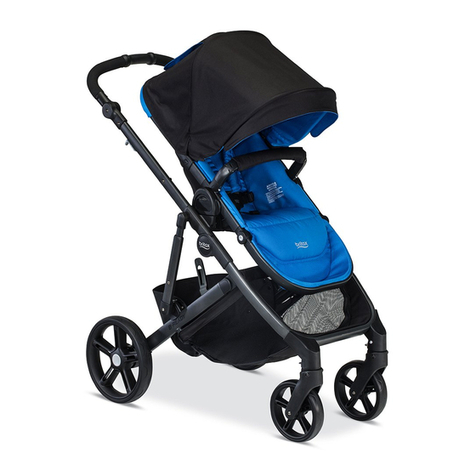
  9. Britax Verve User manual

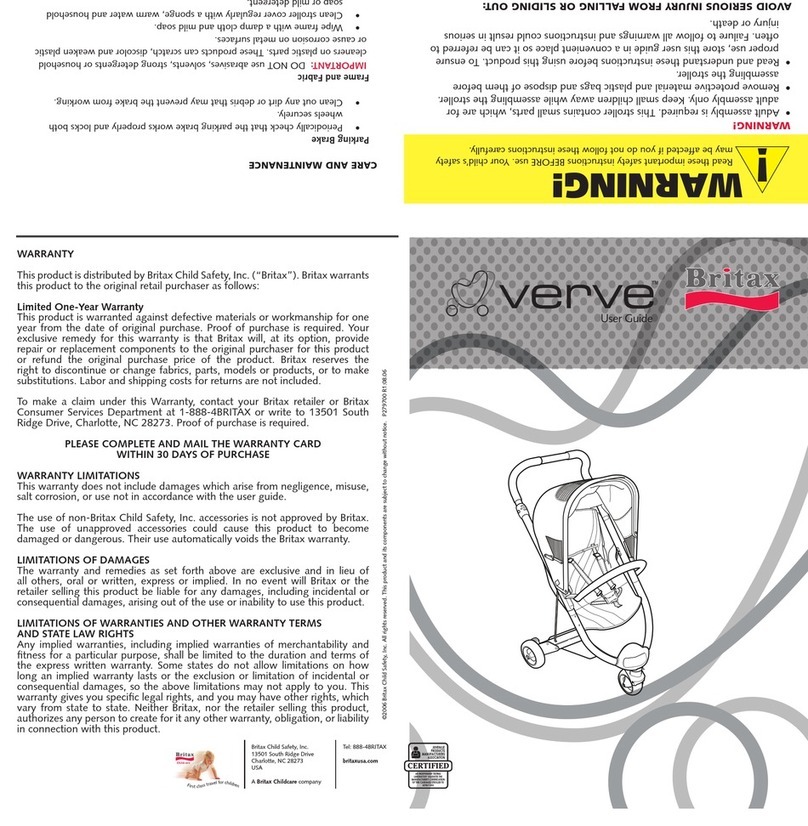
Britax Verve User manual

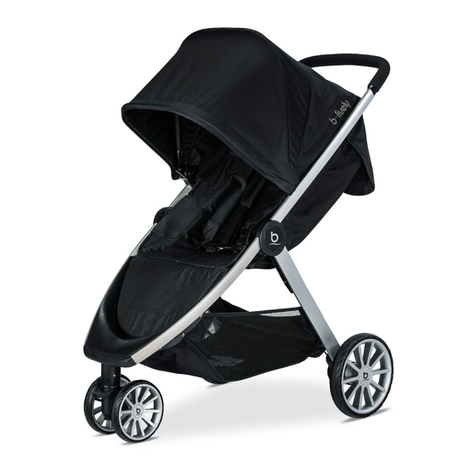
Shoulder straps
Shopping
basket
Bumper bar
Hood
Brake lever
Hood hinge
Handle
Buckle (under
comfort pad)
Swivel wheel lock
Front swivel wheel
Backrest
adjustment
Release latch
Chest pads
AZ0-044-00
Safety latch
Rain cover in bag
User Guide
UK
Introducing your new buggy
Department on 01264 386034. This product
is not intended for commercial use.
Please be aware that faults caused by failing
to follow the maintenance advice above are
not covered by the products warranty.
Guarantee
All Britax products are carefully designed,
manufactured and tested. However, should
this product prove faulty within six months of
purchase due to a materials or manufacturing
fault please return it to the original place of
purchase. We will then, at our discretion,
repair it free of charge.
For guarantee purposes proof of purchase
will be required. We recommend that you
retain your receipt and attach it to this user
guide. They should be kept in a safe place.
Britax does not accept liability for damage
arising from abuse, misuse or negligence.
This guarantee is not transferable and
therefore does not apply to second-hand
products.
Your statutory rights are not affected by
this guarantee.
Register your buggy on-line now
It’s quick and easy, and we can update you
with news, advice and safety information.
Visit www.britax.eu/registration
Compatible Infant Carrier also available
for this product.
WARNING – A CHILD’S SAFETY IS YOUR RESPONSIBILITY
Read these instructions carefully before use and keep them for further reference.
Your child’s safety may be affected if you do not follow these instructions.
IMPORTANT!
Please read this User Guide carefully BEFORE trying to use your buggy
Looking after your buggy
The buggy and its cover have been carefully
designed, manufactured and tested to high
safety standards.
Regularly inspect and maintain your buggy to
ensure freedom of movement of the locking
devices and security of components. To
prolong the life of your buggy, keep it clean
and do not leave it in direct sunlight
for extended periods of time.
Helpful hints
Regularly clean and inspect your buggy.
To ensure trouble free operation lubricate
moving parts and joints with a silicon based
spray. If the wheels squeak use a silicon
based spray or light lubricating oil ensuring it
penetrates the wheel and axle assembly.
When using the buggy on the beach, clean it
completely afterwards to remove all the sand
and salt from the mechanisms and wheel
assemblies.
Under certain climate conditions the covers
and trims may be affected by mould and
mildew. To help prevent this occurring, do not
fold or store this buggy if it is wet or damp.
Always store in a well ventilated area.
Cleaning the cover
The hood, seat covers and trims may be
cleaned using warm water with household
soap or mild detergent. Allow it to dry fully,
away from direct sunlight.
DO NOT dry clean or use bleach or any other
aggressive cleaning agents.
To maintain the safety of your buggy, seek
prompt repairs for bent, torn or broken
parts. Use only those parts and accessories
approved by Britax. Replacement parts and
accessories are available from your Britax
stockist or contact Britax Customer Service
Britax Excelsior Limited
1 Churchill Way West
Andover
Hampshire SP10 3UW
United Kingdom
A Britax Childcare company
Customer Service Helpline: 01264 386034
Email: helpline@uk.britaxeurope.com
Switchboard: +44 (0) 1264 333343
Fax: +44 (0) 1264 334146
www.britax.eu
WARNING – Ensure that all locking devices
are engaged before use.
WARNING – Children must be harnessed at all
times.
WARNING – Overloading, incorrect folding
and the use of non-approved accessories
may damage or break this buggy and make it
unstable for use.
WARNING – Regularly inspect the buggy to
ensure all parts are in full working order.
WARNING – Any load attached to the handle
affects the stability of the pushchair.
WARNING – This seat unit is not suitable for
children under 6 months.
WARNING – Always use the crotch strap in
combination with the waist belt.
WARNING – This seat is not suitable for
running or skating.
WARNING – It may be dangerous to leave your
child unattended.
DO NOT leave or place your child in a position
where they are exposed to the sun. The canopy
or hood on this product will not give your child
total protection from the harmful rays of the sun.
DO NOT allow the buggy to remain wet for
prolonged periods of time. If it does get wet,
allow to dry unfolded at room temperature.
DO NOT place more that 4kg in the basket.
DO NOT allow children to play with or adjust
the buggy.
DO NOT carry more than one child on this
buggy.
DO NOT lift the buggy by the bumper bar –
it may disengage.
DO NOT use accessories that are not approved
by Britax Excelsior Limited.
DO NOT use a PVC rain cover indoors, in a hot
atmosphere or near a direct heat source - your
child might overheat.
DO support the back of the buggy seat when
reclining it.
DO if using an alternative harness, please
ensure it conforms to an appropriate safety
standard i.e. BS6684. ‘D’ ring attachments are
found on each side of the buggy.
DO read the cleaning instructions for the cover.
DO ensure children are clear of moving parts
and locking devices while making adjustments.
DO periodically check that any screws, nuts,
bolts and other fastenings are fully tightened.
DO store the buggy in a safe place when not
in use. Avoid placing heavy objects on top of it
and do not store near direct heat sources, e.g.
radiators, open bar res or in direct sun light as
the cover may fade.
ALWAYS remove the child from the buggy
before going up or down stairs or escalators.
This buggy is designed and manufactured to
comply to EN1888: 2005.
‘D’ ring attachment for
use with alternative
harnesses
conforming
to BS 6684.
1 Assembling and using your buggy
(this vehicle is intended for children from 6 months and up to 15kgs)
3 Folding your buggy
Buggy shown in its fully closed position
(dia 1a).
1a
Hold the handle and lift upwards until
the chassis is fully extended ensuring
that it clicks in to position (dia 1b).
WARNING – Ensure that all locking
devices are engaged before use.
1b
To attach the bumper bar, remove the
hood (if tted). Align the bumper bar
mouldings with the xings then slide
both bumper bar mouldings (dia 1d)
onto the buggy until fully engaged.
Check the bumper bar is securely
in place by carefully pulling on it. To
remove the bumper bar, remove the
hood (if tted) then slide both bumper
bar mouldings off the buggy xings by
simultaneously pressing the buttons
on the mouldings on both sides of the
buggy and slide them upwards until they
disengage.
WARNING! DO NOT lift the buggy
by the bumper bar or hood. It may
disengage.
1d
To t the hood align with the xings on
the bumper bar and slide down until
fully engaged (dia 1e).
The hood can be tted without the
bumper bar by aligning the xings on
the buggy and sliding down until fully
engaged.
To remove the hood, slide the hood
off the xings on the buggy, or off the
xings on the bumper bar (if tted) by
simultaneously pressing the buttons
on the mouldings on both sides of the
buggy and slide them upwards until they
disengage.
1e
HANDY HINT - You may nd it easier
to apply the brake when assembling the
buggy.
To operate the brake push the brake
lever down . To unlock the brake, lift
the brake lever up (dia 1c).
IMPORTANT – Always apply the
brakes when you park the buggy.
1c
B
A
B
A
To lock the front swivel wheel, push the
front swivel lock from right to left (dia 1i).
To unlock push the front swivel lock from
left to right.
1i
To open the hood, pull the front of
the hood forward then push the hood
hinges down on both sides (dia 1f).
1f
To adjust your backrest, release the
backrest clip B from the backrest
housing A to enable it to recline fully
(dia 1g).
IMPORTANT – Support the back of the
pushchair seat unit when adjusting the
angle.
1g
B
A
3b 3c
Push the handle downwards until the
buggy folds in half (dia 3b).
Fully close and store in a safe, dry space
(dia 3c).
IMPORTANT - DO NOT fold and store
your buggy if it is damp. You must
ensure it is dry before folding and
storing.
IMPORTANT - Always remove your
child from the buggy prior to installation,
removal or folding.
Press and hold the safety latch (at the
same time) pull up the release latches
(dia 3a).
3a
Unfasten the comfort pad to reveal the
ve-point harness. A ve-point harness
is provided to restrain your child (dia 1h).
To secure the child in the harness, push
buckle A into buckle housing B until
the buckle prongs snap into position.
Carefully adjust the harness by pulling
the slider C until the desired t is
achieved in the waist belt, shoulder and
crotch straps (dia 1h).
Always adjust the harness when
changing the seating position of the child.
To release the buckle, squeeze the top
and bottom prongs A .
WARNING – Always use the crotch strap
in combination with the waist belt.
WARNING – Fasten the harness when
not in use to prevent it becoming trapped
when folding the buggy.
1h
A
B
C
A
C
A
HANDY HINT – You may nd it easier
to apply the brake before removing or
re-tting the seat unit. To operate the
brake refer to (dia 1c).
Unfasten the press studs A on the
backrest and unfasten the hook and
loop fastenings on both sides of the
seat unit where it overlaps the hood B
(dia 2a).
2a
HANDY HINT – You may nd it easier
to stand behind or to the side of the
buggy.
Remove the hood and bumper bar by
simultaneously pressing the buttons
on the mouldings on both sides of the
buggy and slide them upwards until they
disengage (dia 2b).
2b
Unclip the hooks on both sides of the
buggy (dia 2d).
2d
Remove the seat unit from the chassis
by sliding the base tabs A upwards
and out of the grooves.
Then slide the top tabs B upwards and
out of the grooves until the seat unit is
disengaged (dia 2e).
To re-t the seat unit reverse these
instructions.
2e
Unfasten the press studs and hook and
loop fastenings shown by the red circles
(dia 2c).
2c
BA
B
A
A
B
A
A
B
B
C
C
A
B
A
B
2 Removing or re-tting your seat unit
C

Other Britax Stroller manuals

Britax Y2K 03.A User manual

Britax

Britax Y2K 03.A User manual

Britax STEELCRAFT AGILE User manual

Britax

Britax STEELCRAFT AGILE User manual

Britax B-LIVELY User manual

Britax

Britax B-LIVELY User manual

Britax Steelcraft Sprint User manual

Britax

Britax Steelcraft Sprint User manual

Britax B-FREE User manual

Britax

Britax B-FREE User manual

Britax Holiday User manual

Britax

Britax Holiday User manual

Britax romer STRIDER M User manual

Britax

Britax romer STRIDER M User manual

Britax B-Ready User manual

Britax

Britax B-Ready User manual

Britax B-Ready User manual

Britax

Britax B-Ready User manual

Britax B-Smart User manual

Britax

Britax B-Smart User manual

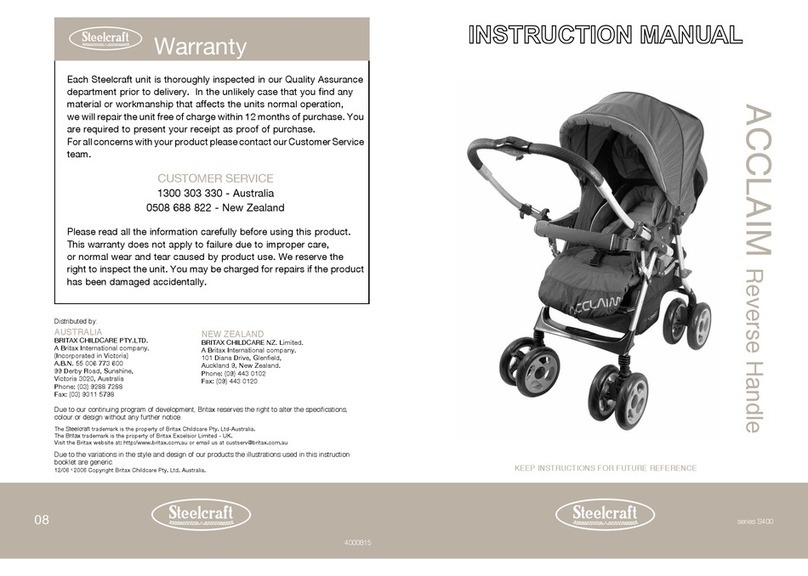
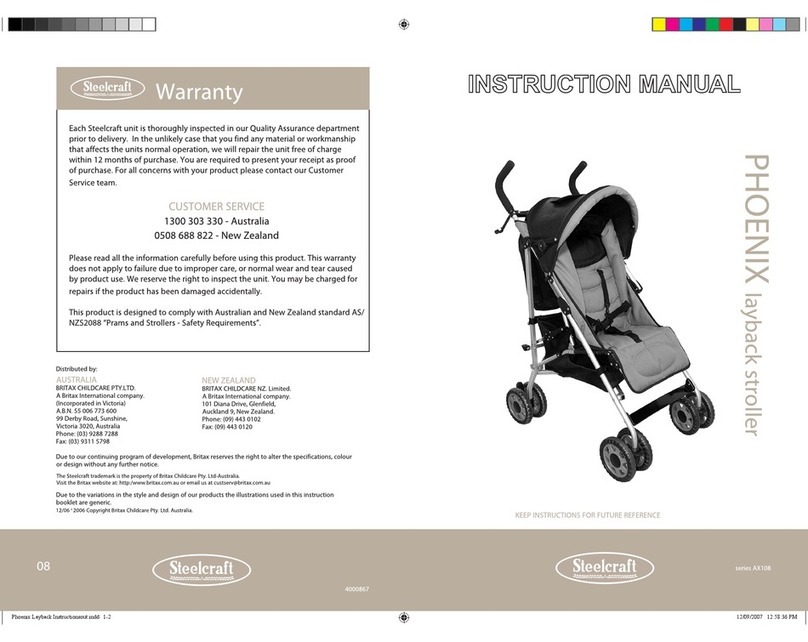
Britax PHOENIX - SERIES AX108 User manual

Britax

Britax PHOENIX - SERIES AX108 User manual

Britax B-AGILE 4 User manual

Britax

Britax B-AGILE 4 User manual

Britax B-Ready User manual

Britax

Britax B-Ready User manual

Britax Romer B-Motion User manual

Britax

Britax Romer B-Motion User manual

Britax STRIDER PLUS - ANNEXE 534 User manual

Britax

Britax STRIDER PLUS - ANNEXE 534 User manual

Britax B-NIMBLE User manual

Britax

Britax B-NIMBLE User manual

Britax ACCLAIM - SERIES S400 User manual

Britax

Britax ACCLAIM - SERIES S400 User manual

Britax B-LIVELY Double User manual

Britax

Britax B-LIVELY Double User manual

Britax ORION User manual

Britax

Britax ORION User manual

Britax B-DUAL - User manual

Britax

Britax B-DUAL - User manual

Britax Affinity Installation instructions

Britax

Britax Affinity Installation instructions

Britax BABY-SAFE PLUS II User manual

Britax

Britax BABY-SAFE PLUS II User manual

Britax B-Smart User manual

Britax

Britax B-Smart User manual

Britax B-Ready User manual

Britax

Britax B-Ready User manual

Popular Stroller manuals by other brands

NV VERMEIREN BELGIUM Gemini manual

NV VERMEIREN BELGIUM

NV VERMEIREN BELGIUM Gemini manual

Combi Perfect Match 6525 instruction manual

Combi

Combi Perfect Match 6525 instruction manual

UPPAbaby RumbleSeat manual

UPPAbaby

UPPAbaby RumbleSeat manual

Jini Baby KU.KU Duckbill KU6028 instruction manual

Jini Baby

Jini Baby KU.KU Duckbill KU6028 instruction manual

Brevi Smart 545 Instructions for use

Brevi

Brevi Smart 545 Instructions for use

Lotsofbabies T3 Twin Instructions for use

Lotsofbabies

Lotsofbabies T3 Twin Instructions for use

Graco ISPA144AA owner's manual

Graco

Graco ISPA144AA owner's manual

Kolcraft Jeep Wrangler Sport S088-R3 instructions

Kolcraft

Kolcraft Jeep Wrangler Sport S088-R3 instructions

Graco Symbio user manual

Graco

Graco Symbio user manual

Chicco ALYSIA instructions

Chicco

Chicco ALYSIA instructions

CYBEX MIOS manual

CYBEX

CYBEX MIOS manual

Graco Baby Strollers owner's manual

Graco

Graco Baby Strollers owner's manual

Peg-Perego pilko switch Instructions for use

Peg-Perego

Peg-Perego pilko switch Instructions for use

UPPAbaby G-LiTE instruction manual

UPPAbaby

UPPAbaby G-LiTE instruction manual

Safety 1st VERSO NEST user guide

Safety 1st

Safety 1st VERSO NEST user guide

Golden Baby Ambulo instruction manual

Golden Baby

Golden Baby Ambulo instruction manual

Petite & Mars Up instruction manual

Petite & Mars

Petite & Mars Up instruction manual

Century PM-1026AB instruction manual

Century

Century PM-1026AB instruction manual

manuals.online logo
manuals.online logoBrands
  • About & Mission
  • Contact us
  • Privacy Policy
  • Terms and Conditions

Copyright 2025 Manuals.Online. All Rights Reserved.