7
Windows®
USB
Windows®Macintosh
USB
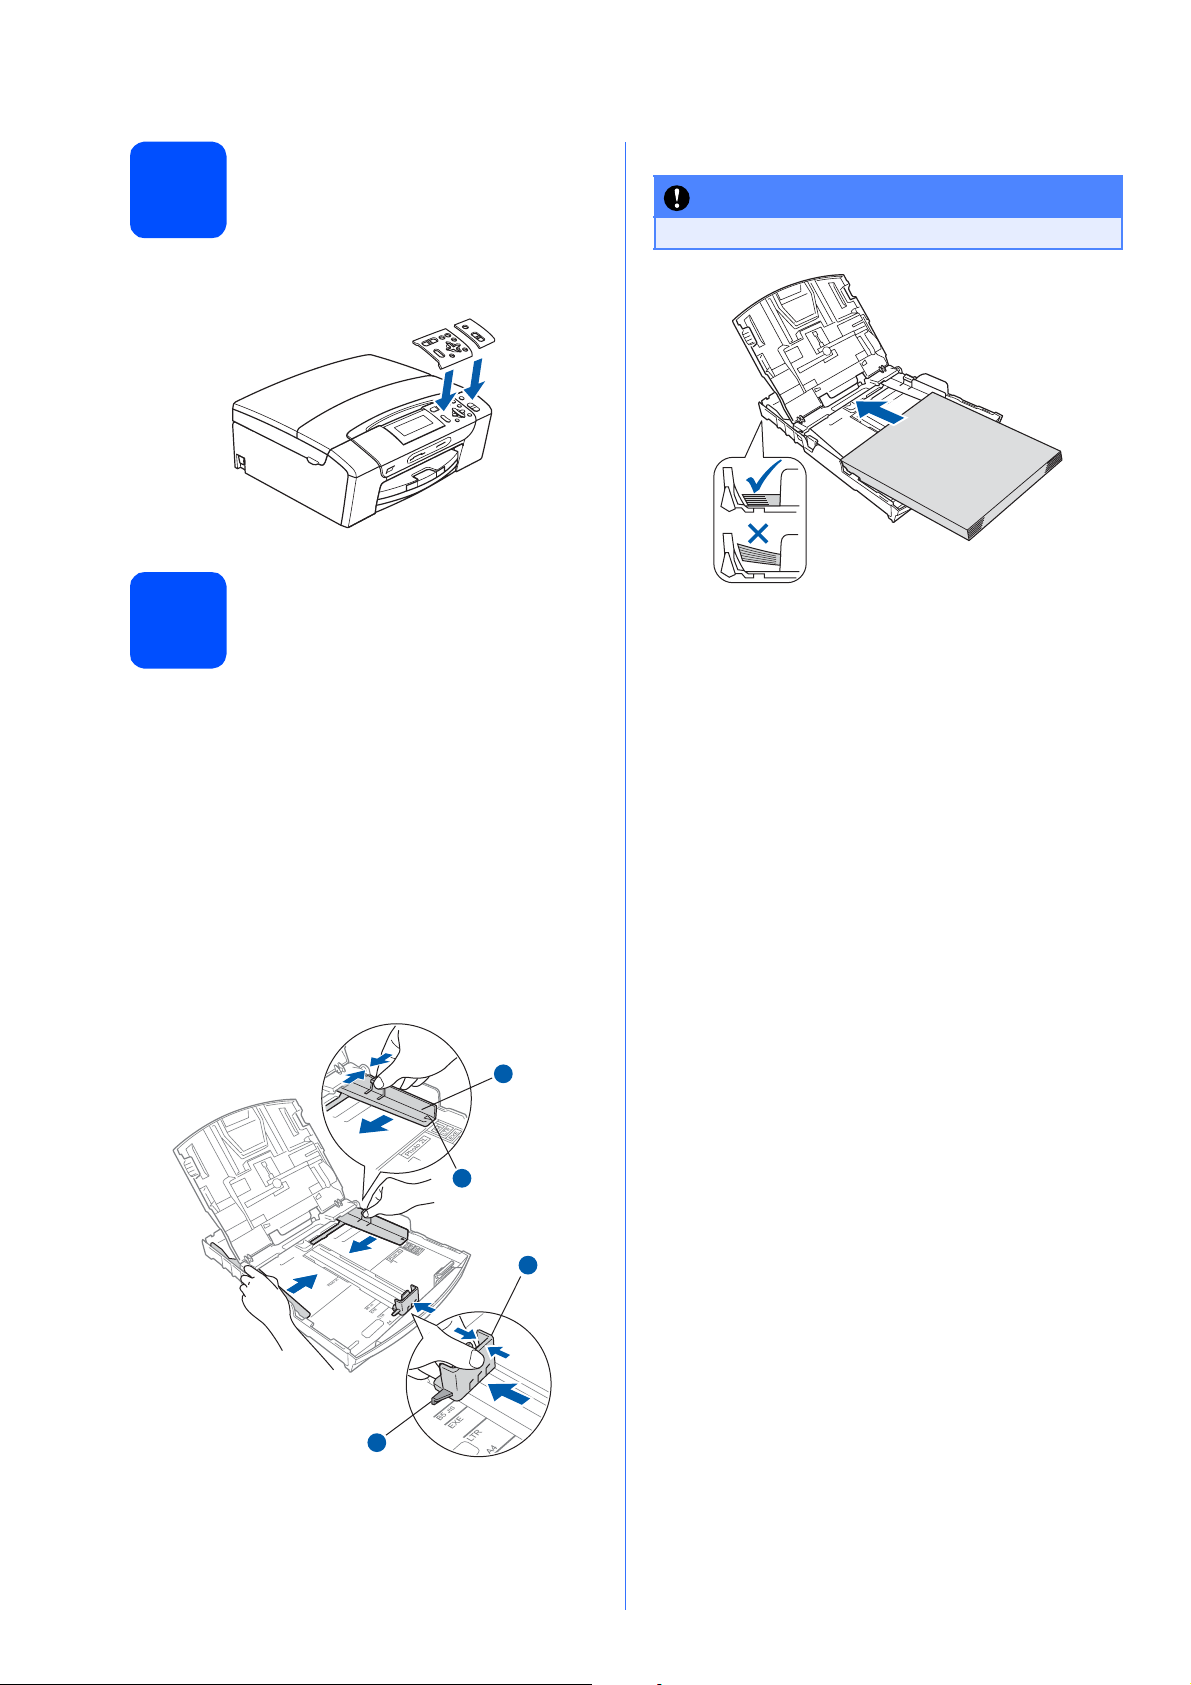
c
d
eThe installation will continue automatically.
The installation screens appear one after
another.
fWhen the On-Line Registration screen is
displayed, make your selection and follow the
on-screen instructions.
13
Finish and restart
aClick Finish to restart your computer.
After restarting the computer, you must be
logged on with Administrator rights.
bIn the Check for Firmware Updates screen,
choose the firmware update setting you want
and click OK.
Now go to
Proceed to Install Optional Applications on
page 14.
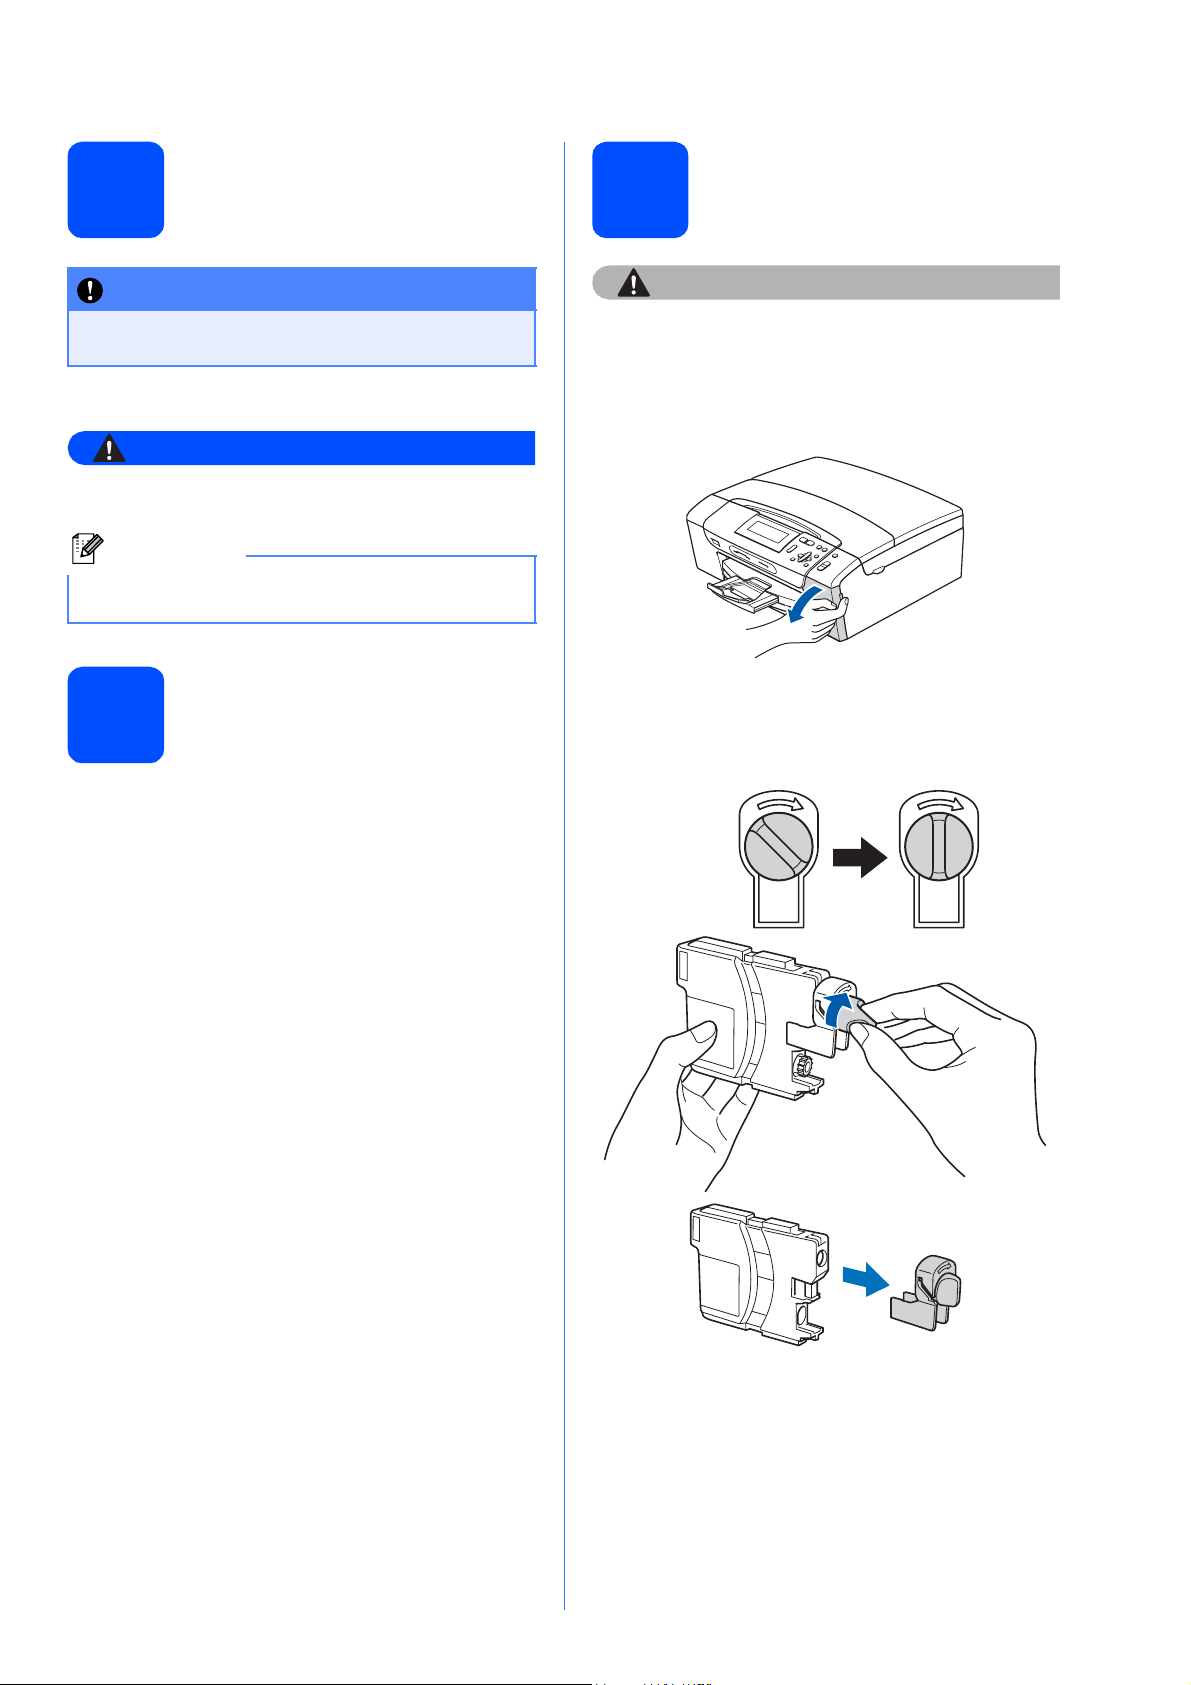
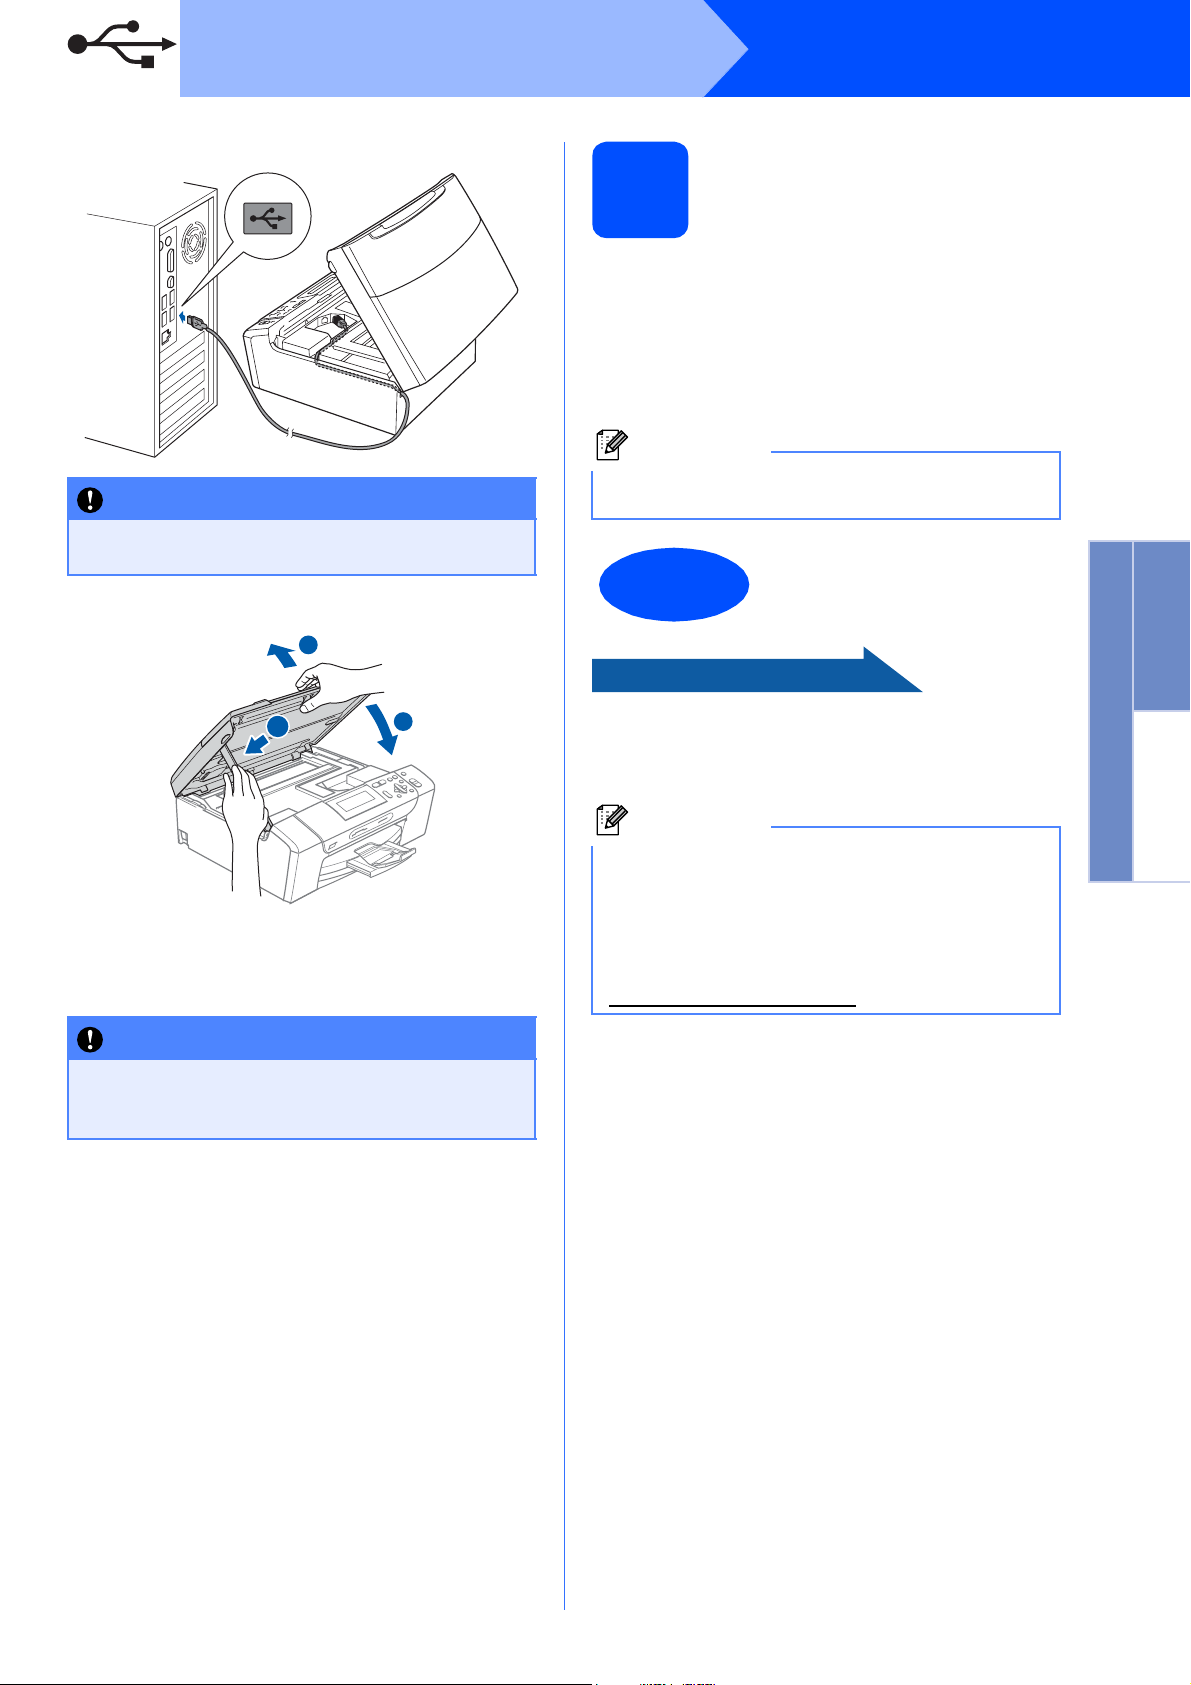
IMPORTANT
Make sure that the cable does not restrict the
cover from closing, or an error may occur.
IMPORTANT
DO NOT cancel any of the screens during the
installation. It may take a few seconds for all
screens to appear.
2
1
3
Note
Internet access is required for the firmware
update.
Finish The installation is now
complete.
Note
XML Paper Specification Printer Driver
The XML Paper Specification Printer Driver is the
most suitable driver when printing from
applications that use the XML Paper Specification
documents. Please download the latest driver by
accessing the Brother Solutions Center at
http://solutions.brother.com/.