BTI MoTeC M130 User manual

www.btigauges.com
TFT
CAN Bus Gauge for
Plug and Play Installation Manual
Notice:
This product is intended for Off
Never take your eyes off of the road
If you are uncomfortable
this
device installed by a competent shop.
** Notice! This device should be configured by competent personnel.
Raising the BOOST too much or reducing
have severe consequences.
control of your vehicle
www.btigauges.com
CAN Bus Gauge for
MoTeC M1
Plug and Play Installation Manual
Doc version 1.0
This product is intended for Off
-
Road use only.
Never take your eyes off of the road
while using this device.
If you are uncomfortable
with wire
termination, please have
device installed by a competent shop.
** Notice! This device should be configured by competent personnel.
Raising the BOOST too much or reducing
the Traction Control
have severe consequences.
You could blow your engine and or lose
control of your vehicle
**
Road use only.
while using this device.
termination, please have
device installed by a competent shop.
** Notice! This device should be configured by competent personnel.
the Traction Control
too much can
You could blow your engine and or lose

MoTeC M130 Connector Pin-out:
MoTeC M142 and M150 Pin-out:

MoTeC M170 Pin-out:
A
MoTeC M182 & M190 Pin-out:

Making the connections:
The terminations to the Motec CAN bus are relatively simple as it only consists of two wires: CAN High
and CAN Low. These connections can be soldered to the CAN bus or you may use the supplied 3M T-
Tap connectors.
Note that the Yellow Termination Jumper located in the back of the BTI gauge should be removed if the
gauge is not the last device in the CAN bus or there is already a termination resistor in your CAN bus.

2 Pin Analog Out Connector (Brown and Blue Wires)
The two pin DTM connector is used for an analog output for bo
option is not used when using the CAN XMIT option.
programmed using the BOOST PWM STEPS and TRAC PWM STEPS buttons in the settings.
Idealy
, more features may be controlled by using the CAN bus output instead of the analog
outputs.
Connect the blue and brown wires to the corresponding inputs that are selected for
your application. There are mor
e details regarding
Notice: The gender of the 2 pin plug may be reversed on newer models in order to prevent the improper
connection to the “Flash Enable” connector.
Data LED: This indicator will flash when ever the gauge is energized and CAN communications
are present. Use this to confirm communications.
CAN Bus Termination Jumper: Remove this jumper if the gauge is not the last device on the
CAN Bus. If there are multiple gauges, the last gauge should be the only gauge with the jumper
installed.
2 Pin Analog Out Connector (Brown and Blue Wires)
The two pin DTM connector is used for an analog output for bo
ost and traction control.
option is not used when using the CAN XMIT option.
The number of voltage steps may be
programmed using the BOOST PWM STEPS and TRAC PWM STEPS buttons in the settings.
, more features may be controlled by using the CAN bus output instead of the analog
Connect the blue and brown wires to the corresponding inputs that are selected for
e details regarding
under the Gauge Setup Optio
Notice: The gender of the 2 pin plug may be reversed on newer models in order to prevent the improper
connection to the “Flash Enable” connector.
Data LED: This indicator will flash when ever the gauge is energized and CAN communications
are present. Use this to confirm communications.
CAN Bus Termination Jumper: Remove this jumper if the gauge is not the last device on the
CAN Bus. If there are multiple gauges, the last gauge should be the only gauge with the jumper
2 Pin Analog Out Connector (Brown and Blue Wires)
ost and traction control.
This
The number of voltage steps may be
programmed using the BOOST PWM STEPS and TRAC PWM STEPS buttons in the settings.
, more features may be controlled by using the CAN bus output instead of the analog
Connect the blue and brown wires to the corresponding inputs that are selected for
under the Gauge Setup Optio
ns section.
Notice: The gender of the 2 pin plug may be reversed on newer models in order to prevent the improper
Data LED: This indicator will flash when ever the gauge is energized and CAN communications
CAN Bus Termination Jumper: Remove this jumper if the gauge is not the last device on the
CAN Bus. If there are multiple gauges, the last gauge should be the only gauge with the jumper

Upon powering up a properly terminated gauge, the Gauge will display t
number.
M1 CAN bus options:
This gauge is designed to read the O2 sensor data from an LTC wideband controller.
The gauge will look for sensor #1 data on
default values. In the event that you do not have an LTC, some of the more popular packages
will output the analog O2 sensor data on the first byte of 0x651.
The gauge will look for O2 sensor #1 data there
Torque and Horsepower are not standard parameters in the M1 CAN protocol. The John Reed
package outputs this data on CAN address 0x647 and this display is designed to read those
parameters.
Horsepower is a 16 bit word st
16 bit word starting at byte 16 where one bit = 1 Nm.
Gauge Setup Options:
Touch the cog wheel on the touch screen in order to configure the gauge.
RPM Scale:
Select “8000 RPM” if your redline is below 8000 RPM or select “10000 RPM” if
redline is higher.
CAN XMIT
Enable this button to transmit commands over CAN, Disable to use analog outputs.
Operation:
Upon powering up a properly terminated gauge, the Gauge will display t
he interface and version
This gauge is designed to read the O2 sensor data from an LTC wideband controller.
The gauge will look for sensor #1 data on
0x460 and sensor #2 data on 0x461 which should be
default values. In the event that you do not have an LTC, some of the more popular packages
will output the analog O2 sensor data on the first byte of 0x651.
The gauge will look for O2 sensor #1 data there
if no LTC modules are detected.
Torque and Horsepower are not standard parameters in the M1 CAN protocol. The John Reed
package outputs this data on CAN address 0x647 and this display is designed to read those
Horsepower is a 16 bit word st
arting at byte 0 where one bit =
.1 W
16 bit word starting at byte 16 where one bit = 1 Nm.
Touch the cog wheel on the touch screen in order to configure the gauge.
This will bring you into a screen where the
Traction Control, and Settings can be accessed.
Press the SETTINGS
button will allow you to make the
following changes:
UNITS
button will allow the user to toggle between
SAE and SI units. This applies to
temperature, pressure, speed, and
distance.
O2 DISPLAY
button will change how the
sensor data is displayed. The options are AFR and
Lambda.
O2 Count:
Select “1X” if you are running 1 wideband
O2 Sensor, select
“2X” if you will be
wideband sensors.
Select “8000 RPM” if your redline is below 8000 RPM or select “10000 RPM” if
Enable this button to transmit commands over CAN, Disable to use analog outputs.
he interface and version
This gauge is designed to read the O2 sensor data from an LTC wideband controller.
0x460 and sensor #2 data on 0x461 which should be
default values. In the event that you do not have an LTC, some of the more popular packages
if no LTC modules are detected.
Torque and Horsepower are not standard parameters in the M1 CAN protocol. The John Reed
package outputs this data on CAN address 0x647 and this display is designed to read those
.1 W
att. Torque is a
This will bring you into a screen where the
Boost Control,
Traction Control, and Settings can be accessed.
button will allow you to make the
button will allow the user to toggle between
button will change how the
Oxygen
sensor data is displayed. The options are AFR and
Select “1X” if you are running 1 wideband
“2X” if you will be
running 2
Select “8000 RPM” if your redline is below 8000 RPM or select “10000 RPM” if
Enable this button to transmit commands over CAN, Disable to use analog outputs.

Parameter scale: Use this screen to set the maximum
range for boost pressure and various temperature slide
bars and graphs.
Example: You will be running a 30 psi boost target. The
max boost pressure could be 35 psi to give the slide bars
and graphs the best resolution. The same goes for
temperatures. These values should be entered with
respect to which units are selected: SI or SAE. If SI units
are selected, Boost Pressure should be entered in kPa
and temps should be entered in Celsius. If SAE units are
selected, Boost Pressure should be entered in psi and temps in Fahrenheit.
Shift Light Configuration:
Touch the gear that you wish to change the shift light
RPM on. That gear number will appear above the up and
down arrows for verification. Use the up and down arrows
to adjust the shift light RPM set-point of said gear. Press
the back arrow button at the bottom right hand corner to
save the settings. The shift light should flash once the
settings are saved.
Base Fuel Pressure configuration:
In order to calculate the base fuel pressure, the engine
should be idling. Press the CALCULATE button and the
base pressure will be calculated and displayed. This is
used on the fuel screen in order to graph the fuel
pressure vs. boost pressure for simple regulator function
verification.
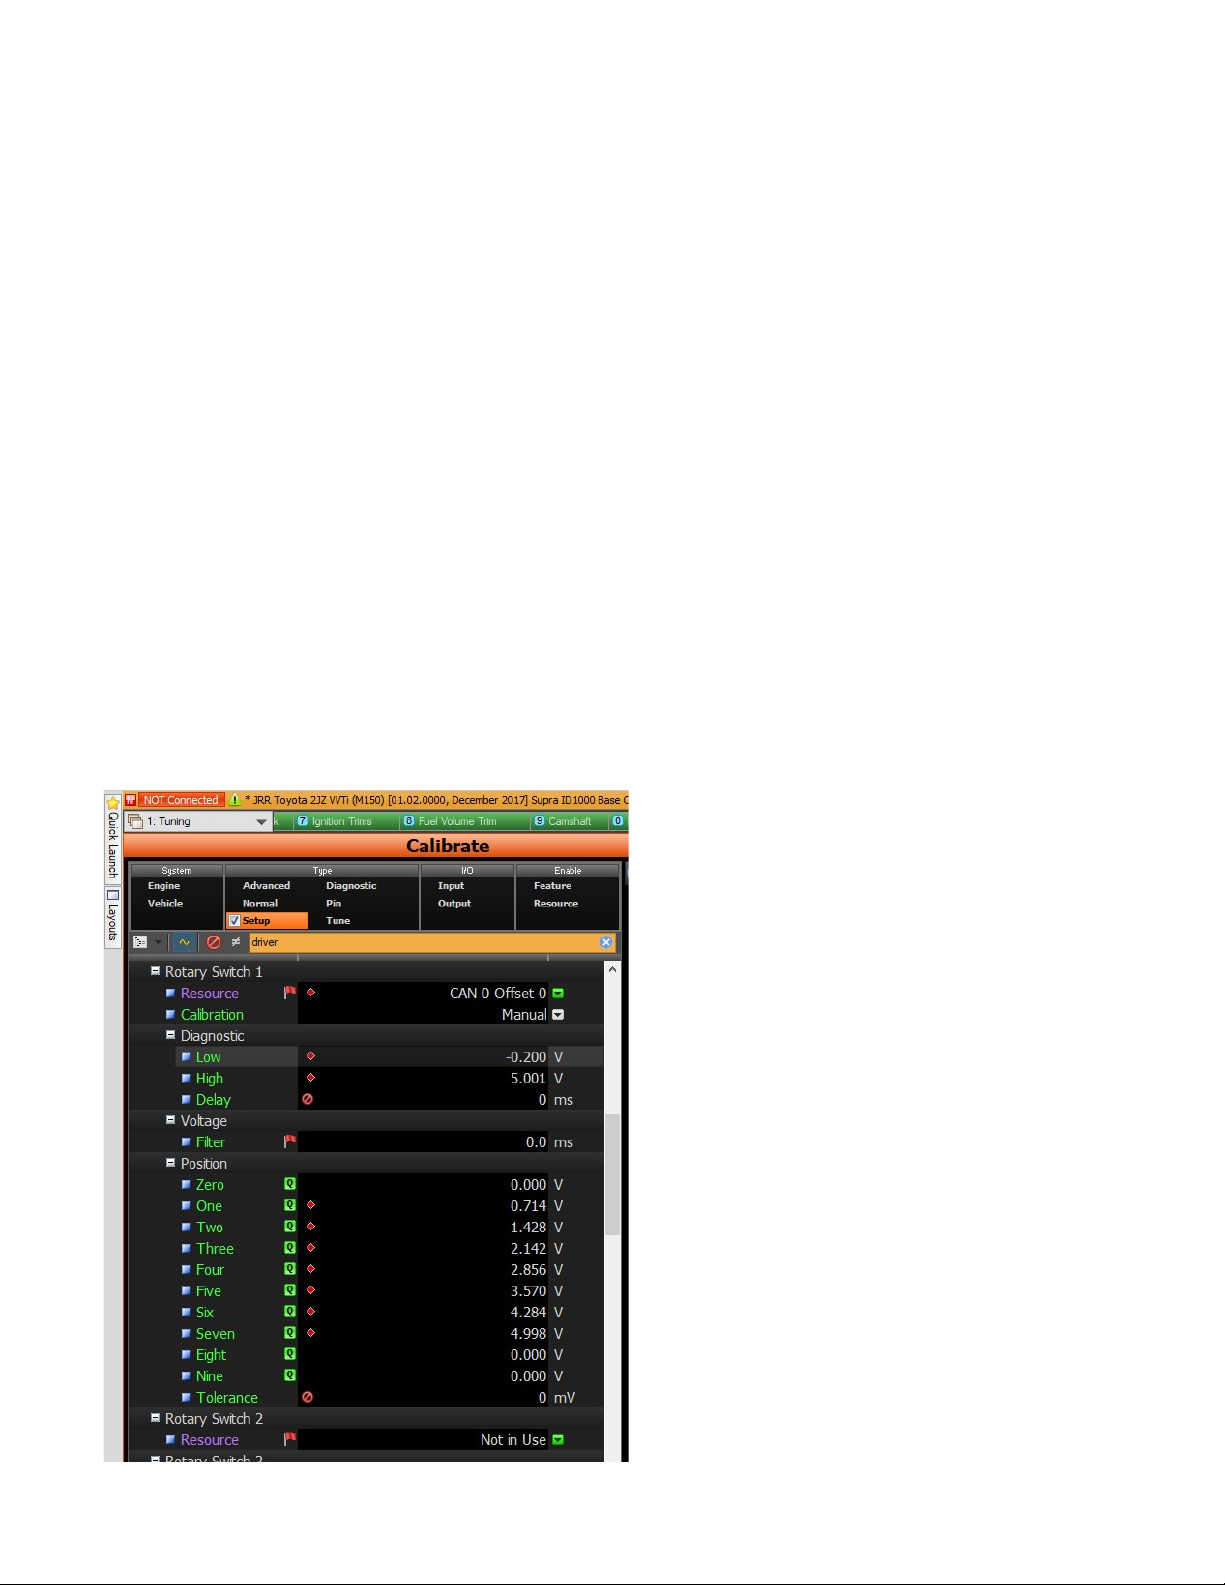
TRAC and BOOST PWM Steps:
Use these two buttons to configure how many steps are to
be programmed in the Infinity Tuner software for Boost
and Slip. Typically the scale is from 0-5 volts and the max
amount of steps allowed is 7 which give you 8 settings (0-
7). Example: a value of 7 here would make each step
would have a value of .71 volts. A value of 1 here would
give the step a value of 5 volts. It is imperative to view
each step in the M1 Tuner software when configuring this
as there could be a potential difference with regard to

ground.
** When using the CAN XMIT, Boost PWM steps and TRAC PWM steps will determine the
number of steps that are sent over the CAN bus.
** Note that these two settings should be configured by competent
personnel. Raising the BOOST too much or reducing the SLIP too much can
have severe consequences. **
Example CAN transmit configuration in M1 Tune
In order to transmit CAN commands over the CAN bus to the M1 ECU, the ADR CAN bus must
be configured The ADR CAN ID is entered in the M1 Tune software as a decimal value.
The same value must be entered into the BTI touch screen as a decimal value as well:
**Note that CAN XMIT must be enabled in the setup screen.
Press the white cog wheel in order to enter the CAN control screen:
Press the yellow cog wheel in order to configure the
ADR CAN ID
Once the ADR CAN ID is configured, the inputs for the control buttons must be configured in the
M1 Tune software

The data stream is as follows:
** All values listed in decimal**
------------------------------------------------------------“CAN 0”---------------------------------------------------------
Byte 0 (16 bits) Byte 1 (16 bits) Byte 2 (16 bits) Byte 3 (16 bits)
(MoTeC offset 0) (MoTeC offset 2) (MoTeC offset 4) (MoTeC offset 6)
- - - - - - - - - - - - - - - - | - - - - - - - - - - - - - - - - | - - - - - - - - - - - - - - - - | - - - - - - - - - - - - - - -
Boost Control 0 – 5000 Antilag Launch Valet
Divided by PWM Steps Off = 0 / On = 5000 Off = 0 / On = 5000 Off = 0 / On = 5000
Received as 0v - 5 v Received as 0v or 5v Received as 0v or 5v Received as 0 or 5v
------------------------------------------------------------“CAN 1”---------------------------------------------------------
Byte 0 (16 bits) Byte 1 (16 bits) Byte 2 (16 bits) Byte 3 (16 bits)
(MoTeC offset 0) (MoTeC offset 2) (MoTeC offset 4) (MoTeC offset 6)
- - - - - - - - - - - - - - - - | - - - - - - - - - - - - - - - - | - - - - - - - - - - - - - - - - | - - - - - - - - - - - - - - -
Trac Control / Slip Tire Size Not used Not used
Selectable for Small = 0 / Big = 5000
Multi-step or on / off Received as 0v or 5v
Example Boost control configuration
using Rotary Switch 1.
Resource must be set to:
CAN 0 Offset 0
Diagnostic high and low must be set outside
of the potential values to be expected.
Note that the CAN value comes in as a
voltage and the peak voltage is 5 volts. The
Boost PWM steps will determine how many
positions will be used and the voltage value
for each position will be the total of 5 volts
divided by the number of steps.
In this example we have Boost PWM steps
set to 7 so each position is worth .714 volts.

Example Tire Size configuration using
Driver Switch 1.
Resource must be set to:
CAN 1 Offset 2
Warranty:
All BTI Gauges carry a 1 year warranty effective at the time of purchase.
This warranty extends only to products distributed and/or sold by BTI Gauges.
It is effective only if the products are purchased and operated in the USA. (Within
the USA including US 48 States, Alaska and Hawaii.)
This warranty covers only normal use of the computer. BTI Gauges shall not be
liable under this warranty if any damage or defect results from (i) misuse, abuse,
neglect, improper shipping or installation; (ii) disasters such as fire, flood, lightning
or improper electric current; or (iii) service or alteration by anyone other than an
authorized BTI Gauge representative.
You must retain your bill of sale or other proof of purchase to receive warranty
service.
No warranty extension will be granted for any replacement part(s) furnished to
the purchaser in fulfillment of this warranty.
Warranty claims must be sent to [email protected].
Table of contents
Other BTI Measuring Instrument manuals

BTI
BTI Profiline BTI-KLL 20 User manual

BTI
BTI HV-R 250M User manual

BTI
BTI Disfix 80 User manual

BTI
BTI PROFILINE Disfix 50 User manual

BTI
BTI 9 047 081 User manual

BTI
BTI PROFILINE Disfix-Laser 150 User manual

BTI
BTI MLL 360 User manual

BTI
BTI KLL 150 User manual

BTI
BTI Profiline RL 60 User manual

BTI
BTI MLL 150 User manual