P/N 230079 3 101SRANTH.Doc (Rev. 9-18-18)
101SR.DWG
A Dual Man Self Rescue can only be performed with one individual on the descent line at any given time. Ensure the first
user has completed their descent and have disconnected their DSD Plus from the descent line prior to performing any part of
this procedure.
•Once the first user is off the descent line weave the rope through your descender as shown in Fig. 8.
•Inspect the descender to ensure the rope is correctly woven through and the brake mechanism is functioning
properly.
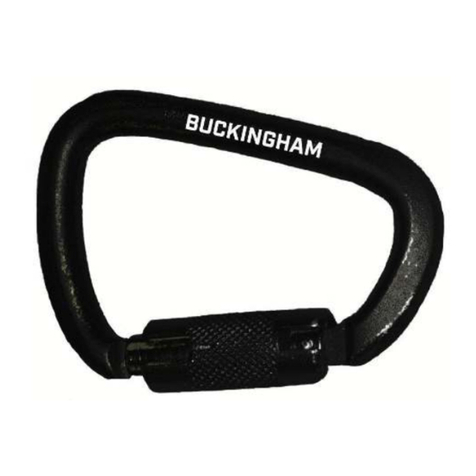
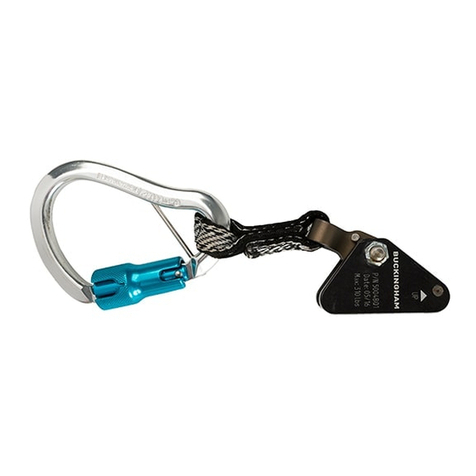
•Open the triple locking carabiner gate and insert the descent line from the lower portion of the descender into
carabiner so it exits the carabiner on the same side as the handle of the descender (see Fig. 11).
•Recommended Placement of the descender outlined below eases the process of climbing out of the bucket.
A. If the rope goes across the bucket, extend the rope and place the descender approximately 1”-2” below the lip of the
bucket See Fig 9 & 10.
B. If the descent line drops straight down from under the bucket, locate the descender approximately 18” from the snap.
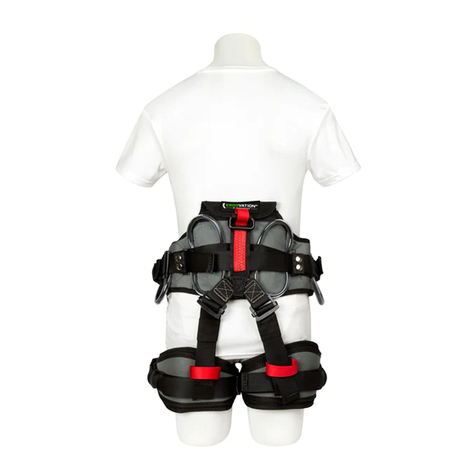
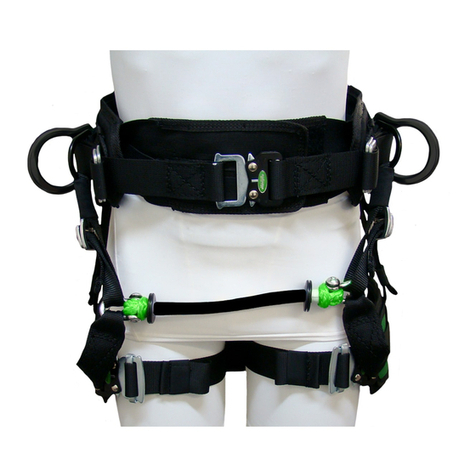
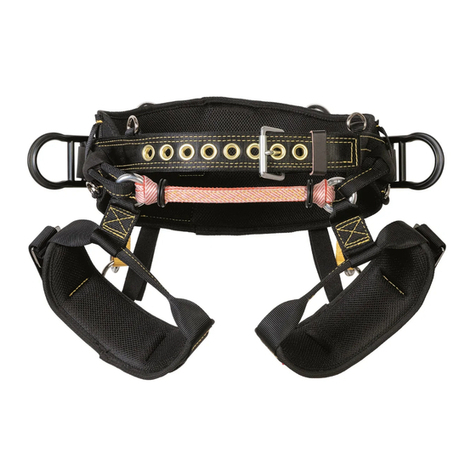
•Attach the descender to the rappelling loops on the harness with the handle of the descender facing away from the
body. This ensures the handle cannot compress against the body. When installation is complete, assembly should
look similar to the illustration in Fig. 3.
Note: When using a “cross-over” (‘X’) style harness (style 3B, 3E, or 3F), attach the triple -locking carabiner directly to
the web loop at the cross-over on the front of the harness.
•Test the function of the descender with the handle released (position 1, Fig. 4) by pulling upward on the rope (the
end with the snap hook) to ensure the brake mechanism is working properly. Perform the same test with the handle
squeezed completely (position 3, Fig. 4). Squeeze the handle to the midpoint (position 2, Fig. 4) while again pulling
upward on the rope to ensure the rope slides smoothly through the descender in this position.
•Re-tie the soft lock as outlined in the Proper Packing section of this instruction so that the descender cannot be
inadvertently depressed.
•Disconnect the shock absorbing lanyard from either the anchor point on the aerial bucket or from the fall arrest
attachment of the harness.
•Carefully climb out of the bucket.
•Once the user’s weight is supported by the descender, Remove hook and loop fastener retaining strap and remove
soft lock on descender.
•Proper usage of the descender will allow descent at a controlled, safe rate. The maximum speed of descent should
not exceed 6.5 ft/sec. (2. m/sec). If the user’s weight is in excess of 265 lbs. (120 kg), the maximum speed of
descent should not exceed 3.3 ft/sec. (1m/sec.). By increasing pressure on the handle, the user will activate the
braking position feature (position 3, Fig. 4) and the descent will be stopped or considerably slowed. Releasing the
handle completely (position 1, Fig. 4) will also activate the braking feature. If additional braking is required,
before starting to rappel, the free end of the rope must be through the carabiner, vary the angle of the tail of
the descent line against the carabiner frame to control the rate of descent to 3.3 ft/sec. (1m/sec.) maximum.
Make sure the action of the rope will not unscrew the carabiner’s gate (Fig. 11).
•To rappel, slowly squeeze the handle toward the body of the descender with one hand to the midpoint (position 2,
Fig. 4) while the other hand controls the free end of the rope to provide additional braking (tailing). Make a slow
controlled descent to the ground. If the need arises where the descent must be stopped, re-tie the soft lock so that
the descender cannot be inadvertently depressed
USE INSTRUCTIONS FOR HURT- MAN RESCUE FROM AN ELEVATED HEIGHT
To perform this type of rescue, the Harness must be outfitted with A2 rappelling loops or be of the cross-over style design
with web loop at “X” on front of the harness (style 3B, 3E, 3F). Rappelling loop styles ‘A1’ and A1’ retro are not to be
used for hurt-man rescue.
•Remove the descender with attached triple -locking carabiner from the storage bag and connect the carabiner to a
suitable anchor point.
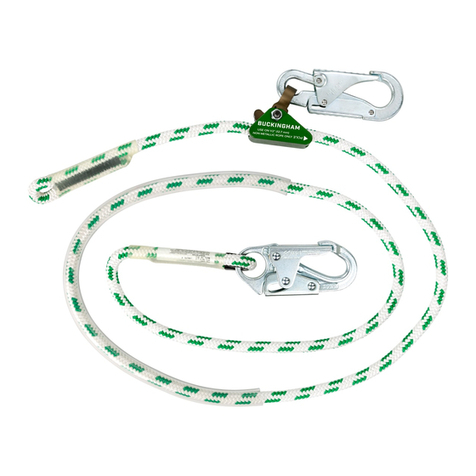
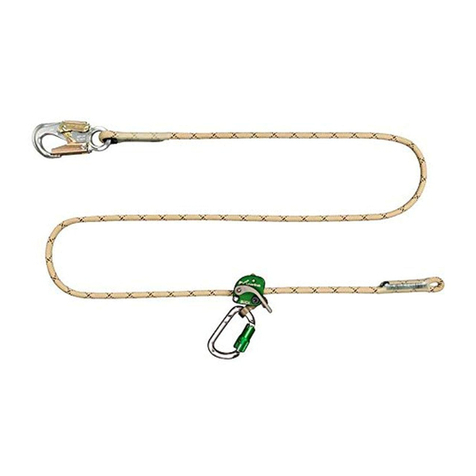
•Connect the locking snap hook, stitched to the 1/2” diameter rope, to the victim’s rappelling loops or front web loop
(harness styles 3B, 3E, 3F),
•Test the function of the descender with the handle released (position 1, Fig. 4) by pulling upward on the rope (the end
with the snap hook) to ensure the brake mechanism is working properly. Perform the same test with the handle
squeezed completely (position 3, Fig. 4). Squeeze the handle to the midpoint (position 2, Fig. 4) while again pulling
upward on the rope to ensure the rope slides smoothly through the descender in this position.
•Pull up on the free end of the rope, taking up the slack between the victim and the descender.
•While holding onto the free end of the 1/2” rope which extends from the descender, cut the victim’s fall arrest lanyard.
