Buckleys BathyCorrometer Calibration Kit User manual

BathyCorrometer Calibration Ki
t
Instruction Manua
l
English Version
Please read carefully before use

Contents
Description........................................................................................................... 3
Calibration........................................................................................................... 3
Kit contents: ..................................................................................................... 3
Electronics Calibration Check ....................................................................... 4
Test procedure using screw-on K-Sat reference electrodes ....................... 4
Test Using Zinc or Magnesium Blocks................................................................. 5
Long Term Storage .............................................................................................. 6
Laying-Up ......................................................................................................... 6
Re-Commissioning........................................................................................... 6
Maintenance ...................................................................................................... 7
Replacement of the Screw-In Reference Electrode........................................ 7
Disposal information ........................................................................................... 8
EC Declaration of conformity ............................................................................ 9
UKCA Declaration of conformity ..................................................................... 10
Distributor details ............................................................................................... 11

Instruction Manual
3
Description
The BathyCorrometer® Calibration Kit (6004-0031) can be used to verify the
accuracy and calibration status of the BathyCorrometer® Pro' as well as
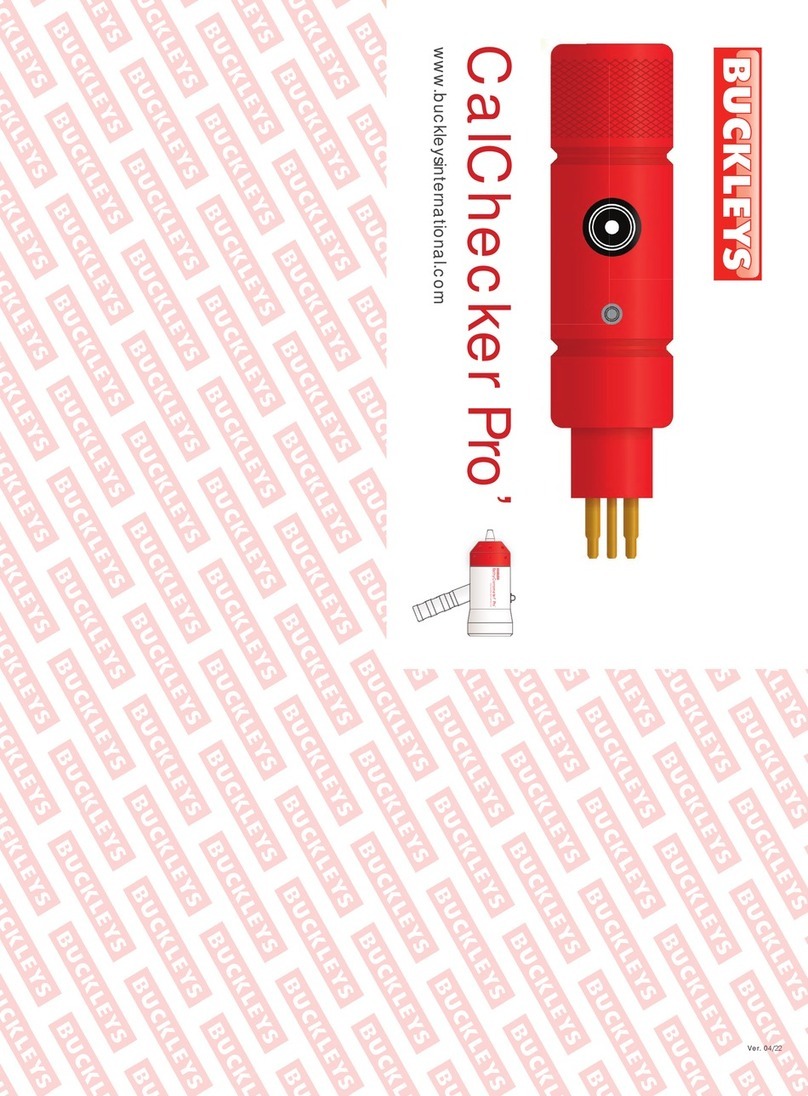
older BathyCorrometer® models. The CalChecker Pro' (included in the kit)
provides a quick and simple means of verifying the accuracy of the
electronics with the BCM/BCM Pro', while 3 K-SAT Reference Cells (also
included) provide a method of verifying the silver/silver chloride screw-in
half-cell within the nosecone of the BCM/BCM Pro'.
The CalChecker Pro' provides a precise voltage which the
BathyCorrometer
®
Pro' should display as -1.900V. Older BCMs will display this
figure as a positive (1.900V). Calibration is required if the BCM/BCM Pro'
shows any deviation from this voltage.
The 3 K-SAT Reference Cells enable the Screw-in Half-Cell to be verified by
taking a reading using each reference cell in turn. An average of the three
readings indicates the status of the screw-in half-cell.
The difference between the displayed voltage on the BCM Pro' and -1.900V
(or 1.900V for older BCMs) may be applied to potential readings - if required
- until the unit can be sent for calibration by Buckleys or an authorised
Buckleys' Certified Distributor.
Calibration
There are two parts of a BathyCorrometer
®
and BathyCorrometer Pro’ which
affect its calibration:
Electronics
Silver/Silver chloride (Ag/AgCl)
reference electrode
Kit contents:
CalChecker Pro and lead
3 x K-SAT Reference Electrode Cells
Sea Water Corrosion Test Mixture

BathyCorrometer Calibration Kit
4
Screw Threaded tie
Bath
y
Corromete
r
®Pro’ Bod
y
Electronics Calibration Check
1. The electronics in the BCM/BCM Pro’ can be checked with the aid of
the CalChecker Pro’. When connected to the BCM/BCM Pro’, this
produces a precision voltage of -1.900V DC which can be compared
with the reading on the BCM/BCM Pro’. This is just a check as the
electronics are contained inside the pressure housing and cannot be
adjusted without breaking the seal.
2. If the BCM/BCM Pro’ is more than ± 2mV out from the -1.900V test
voltage, firstly check the battery in the CalChecker Pro’. If necessary,
replace with a CR1632 standard lithium primary button cell (1002-0026).
Then ensure the CalChecker Pro’ is not at fault. This can be carried out
using a calibrated precision multimeter. If the CalChecker Pro’ is within
specification, it is advised that the BCM/BCM Pro’ should be returned to
the manufacturer or certified test house for repair.
3. The warranty will be void if repairs are undertaken by anyone other than
the manufacturer or a certified test house.
Test procedure using screw-on K-Sat reference electrodes
1. Unscrew the white Delrin probe cone.
2. Smear the O-ring on the K-SAT reference
electrode with a little silicone grease.
3. Screw the K-SAT reference electrode onto
the threaded tie Rod, ensuring a tight connection
and correct seating of the O-ring. Unscrew the
K-SAT end cap to remove it.
4. Fit the shorting plug (6004-0019) and immerse the BCM/BCM Pro’ in
seawater test solution (3% salinity), ensuring that the level covers the red
Note: If checkin
g
the calibration of an older BCM, connect the short lead
between the CalChecker Pro’ and the BCM’s stainless steel probe tip.
Instruction Manual
5
Plastic
Voltage
between K-SAT
reference
and
-54mV ±
Seawater
solution 3%
nose cone. The ideal temperature for the water is 20-25°C. Note for
mixture 300 grams to 10 litres of de-ionised water.
5. Allow the electrode to reach a stable potential (10 to 15 minutes). The
voltage difference between the K-SAT electrode and the internal
silver/silver chloride electrode can be read directly off the digital display
on the BCM/BCM Pro’.
6. The voltage difference between the K-SAT electrode and the internal
silver/silver chloride electrode can be read directly off the digital display
on the BCM/BCM Pro’.
K-SAT Nominal voltage = -54mV ± 10mV.
Test Using Zinc or Magnesium Blocks
Verification of the operation of the BCM Pro’ can be carried out using Zinc
and/ or Magnesium test blocks. Potential measurements taken should be
noted
to check if any significant variation occurs. Differences in the order of
10mV or so between readings are quite possible and will mainly be caused
by variations in water salinity at different locations and/or changes in water
temperature. As a guide, readings taken in a 3% salinity solution at ambient
temperature of 25°C are as follows:
Zinc (Zn) = -1.00 to -1.08V
Magnesium (Mg) = -1.40 to -1.70V
Note: The values recorded fo
r
the silver/silver chloride electrode are
dependent upon the salinity and temperature of the seawater at the
time of measurement.
Note: Mixture 300
g
rams to 10 litres of deionised water.
Note: The BCM Pro’ displays results as a negative reading i.e. -54mV ±
10mV (K-Sat cell)
Note: Never allow water to enter the hole at the top of the K-SAT

BathyCorrometer Calibration Kit
6
Note: The protective caps should ALWAYS be fitted whenever the K-SAT
cells are not in use
Tarnished blocks will give a lower reading than clean ones. The test blocks
should not be left in the seawater after use. Only one test block should be
used at a time.
Long Term Storage
Laying-Up
Remove the K-SAT cells, refit their protective caps, wipe down and store in
a cool dark place.
Flush well in clean salt water (3% salt solution by weight) and allow to dry. If
contamination is suspected within the red nose cone, it may be removed to
facilitate cleaning of the nosecone, and the half cell. If the half cell is
removed, do not permit water to enter the threaded hole into which it is
installed, and do not wash the cell in fresh water – only use clean 3% salt
solution.
Clean the shorting plug and the socket in the handle. Apply silicone grease
to the plug and fit it into the handle, so that it is applied silicone grease into
the socket. Re-apply if necessary, then remove the plug and re-grease
ready for storage.
The BCM/BCM Pro’ can be stored with the battery in any state of charge.
Place the BCM/BCM Pro’, charger, probes, probe spanner, silicone grease
and the instruction manual into the carrying case.
Store the BCM/BCM Pro’ in an ambient temperature no less than 0°C or
greater than 50°C. Storage outside these temperatures may cause
damage.
Re-Commissioning
Remove the BCM/BCM Pro’ from its case and check operation by fitting the
shorting plug. Recharge the BCM/BCM Pro’ fully before checking its
operation.
It is recommended that you soak the BCM/BCM Pro’ for a minimum of 8
hours in a seawater solution.
Carry out calibration checks, see Calibration (section 1).

Instruction Manual
7
Maintenance
Very little maintenance is required apart from keeping the unit clean and
ensuring that the holes in the red nose cone are kept clear of any
obstructions such as dirt or marine growth etc.
The calibration of the BCM/BCM Pro’ electronics and the reference
electrode should be checked at regular intervals.
If the unit has been used in a dirty environment, the red nose cone should
be flushed with clean seawater to remove any contamination as this could
shorten the life of the reference cell. Clean the socket in the handle of the
BCM/BCM Pro’ and apply a smear of silicone grease to it and the plug to
stop the contacts corroding.
Check the condition of the O-ring in the white delrin probe cone and
replace it if necessary.
The battery charger must be maintained in accordance with local statutory
requirements for maintenance of portable electronic equipment.
Replacement of the Screw-In Reference
Electrode
Remove the stainless steel probe tip - if fitted - using an 8mm spanner.
Using a 19mm spanner, remove the white delrin probe cone.
Remove the stainless steel slotted nut and washer from the tie rod, using the
peg spanners (6005-0499 & 6005-0500).
Gently ‘rock’ and remove the red nose cone, which will expose the black
plastic reference electrode.
Carefully unscrew the reference electrode.
Ensure that there are no foreign bodies in or around the seat of the
reference electrode and the O-ring around the tie rod.
Smear the O-ring and the thread on the new reference electrode with
silicone grease (4004-0017).
Screw in the new reference electrode until the O-ring just seats, then tighten
half a turn and no more. Over tightening the reference electrode could
damage the thread.

BathyCorrometer Calibration Kit
8
Replace the red nose cone, ensuring that there is no debris or foreign
matter around its seat, and that the cut out is positioned to accommodate
the reference electrode.
Replace the stainless steel washer and slotted nut and tighten so there is no
gap between the red nose cone and the white body.
Check the O-rings on the inside and outside of the white delrin probe cone
and replace if necessary. Smear the O-rings with a little silicone grease, and
replace the white delrin probe cone onto the tie rod.
Replace the stainless steel probe tip.
Disposal information
Producer registration number: WEE/HJ0051TQ
For further information on UK Producer Responsibility WEEE regulations click
on:
http://www.gov.uk/government/collections/producer-responsibility-
regulations
This Product must be disposed of in accordance with UK
WEEE Producer Responsibility Regulations, or in accordance
with your local WEEE guidance.

Instruction Manual
9
EC Declaration of conformity
We:
Buckleys (UVRAL) Ltd
As sole manufacturer of the apparatus listed,
declare that the
product:
BathyCorrometer® Calibration Kit
Is manufactured in conformity
with
the following directives:
2014/30/EU
2014/35/EU
2015/863/EU
2011/65/EU (RoHS)
Date: 01/07/2021
Authorised by:
J P Hoveman
CEO, Buckleys (UVRAL)
Ltd.

BathyCorrometer Calibration Kit
10
UKCA Declaration of conformity
We:
Buckleys (UVRAL) Ltd
As manufacturer of the apparatus listed,
declare that the
product:
BathyCorrometer® Calibration Kit
Is manufactured in conformity
with
UK Legislation:
Electronic Compatibility Regulations 2016
The Electrical Equipment (Safety) Regulations 2016
Restriction of the Use of Certain Hazardous Substances in
Electrical and Electronic Equipment Regulations 2012
Date: 01/07/2021
Authorised by:
J P Hoveman
CEO, Buckleys (UVRAL)
Ltd.

Instruction Manual
11
Contact details
Manufacturer: Buckleys (UVRAL) Ltd
Address: Buckleys House
Unit G, Concept Court Shearway Business Park
Shearway Road Folkestone
Kent CT19 4RG, UK
Tel: +44 (0)1303 278888
Website: www.buckleysinternational.com
Distributor details

5830-0052 - ENG/V.01/23
Table of contents
Other Buckleys Test Equipment manuals

Buckleys
Buckleys BathyCorrometer CalChecker Pro User manual

Buckleys
Buckleys PST-100 User manual

Buckleys
Buckleys DRY ROOF PRO2 User manual

Buckleys
Buckleys Wet Roof Pro' User guide

Buckleys
Buckleys DCCT PRO2 User manual

Buckleys
Buckleys BathyCorrometer Pro' User manual

Buckleys
Buckleys ST-AC Pro User manual

Buckleys
Buckleys PST-100 User manual

Buckleys
Buckleys ST-AC Pro User manual

Buckleys
Buckleys PHD PRO2 User manual