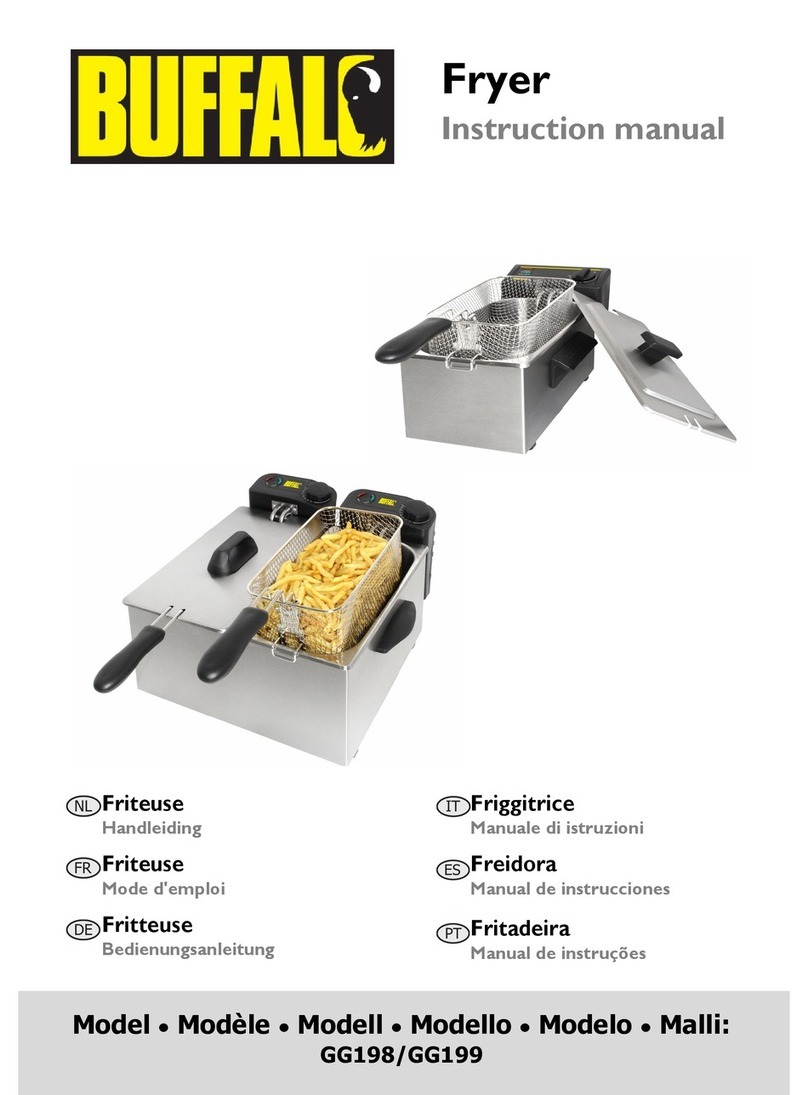
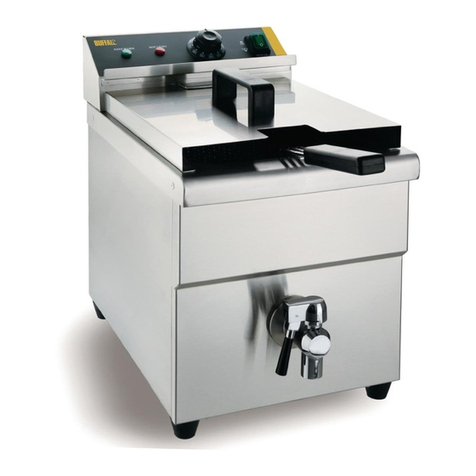
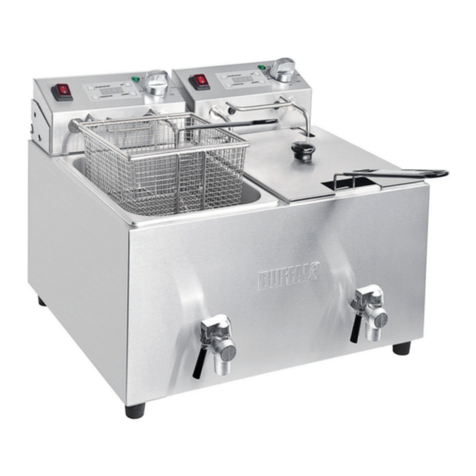
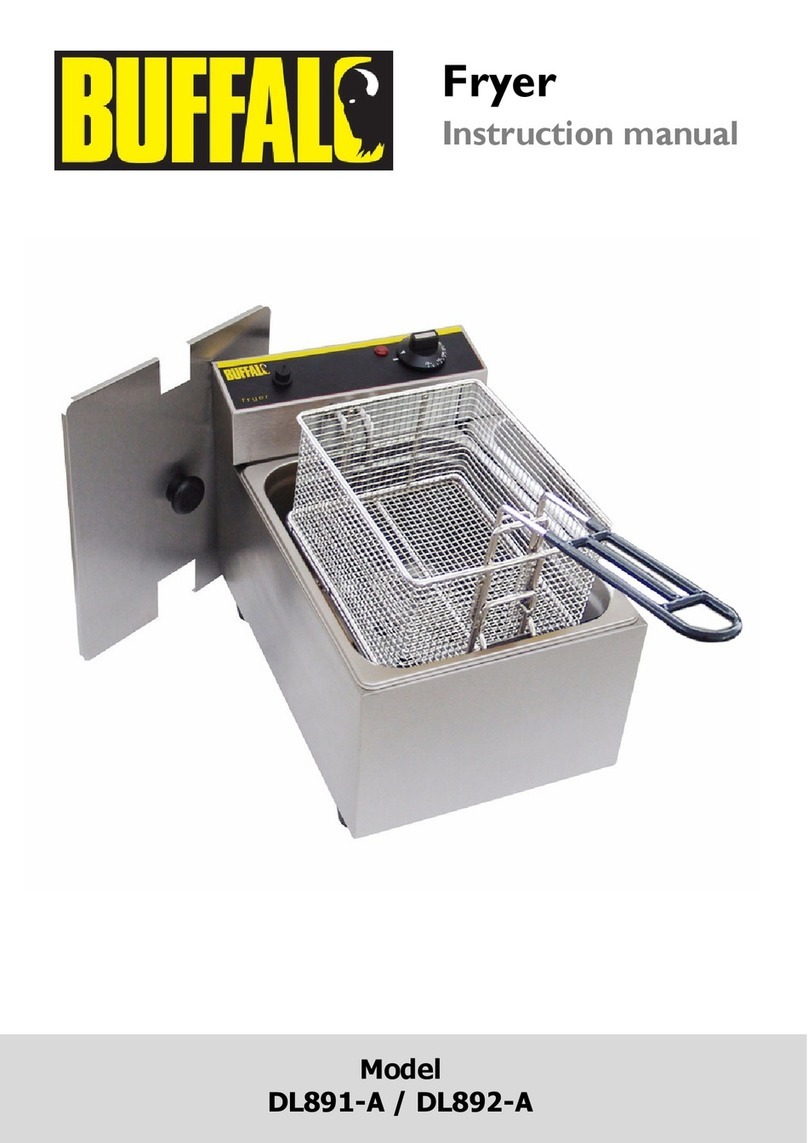
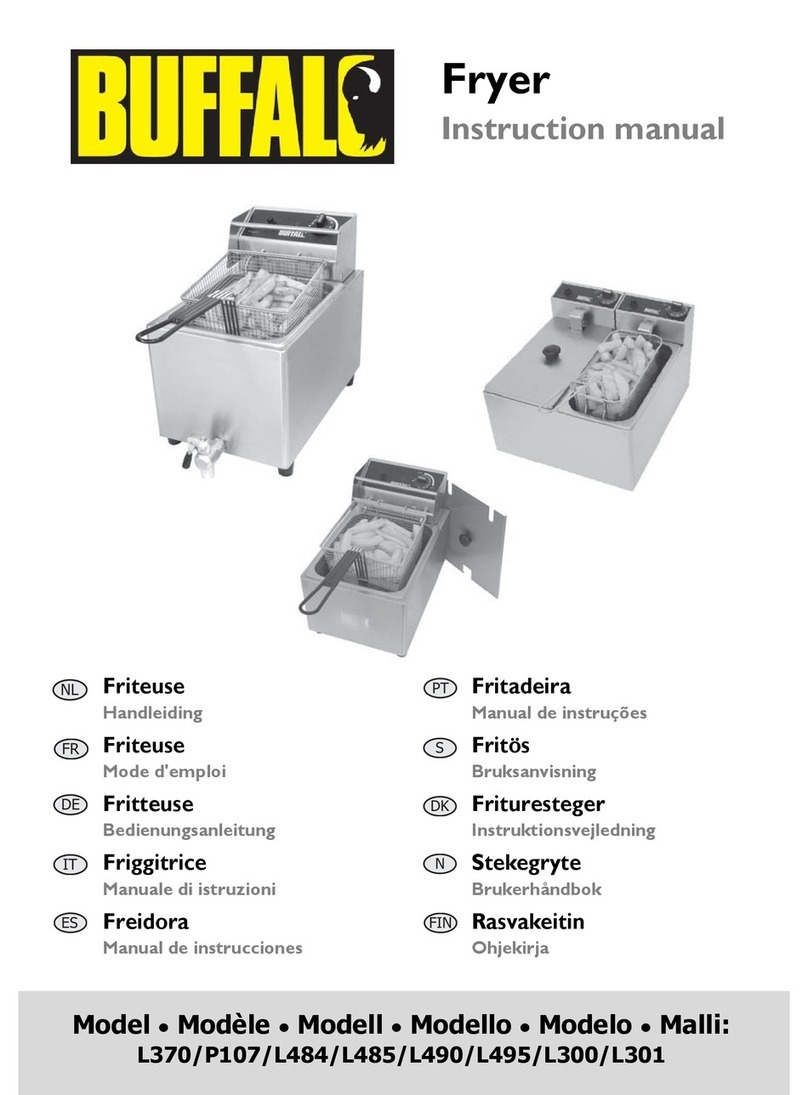
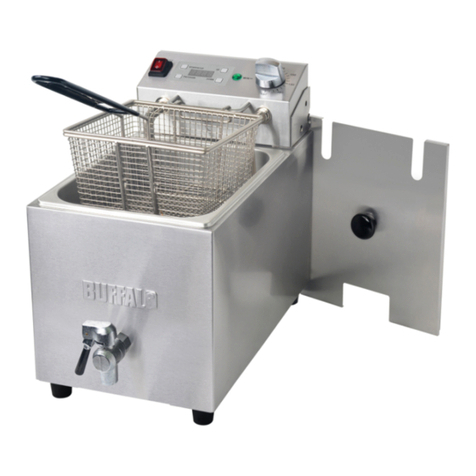
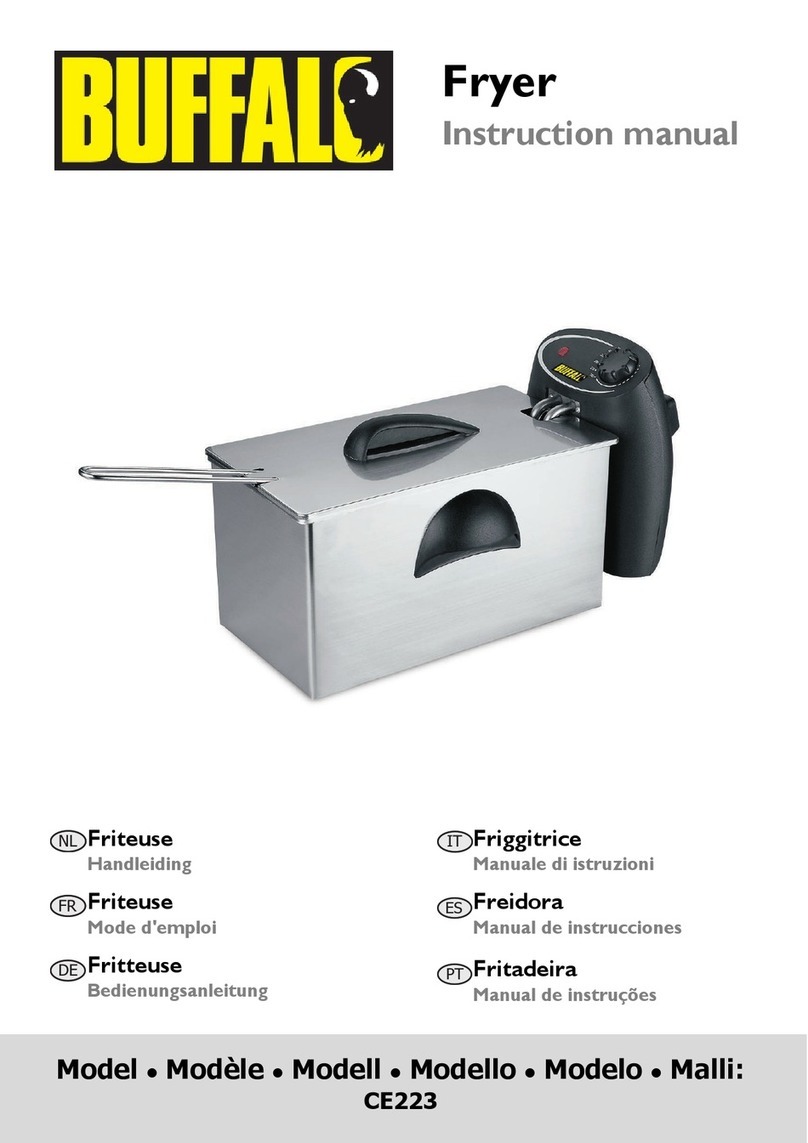
Buffalo GH124 User manual

HEAVY DUTY FRYER
INSTRUCTION MANUAL
Model . Modéle . Modell . Modello . Modelo . Malli
GH124 / GH125 / GH126 / GH127

UK
Safety Tips
Position on a flat, stable surface.
A service agent/qualified technician should carry out installation and any repairs if required.
Do not remove any components on this product.
Consult Local and National Standards to comply with the following:
oHealth and Safety at Work Legislation
oBS EN Codes of Practice
oFire Precautions
oIEE Wiring Regulations
oBuilding Regulations
DO NOT immerse the electrical control box assembly in water, or use jet/pressure washers to
clean the appliance
Do not use the appliance for anything other than its intended use.
Always switch off and disconnect the power supply to the appliance when not in use.
Not suitable for outdoor use.
Keep all packaging away from children. Dispose of the packaging in accordance to the
regulations of local authorities.
If the power cord is damaged, it must be replaced by a BUFFALO agent or a recommended
qualified technician in order to avoid a hazard.
This appliance is not intended for use by persons (including children) with reduced physical,
sensory or mental capabilities, or lack of experience and knowledge, unless they have been
given supervision or instruction concerning the use of the appliance by a person responsible
for their safety.
Ensure oil levels are maintained above the minimum indicated level. Failing to maintain the
required level may result in element failure.
The manufacturers of Buffalo products take every care to ensure that all products are safe.
Steel cutting procedures used to manufacture these items results in sharp edges. These
sharp edges are removed to the best of our ability; however we still insist the operator takes
care when in contact with this piece of equipment.
Switch off power to the Fryer, and remove the plug from the power socket whilst cleaning,
draining oil, or filling with oil.
Change the oil regularly. Used oil breaks down after use, it can catch fire as its flash point is
reduced, and it is more prone to surge boiling.
The oil pan should not be covered during frying –Lid should not be fitted when unit in use.

Telephone Helpline: 0845 146 2887 UK
Introduction
Thank you for purchasing the Buffalo Electric Fryer. Before operating this product, you should read
through the instructions and hints in this manual, this will help you enjoy effective, trouble free
results from using the product. Keep the instructions in a safe place for future reference.
These appliances are intended to be used for commercial applications, for example in kitchens of
restaurants, canteens, hospitals and in commercial enterprises such as bakeries, butcheries, etc.,
but not for continuous mass production of food
Buffalo will not accept liability for product failures in the event that:
The instructions in this manual have not been followed correctly.
Unqualified or unauthorized personnel have adjusted the Fryer.
Non-original spare parts are used.
The Fryer has not been handled and cleaned correctly.
The Fryer has been used for a purpose for which it was not intended.
Packaging
All Buffalo products are inspected and tested prior to packing.
This product consists of the following parts:
Fryer
Basket –one or two according to the model purchased
Instruction Leaflet
If any of these parts are found to be missing or damaged after transit, you must contact your
supplier immediately.
Installation
Remove the Fryer from the packaging, ensuring that all protective packaging, plastic and
residues are thoroughly cleaned from its surfaces.
Place the Fryer on a firm level surface (Or Fryer stand if purchased).
Before installing and operating the Fryer, it is the user’s responsibility to ensure that all Health &
Safety regulations concerning safe positioning, spacing, ventilation, electrical installation, and fire
risk, are complied with.

UK
Fitting the Element and Control box to the Fryer body.
Position the Element/Control Box into the body of the fryer, locating it into the lugs at the rear of
the Fryer body, using the bracket on rear of the Control Box. Once the rear of the control unit (A)
is clipped into the lugs on the main body (B), ensure that the safety switch (C), and the location
plate (E) on the base of the control unit, is correctly aligned with the slots (D) and (F) in the main
body, before the element is lowered into its operating position in the pan. Locate Electrical box
support (G) in main body (H). Place the guard over the element at the bottom of the pan.
The fryer can now be filled with the appropriate cooking oil.
Connect the Fryer to the correct power supply and it is ready to operate.

Telephone Helpline: 0845 146 2887 UK
Operation
1. Please ensure Oil level is between Min and Max lines.
2. Turn the thermostat dial towards the “ON” position, adjust the dial to the required
temperature setting.
3. Allow time for the oil temperature to reach the required setting. While the oil is heating, the
red light will be on, when the oil has reached the required temperature; the red light will
switch off.
4. As the oil temperature fluctuates, the thermostat will operate to maintain the set
temperature, the indicator light will be lit when the Fryer is heating the oil.
5. A temperature setting of between 170 and 180 degrees centigrade will be sufficient for
most cooking. However this may vary for particular food types or according to individual
requirements.
Using the Timer
The digital timer with audible alarm can be set from 1 second to15 minutes
The timer provides an audible alarm only; after the set time expires unit will continue to
operate at set temperature.
START/STOP: Press START/STOP to start timer, press again to stop. The timer will provide an
audible alarm after the set time. The alarm will beep 10 times and the display will continue to
flash until timer is reset (press the START/STOP button)
UP: Press UP to add extra time
DOWN: Press DOWN to reduce time

UK
PROGRAM: There are a total of 6 programmable timer settings. The default factory program
settings are given below
Program
1
2
3
4
5
6
Factory
Preset
Time
00:30
01:00
01:30
02:00
02:30
03:00
To change the length of a program select the program you want to change by scrolling using the
PROGRAM button. Adjust the program time by using the UP and DOWN buttons. Press
START/STOP to commence the count-down. The new program time will be automatically stored.
If the unit is left without power for more than 24hrs the timer settings will revert to the
factory defaults.
Cleaning, Care and Maintenance
The Fryer should be cleaned after each day’s operation; however it may require cleaning more
often, depending on the volume of frying carried out.
1.Switch off the power and disconnect from the power supply by removing the plug from the
socket.
2.The Fryer must be left until the oil has cooled to room temperature before cleaning.
3.Empty oil by opening the drain tap at the front of the unit
Note: If the oil is to be reused, it should be filtered
4. Once the oil has been emptied from the fryer, the control box can be tilted back enabling
the pan to be cleaned using warm soapy water.
Warm soapy water is recommended for cleaning. Cleaning agents after prolonged use can
cause damage to stainless steel.
The main body can also be cleaned with warm soapy water. Remove the control box and
element before cleaning takes place.
The control box cannot be immersed in water, but can be wiped down with a damp cloth.
After cleaning as above, please use a dry cloth to clean the appliance to ensure there is no
water on the heating element and in the water oil pan.

Telephone Helpline: 0845 146 2887 UK
Trouble Shooting
Problem
Cause
Remedy
Oil is not heating and
indicator light is off.
Main power supply
Check main power supply
Element/ control unit not
correctly located
Follow the steps on page 2 to
correctly locate
Plug and lead are damaged
Call service agent or qualified
technician
Internal wiring fault
Call service agent or qualified
technician
Oil is heating & indicator light
is on. But heating up slowly
Thermostat or heating
element has failed
Call service agent or qualified
technician
Indicator light is not on but
appliance is operating
normally
Faulty pilot light
Call service agent or qualified
technician
Oil has reached the set
temperature
Use FRYER normally
If your Buffalo FRYER does not operate, please check the following before placing a service call.
It is connected to the correct power supply.
The machine is plugged in correctly and power is switched on.
The thermostat dial has been set to the required temperature.
Specifications
MODEL
VOLTAGE
POWER
MAX
BATCH
LOAD
(KG)
OIL
VOLUME
(Litres)
DIMENSIONS(MM)
WEIGHT
(KG)
HEIGHT
WIDTH
DEPTH
GH124
230V ~
50HZ
2900W
1
8L
452
283
595
9.9
GH125
2×2900W
2x1
2 x8L
452
550
595
20.8
GH126
6000W
1
8L
452
283
595
10.9
GH127
2×6000W
2x1
2x8L
452
550
595
21.8

UK
Electrical Wiring –GH124, GH125
GH124 and GH125 are supplied with a 3 pin, moulded, BS1363 plug and lead, with a 13 amp fuse
as standard.
The plug is to be connected to a suitable mains socket.
This appliance is wired as follows:
•Live wire (coloured brown) to terminal marked L
•Neutral wire (coloured blue) to terminal marked N
•Earth wire (coloured green/yellow) to terminal marked E
This appliance must be earthed, using a dedicated earthing circuit.
If in doubt consult a qualified electrician.
Electrical isolation points must be kept clear of any obstructions. In the event of any emergency
disconnection being required they must be readily accessible.
Electrical Wiring –GH126, GH127
GH126 and GH127 are supplied unplugged and require hardwiring to a suitable electrical power
supply capable of supporting 6KW at 230V/50hz.
This appliance is wired as follows:
•Live wire (coloured brown) to terminal marked L
•Neutral wire (coloured blue) to terminal marked N
•Earth wire (coloured green/yellow) to terminal marked E
This appliance must be earthed, using a dedicated earthing circuit.
Electrical isolation points must be kept clear of any obstructions. In the event of any emergency
disconnection being required they must be readily accessible.
Connection to a suitable power supply should only be carried out by a qualified and
competent electrical engineer.

Telephone Helpline: 0845 146 2887 UK
Compliance
The WEEE logo on this product or its documentation indicates that the
product must not be disposed of as household waste. To help prevent
possible harm to human health and/or the environment, the product
must be disposed of in an approved and environmentally safe recycling
process. For further information on how to dispose of this product
correctly, contact the product supplier, or the local authority responsible
for waste disposal in your area.
BUFFALO parts have undergone strict product testing in order to
comply with regulatory standards and specifications set by international,
independent, and federal authorities.
BUFFALO products have been approved to carry the following symbol:
Please keep this manual in a safe place for future use!
All rights reserved. No part of these instructions may be produced or transmitted in any form or by any means, electronic,
mechanical, photocopying, recording or otherwise, without the prior written permission of BUFFALO.
Every effort is made to ensure all details are correct at the time of going to press, however, BUFFALO reserve the right to
change specifications without notice

NL Klantenondersteuning: 050-609999 (België)
Veiligheidstips
Op een platte, stabiele ondergrond plaatsen.
De installatie en eventuele reparaties moeten worden uitgevoerd door een onderhoudsagent
of een bevoegde technicus. Geen componenten van dit product verwijderen.
Raadpleeg de plaatselijke en landelijke normen om te voldoen aan:
oWetgeving inzake gezondheid en veiligheid op het werk
oBS/EN-werkcodes
oVoorzorgsmaatregelen tegen brand
oIEE-bedradingsvoorschriften
oBouwvoorschriften
Dompel de elektrische regeling NIET onder in water, en gebruik geen straal-
/hogedrukreinigers om het toestel te reinigen.
Het toestel niet gebruiken voor andere doeleinden dan waarvoor het bedoeld is.
Het toestel altijd uitschakelen en van het lichtnet loskoppelen indien het niet in gebruik is.
Niet geschikt voor gebruik buiten.
Houd alle verpakking uit de buurt van kinderen. Verwijder de verpakking in overeenstemming
met de voorschriften van plaatselijke instanties.
Als het stroomsnoer is beschadigd moet het worden vervangen door een BUFFALO agent of
een aanbevolen, bevoegde technicus om gevaar te vermijden.
Dit toestel is niet bedoeld voor gebruik door personen (inclusief kinderen) met verminderde
lichamelijke of geestelijke vaardigheden of gebrek aan ervaring of kennis, tenzij ze toezicht of
instructies in verband met het gebruik van het toestel hebben ontvangen van een persoon
die verantwoordelijk is voor hun veiligheid.
Zorg ervoor dat het peil van alle olie boven het minimum wordt gehouden. Als het vereiste
peil niet wordt gehandhaafd kan dit leiden tot een defect element.
De fabrikanten van Buffalo producten doen er alles aan om ervoor te zorgen dat alle
producten veilig zijn. Het snijden van het metaal van deze artikelen kan leiden tot scherpe
randen. Deze scherpe randen worden zo goed mogelijk verwijderd; maar wij staan er echter
op dat de gebruiker voorzichtig is bij contact met dit stuk apparatuur.
Schakel de stroom naar de frituurpan uit en haal de stekker uit het stopcontact voordat hij
wordt gereinigd en voordat de olie wordt geleegd of bijgevuld.
Ververs de olie regelmatig. Gebruikte olie verslechtert na gebruik, het kan in brand vliegen
omdat het vlampunt wordt gereduceerd, en het is meer vatbaar voor overkoken.
De oliepan mag tijdens het frituren niet worden afgedekt. Het deksel mag er tijdens gebruik
niet op zitten.
Klantenondersteuning: 040-2628080 (Nederland) NL
Inleiding
Dank u voor de aanschaf van de Buffalo elektrische frituurpan. Voordat u dit product gebruikt, moet
u de instructies en aanwijzingen in deze handleiding lezen. Dit helpt u erbij om doeltreffende,
probleemloze resultaten te bereiken met dit product. Houd de instructies op een veilige plaats bij de
hand.
Deze toestellen zijn bedoeld voor commerciële toepassingen, bijvoorbeeld in de keukens van
restaurants, kantines, ziekenhuizen en zaken zoals bakkerijen, slagerijen, enz., maar niet voor
de massaproductie van voedingsmiddelen.
Buffalo stelt zich niet aansprakelijk voor defecten van het product in het geval dat:
De instructies in deze handleiding niet goed zijn opgevolgd.
De frituurpan door onbevoegd of ondeskundig personeel is aangepast.
Geen authentieke reserveonderdelen worden gebruikt.
De frituurpan niet op de juiste manier is gehanteerd en schoongemaakt.
De frituurpan is gebruikt voor een doel waarvoor het niet geschikt is.
Verpakking
Alle Buffalo producten worden voorafgaand aan de verpakking geïnspecteerd en getest.
Dit product bestaat uit de volgende onderdelen:
Frituurpan
Vergieten –één of twee, afhankelijk van het gekochte model
Instructieblad
Mochten er onderdelen ontbreken of beschadigd zijn tijdens het vervoer, neem dan onmiddellijk
contact op met de leverancier.
Installatie
Haal de frituurpan uit de verpakking en zorg dat alle beschermende verpakking, plastic en resten
goed zijn verwijderd.
Plaats de frituurpan op een stevige ondergrond (of de extra verkrijgbare standaard).
Het is de verantwoordelijkheid van de gebruiker om er, voorafgaand aan de installatie en
bediening van de frituurpan, voor te zorgen dat voldaan wordt aan alle gezondheids- en
veiligheidsvoorschriften inzake de veilige plaatsing, afstand, ventilatie, elektrische installatie, en
brandgevaar.

NL Klantenondersteuning: 050-609999 (België)
Het element en de regeling aan de frituurpan monteren.
Monteer het element met de regeling op de frituurpan in de montagegaten aan de achterkant,
met de beugel op de achterkant van het element. Als de achterzijde van de regeling (A) in de
montagegaten in de frituurpan (B) is geklemd, moet u ervoor zorgen dat de veiligheidsschakelaar
(C) en de richtplaat (E) op de basis van de regeling goed zijn uitgelijnd met de gleuven (D) en (F)
in de frituurpan, waarna het element op de juiste plaats in de pan kan worden gestopt. Plaats de
steun van de elektrische regeling (G) in de pan (H). Plaats de afscherming over het element
onder in de pan.
De frituurpan kan nu worden gevuld met een geschikte bakolie.
Sluit de frituurpan aan op het lichtnet en hij is klaar voor gebruik.

Klantenondersteuning: 040-2628080 (Nederland) NL
Bediening
1. Zorg ervoor dat het oliepeil tussen de minimum- en maximumlijnen wordt gehouden.
2. Zet de thermostaat op aan (ON), en stel de regelaar in op de vereiste temperatuur.
3. Wacht totdat de olie op de gewenste temperatuur is gekomen. Terwijl de olie wordt
verwarmd, brandt het rode lampje, en wanneer de olie op de gewenste temperatuur is
gekomen, gaat het rode lampje uit.
4. De thermostaat gaat aan en uit om de olie op temperatuur te houden en het lampje gaat aan
wanneer de frituurpan de olie verwarmt.
5. Voor de meeste toepassingen is een temperatuur tussen 170 en 180 graden Celsius
voldoende.
6. Dit kan echter variëren voor bepaalde soorten voedsel en toepassingen.
De timer gebruiken
De digitale timer met alarmtoon kan worden ingesteld tussen 1 seconde en 15 minuten.
De alarmtoon klinkt pas nadat de ingestelde tijd is verstreken maar de frituurpan blijft op de
ingestelde temperatuur werken.
START/STOP: Druk op START/STOP om de timer sta starten, en druk er nogmaals op om hem
te stoppen. Na de ingestelde tijd klinkt de alarmtoon van de timer. De alarmtoon gaat 10 keer
af en het scherm blijft knipperen totdat de timer wordt uitgeschakeld (met de START/STOP-
knop)
UP: Druk op UP voor een langere tijd
DOWN: Druk op DOWN voor een kortere tijd

NL Klantenondersteuning: 050-609999 (België)
PROGRAMMA: er zijn in totaal 6 programmeerbare instellingen van de timer. De
standaardinstellingen bij levering staan hieronder
Programma
1
2
3
4
5
6
Standaard
tijd
00:30
01:00
01:30
02:00
02:30
03:00
Om de lengte van een programma te wijzigen, selecteert u het betreffende programma met de
knop voor PROGRAMMA. Stel de gewenste tijd in met de knoppen UP en DOWN. Druk op
START/STOP om de timer aan te zetten. De nieuwe programmatijd wordt automatisch
opgeslagen.
Als de frituurpan meer dan 24 uur geen stroom ontvangt, gaat de timer weer terug naar
de standaard instellingen.
Reiniging, verzorging en onderhoud
De frituurpan moet aan het eind van elke dag worden schoongemaakt, maar het kan nodig zijn
om hem vaker schoon te maken, afhankelijk van de mate van gebruik.
1. Zet de stroom uit door de stekker uit het stopcontact te halen.
2.Voordat de frituurpan kan worden schoongemaakt, moet worden gewacht tot de olie op
kamertemperatuur is gekomen.
3.Haal de olie er uit door de aftapper aan de voorkant van de pan open te zetten.
Opmerking: als de olie opnieuw moet worden gebruikt, moet deze worden gefilterd.
4. Als de olie uit de frituurpan is verwijderd, kan de regeling naar achteren worden gekanteld
en kan de pan van binnen met een warm sopje worden schoongemaakt.
Voor het schoonmaken wordt een warm sopje aanbevolen. Na langdurig gebruik kunnen
reinigingsmiddelen het roestvrij staal beschadigen.
Ook de pan zelf kan met een warm sopje worden schoongemaakt. Verwijder het element met
de regeling voordat hij worden schoongemaakt.
De regeling kan niet in water worden ondergedompeld maar kan wel met een vochtige doek
worden afgenomen.
Nadat hij volgens de bovenstaande instructies is schoongemaakt, moet hij met een droge doek
worden afgenomen om ervoor te zorgen dat er geen water achterblijft op het
verwarmingselement en in de oliepan.

Klantenondersteuning: 040-2628080 (Nederland) NL
Probleem
Oorzaak
Oplossing
Olie wordt niet verwarmd en
controlelampje is uit.
Lichtnet
Controleer de aansluiting op
het lichtnet
Element/regeling niet goed
aangebracht
Volg de stappen op pagina 2
om hem goed aan te brengen
Stekker en snoer zijn
beschadigd
Bel een servicedienst of een
bevoegde technicus
Interne bedradingsfout
Bel een servicedienst of een
bevoegde technicus
Olie wordt warm en lampje is
aan maar verwarmt langzaam
Thermostaat of
verwarmingselement is defect
Bel een servicedienst of een
bevoegde technicus
Controlelampje is niet aan
maar toestel werkt normaal
Lampje defect
Bel een servicedienst of een
bevoegde technicus
Olie heeft de ingestelde
temperatuur bereikt
Gebruik FRITUURPAN
normaal
Als de Buffalo FRITUURPAN niet werkt, controleer dan eerst het volgende voordat u om assistentie
vraagt.
Hij is goed aangesloten op het lichtnet.
De machine is goed aangesloten en de stroom is ingeschakeld.
De thermostaat is op de gewenste temperatuur ingesteld.
Specificaties
MODEL
VOLTAGE
VOEDING
MAX.
LADING
(KG)
OLIE-
VOLUME
(liter)
AFMETINGEN (MM)
GEWICHT
(KG)
HOOGTE
BREEDTE
DIEPTE
GH124
230 V ~
50 HZ
2900W
1
8l
452
283
595
9,9
GH125
2×2900W
2x1
2 x8l
452
550
595
20,8
GH126
6000W
1
8l
452
283
595
10,9
GH127
2×6000W
2x1
2x8l
452
550
595
21,8

NL Klantenondersteuning: 050-609999 (België)
Elektrische aansluiting –GH124, GH125
De stekker moet worden aangesloten op een geschikt stopcontact.
De aansluitingen in de stekker van het toestel zijn als volgt:
•Plus (bruin) naar de klem die met L is aangeduid
•Nul (blauw) naar de klem die met N is aangeduid
•Aarde (groengeel) naar de klem die met E is aangeduid
Dit toestel dient te zijn geaard, met behulp van een speciale aardverbinding.
Raadpleeg in geval van twijfel een bevoegde elektricien.
De elektrische isolatiepunten moeten onbelemmerd worden gehouden. In geval van nood moet het
toestel gemakkelijk uitgeschakeld kunnen worden.
Elektrische aansluiting –GH126, GH127
GH126 en GH127 worden zonder stekker geleverd en moeten permanent op een geschikte voeding
van 6kW en 230V/50Hz worden aangesloten.
De aansluitingen zijn als volgt:
•Plus (bruin) naar de klem die met L is aangeduid
•Nul (blauw) naar de klem die met N is aangeduid
•Aarde (groengeel) naar de klem die met E is aangeduid
Dit toestel dient te zijn geaard, met behulp van een speciale aardverbinding.
De elektrische isolatiepunten moeten onbelemmerd worden gehouden. In geval van nood moet het
toestel gemakkelijk uitgeschakeld kunnen worden.
De aansluiting op een geschikte stroomvoorziening mag uitsluitend worden uitgevoerd door
een bevoegd en deskundig elektricien.

Klantenondersteuning: 040-2628080 (Nederland) NL
Naleving
Het WEEE-logo op dit product en de documenten geeft aan dat dit product niet mag worden
weggedaan bij het huisvuil. Om mogelijke schade aan de gezondheid van mensen en/of het milieu
te helpen voorkomen, moet het product volgens een goedgekeurd en
milieuveilig recycleerproces worden weggedaan. Voor nadere
informatie over de correcte afvalverwerking van dit product kunt u
contact opnemen met de leverancier of de plaatselijke instantie die
verantwoordelijk is voor de afvalverwerking in uw gebied.
De BUFFALO onderdelen zijn blootgesteld aan strenge testprocedures
om te voldoen aan de normen en technische gegevens van
internationale, onafhankelijke en federale instanties.
De BUFFALO producten zijn goedgekeurd voor vermelding van het
volgende symbool:
Houd deze handleiding op een veilige plaats bij de hand!
Alle rechten voorbehouden. Delen van deze instructies mogen uitsluitend worden geproduceerd of verzonden in welke
vorm of via welke manier dan ook, inclusief o.a. elektronisch, mechanisch, door fotokopiëren, opnemen, met voorafgaande
schriftelijke toestemming van BUFFALO.
Er is alles aan gedaan om ervoor te zorgen dat de gegevens ten tijde van het afdrukken correct waren. BUFFALO behoudt
zich echter het recht voor om de technische gegevens zonder mededeling te wijzigen

FR Standard d’assistance téléphonique :0820 30 01 16 (Français)
Consignes de sécurité
Poser sur une surface plate et stable.
L'installation et, le cas échéant, les réparations, doivent être effectués par un agent de
maintenance / technicien qualifié. Ne pas retirer de pièces de ce produit.
Consulter les normes nationales et locales afin de garantir la conformité aux normes
suivantes :
oLégislation de santé et sécurité au travail
oCodes de pratique BS EN
oMesures anti-incendie
oRéglementation IEE sur le Câblage
oRéglementation en matière de construction
NE JAMAIS immerger le boîtier de commande électrique dans l'eau, ni utiliser de systèmes
de lavage à jet pulvérisé / à pression pour nettoyer l'appareil.
Ne pas utiliser l'appareil à d'autres fins que celles auxquelles il a été conçu.
Veiller à toujours bien éteindre l'appareil et à couper l'alimentation électrique lorsqu'il n'est
pas en fonctionnement.
Non adapté à l'usage en extérieur.
Conserver tous les emballages hors de portée des enfants. Recycler les emballages d'une
manière qui soit compatible avec la réglementation des autorités locales.
Si le cordon d'alimentation est abîmé, le faire changer par un représentant BUFFALO ou par
un technicien qualifié agréé afin d'éviter tout risque.
Cet appareil ne peut être utilisé par des personnes (enfants compris) à capacités physiques,
sensorielles ou mentales réduites, ou par des personnes n'en ayant ni l'expérience, ni la
connaissance, à moins qu'elles n'aient été informées de la manière d'utiliser l'appareil par
une personne responsable de leur sécurité.
Veiller à maintenir le niveau de l'huile au-dessus du seuil minimum indiqué, au risque
d’entraîner une défaillance des éléments de chauffe.
Les fabricants de produits Buffalo font tout pour veiller à ce que tous les produits ne
présentent aucun danger. Les procédures de découpe de l'acier utilisées pour fabriquer ces
appareils produisent des arêtes tranchantes. Bien que nous fassions tout notre possible pour
les éliminer, nous recommandons fortement à l'utilisateur de faire attention lors de tout
contact avec cet appareil.
Éteindre l'alimentation de la friteuse, retirer la prise de la prise secteur pendant le nettoyage,
la vidange ou le remplissage de l'huile.
Changer l'huile régulièrement. L'huile usagée se décompose et peut s'enflammer du fait de la
réduction de son point d'éclair. Elle est également plus susceptible de bouillir violemment.
La cuve à huile ne doit pas être couverte lors de la friture. Le couvercle ne doit pas être posé
sur l'appareil lorsque celui-ci est en cours d'utilisation.

Standard d’assistance téléphonique :050-600006 (Belgique) FR
Introduction
Merci d'avoir acheté une friteuse électrique Buffalo. Avant toute utilisation de ce produit, veuillez lire
attentivement les instructions et conseils de ce manuel pour une utilisation sans problème et des
résultats efficaces. Conservez ce mode d'emploi dans un endroit sûr pour toute référence ultérieure.
Ces appareils sont conçus pour être utilisés dans un environnement commercial, dans les
cuisines de restaurants, les cantines, les hôpitaux, les boulangeries, les boucheries, etc., mais
ne sont pas conçus pour la production alimentaire en masse.
Buffalo décline toute responsabilité en cas de défaillance du produit lorsque :
Les instructions de ce manuel n'ont pas été suivies correctement,
Du personnel non qualifié ou non autorisé a réglé la friteuse,
Des pièces détachées non authentiques ont été utilisées,
La friteuse n'a pas été manipulée, ni nettoyée correctement,
La friteuse a été utilisée à des fins pour lesquelles elle n'est pas conçue.
Emballage
Tous les produits Buffalo sont inspectés et testés avant d'être emballés.
Ce produit est composé des pièces suivantes :
Une friteuse
Un panier (ou deux, en fonction du modèle)
Un mode d'emploi
Au cas où l'une de ces pièces serait manquante ou endommagée après le transit, contacter
immédiatement le fournisseur.
Installation
Retirer la friteuse de son emballage. Veiller à bien éliminer tout plastique de protection et résidu
de la surface.
Poser la friteuse sur une surface solide de niveau (ou sur le support, le cas échéant).
Avant d'installer et d'utiliser la friteuse, il incombe à l'utilisateur de se conformer à toutes les
réglementations en matière de santé et de sécurité relatives au positionnement en toute sécurité,
aux distances de sécurité, à la ventilation, à l'installation électrique et au risque d'incendie.

FR Standard d’assistance téléphonique :0820 30 01 16 (Français)
Installation de l'élément de chauffe et du boîtier de commande sur la friteuse
Positionner l'élément de chauffe / boîtier de commande dans la friteuse en insérant la fixation à
l'arrière du boîtier dans les encoches situées à l'arrière de l'appareil. Une fois l'arrière de l'unité
de contrôle (A) inséré dans les encoches de la friteuse (B), vérifier que l'interrupteur de sécurité
(C) et la plaque de positionnement (E) de la base de l'unité de contrôle sont bien alignés avec les
encoches (D) et (F) de la friteuse avant de mettre l'élément de chauffe dans sa position de
fonctionnement à l'intérieur de la cuve. Placer le support du boîtier électrique (G) dans la friteuse
(H). Recouvrir l'élément de chauffe avec la protection au fond de la cuve.
La friteuse peut alors être remplie avec de l'huile de cuisson appropriée.
Brancher la friteuse à une source d'alimentation adéquate et elle est prête à l'emploi.
Other manuals for GH124
1
This manual suits for next models
3
Table of contents
Languages:
Other Buffalo Fryer manuals

Buffalo
Buffalo f/1.0L USM User manual

Buffalo
Buffalo GG198 User manual

Buffalo
Buffalo DL891-A User manual

Buffalo
Buffalo CE223 User manual

Buffalo
Buffalo CP793 User manual

Buffalo
Buffalo DC319-P Owner's manual

Buffalo
Buffalo 600 Series User manual

Buffalo
Buffalo CD274 User manual

Buffalo
Buffalo CP793 User manual

Buffalo
Buffalo CP793 User manual