1
Introduction
These custom gauge pods oer a clean, seamless OEM t in a
convenient and safe location for Bully Dog performance
products like the GT and WatchDog.
Table of Contents
Gauge Pod Assembly Diagrams ........................ 3-4
GT and WatchDog.........................................................3
PMT ..............................................................................4
Installation.......................................................... 5-26
31302............................................................................5-6
31303............................................................................7-8
31304............................................................................9-10
32303............................................................................11-12
32304............................................................................13-16
32305............................................................................15-16
32306............................................................................17-18
33306/33307.................................................................21-23
33302/33303.................................................................25-26
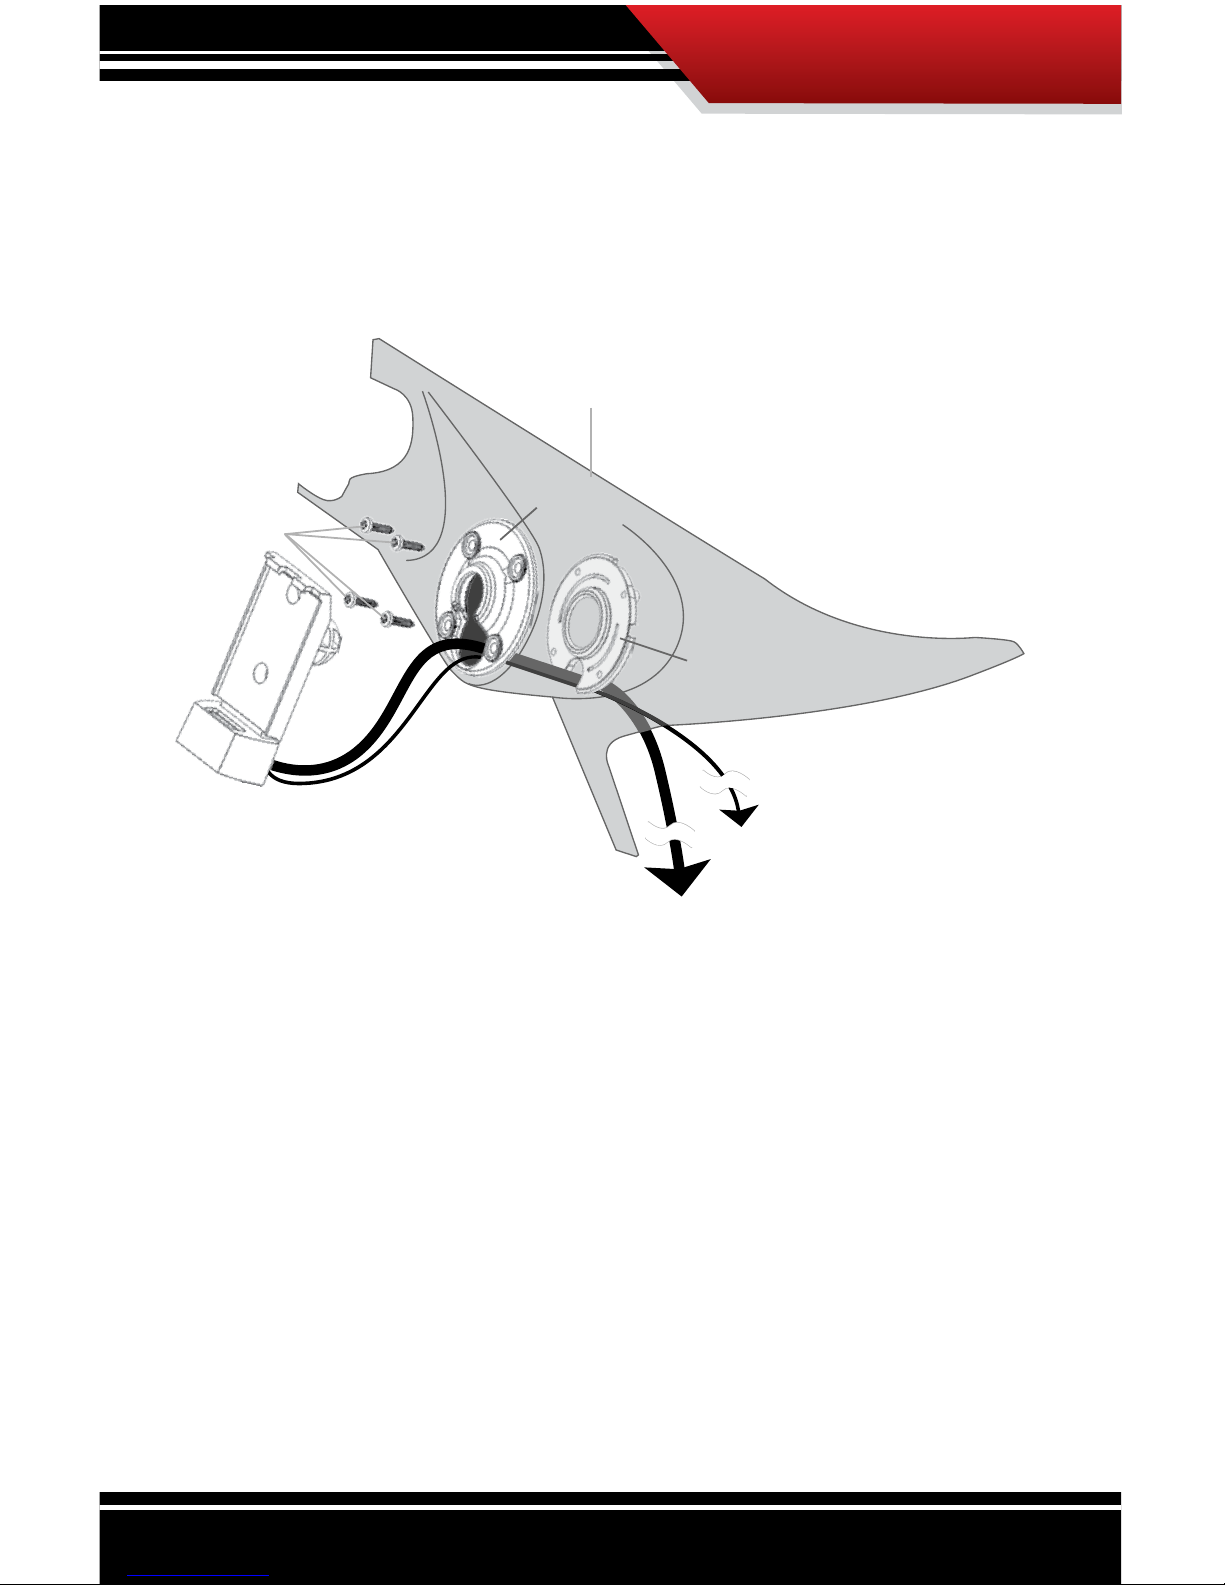
IMPORTANT: A gauge pod adapter (sold separately, part
#30420) is required to mount a GT or WatchDog unit with a
custom pod mount.