BURG-WÄCHTER UK
Sub-menu Administrator / User / Create /
Create ngerprint
•Switch on the lock using the key.
• Then press .
• The“main menu“ appears.
• Scroll with the 1 or 2 key until
the“Administrator“menu item is highlighted.
• Conrm with .
• “Administrator“appears.
• Conrm with .
• “User“appears.
• Conrm with .
• “Create“appears.
• Scroll with the 1 or 2 key until the“Create
ngerprint“ menu item is highlighted.
• Conrm with .
• Enter the administrator code to acquire the
authorisation for programming.
• “Create ngerprint“ appears.
• Move the nger from the top to bottom
centrally and a number of times over the sensor.
• The display will either prompt you to repeat
the process (for error messages, see page 10),
or the message“USER.XXXX FP was successfully
created“ will appear
• Press any key.
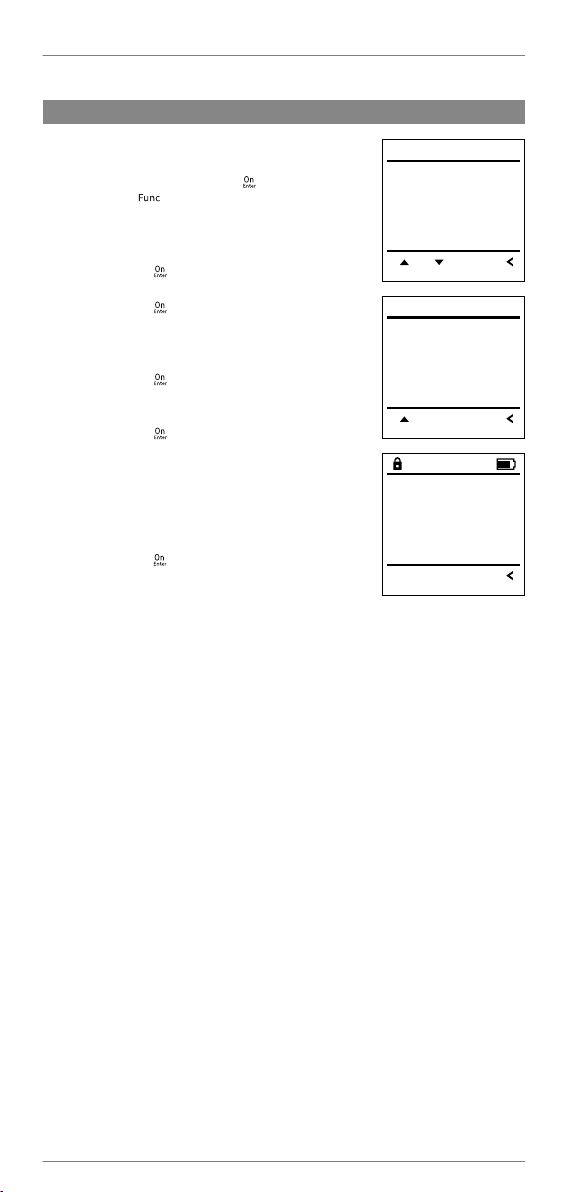
USER.0003 FP
created!
FUNC:
Program nger
4
FUNC:
Create Code
Create Finger
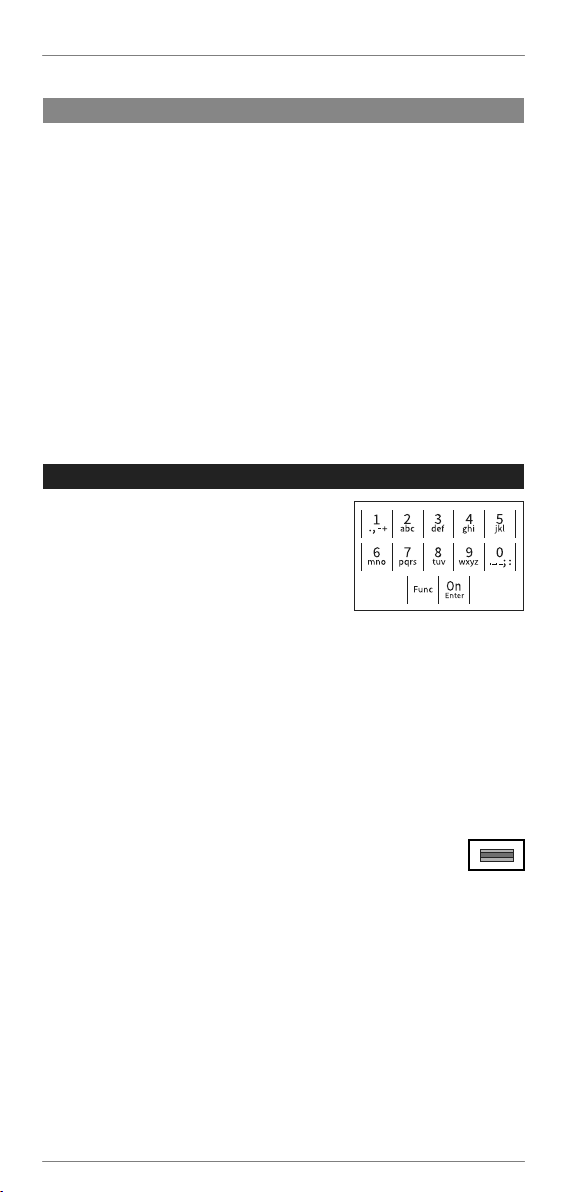
1: FUNC:
U S E R
Menu Administrator/User/Create (continued...)
Sub-menu Administrator / User / Assign /
Create code
• Switch on the lock using the key.
• Then press .
• The“main menu“ appears.
• Scroll with the 1 or 2 key until
the“Administrator“menu item is highlighted.
• Conrm with .
• “Administrator“appears.
• Conrm with .
• “User“appears.
• Scroll with the 1 or 2 key until the“Assign“
menu item is highlighted.
• Conrm with .
• “Assign“appears.
• Conrm with .
• Enter the administrator code to acquire the
authorisation for programming.
• You can use the keys 1 or 2 to scroll until
the user is marked whose code is supposed
to be assigned.
• Conrm with .
• Enter the 6-digit code and conrm it with .
• Use key 1 or 2 to scroll through the possible
combinations.
• If you have not selected a combination,
conrm 3x with .
Menu Administrator / User / Assign
Create
Assign
Delete
FUNC:1: 2:
U S E R
Assign Code
Assign Finger
2: FUNC:
U S E R
USER.0001
FUNC: M1: 2:
Users can have a code and a ngerprint. See page 2 for information on validity. 8