manuals.online logo
Brands
  1. Home
  2. •
  3. Brands
  4. •
  5. Cal-Royal
  6. •
  7. Door Lock
  8. •
  9. Cal-Royal HIL Series User manual

Cal-Royal HIL Series User manual

I.
Outside Lever
11.
Key
•
'Tools
/
12.
Cylinder •
#2
Phillips screwdriver
'~
, ../
13.
CylinderHousing • Push pin(provided)
/~
r?6
./
14.
Dead
Bolt
\.IJi#'-,
'-
16.
Inside Escutcheon
• 5/32" Drillbit
•
1/8"
Drillbit
.21/8"
Bore
• 1" Bore
/
~
-::'r76'}
, /
/15.
Longer Through-bolt
Screws(2)
"-~<I'
Q Q
,-.~
/
2.
Outside
Rose
Plate
w
VA
17.
Inside
Cover
3.
Lock
Body
.M
O
•
/"
""-.
.
/M'"
v.......
4.SnikeB~~"
"
:Wr,
-.Jrr,~1
5.Snike~~0·
"'I
..
'
1·
!
'.
'
..
(y)'i;:j
7.
Dead
Latch _
~~.A;,v"'?'1
.
8.
IDside
Mounting •
"I;jI
6.
Snike & Front Screws .Plate \
/"
.--
.--
9.
ShorterThrough-bolt
Screws(2)
10.
Screws(4)
18.
Inside
Lever
',~
:t
',t
Ao
iDoor
Prep
/"
.--
1.
Hollow
met.al
doors should beproperly
/"
reinforced for lock support.
If
support is
,@
not provided, contactdoor manufacturer.
B.
Mark
and
Drill
Holes
1.
Important-Fold template
on high edge
of
door bevel.
2. Determinebackset
of
1"
hole
..
t'~
2.
For all metal & wood doorpreparations I
use attached template.
,@
/"
/"
.--
•
....
__
..J
1
_
............
a:
"-
~a~
I '
t'S~Ci"~~
'"
:><:::00::
\
co
I 0
<cc-'-
0
__
_
___
_
:::;:;
0
Cl
\
~I
-----t-----
I I
\ I
\ I
/
'"
I
'"
/
"- I /
'"
/
.....
,-t--
-/
• !
the lock (2
3/8"
or 2 3/4").
\
'"
I"
hole
--tl11
~
I
'"
.....
_L
......
/ "-
I \
..,
/
/ - I
/
/
/
:::l
I I \
~-1
--$--
1-
~----El----
~
\.
I /
a:
'"
/
co _
21/8"hole
~21/8"hOle
/"
Co
rr~p
and
install ofStrikes
1.
Align centerline oflatch front and strike.
It
is
required that the deadlocking latch
must stop on strike when door
is
closed.
2.
Dse longer reinforcement screws
and
plate
if
frame prep
is
substandard.
3.
Install strike and box with
two
screws.
ie:,
Door Thickness Adjustment
1.
Lock assembly
is
preset
to
fit 13/4"(44mm) door thickness.
2.
Adjust lock for 1
3/8"
Door
-Inserting
key,
rotate
45
degrees
and
hold.
-fusert push pin
and
pull off
lever.
Do
latch
&
Dead
Bolt
Installation
1.
fusert latch bolt
and
dead bolt
(projected position)
as
shown.
.
2.
Make sure
the
backset
of
the
larch
and
dead bolt align with the backset
ofthe
door.
3.
fustall
two screws for each loosely.
Tighten after lock
is
completely
installed.
/
/ /
/0
0 /
/
/
/
-Rotate the outside rose plate clockwise
(3
Turns)
to
center of
the
lock
in
the 13/8" door thickness.
1.
Remove inside lever from lock, using push pin.
2.
Install lock assembly into door
and
engage latch
as
detailed,
per image
below.
3.
Install inside mounting plate with 2 Shorter lock body screws.
4.
Install outside deadbolt cylinder
assembly,
with tailpiece rotated
vertically with halfcircle
of
tailpiece on top.
5.
Inside escutcheon-align the lower driver tab with slot within the
lock
body,
align upper cam slot so thatit
is
vertical.
6.
Secure inside escutcheon with 4 screws.
7.
Snap on inside cover and inside lever.
Inside Mounting Plate
Escutcheon screws(4)
! Cam slot
<----
Inside cover
~
(
LQ
Tumpiece
,
}'
\lleO
~
~
/~,h.merThrOUgh-boltscreWS(2)
'\
~
Drivertab Inside Escutcheon Inside lever
"iNSIDE
OF'fuOOR
.
, . .

Other Cal-Royal Door Lock manuals

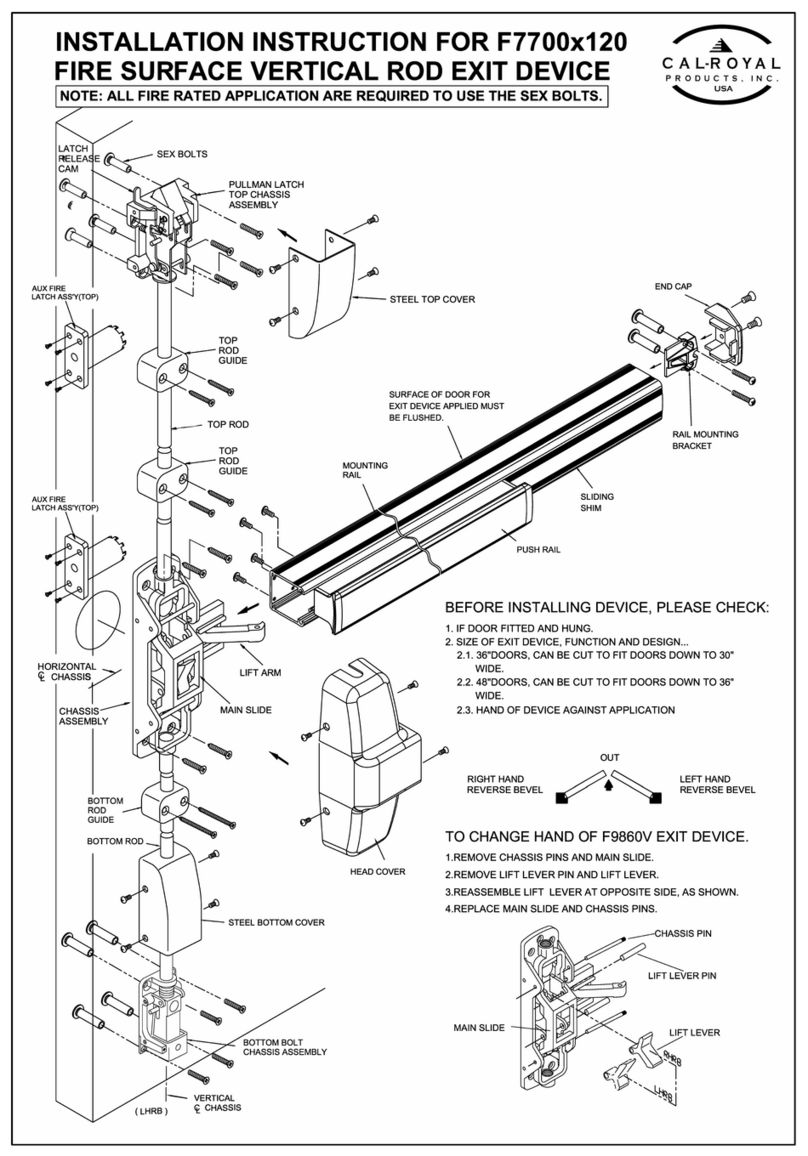
Cal-Royal F7700x120 User manual

Cal-Royal

Cal-Royal F7700x120 User manual

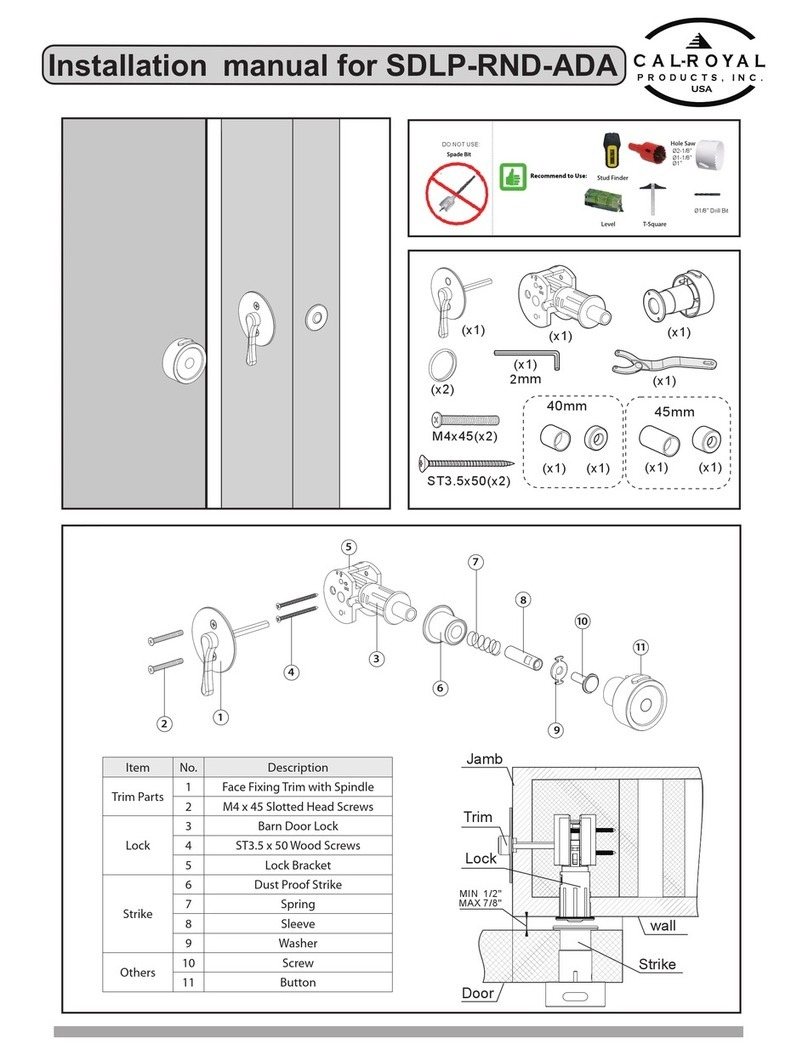
Cal-Royal SDLP-RND-ADA User manual

Cal-Royal

Cal-Royal SDLP-RND-ADA User manual

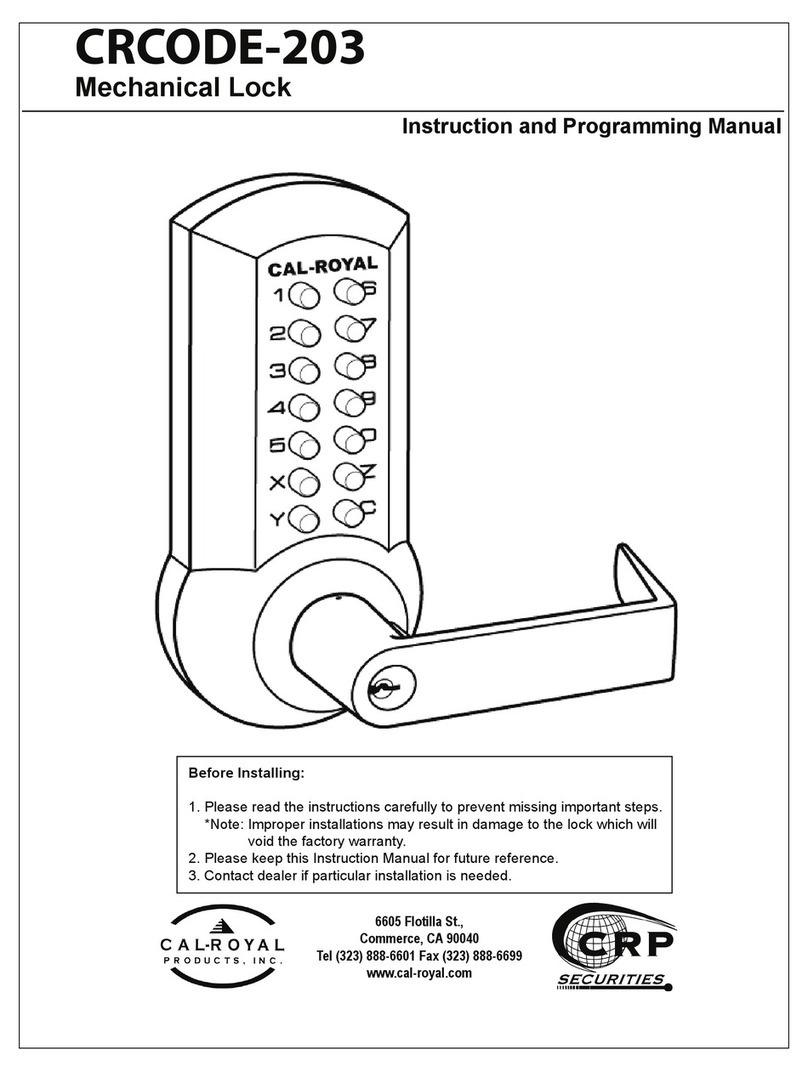
Cal-Royal CRCODE-203 Owner's manual

Cal-Royal

Cal-Royal CRCODE-203 Owner's manual

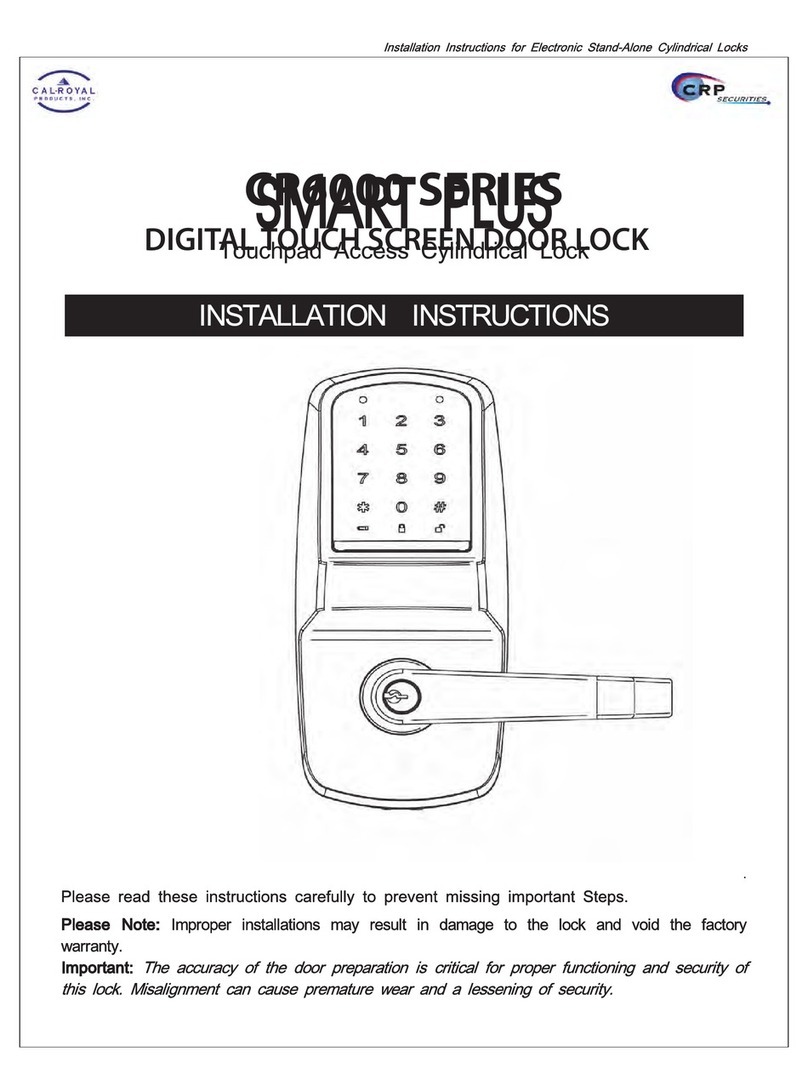
Cal-Royal CR6000 SERIES User manual

Cal-Royal

Cal-Royal CR6000 SERIES User manual

Cal-Royal PL7100 User manual

Cal-Royal

Cal-Royal PL7100 User manual

Popular Door Lock manuals by other brands

Design Hardware J Series instructions

Design Hardware

Design Hardware J Series instructions

Design Hardware F1000V LBR installation instructions

Design Hardware

Design Hardware F1000V LBR installation instructions

Orno OR-DB-KH-120 Operating and installation instructions

Orno

Orno OR-DB-KH-120 Operating and installation instructions

Schlage ND40 How to Install Button in Field

Schlage

Schlage ND40 How to Install Button in Field

Lock LAL4701 Installation instructions and template

Lock

Lock LAL4701 Installation instructions and template

Hans Grohe PuraVida Instructions for use/assembly instructions

Hans Grohe

Hans Grohe PuraVida Instructions for use/assembly instructions

SDC E75 Series Programming guide

SDC

SDC E75 Series Programming guide

Omron D41G manual

Omron

Omron D41G manual

JNF RC08M installation manual

JNF

JNF RC08M installation manual

ELFRI S2x05x Assembly instructions

ELFRI

ELFRI S2x05x Assembly instructions

FingerTec R3 user guide

FingerTec

FingerTec R3 user guide

Gainsborough Austral Lock Virtus Two Point Hinged Door Mortice... installation guide

Gainsborough

Gainsborough Austral Lock Virtus Two Point Hinged Door Mortice... installation guide

Stuv 3.31.2500.0 Assembly instructions

Stuv

Stuv 3.31.2500.0 Assembly instructions

Kaba E-Flash EF780 user guide

Kaba

Kaba E-Flash EF780 user guide

Alarm Lock DL6100 installation instructions

Alarm Lock

Alarm Lock DL6100 installation instructions

CodeLock CL500 instructions

CodeLock

CodeLock CL500 instructions

PDQ 5100 Series instruction sheet

PDQ

PDQ 5100 Series instruction sheet

Weiser Smartcode 10 installation guide

Weiser

Weiser Smartcode 10 installation guide

manuals.online logo
manuals.online logoBrands
  • About & Mission
  • Contact us
  • Privacy Policy
  • Terms and Conditions

Copyright 2025 Manuals.Online. All Rights Reserved.