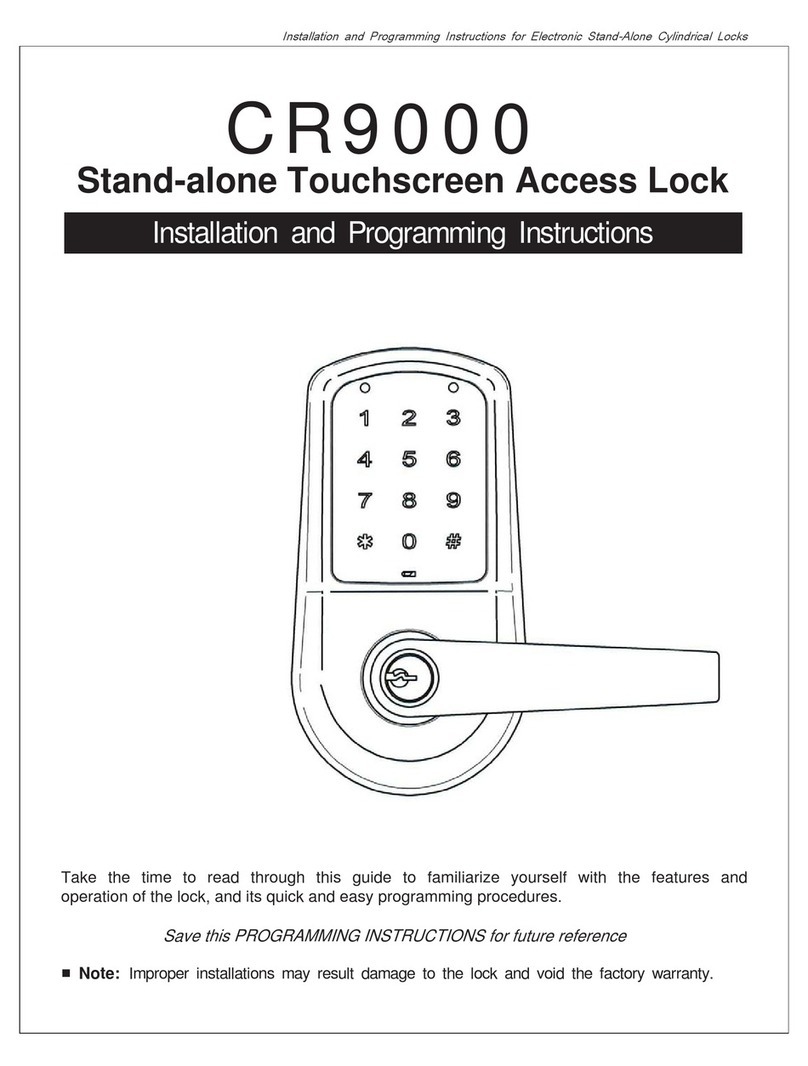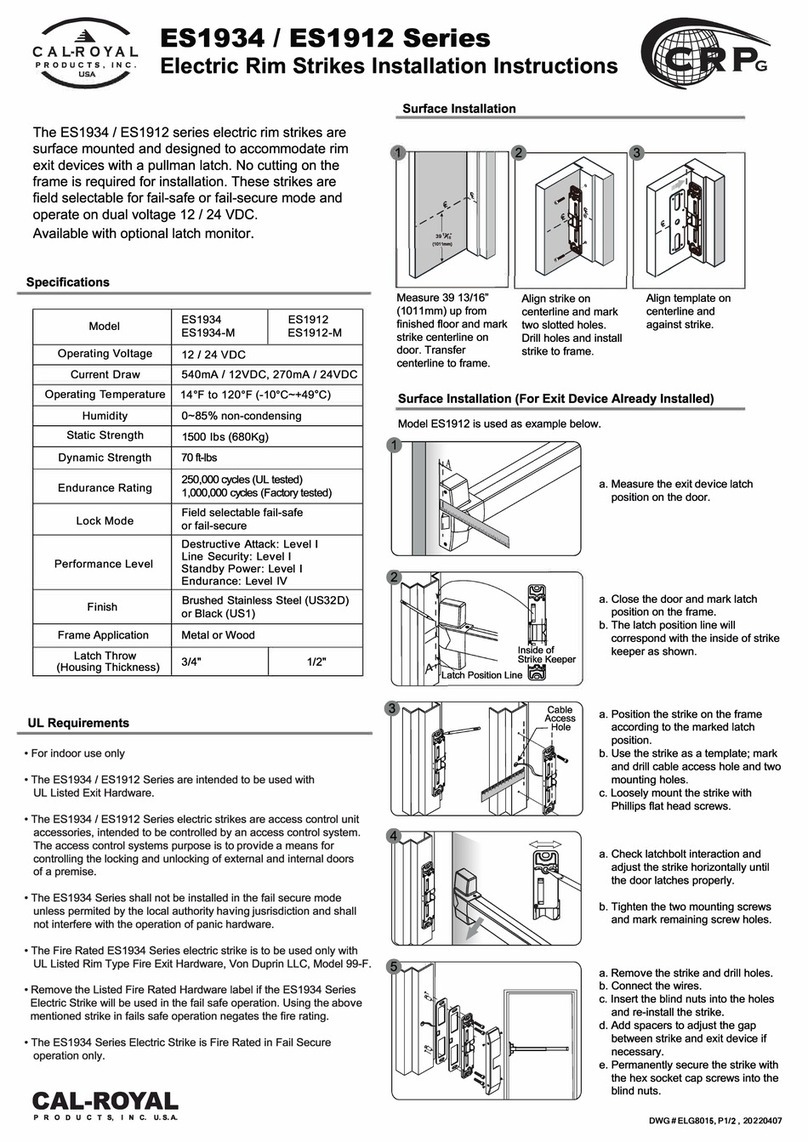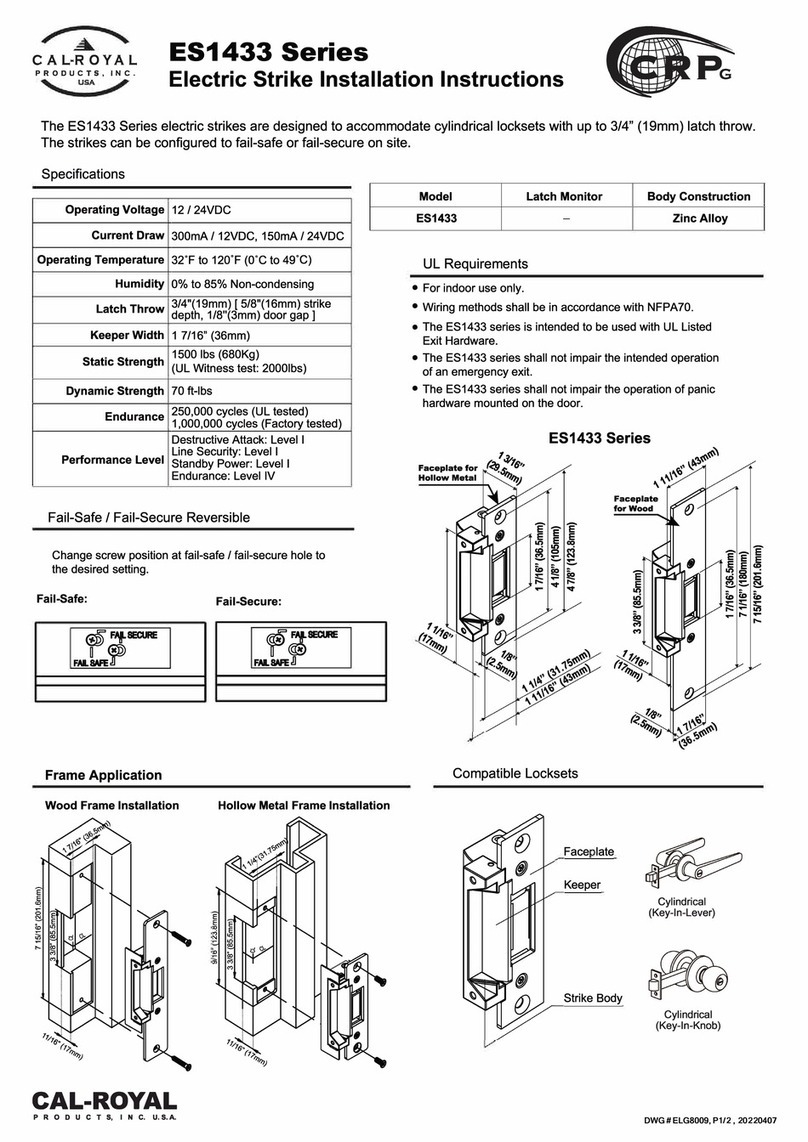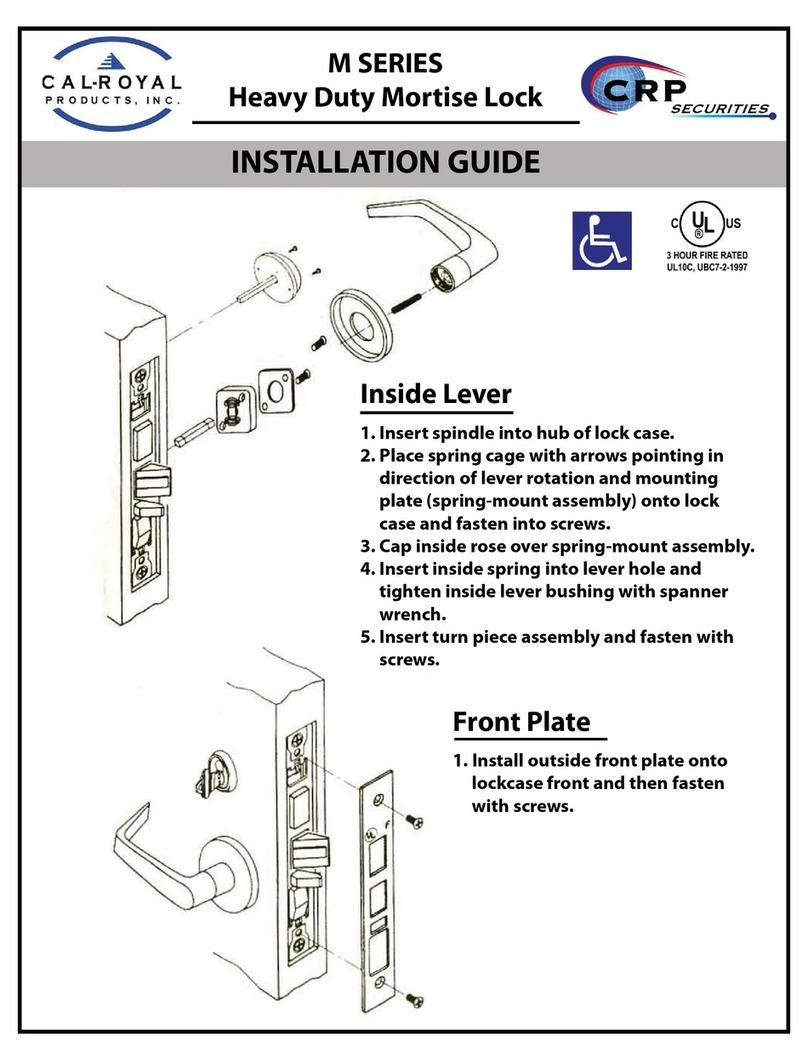
Installation and Programming Instructions for Electronic Stand-Alone Cylindrical Locks
- 2 -
Warning:
Changes or modifications to this unit not expressly approved by the party
responsible for compliance could void the user's authority to operate the equipment.
INSTALLATION GUIDE
TABLE OF CONTENTS
Warnings ····················································································································································· 2
Introduction ················································································································································· 2
Specifications ············································································································································· 3
Parts Breakdown ·································································································································· 3~4
Tools for Installation ································································································································ 4
Installation Instructions
Verify Hand and Bevel of Door ······································································································ 5
Door & Frame Preparation ··········································································································· 5~6
Prepare Lock for Installation ········································································································ 7~8
Lock Installation ···························································································································· 9~10
Test Lock Operation ························································································································· 11
Hardware Troubleshooting ···················································································································· 11
WARNINGS
§Change your PIN code regularly to ensure the security of your PIN code.
§Keep lock away from wet environments, including wet hands and direct contact with liquids.
§Do not exert excessive force or use sharp instruments to press the buttons on the lock.
§Ensure that the door is properly locked when going outside.
§Ensure the batteries have been installed according to the correct polarity.
§When the battery life expiration warning sounds, replace all batteries with new batteries
within one week.
§Do not mix old batteries with new batteries.
§Do not hang on the lock or pull on it with excessive force.
§Use a soft, dry cloth to clean the lock and avoid cleaning with water, benzene or
alcohol, etc.
INTRODUCTION
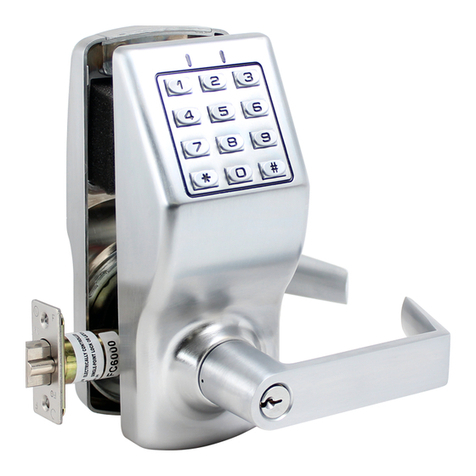
Congratulations on the purchase of your Stand-alone Touchscreen Access Cylindrical Lock!
Your lock combines a touch-sensitive number display pad and a robust cylindrical lock.
You can program up to 50 users to open the lock with unique PIN codes.
This product is engineered for quick & easy installation and fits in place of a standard
bored locks door prep (ANSI/BHMA A156.115).
This product is operated by four (4) “AA” alkaline batteries.
