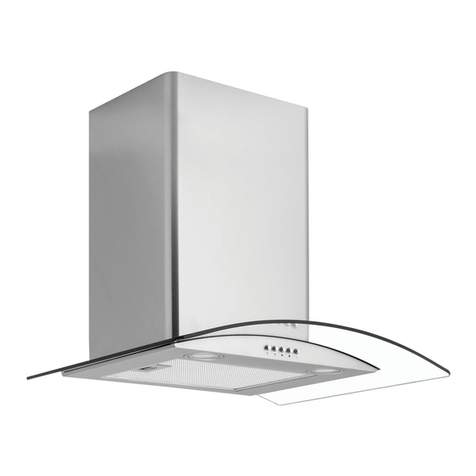
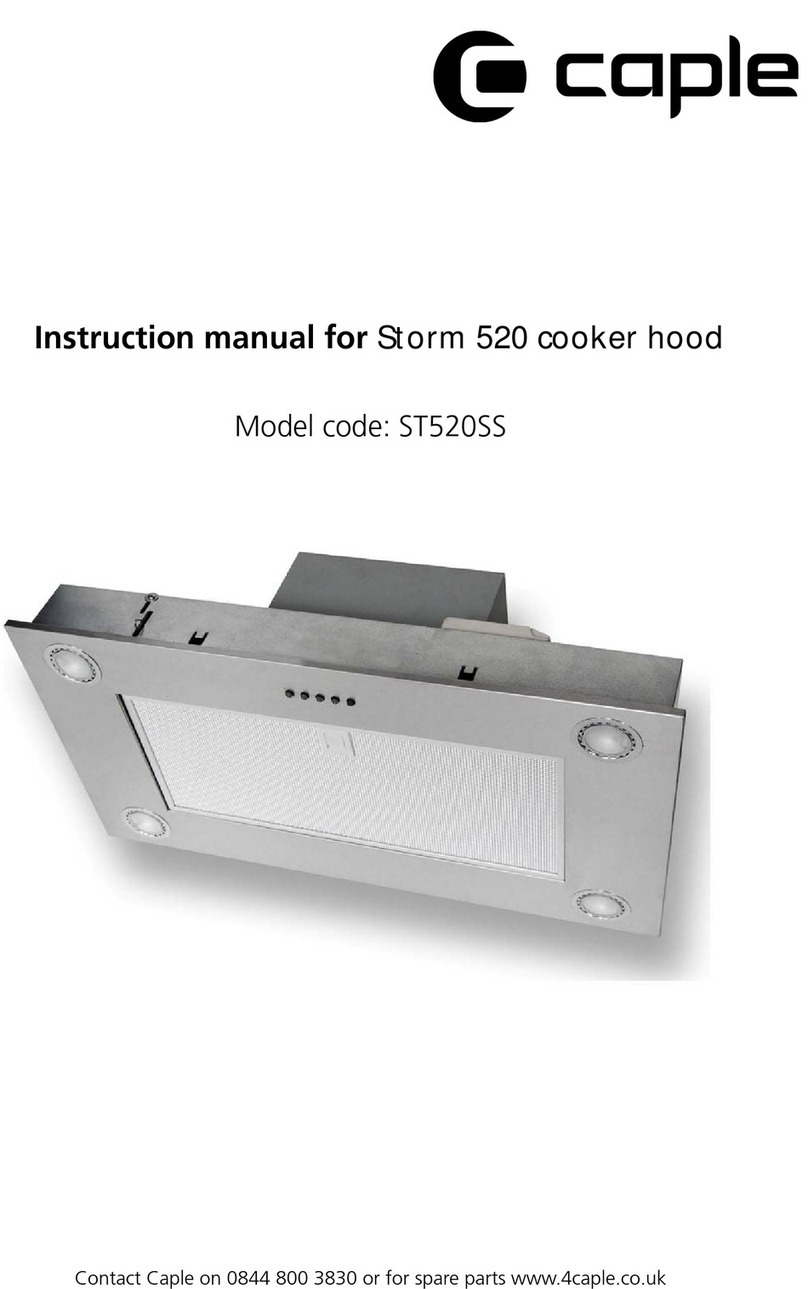
Caple GC100SS User manual


Contents
13
1. Warnings for safety and use _______________________________ 14
2. General information _____________________________________ 15
2.1 Servicing and assistance __________________________________________________ 15
3. Installation_____________________________________________ 16
3.1 Electric connection _______________________________________________________ 18
4. Description of the hood___________________________________ 19
5. Description of controls ___________________________________ 20
5.1 Control panel ___________________________________________________________ 20
6. Cleaning and maintenance ________________________________ 21
6.1 Cleaning stainless steel surfaces ____________________________________________ 21
6.2 Cleaning the metallic greaseproof filter _______________________________________ 21
6.3 Replacing bulbs _________________________________________________________ 22
INSTRUCTIONS FOR THE INSTALLER: these instructions are intended for the qualified installer
in charge of installation and appliance commissioning.
INSTRUCTIONS FOR THE USER: include suggestions, the description of the controls and the
correct cleaning and maintenance operations for the appliance.

Warnings
14
1. Warnings for safety and use
THE PRESENT MANUAL IS INTEGRAL WITH THE APPLIANCE AND MUST HENCE BE PROPERLY MAINTAINED
INTACT AND ALWAYS KEPT WITHIN EASY REACH THROUGHOUT APPLIANCE WORK LIFE. BEFORE USING THE
SUCTION APPLIANCE, WE RECOMMEND READING THIS MANUAL AND ALL THE INDICATIONS IT CONTAINS
THOROUGHLY. INSTALLATION IS TO BE CARRIED OUT SOLELY BY QUALIFIED PERSONS ACCORDING TO
PREVAILING STANDARDS. APPLIANCES HEREUNDER ARE INTENDED SOLELY FOR DOMESTIC USE AND ARE
BUILT IN COMPLIANCE WITH PREVAILING E.E.C. AND E.U. DIRECTIVES. THE MANUFACTURER SHALL NOT BE
HELD RESPONSIBLE FOR ANY ACCIDENT THAT MAY BE CAUSED BECAUSE OF IMPROPER USE.
DO NOT LEAVE ANY PIECES OF THE PACKAGING UNATTENDED IN THE HOME. SEPARATE THE VARIOUS
PACKAGING MATERIALS AND DELIVER THEM TO THE NEAREST RECYCLING CENTRE.
THE EARTH CONNECTION IS OBLIGATORY CONFORMING TO THE MODALITIES ENVISAGED BY THE SAFETY
STANDARDS OF THE ELECTRICAL WIRING SYSTEM.
THE PLUG TO BE CONNECTED TO THE POWER SUPPLY CABLE AND THE RELATIVE SOCKET MUST BE THE
SAME TYPE AND MUST COMPLY WITH CURRENT STANDARDS. AFTER INSTALLING THE APPLIANCE MAKE SURE
THAT THE PLUG IS ACCESSIBLE TO ALLOW THE PERIODICAL CHECK-UP.
DO NOT PULL OUT THE PLUG BY PULLING THE CABLE.
IMMEDIATELY AFTER INSTALLATION, TEST THE APPLIANCE BRIEFLY BY FOLLOWING THE INSTRUCTIONS
SHOWN BELOW. IN THE EVENT OF A MALFUNCTION, DISCONNECT THE APPLIANCE FROM THE MAINS AND
CONTACT YOUR NEAREST TECHNICAL SERVICE CENTRE.
DO NOT ATTEMPT TO REPAIR THE APPLIANCE.
THE IDENTIFICATION PLATE, WITH THE TECHNICAL DATA, SERIAL NUMBER AND MARKING, CAN BE FOUND
INSIDE THE APPLIANCE.
THE PLATE MUST NEVER BE REMOVED.
THE APPLIANCE IS INTENDED FOR USE SOLELY BY ADULTS. NEVER ALLOW CHILDREN TO COME NEAR THE
APPLIANCE OR TO PLAY WITH THEM. BE CAREFUL NOT TO LEAVE OBJECTS ON THE APPLIANCE THAT MAY
ATTRACT CHILDREN’S ATTENTION. ALWAYS KEEP CHILDREN AT A SAFE DISTANCE FROM THE APPLIANCE. THE
APPLIANCE IS NOT INTENDED FOR USE BY YOUNG CHILDREN OR INFIRM PERSONS WITHOUT SUPERVISION.
THIS APPLIANCE IS MARKED ACCORDING TO THE EUROPEAN DIRECTIVE 2002/96/EC ON WASTE ELECTRICAL
AND ELECTRONIC EQUIPMENT (WEEE).
BY ENSURING THIS PRODUCT IS DISPOSED OF CORRECTLY, YOU WILL HELP PREVENT POTENTIAL NEGATIVE
CONSEQUENCES FOR THE ENVIRONMENT AND HUMAN HEALTH, WHICH COULD OTHERWISE BE CAUSED BY
INAPPROPRIATE WASTE HANDLING OF THIS PRODUCT.
THE SYMBOL ON THE PRODUCT, OR ON THE DOCUMENTS ACCOMPANYING THE PRODUCT, INDICATES
THAT THIS APPLIANCE MAY NOT BE TREATED AS HOUSEHOLD WASTE. INSTEAD IT SHALL BE HANDED OVER TO
THE APPLICABLE COLLECTION POINT FOR THE RECYCLING OF ELECTRICAL AND ELECTRONIC EQUIPMENT.
DISPOSAL MUST BE CARRIED OUT IN ACCORDANCE WITH LOCAL ENVIRONMENTAL REGULATIONS FOR WASTE
DISPOSAL. FOR MORE DETAILED INFORMATION ABOUT TREATMENT, RECOVERY AND RECYCLING OF THIS
PRODUCT, PLEASE CONTACT YOUR LOCAL CITY OFFICE, YOUR HOUSEHOLD WASTE DISPOSAL SERVICE OR
THE SHOP WHERE YOU PURCHASED THE PRODUCT.
The manufacturer shall not be held responsible for any injury or damage that may be caused
by failure to fully comply with the aforementioned instructions and recommendations or by
tampering with the appliance components or the use of non-original spares.

Warnings
15
2. General information
This user’s manual is an integral part of the product purchased. The user must conserve the
manual correctly so that it is always available for consultation during the use and maintenance of
the product. Keep this user’s manual for future reference. If the product is resold, the manual must
be transferred to any subsequent owner or user of the product.
This product conforms to the requirements of the following European directives:
x73/23/EEC for "Low Voltage".
x89/336/EEC for "Electromagnetic Disturbance".
The above mentioned directives also conform to Machine directive 98/37/EC.
The hood is fitted with a motor with adjustable speed. To obtain the best efficiency, we recommend
using the low speeds in normal conditions and the high speeds with a high concentration of odours
and steam.
It is advisable to switch on the hood a few minutes before cooking and to leave it on after cooking
has finished, until all odours have disappeared.
Cooking food on a flame under the hood is strictly forbidden.
Using naked flame damages the filters and may cause a fire, therefore it should be avoided.
Always watch over the pan when frying to prevent overheated oil from catching fire.
2.1 Servicing and assistance
All outgoing appliances undergo rigorous factory testing and inspection by expert and specialised
personnel and are hence guaranteed in perfect operating conditions. Any subsequent repairs or
adjustments must be performed with utmost care and attention. In such an event please contact
the dealer from which the appliance was purchased or our servicing centre nearest to you
specifying the problem encountered and the model of the appliance.

Instructions for the installer
16
3. Installation
Only qualified installers are authorised to carry out the operations described below. The
professional installer is responsible for appliance commissioning in accordance with
prevailing standards and requirements under law. Always remember to remove plastic
protections before using the appliance.
The manufacturer declines any responsibility for damage incurred by persons, animals or
objects that is caused by not following the above guidelines (Refer to “1. Warnings for
safety and use”).
Switch off the power supply to the appliance before starting the installation.
The hood is provided with an upper air outlet Bfor discharging the fumes outside (suction
version; venting pipe and clamps not supplied).
In the event it is not possible to discharge cooking fumes and steam outside, the filtering version
of the hood can be used; the fumes and steam are recycled in the kitchen.
The hood is fitted with fastening dowels suitable for most walls/ceilings. A qualified technician
should however be called to ensure the materials are suitable for your wall/ceiling. The wall/ceiling
must be strong enough to withstand the weight of the hood.
xRemove the grease filter(s).
xWhen installed, the lower side of the hood should be at least 75 cm away from the hob.
1. Drill six holes (Ø 8 mm), insert 6 dowels and tighten only the 2 central hook dowels at the top.
2. Hang the hood onto the 2 upper hooks.
3. Fasten the hood to the wall definitively using the 4 remaining dowels, previously inserted into
the wall, with 4 screws (compulsory).
4. Connect a venting pipe (150 mm) to the connection ring above the suction motor unit.
PLEASE NOTE: Venting pipe and clamps are not supplied with hood.
xWhen using the suction version of the hood, the other end of the venting pipe must be
connected to a device that extracts fumes to the outside.
xConnect the electrics.
xRest the lower section of the stack onto the top of the hood that covers the suction motor
compartment and fit it into its housing.
xInsert the upper section of the stack into the lower section and check that the sides with the
holes face upwards.
5. Fasten the upper bracket close to the ceiling (use the bracket as a drilling plan), pencil in two
holes, drill the holes (Ø 8 mm) and insert 2 wall dowels. Fasten the upper bracket with 2
screws 5x45 mm.
6. Fasten the upper section of the stack to the bracket with 2 screws (one on each side).
xRefit the grease filter(s) and check the hood is in good working order.

Instructions for the installer
17
Never use the hood if the filter is not correctly fitted!
The sucked out air must not be conveyed into a duct used for discharging the fumes from devices
powered with energy other than electricity. The room must always be adequately aired when a
hood and devices powered with energy other than electricity are used at the same time.
Always adhere closely to the guidelines set out by the competent local authorities for the technical
and safety measures to adopt for discharging fumes.
Cooking fumes and steam are expelled through a venting pipe that is fastened to the connection
ring above the hood. The venting pipe must have exactly the same diameter as the connection
ring.
In horizontal sections, the pipe must be slightly tilted upwards (approx. 10%) to allow the air to be
easily conveyed outside the room.
Always keep closely to the instructions given in this manual. No responsibility is accepted
for any problems, damage or fire caused to the appliance due to failure to observe the
instructions given in this manual.

Instructions for the installer
18
3.1 Electric connection
Prepare an omni-polar cutoff device on the power supply line of the appliance with a contact
opening distance equal to or more than 3 mm, located in a convenient position near the appliance.
The plug at the end of the power supply cable and the wall socket must be the same type and must
comply with current electric standards. Check that the mains is adequately earthed. Once the
appliance has been installed make sure that the plug is accessible to allow the periodical check-up.
Do not use reducers, adapters or shunts.
Before making any connection, make sure that the mains voltage corresponds to the voltage
shown on the specifications label inside the appliance. It is essential to have a qualified technician
make the electric connection.
The plate must never be removed.
Make sure that the circuit breaker and the home wiring system are able to withstand the appliance
load.
The yellow/green earth cable must not be subject to cutoffs.
The electric cable must not come into contact with parts whose temperature is more than 50°C
higher than room temperature.
3.1.1 Appliance fitted with plug
If you wish to connect the appliance directly to the mains, unplug it and fit a standard double-pole
switch with the break contacts at a distance of no less than 3 mm. If the plug, once plugged into
the socket, is not in an accessible position, a standard double-pole switch should nevertheless be
fitted with the break contacts at a distance of no less than 3 mm.
3.1.2 Appliance without plug
Fit a standard plug or a standard double-pole switch with the break contacts at a distance of no
less than 3 mm.

Instructions for the user
19
4. Description of the hood
1Telescopic stack
2Stack
3Hood structure
4Motor
5Control panel
6Metallic greaseproof filters
7Installation kit
8Halogen light

Instructions for the user
20
5. Description of controls
5.1 Control panel
5.1.1 Manual mode
LIGHT BUTTON: press this button to switch on the lights and the LED inside the button turns blue.
SPEED REDUCTION BUTTON: press this button to reduce the speed of the motor and the LED
inside the button turns green. When the speed is on minimum, the LED begins to flash.
ON/OFF BUTTON: press this button to switch on the motor and the hood begins to operate at the
last speed with which it was used. The LED inside the button turns green.
After approximately 40 consecutive operating hours, the LED flashes to advise that the filters
must be cleaned. To stop the flashing press and hold down the button for a few seconds or
switch off the power supply. This operation resets the count of the 40 consecutive operating
hours and the LED turns green.
SPEED INCREASE BUTTON: press this button to increase the speed of the motor and the LED
inside the button turns green. When the speed reaches maximum level, the LED begins to flash.
TIMER: on pressing this button, the hood continues to operate automatically for 5 minutes
approximately at the requested speed, after which it switches off completely. When in operation,
the LED inside the button is orange.
5.1.2 Automatic mode
This mode is recommended for intensive use of the hood (two or three burners on). Otherwise, with
just one burner on, the manual mode is recommended.
In automatic mode, the motor speeds are activated automatically by a heat sensor positioned
inside the hood.
To start the automatic mode, press the speed increase and speed reduction buttons at the same
time. The three central green LEDs begin alternately to flash and after approximately thirty
seconds the orange LED switches on.
The hood starts in automatic mode and the heat sensor automatically adjusts the speed of the
motor to the temperature produced by the burners. To return to manual mode, press the button .
The correct operation of the heat sensor depends on the distance between the hob and the
suction surface of the hood: the higher the hood is positioned, the more difficult it will be for the
sensor to identify the temperature.

Instructions for the user
21
6. Cleaning and maintenance
Switch off the power supply to the appliance before starting the installation.
This operation resets the count of the 40 consecutive operating hours and the ON/OFF LED
turns green.
Do not clean the surfaces of the appliance when they are still hot.
Do not use pressure or steam spray guns to clean the appliance.
Failure to clean the hood and replace and clean the filters as described generates a fire
hazard. Please keep to the instructions given.
6.1 Cleaning stainless steel surfaces
To clean and preserve the stainless steel surfaces and remove the toughest stains, always use
specific products, provided they do not contain chlorine-based abrasives or acid substances,
or a little warm vinegar.
Pour the product onto a damp cloth and wipe the steel surface. Rinse carefully and dry with a soft
cloth or a piece of deerskin.
Do not under any circumstances use metallic sponges, sharp scrapers, steel wool or rough
sponges. They will damage the surfaces. Use scratchproof, non-abrasive sponges only.
To clean glossed stainless steel parts, wipe the cloth in the direction of the glossing.
6.2 Cleaning the metallic greaseproof filter
xTo disassemble the metallic greaseproof filter, use the special spring-release handles by
pulling them first back (A) and then downwards (B).
xAfter cleaning the metallic greaseproof filters, leave to dry and follow the above instructions in
reverse order to refit them.
Take care not to damage the filters while refitting them.
At the end of this operation, the count of the 40 consecutive operating hours must be reset
by pushing the button for a few seconds or by switching off the power supply.
The metallic greaseproof filter has unlimited duration and must only be cleaned by hand or in the
dishwasher (65°C), with suitable detergents. When cleaning in the dishwasher, the metallic
greaseproof filter may become discoloured but its filtering characteristics are unchanged.
The metallic greaseproof filters must be washed at least once a month.

Instructions for the user
22
6.3 Replacing bulbs
Proceed as follows:
xprise up the protection using a small flat-head screwdriver or
similar tool;
xreplace the damaged bulb. Use only halogen lights max 20W
(G4), taking care not to touch them with the hands;
xclose the light cover (snap shut).
If the lights do not work, check the bulbs are correctly inserted into their housings before
calling a technician.
Table of contents
Other Caple Ventilation Hood manuals
Popular Ventilation Hood manuals by other brands

FALMEC
FALMEC SILENCE ZENITH island Series Instruction booklet

Pelgrim
Pelgrim OWA206 Series Instructions for use

Thermador
Thermador Masterpiece HMIB36WS installation instructions

Plymovent
Plymovent MONOGO Installation and user manual

ARTHUR MARTIN
ARTHUR MARTIN AFC4453MX user manual

inventum
inventum AKI6005ZWA instruction manual