manuals.online logo
Brands
  1. Home
  2. •
  3. Brands
  4. •
  5. CARRARO
  6. •
  7. Indoor Furnishing
  8. •
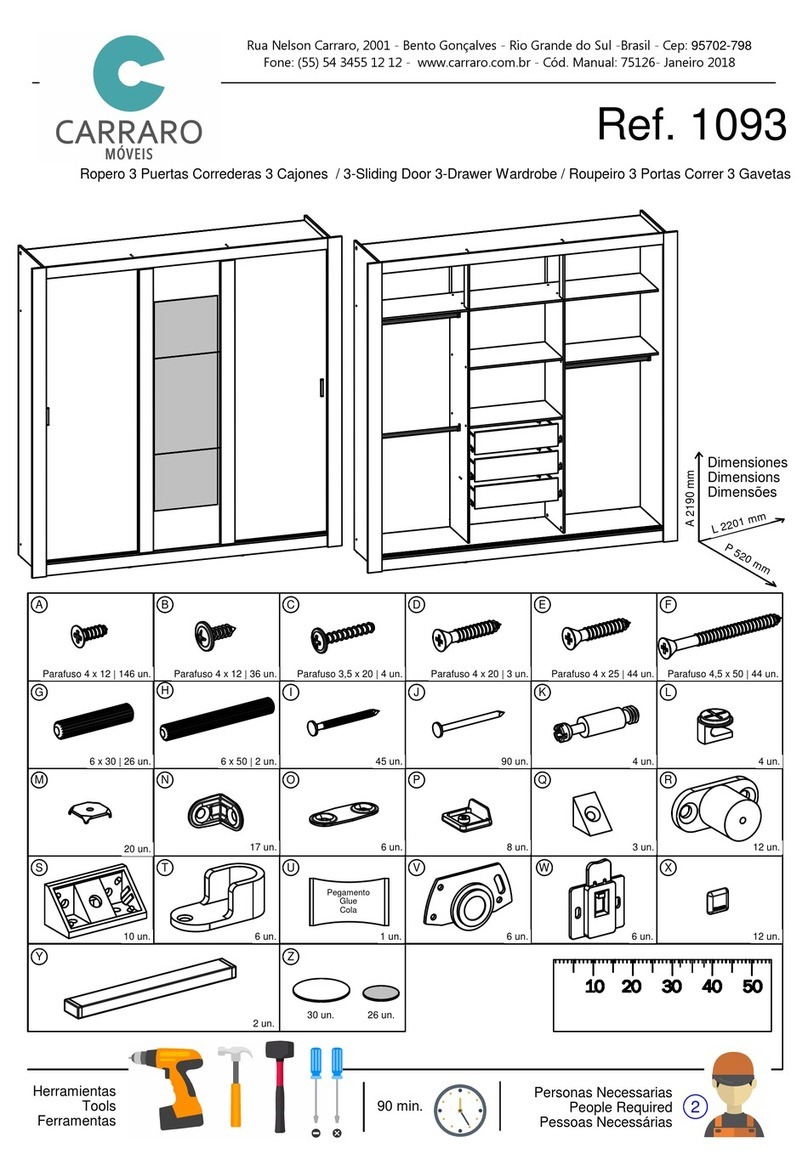
  9. CARRARO 1086 User manual

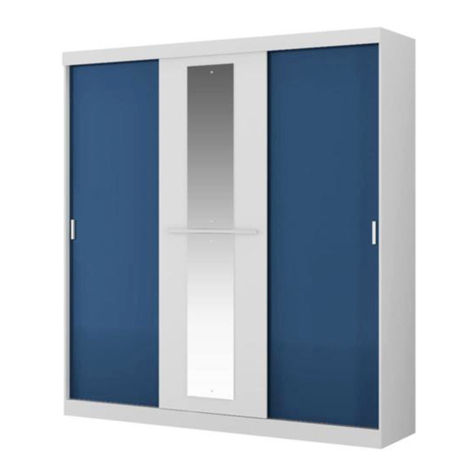
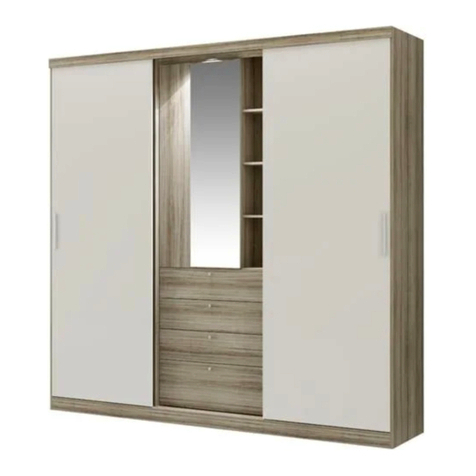
CARRARO 1086 User manual

FERRAMIENTAS
HARDWARE
FERRAMENTAS
PERSONAS NECESSARIAS PARA EL MONTAJE
PEOPLE REQUIRED FOR ASSEMBLY
PESSOAS NECESSÁRIAS PARA A MONTAGEM
ACCESORIOS / ACCESSORIES / ACESSÓRIOS
Ref. 1086
O 25 un.
Q 3 un.
G Ø 4,0 x 20 14 un.
L 10 x 10 ANELADO 105 un.
F Ø 4,0 x 50 66 un.
P 06 un.
J Ø3,5 x 16 140 un.
D Ø6,0 x 30 52 un. E Ø6,0 x 50 06 un.B 24 un.A 4 un. C 32 un.
M Ø3,0 x 20 140 un.K 12un. N 6 un.
T 80 un.
R 03 un.
H Ø 4,0 x 25 16 un.
S 12 un.
U 01 un. V Ø3,5 x 14 36 un. W Ø 4,0 x 30 12un.
Rua Nelson Carraro, 2001 - Bento Gonçalves - Rio Grande do Sul -Brasil - Cep: 95700-000
Fone: (55) 54 3455 12 12 - Fax: (55) 54 3455 12 11 www.carraro.com.br - Código Manual: 60874 -Março/2016
Los pies se venden por separado. Ver el montaje en la última página.
Feet sold separately. See assembly on the last page.
Pés vendidos separadamente. Veja montagem na última página.
Espejos se venden por separado.
Mirros sold separately.
Espelhos vendidos separadamente.
I 08 un.
REGLA PARA MEDIR ACCESORIOS
RULE FOR MEASURING ACCESSORIES
RÉGUA PARA MEDIR ACESSÓRIOS
10 20 30 40 50
mm
Acceder al vídeo de armado del producto en Youtube
Acess animation of product assembly on Youtube
Acesse o video de montagem do produto no Youtube
https://www.youtube.com/watch?v=0Y8G1ncoNYA
Peso por estante
Por favor, preste atención a los pesos máximos
admitidos por cada compartimiento del
producto. Tenga cuidado de no exceder estos
pesos, con el fin de garantizar la calidad y
durabilidad del producto.
Es importante recordar que los pesos muestran
en caso de ser distribuida en toda el área de la
plataforma.
Weigth per shelf
Please pay attention to the maximum weights
supported by each compartment product. Be
careful not to exceed these weights, in order to
ensure the quality and durability of the product.
It is important to remember also that the
weights shown should be distributed
throughout the area of the shelf.
Peso por Prateleira
Ao lado são demonstrados os pesos máximos
suportados por cada compartimento do
produto. Cuide para não exceder esses pesos,
afim de garantir a qualidade e a durabilidade do
mesmo. É importante lembrar também, que os
pesos mostrados devem ser DISTRIBUÍDOS ao
longo de toda a área da peça.
No aplique carga sobre el producto. Riesgo de mal funcionamiento de la puerta corredera.
Do not apply load on the product. Risk of malfunction of the sliding door.
Não ponha peso sobre o produto. Risco de mal funcionamento da porta de correr.
!
Consejos de Conservación
- No debe utilizarse en la limpieza, abrasivos como lana de acero, alcohol, vinagre, limón, o productos corrosivos que
puedan rayar o quita la película protectora en los muebles.
- Cuando la limpieza de muebles en general, napa y formica, deben utilizarse un paño ligeramente humedecido y
jabón suave.
- Para mover el móvil, es importante que este se eleva desde el suelo, debido a que el arrastre puede causar daño
estructural.
- No deje a su móvil en exposición a la intemperie.
Conservation Tips
- Do not use abrasive products to clean such as steel wool, alcohol, vinegar, lemon, scouring powder, or corrosive
products which can scratch or peel off the protective film of the furniture.
- The best way to clean your furniture is to use a slightly moistened cloth with a mild soap.
- To move the furniture assembled, it is important that it is lifted off the ground, because the drag it can cause
structural damage.
- Do not leave your furniture in weather exposure.
Dicas de Conservação
- Não utilizar na limpeza produtos abrasivos tais como: palha de aço, álcool, vinagre, limão, saponáceo, ou produtos
corrosivos que possam riscar ou descolar a película protetora dos móveis.
- Na limpeza de móveis em geral, napas e fórmicas, deve ser utilizado um pano levemente umedecido e sabão neutro.
- Para a movimentação do móvel, é importante que este seja levantado do chão, pois ao arrastá-lo pode causar
avarias estruturais.
- Não deixe o móvel em exposição a intempéries.
Certificado de Garantia
A garantia dos produtos fabricados pela Carraro, abrange eventuais defeitos/vícios de fabricação, no prazo
estabelecido pelo Código de Defesa do Consumidor, em seu artigo 26,ll, o qual prevê a garantia legal de 90 (noventa)
dias.
# Qtde Espanhol English Português Dimensões Vol.*
1 1 Base Base Base 2538 x 555 x 15 3
2 1 Lateral Izquierda Left Side Lateral Esquerda 2310 x 555 x 15 1
3 1 Lateral Derecha Right Side Lateral Direita 2310 x 555 x 15 1
4 2 División Central Central Division Divisão Central 1782 x 444 x 15 2
5 1 Division Lateral Side Division Divisão Lateral 1782 x 444 x 15 1
6 2 Zócalo Delantero Front Baseboard Rodapé Dianteiro 1269 x 70 x 15 3
7 1 Tapa Top Chapéu 2538 x 555 x 15 3
8 1 Tapa Intermedia Intermediate Top Chapéu Intermediário 2538 x 444 x 15 3
9 2 División Menor Smaller Division Divisão Menor 373 x 444 x 15 2
10 1 Estante Calceiro Reduced Shelf Prateleira Calceiro 836 x 250 x 15 1
11 1 D ivisión Nicho Niche Division Divisão Colméia 836 x 444 x 15 2
12 2 Estante Menor Lateral Side Smaller Shelf Prateleira Menor Lateral 410 x 444 x 15 2
13 2 Zócalo Interno Internal Baseboard Rodapé Interno 525 x 70 x 15 1
14 2 Espaciador de Cajones Traseiro Bac k Drawer Spacer Afastador de Gaveta Traseiro 931 x 70 x 15 1
15 6 Fondo de Cajón Drawer Bottom Fundo de Gaveta 781 x 405 x 2,5 2
16 1 Traviessa Cajones Drawers Crosspiece T ravessa Gavetas 836 x 70 x 15 1
17 2 Zócalo Trasero Back Baseboard Rodapé Traseiro 1269 x 70 x 15 3
18 3 Costado Back Panel Costa 2200 x 852 x 2,5 4
19 5 Costa del Cajón Drawer Back Costa de Gaveta 751 x 100 X 15 2
20 5 Frente del Cajón Biggest Draw er Front Frente de Gaveta 798 x 157 x 15 2
21 2 Lateral del Cajón Smaller Drawer Side Lateral de Gaveta 400 x 80 x 15 1
22 1 Costa del Cajón Sm aller Drawer Back Costa de Gaveta 751 x 80 x 15 2
# Qtde Espanhol English Português Dim ensões Vol.*
23 2 Rolizo Percha Maior Biggest Hanger Rod Cabideiro Maior 28 x 16 x 0,45 x 826 1
24 1 Frente del Cajón Menor Smaller Drawer Front Frente de Gav eta 798 x 118 x 15 2
25 2 Rolizo Percha Menor Smaller Hanger Rod Cabideiro Menor 28 x 16 x 0,45 x 400 1
26 1 Tapa Cajones Drawers Shelf Tampo Gavetas 836 x 444 x 15 2
27 2 Marco Lateral Side Frame Moldura Lateral 2140 x 40 x 30 1
28 2 Marco Inferior-Superior Upper-Lower Frame Moldura Inferior-Superior 2593 x 85 x 15 3
29 10 Lateral del Cajón Side Drawer Lateral de Gaveta 400 x 100 x 15 2
30 1 Perfil Superior Upper Profile Perfil Superior 2537m m 3
31 2 Puerta Corredera Lateral Side Sliding Door Porta de Correr Lateral 2141 x 835 x 15 5
32 1 Puerta Corredera Central Central Sliding Door Porta de Correr Central 2141 x 802 x 15 4
33 4 Perfil Tirador Handle Profile Perfil Puxador 2141mm 3
34 2 Perfil "U" "U" Profile Perfil "U" 2141mm 3
35 4 Espejo Mirror Espelho 790 x 400 x 3 6
36 2 Estante M enor Central Sm aller Center Shelf Prateleira Central Menor 410 x 444 x 15 2
37 2 Trilho Inferior Lower Profile Trilho Inferior Comprimento: 2537mm 3
38 1 Separador Menor del Cajón Smaller Drawer Separator Separador de Gaveta Menor 385 x 80 x 15 1
39 1 Separador Maior del Cajón Bigger Drawer Separator Separador de Gaveta Maior 420 x 80 x 15 1
40 6 Tirador Handle Puxador 2
41 6 Corredera Metalica Metalic Runner Corrediça Metálica 400 mm 1
42 2 Espaciador de Cajones Delantero Frontal Draw er Spacer Afastador de Gaveta Dianteiro 931 x 70 x 15 1
Lista de piezas
Parts List
Lista de peças
33
31
34
34
33
31
33
33
32
35
35
35
27
2
12
12
18
18
18
7
28
30
9
9
8
25
54
36
11 36
4
26
14
16
14 42
23
10
23
327
1
17
6
22
21
21 24
15 40
19
15
29 20
29
40
28
25
37
37
39
38
13
13 6
17
42
01
D1 D2
03
04
F
M
V
J
O
J
1
17
17
6
F
F
F
F
F
F
F
F
F
F
F
F
13
13
P
J
J
D3
28
H
H
H
H
27,5
28
1
D4
37
D4
37
D1
Alinhar os perfis de alumínio
nas extremidades externas.
02
D1
D2
D3
D3
D3
D3
D2
D2
D2
D3
D5
D5
D3
7
8
5
D3
D4
D3 D3
436
11
36
26
F
F
F
F
F
F
E
E
D4
C
C
AE
D5
C
BDD3
05
06
Alinhado
30
16mm
R
R
7
9
9
J
J
J
J
D3
30
D3
07
08
M
D1 D2
Apoyar lo costado en
el accesorio X y el
tornillo solamente en
la parte superior y en
la parte inferior.
Support your Back
P a n e l o n t h e
accessory X and
screw only at the top
and at the bottom.
Apoie as costas no
a c e s s ó r i o X e
aparafuse somente
na parte de cima e na
parte de baixo.
D4
D4
D1
D1
D2
D2
2
12
3
12
F
F
F
F
F
F
F
F
F
10
F
D3
D3
D3
D3
D3
D3
D3
D3
C
B
D
D3
F
J
P
J
JJ
O
18
17
N
M
D4
24
22
21
21
39
38
F
F
F
D
D
J
J
O
09
10
M
18
18
18
17
N
M
D4
D4 D4
D3 D4
J
J
J
J
Fijar en el cajón
Set in the drawer
Fixada na gaveta
Cerradura para el desmontaje
Lock for disassembly
Trava para desmontagem
41
41
41
L
JJ
O
11
13
J
J
O
24
22
21
21
F
F
D
D
12
H
40
G
U
41
41
L
K
G
K
G
L
J
J
J
J
Pegamento
Glue
Cola
D2
D1
D1
D1
D1
D2
D2
WW
WW
WW
F
F
41
41
41
16
27
27
13
J
J
J
J
J
J
42
14 41
41
41
J
W
D1
J
J
U
50mm
RR
R
50mm
RR
R
31
34
33
31
34
33
17
14
14
8
8
8
8
17
Ver montagem
do espelho no manual
contido na embalagem
do mesmo.
14
1315
V
V
V
V
V
V
V
V
V
V
V
V
V
V
V
V
V
V
V
V
V
V
V
V
V
V
V
V
V
V
V
V
V
V
V
V
2º1º
1º
2º
1º
2º
1º
2º
D1 x 4 D2 x 4
Los pies se venden por separado.
Feet sold separately.
Pés vendidos separadamente.
Montaje de los pies
Feet assembly
Montagem dos pés
D2
D1
D1
D1
D1
D2
D2
D2

Other CARRARO Indoor Furnishing manuals

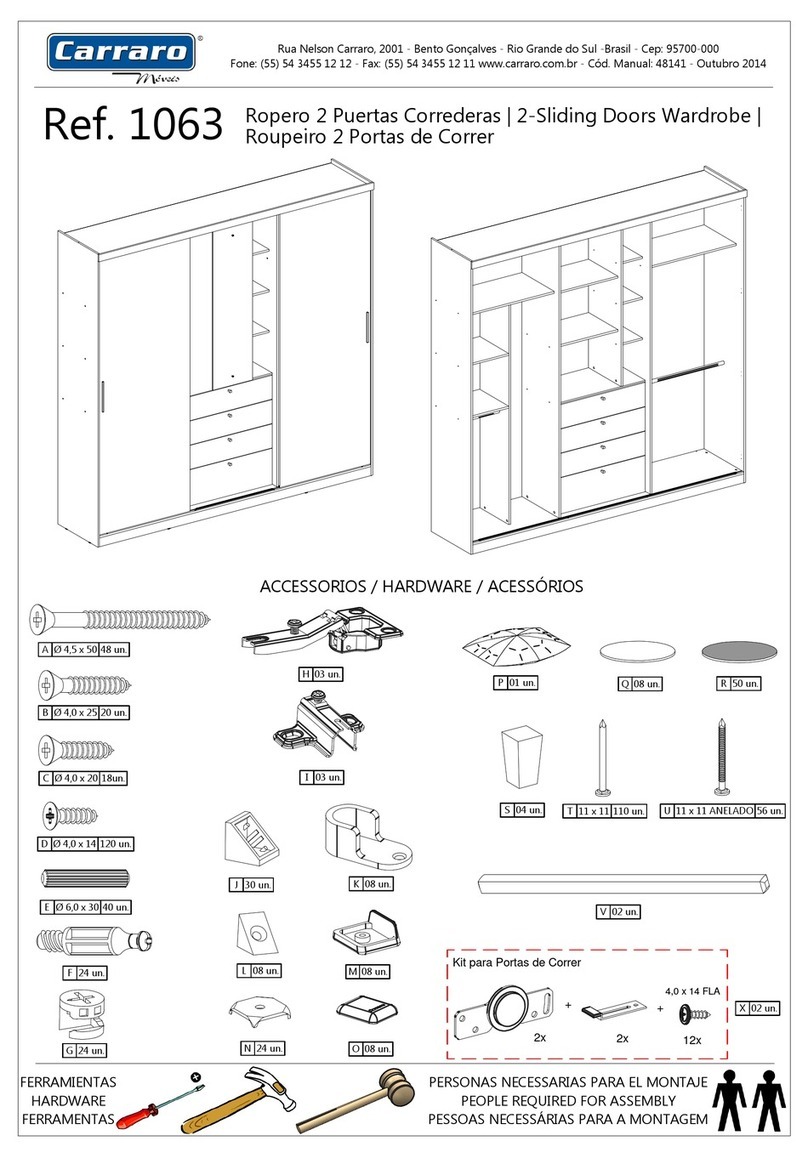
CARRARO 1063 User manual

CARRARO

CARRARO 1063 User manual

CARRARO 1274 User manual

CARRARO

CARRARO 1274 User manual

CARRARO 1113 User manual

CARRARO

CARRARO 1113 User manual

CARRARO 1071 User manual

CARRARO

CARRARO 1071 User manual

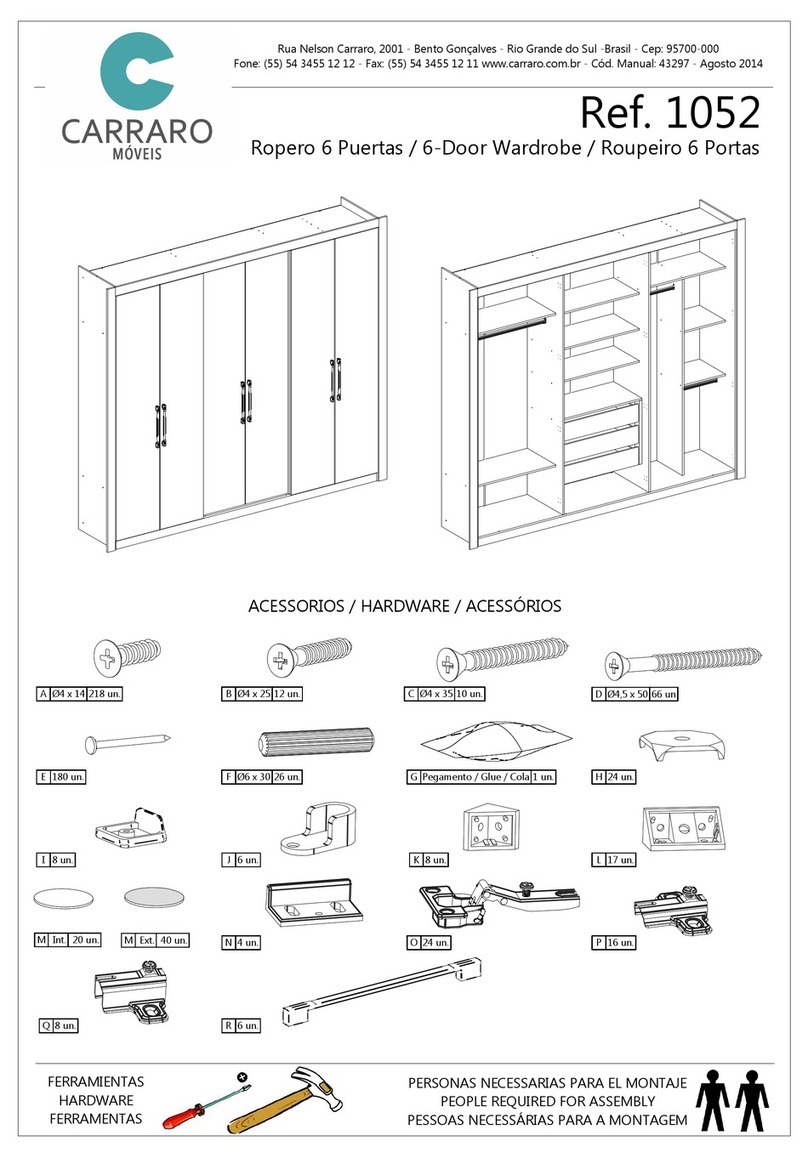
CARRARO 1052 User manual

CARRARO

CARRARO 1052 User manual

CARRARO 1074 User manual

CARRARO

CARRARO 1074 User manual

CARRARO 881 User manual

CARRARO

CARRARO 881 User manual

CARRARO 1174 User manual

CARRARO

CARRARO 1174 User manual

CARRARO 1270 User manual

CARRARO

CARRARO 1270 User manual

CARRARO 890 User manual

CARRARO

CARRARO 890 User manual

CARRARO 1095 User manual

CARRARO

CARRARO 1095 User manual

CARRARO 834 User manual

CARRARO

CARRARO 834 User manual

CARRARO 1093 User manual

CARRARO

CARRARO 1093 User manual

CARRARO 1073 User manual

CARRARO

CARRARO 1073 User manual

CARRARO 1276 User manual

CARRARO

CARRARO 1276 User manual

CARRARO 885 User manual

CARRARO

CARRARO 885 User manual

CARRARO 547 User manual

CARRARO

CARRARO 547 User manual

CARRARO 1063 User manual

CARRARO

CARRARO 1063 User manual

CARRARO 835 User manual

CARRARO

CARRARO 835 User manual

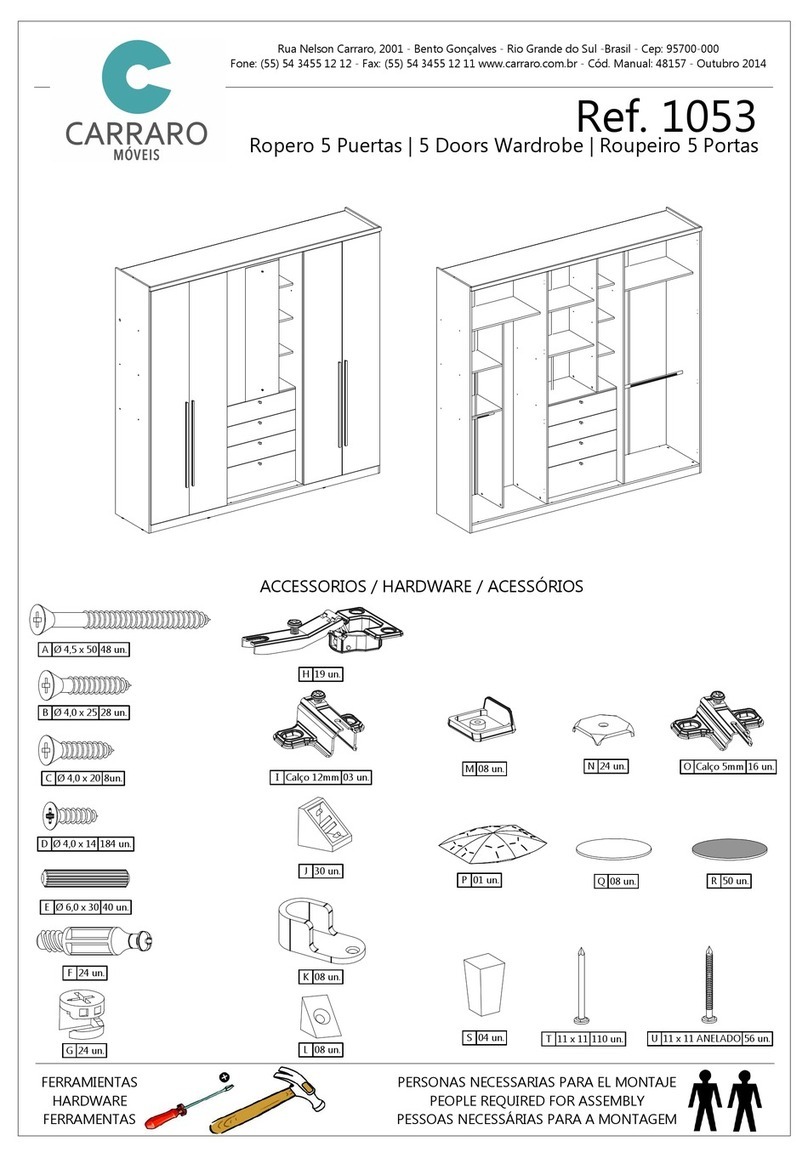
CARRARO 1053 User manual

CARRARO

CARRARO 1053 User manual

CARRARO 1066 User manual

CARRARO

CARRARO 1066 User manual

CARRARO 1741 User manual

CARRARO

CARRARO 1741 User manual

Popular Indoor Furnishing manuals by other brands

Regency LWMS3015 Assembly instructions

Regency

Regency LWMS3015 Assembly instructions

Furniture of America CM7751C Assembly instructions

Furniture of America

Furniture of America CM7751C Assembly instructions

Safavieh Furniture Estella CNS5731 manual

Safavieh Furniture

Safavieh Furniture Estella CNS5731 manual

PLACES OF STYLE Ovalfuss Assembly instruction

PLACES OF STYLE

PLACES OF STYLE Ovalfuss Assembly instruction

Trasman 1138 Bo1 Assembly manual

Trasman

Trasman 1138 Bo1 Assembly manual

Costway JV10856 manual

Costway

Costway JV10856 manual

moss DESIGN Caisson Credenza Assembly instructions

moss DESIGN

moss DESIGN Caisson Credenza Assembly instructions

Aquaglide FULL DECK 15.0 owner's manual

Aquaglide

Aquaglide FULL DECK 15.0 owner's manual

AREBOS AR-HE-SW30 user manual

AREBOS

AREBOS AR-HE-SW30 user manual

Till-Hilft Fulda 87005.330 Assembly instructions

Till-Hilft

Till-Hilft Fulda 87005.330 Assembly instructions

Twoey Outside 2010 quick start guide

Twoey Outside

Twoey Outside 2010 quick start guide

Hettich Easys 200 operating instructions

Hettich

Hettich Easys 200 operating instructions

The bedboss RELAX 404 Series owner's manual

The bedboss

The bedboss RELAX 404 Series owner's manual

Oeseder Möbelindustrie Bern 991 720 Assembly instructions

Oeseder Möbelindustrie

Oeseder Möbelindustrie Bern 991 720 Assembly instructions

Costway HW68469 user manual

Costway

Costway HW68469 user manual

Next ALIX A27743 Assembly instructions

Next

Next ALIX A27743 Assembly instructions

BROSA Hans Assembly guide

BROSA

BROSA Hans Assembly guide

Prodigg MINIKA PBA015T-FUR installation manual

Prodigg

Prodigg MINIKA PBA015T-FUR installation manual

manuals.online logo
manuals.online logoBrands
  • About & Mission
  • Contact us
  • Privacy Policy
  • Terms and Conditions

Copyright 2025 Manuals.Online. All Rights Reserved.