manuals.online logo
Brands
  1. Home
  2. •
  3. Brands
  4. •
  5. CARRARO
  6. •
  7. Indoor Furnishing
  8. •
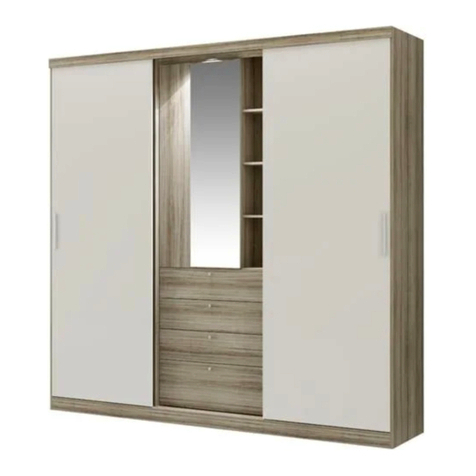
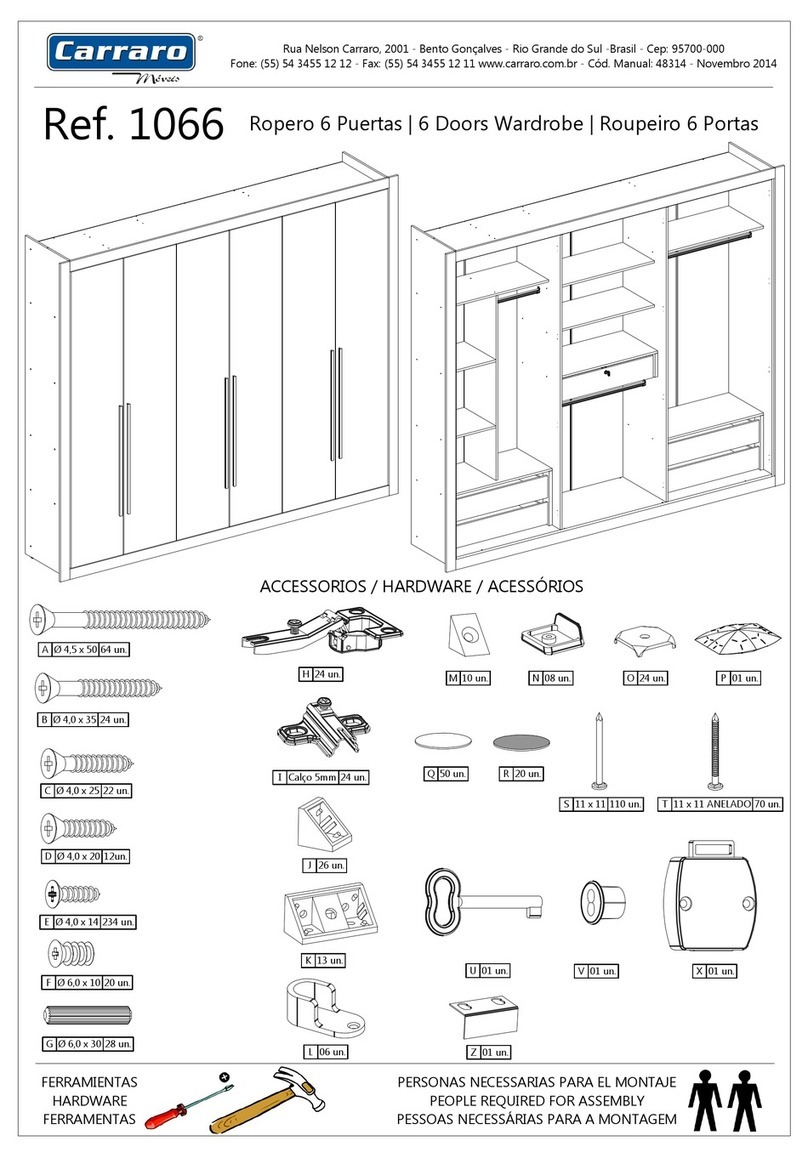
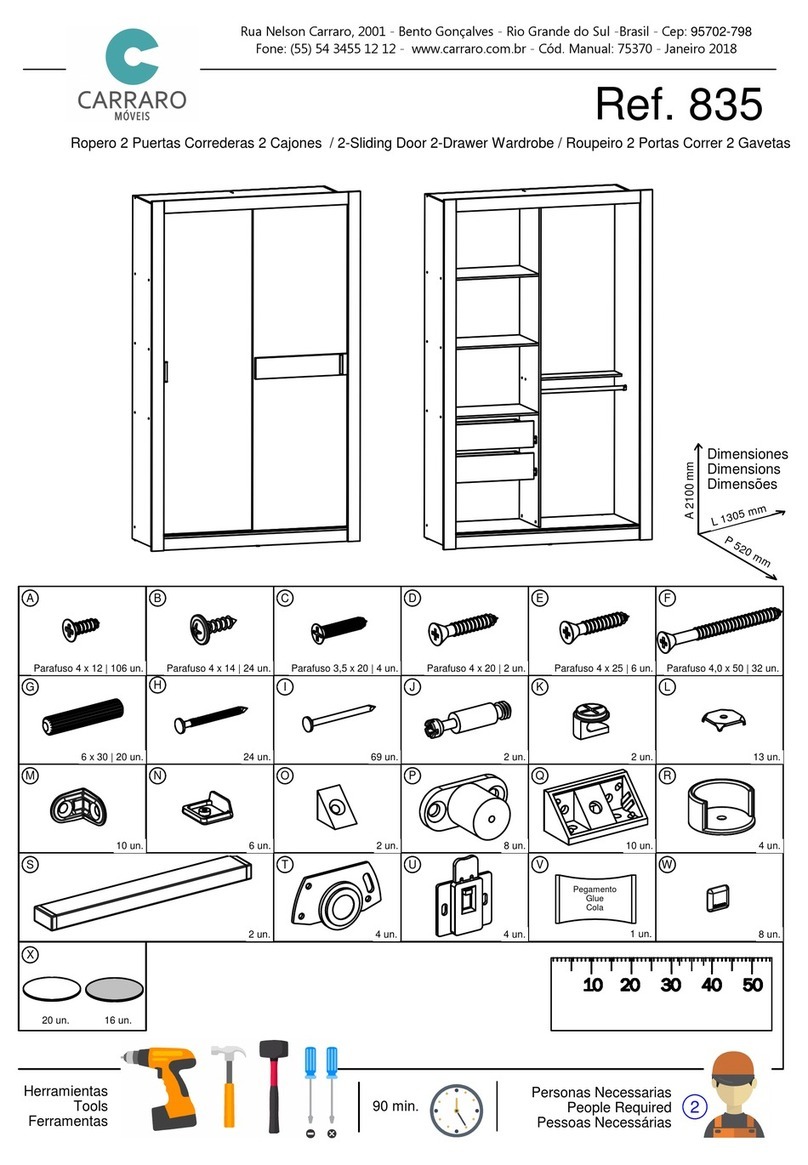
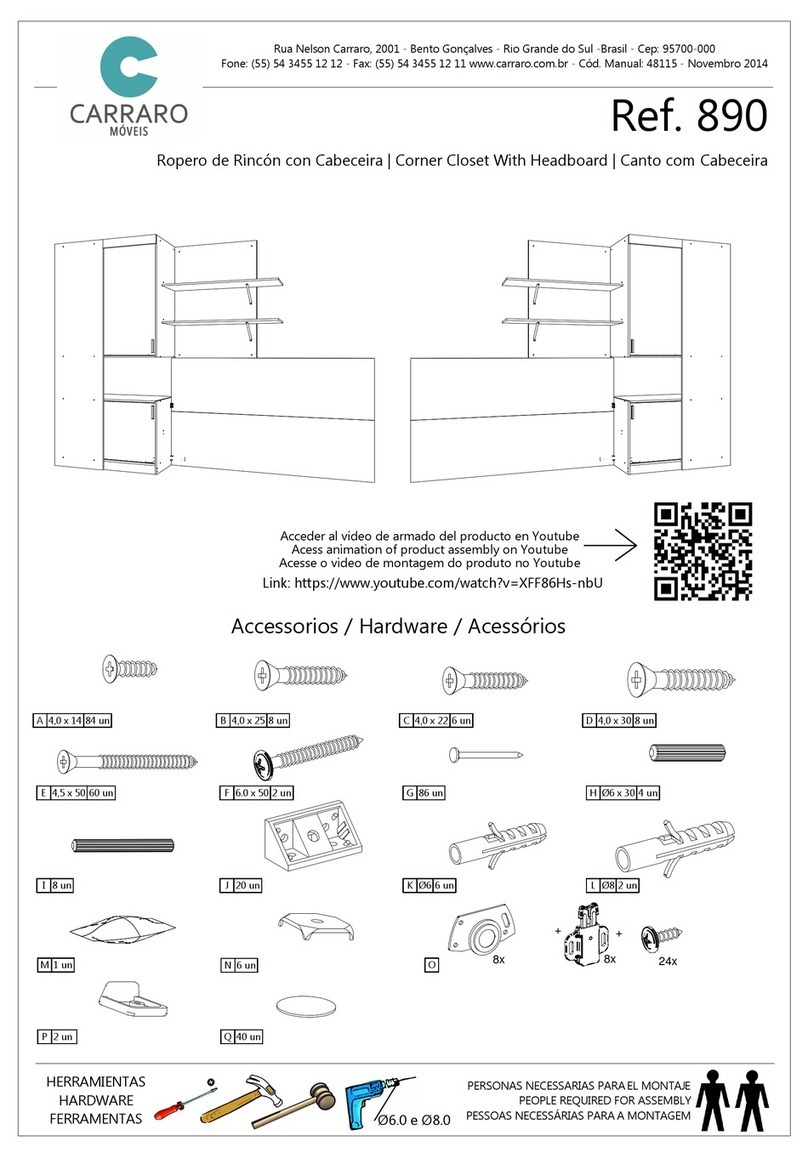
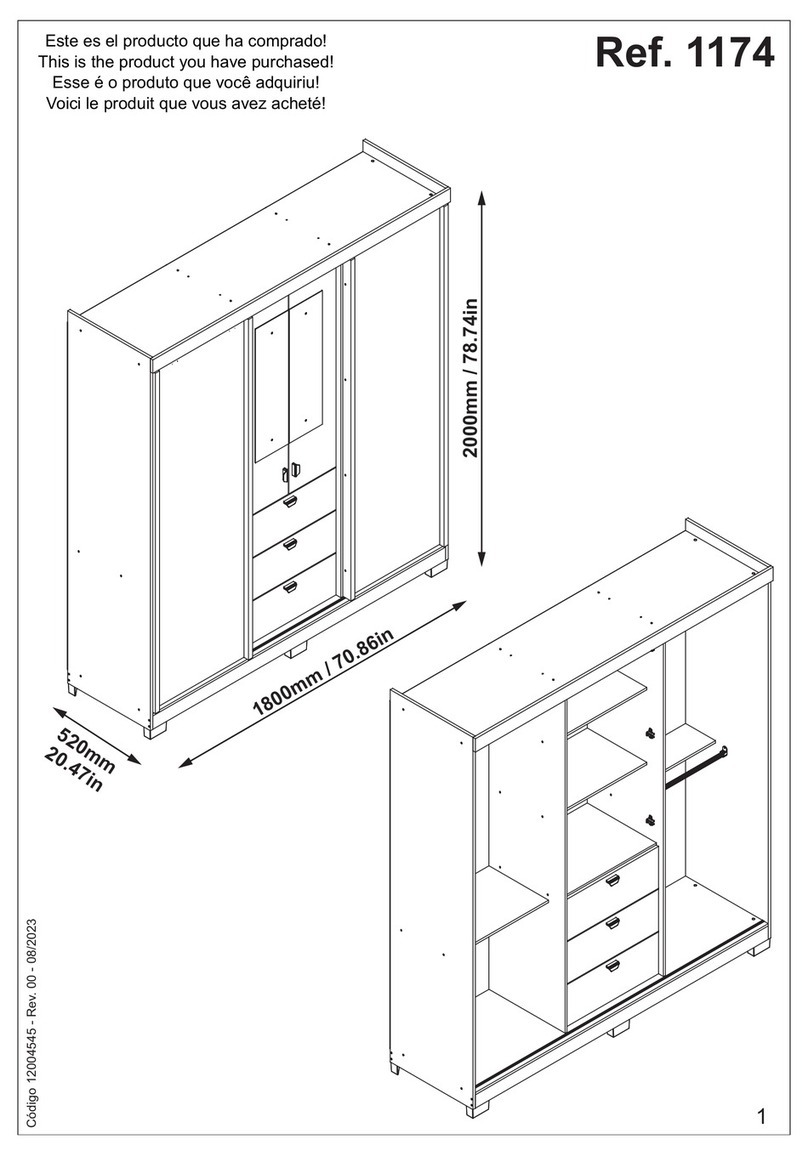
  9. CARRARO 1095 User manual

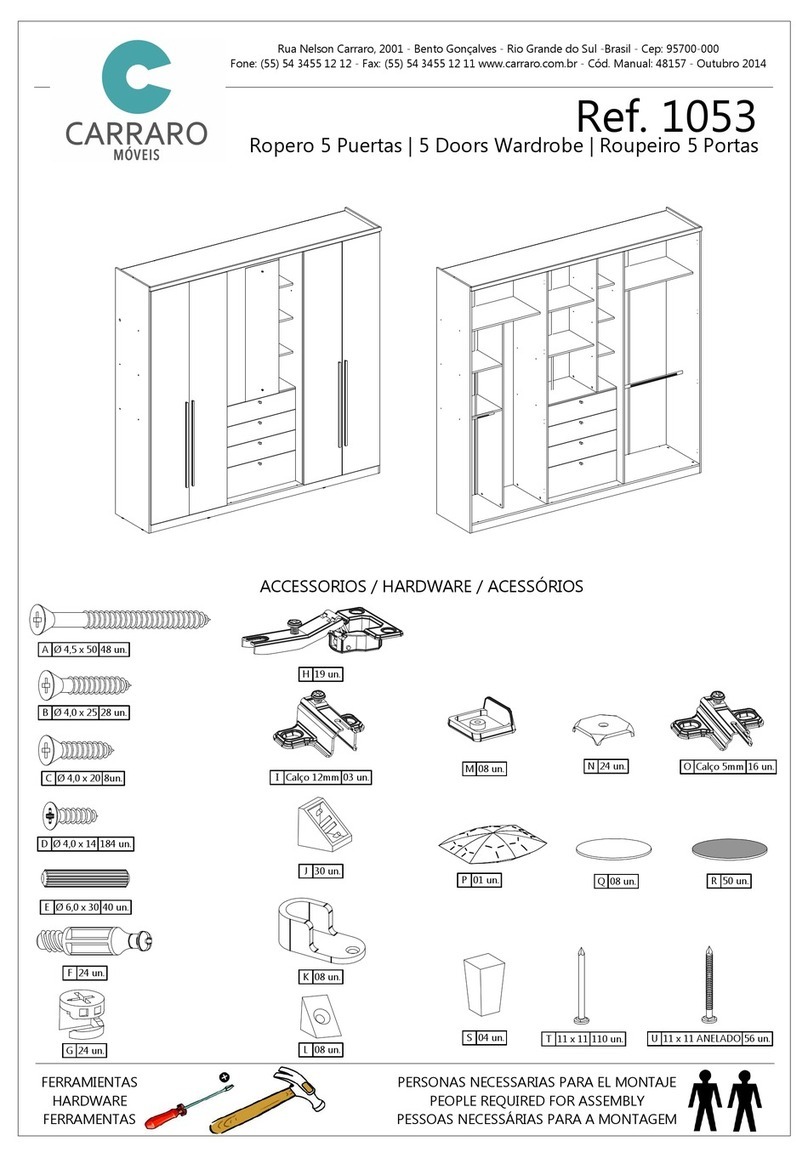
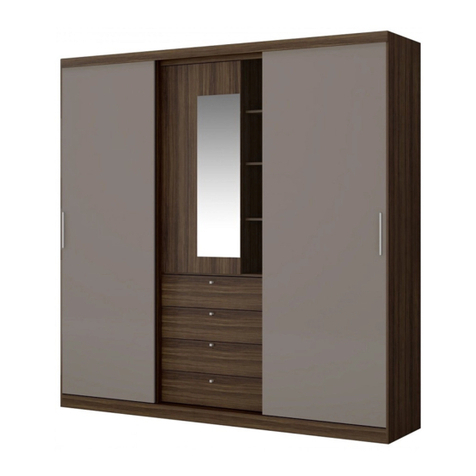
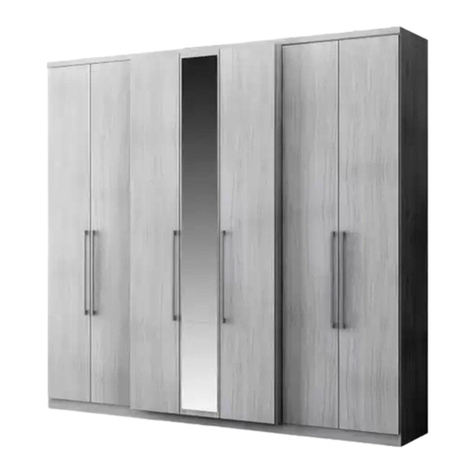
CARRARO 1095 User manual

Rua Nelson Carraro, 2001 - Bento Gonçalves - Rio Grande do Sul -Brasil - Cep:
95702-798
Fone: (55) 5 3 55 12 12 - www.carraro.com.br - Cód. Manual: 7578 - Janeiro 2018
Herramientas
Tools
Ferramentas 90 min. Personas Necessarias
People Required
Pessoas Necessárias
Ropero 3 Puertas Correderas 5 Cajones / 3-Sliding Door 5-Drawer Wardrobe / Roupeiro 3 Portas de Correr 5 Gavetas
Ref. 1095
2
A
Parafuso 4 x 14 | 202 un.
B
Parafuso 3 x 16 | 16 un.
C
Parafuso 4 x 20 | 10 un.
D
Parafuso 4 x 25 | 122 un.
E
Parafuso 4 x 30 | 9 un.
F
Parafuso 4 x 35 | 16 un.
G
4,5 x 50 | 44 un.
H
6 x 30 | 44 un.
I
6 x 50 | 6 un.
J
66 un.
K
152 un.
L
24 un.
M
4 un.
N
32 un.
O
45 un.
P
10 un.
R
8 un.
S
14 un.
P570mm
L2650mm
Dimensiones
Dimensions
Dimensões
A 2310 mm
Pegamento
Glue
Cola
T
6 un.
8 un.
Q
U V W
Z
12 un.
5 un.22 un.
30 un. 4 un.
Y A1
16 un.1 un.
X
6 un.
B1
8 un.24 un.
Consejos de Conservación
- No debe utilizarse en la limpieza, abrasivos como lana de acero, alcohol, vinagre, limón, o productos
corrosivos que puedan rayar o quita la película protectora en los muebles.
- Cuando la limpieza de muebles en general, napa y formica, deben utilizarse un paño ligeramente
humedecido y jabón suave.
- Para mover el móvil, es importante que este se eleva desde el suelo, debido a que el arrastre puede
causar daño estructural.
- No deje a su móvil en exposición a la intemperie.
Conservation Tips
- Do not use abrasive products to clean such as steel wool, alcohol, vinegar, lemon, scouring powder, or
corrosive products which can scratch or peel off the protective film of the furniture.
- The best way to clean your furniture is to use a slightly moistened cloth with a mild soap.
- To move the furniture assembled, it is important that it is lifted off the ground, because the drag it can
cause structural damage.
- Do not leave your furniture in weather exposure.
Dicas de Conservação
- Não utilizar na limpeza produtos abrasivos tais como: palha de aço, álcool, vinagre, limão, saponáceo,
ou produtos corrosivos que possam riscar ou descolar a película protetora dos móveis.
- Na limpeza de móveis em geral, napas e fórmicas, deve ser utilizado um pano levemente umedecido e
sabão neutro.
- Para a movimentação do móvel, é importante que este seja levantado do chão, pois ao arrastá-lo pode
causar avarias estruturais.
- Não deixe o móvel em exposição a intempéries.
Certificado de Garantia
A garantia dos produtos fabricados pela Carraro, abrange eventuais defeitos/vícios de fabricação, no
prazo estabelecido pelo Código de Defesa do Consumidor, em seu artigo 26,ll, o qual prevê a garantia
legal de 90 (noventa) dias.
Peso por estante
Por favor, preste atención a los pesos
máximos admitidos por cada
compartimiento del producto. Tenga
cuidado de no exceder estos pesos,
con el fin de garantizar la calidad y
durabilidad del producto.
Es importante recordar que los pesos
muestran en caso de ser distribuida
en toda el área de la plataforma.
Weigth per shelf
Please pay attention to the maximum
weights supported by each
compartment product. Be careful not
to exceed these weights, in order to
ensure the quality and durability of the
product. It is important to remember
also that the weights shown should be
distributed throughout the area of the
shelf.
Peso por Prateleira
Ao lado são demonstrados os pesos
máximos suportados por cada
compartimento do produto. Cuide
para não exceder esses pesos, afim
de garantir a qualidade e a
durabilidade do mesmo. É importante
lembrar também, que os pesos
mostrados devem ser
DISTRIBUÍDOS ao longo de toda a
área da peça.
2
6kg
4kg 8kg
8kg8kg
4Kg
4kg
8kg 8kg 8kg
8kg
8kg
**
**
**
**
**
**
8kg
4kg4kg
5kg
LISTA DE PIEZAS / LIST OF PARTS / RELAÇÃO DE PEÇAS
3
# Qtd Espanhol Inglês Português Dimensões
1 1 Base Base Base
2538 x 550 x 15
2 2 Zócalo Delantero Front Baseboard Rodapé Dianteiro 1269 x 70 x 15
3 2 Zócalo Trasero Back Baseboard Rodapé Traseiro 1269 x 70 x 15
4 2 Zócalo Interno
Internal Baseboard
Rodapé Interno 520 x 70 x 15
5 1 Lateral Izquierda Left Side Lateral Esquerda
2310 x 550 x 15
6 1 Lateral Derecha Right Side Lateral Direita
2310 x 550 x 15
7 2 División Central Central Division Divisão Central
1782 x 380 x 15
8 1 División Lateral Side Division Divisão Lateral
1782 x 380 x 15
9 1 Tapa Intermediaria Intermediate Top
Tampo Intermediário
2538 x 380 x 15
10 2 División Menor Smaller Division Divisão Menor 373 x 380 x 15
11 1 Estante Calceiro Reduced Shelf
Prateleira Calceiro
836 x 137 x 15
12 1 Tapa Cajones Drawers Shelf Tampo Gavetas 836 x 380 x 15
13 1 División Nicho Niche Division Divisão Colméia 836 x 380 x 15
14 2
Estante Menor Cent.
Smaller Center Shelf
Prat. Central Menor
410 x 380 x 15
15 2 Estante Menor Lat.
Side Smaller Shelf Prat. Menor Lateral
410 x 380 x 15
16 1 Tapa Top Tampo
2538 x 550 x 15
17 2
Espaciador Caj. Delant.
Frontal Drawer Spacer
Afastador Gav. Diant.
931 x 70 x 25
18 2
Espaciador Caj. Tras.
Back Drawer Spacer Afastador Gav. Tras.
931 x 70 x 25
19 1 Traviessa Cajones
Drawers Crosspiece
Travessa Gavetas
836 x 70 x 15
20 6 Costado Back Panel Costa
2200 x 426 x 2,8
21 2
Rolizo Percha 826mm
Hanger Rod 826mm
Cabideiro 826mm
28 x 16 x 0,45 x 826
22 2
Rolizo Percha Menor
Smaller Hanger Rod
Cabideiro Menor
28 x 16 x 0,45 x 400
23 2
Marco Inferior-Superior
Upper-Lower Frame
Moldura Inf-Sup. 2510 x 85 x 15
# Qtd Espanhol Inglês Português Dimensões
24 2 Marco Lateral Side Frame Moldura Lateral 2310 x 70 x 15
25 2 Trilho Superior Upper Profile Trilho Superior
2537 x 30,1 x 25
26 2 Trilho Inferior Lower Profile Trilho Inferior 2537 x 23,2 x 5
27 2 Perfilo 372mm "I" Profile 372mm Perfil I 372mm 372 x 15 x 6
28 1 Perfilo 2170mm
"I" Profile 2170mm
Perfil I 2170mm 2170 x 15 x 6
29 3 Tirador Handle Puxador
30 1 Perfilo 930mm "I" Profile 930mm Perfil I 930mm 930 x 15 x 6
31 4 Frente del Cajón
Smaller Drawer Front
Frente de Gaveta 778 x 157 x 15
32 8 Lateral del Cajón Side Drawer Lateral de Gaveta 350 x 100 x 12
33 4 Costa del Cajón Drawer Back Costa de Gaveta 737 x 100 x 12
34 5 Fondo de Cajón Drawer Bottom Fundo de Gaveta 761 x 355 x 2,8
35 5 Corredera Metalica Metallic Runner
Corrediça Metálica
350mm
36 1
Frente del Cajón Mayor Biggest Drawer Front
Frente de Gavetão
778 x 275 x 15
37 2
Lateral del Cajón Mayor
Biggest Drawer Side
Lateral de Gavetão
350 x 200 x 12
38 1
Costa del Cajón Mayor Biggest Drawer Back
Costa de Gavetão 737 x 200 x 12
39 3
Puerta Corred. Central
Central Slid. Door
Porta Correr Central
713 x 778 x 12
40 2
Perfilo Pta Cor. Cent.
Central Slid. Door Prof.
Perfil Emenda Menor
708 x 15,4 x 7,7
41 6
Marco Delant. Pta Cor.
Front Frame Slid. Door
Mold. Front. Pta Correr
2127 x 70 x 25
42 6
Marco Tras. Pta Corred.
Back Frame Slid. Door Mold. Tras. Pta Correr
2127 x 35 x 12
43 1 Espejo Mayor Biggest Mirror Espelho Maior 700 x 700 x 3
44 2 Espejo Pequeño Smaller Mirror Espelho Menor 700 x 400 x 3
45 6
Puerta Corred. Lateral
Side Sliding Door
Porta Correr Lateral
713 x 790 x 12
46 4 Perfilo Pta Cor. Lat.
Side Slid. Door Prof. Perfil Emenda Maior
720 x 15,4 x 7,7
42
42
42
42
36
37
38
37 34
35
35
35
35
32
34
33
31
32
23
2
2
4
4
3
3
126 26
17
18 17
18
19
12
21
13
14
14
22
21
22
15
87
15
11
6
7
10
10
25
25
16
23
20 20 20 20 20 20
28
27
27
30
24
24
44
43
44
39
40
39
40
39
29
41
41
41
29
45
45
46
46
45
9
5
41
4
1
2
3
Vista Superior / Top View
14 mm
1
3
2
4
42
3
4
4
3
2
2
3
1
23
2
2
23
2
1
G
G
G
G
G
G
GG
G
G
G
K
PAA
SA
A
S
D
D
D
D
D1
D1
D1
D1
D1
5
4
6
5
2º
1º
2º
2º 1º
1º
5mm
26 26
26 26
1
25 25
16 25
25
7
12
13
14
14
7
AA
B
U
U
B
A
A
I
H
L
N
GG
GG
G
G
D1
D2
D1
D1
D2
D2
D2
D2
D2
D2
6
7
16
10
10
9
87
7
13
IM
N
N
HL
N
D1
D1
D1 D1
D1
7
8
9
1º
1º 1º
1º
1º
5
6
11
7
15
15
8
24
23
24
GG
GG
GG
G
G
GG
G
G
G
G
G
G
K
P
AA
AA
S
A
A
T
TS
D1
D1 D1
D1 D1
D1
D1
N
H
L
AA
A
A
T
T
D1
D1
D1
D1.1
8
10
11
Solamente para Opción con Pies Plásticos
Plastic Feet Option Only
Somente para Opção com Pés Plásticos
Fijar cada 150mm / Fix every 150mm /
Fixar a cada 150mm
Accesorios acompañan el embalaje de los pies plásticos
Hardware accompany the packaging of the plastic feet
Acessórios acompanham a embalagem dos pés plásticos
20 20
28
20
30
20 20 20
27 27
K
K
K
K
K
O
O
K
OK
D1
D1
D1
D1
D1
D1
D1
D1
D1
D1
D1
D1
D1
D1
D1
D1
D1
D1
9
12-4x
13
Mantener la alineación
Keep Alignment
Manter Alinhamento
1º
2º
3º
4º
1º
2º
3º
4º
31
33
32
32
34
36
37
38
37
34
J
J
J
J
H
H
AA
S
JJJ
JJJ
J
J
C
Q
A
A35
35
35
35
D
D
B1
G
GG
G
H
H
A
AA
A
T
JJJ
JJ
J
J
J
C
Q
A
A
D
D
B1
D1
D1+D2
D1+D2
D1
D1
D1
D1 D2 D3
D2
D1
D3
D3
D2
D1
D2
D1
D3
D3
D2
D1
D1 D2 D3
D2
D2
D2
D1.1
10
14
D
ED
E
1º
Frente Front
2º
1718
18
17
17
18
35
35
35
35
17
18
A
AR
A
A
A
A
A
A
A
A
FF
FF
FF
FF
F
F
F
F
F
F
F
D1
D1 D1
D1 D1
D1
D1
D1 D1
11
15
16
1º
2º 2º
3º 3º
Taladro Ø6mm
Drill Bit Ø6mm
Broca Ø6mm
!!!ATENCIÓN: Taladrar solamente DOS de las 4 piezas "41"!!!
!!!ATTENTION: Drill only TWO of the 4 pieces "41"!!!
!!!ATENÇÃO: Furar somente DUAS das 4 peças "41"!!!
50mm
Mantener la alineación
Keep Alignment
Manter Alinhamento
Mantener la alineación
Keep Alignment
Manter Alinhamento
22
22
21
21
19
41 29
29
45 46 45 46 45
45 46 46 45
45
45
42 41
29
G
G
G
G
EE
E
D
D
B
B
V
AAA
A
W
D1
D1
D1
D1
D2
D2
D2
D2
D2
D1
12
2º 3º
Taladro Ø6mm
Drill Bit Ø6mm
Broca Ø6mm
!!!ATENCIÓN: Taladrar solamente UNA de las 2 piezas "41"!!!
!!!ATTENTION: Drill only ONE of the 2 pieces "41"!!!
!!!ATENÇÃO: Furar somente UMA das 2 peças "41"!!!
50mm
Mantener la alineación
Keep Alignment
Manter Alinhamento
Mantener la alineación
Keep Alignment
Manter Alinhamento
17
1º
18
1º
2º
3º
2º
3º
2º
3º
4º
41 29
39 40
40 39
39
29
39
42 41
EEE
D
D
V
BB
AA
AA
W
D1
D2
D1
D2
D2
D1
13
Poner dos batientes en las puertas
deslizantes, según el detalle.
Please, put two door stops on
sliding doors, as detail.
Colocar dois batentes nas portas
de correr, conforme detalhe.
Limpiar la puerta con paño seco.
Clean the door with one dry cotton.
Limpar a porta com um pano seco.
Marca la puerta para arreglar el espejo.
Mark the door to fix the mirror.
Marcar a porta para colocação do espelho.
Sacar con cuidado la proteción de
la cinta dupla face.
Take off carefully the protection of
double band of the face.
Tirar com cuidado a proteção da
fita dupla face.
Poner el espejo, con cuidado, en la posición
marcada.
Fix the mirror, carefully in the marked place.
Colocar o espelho, cuidadosamente, no
lugar marcado.
Colocación del espejo / Mirror fixation /
Colocação do Espelho
19
20
1º
2º
2º
3º
4º
3º
Poner tapa agujeros adesivos y plasticos, según
el detalle.
Please, put adhesive and plastic hole covers, as
per detail.
Colocar tapa furos adesivos e plásticos,
conforme detalhe.
A1 Z
44
44
43
X

Other CARRARO Indoor Furnishing manuals

CARRARO 885 User manual

CARRARO

CARRARO 885 User manual

CARRARO 1052 User manual

CARRARO

CARRARO 1052 User manual

CARRARO 1113 User manual

CARRARO

CARRARO 1113 User manual

CARRARO 1071 User manual

CARRARO

CARRARO 1071 User manual

CARRARO 1174 User manual

CARRARO

CARRARO 1174 User manual

CARRARO 835 User manual

CARRARO

CARRARO 835 User manual

CARRARO 1093 User manual

CARRARO

CARRARO 1093 User manual

CARRARO 1276 User manual

CARRARO

CARRARO 1276 User manual

CARRARO 881 User manual

CARRARO

CARRARO 881 User manual

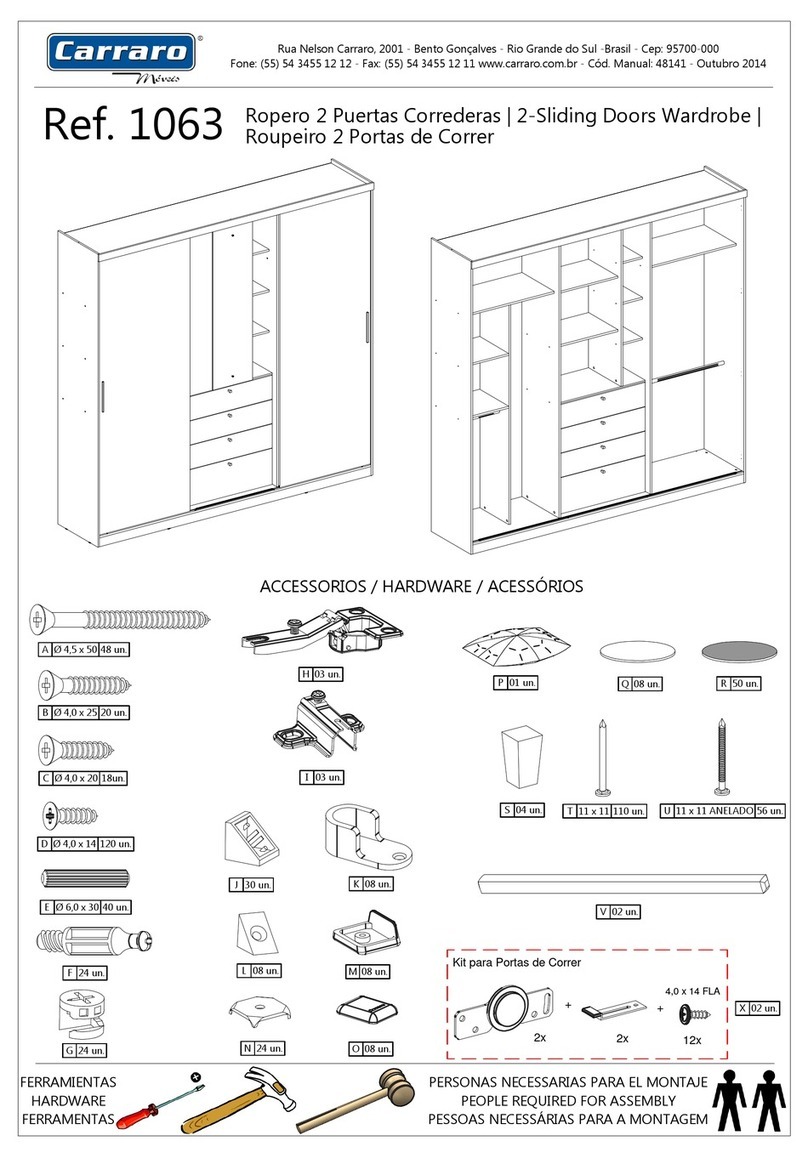
CARRARO 1063 User manual

CARRARO

CARRARO 1063 User manual

CARRARO 1053 User manual

CARRARO

CARRARO 1053 User manual

CARRARO 1086 User manual

CARRARO

CARRARO 1086 User manual

CARRARO 1274 User manual

CARRARO

CARRARO 1274 User manual

CARRARO 834 User manual

CARRARO

CARRARO 834 User manual

CARRARO 1074 User manual

CARRARO

CARRARO 1074 User manual

CARRARO 890 User manual

CARRARO

CARRARO 890 User manual

CARRARO 1270 User manual

CARRARO

CARRARO 1270 User manual

CARRARO 1066 User manual

CARRARO

CARRARO 1066 User manual

CARRARO 1741 User manual

CARRARO

CARRARO 1741 User manual

CARRARO 1073 User manual

CARRARO

CARRARO 1073 User manual

CARRARO 547 User manual

CARRARO

CARRARO 547 User manual

CARRARO 1063 User manual

CARRARO

CARRARO 1063 User manual

Popular Indoor Furnishing manuals by other brands

Buffalo HJ327 Assembly instructions

Buffalo

Buffalo HJ327 Assembly instructions

Nectar move NECFL03 owner's manual

Nectar

Nectar move NECFL03 owner's manual

Honey Can Do GAR-01121 Assembly instructions

Honey Can Do

Honey Can Do GAR-01121 Assembly instructions

STRUCTUBE HANEDA Assembly instructions

STRUCTUBE

STRUCTUBE HANEDA Assembly instructions

Freedom Irving 23745261 quick start guide

Freedom

Freedom Irving 23745261 quick start guide

Mocka Dahlia Six Drawer Assembly instructions

Mocka

Mocka Dahlia Six Drawer Assembly instructions

NATHAN JAMES Jacklyn 33902 manual

NATHAN JAMES

NATHAN JAMES Jacklyn 33902 manual

Germania 2259 Assembly instruction

Germania

Germania 2259 Assembly instruction

Office Star Work Smart DH89675 operating instructions

Office Star

Office Star Work Smart DH89675 operating instructions

HOMCOM 311-024 Assembly instruction

HOMCOM

HOMCOM 311-024 Assembly instruction

Avenue Six RUSSELL RSL53 Assembly instructions

Avenue Six

Avenue Six RUSSELL RSL53 Assembly instructions

Coaster 100209 Assembly instructions

Coaster

Coaster 100209 Assembly instructions

Tech Craft AWC5036 Assembly instruction

Tech Craft

Tech Craft AWC5036 Assembly instruction

Noble House Home Furnishings Sun Lounger Assembly instructions

Noble House Home Furnishings

Noble House Home Furnishings Sun Lounger Assembly instructions

Songmics VASAGLE LLS047 Assembly instructions

Songmics

Songmics VASAGLE LLS047 Assembly instructions

JOHANN JAKOB BUTTERFLY 92759 manual

JOHANN JAKOB

JOHANN JAKOB BUTTERFLY 92759 manual

MH MH-TB-21001 Let's get started

MH

MH MH-TB-21001 Let's get started

Sauder 427350 manual

Sauder

Sauder 427350 manual

manuals.online logo
manuals.online logoBrands
  • About & Mission
  • Contact us
  • Privacy Policy
  • Terms and Conditions

Copyright 2025 Manuals.Online. All Rights Reserved.