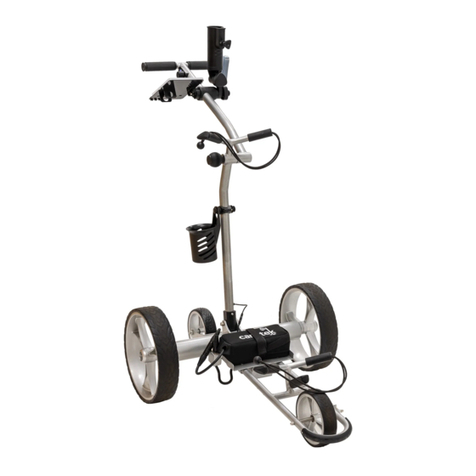
Cart-Tek 1500 V3 User manual

1500 V3
User Manual Version 1.1

carttek.com
2

carttek.com
3
Your Cart-Tek golf trolley was thoroughly quality control checked
and ‘road tested’ before being shipped to your address. We
do everything possible to assure that your trolley is in perfect
working order upon arrival.
Should you have any questions about the
performance of your trolley, please contact us at:
USA:
Online: Carttek.com
Phone: 541-633-4308
Email: Sales@CartTek.com
Canada:
Online: JPSMGolf.com
Toll free: 1-855-839-1600
For the latest version of this manual, please visit:
http://www.carttek.com/golf-cart-resources/cart-tek-manuals/
If you’ve purchased your trolley through a third party,
be sure to register for your full warranty at:
https://www.carttek.com/register

carttek.com
4
table of contents
INTRODUCTION ……………………………………………………… 5
COMPONENT IDENTIFICATION ………………………………… 6
SETUP ………………………………………………………………… 8
PRECAUTIONS & IMPORTANT CARE INFORMATION………… 10
BATTERY MAINTENANCE ………………………………………… 12
OPERATING YOUR 1500 V3 ………………………………………… 12
REMOTE TRANSMITTER …………………………………………… 14
REMOTE CONTROL MODE………………………………………… 16
ALIGNMENT SYSTEM ……………………………………………… 17
PROGRAMMING YOUR CADDY ………………………………… 18
TROUBLESHOOTING GUIDE ………………………………………22
IMPORTANT CUSTOMER CARE INFORMATION ………………26

carttek.com
5
Introduction
Thank you for purchasing the Cart-Tek 1500 V3 golf trolley. Please
read this manual carefully before use. After unpacking, please
keep the carton and all internal sections in safe storage. In the
unlikely possibility that you need to return the whole unit due to a
defective component, you will need to repack the unit in the original
manner to ensure safe and secure transit. Remove all components
from carton and check that the following are included in the
package:
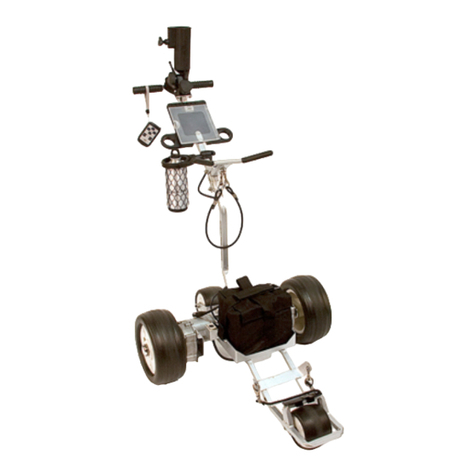
Main trolley frame
Anti-tip wheel
Drive wheels
Rechargable remote control
USB Cable
Lithium battery in a
neoprene battery bag
Battery charger
Accessories
Umbrella Holder
Scorecard Holder
Drink Holder
Tool Kit
Contents of this manual cover assembling the trolley, operating
instructions, maintenance, and troubleshooting. Please note
that our design and manufacturing policy is aimed at continuous
improvement, this can result in changes without notice to the
specifications contained on our websites and in this manual. We
know you are eager to get on the course, but PLEASE READ the
entire manual before starting.
After unpacking the caddy and while reading this manual, charge
the battery while you assemble the unit. Plug battery into charger
and charger into power source. The battery may be delivered
with a charge but should be placed on the charger before using
for the first time to ensure full charge of battery.
quick tip

carttek.com
6
COMPONENT
IDENTIFICATION
Front Wheel
Upper Bag Rest
Lower
Bag Rest
Battery Port
Axle Tube
Drive Motor
(inside)
Drive Wheel
Locking Knob
Upper Handle

carttek.com
7
Scorecard & Ball Holder
Umbrella Holder
Speed Dial
Anti-Tip Wheel
Drive Wheel
Lower Handle
On/o button
Remote
Locking Pin
Receiver
Battery

carttek.com
8
Setup
To properly set up your golf caddy, follow these steps:
Identify the left and right wheels by the “L” and “R” markings on the
wheel hubs.
Depress the knob on the inside wheel hub and slide the wheel onto
the axle.
Fully insert the wheel into the drive collar, ensuring that the four
pins are fully engaged.
For “free wheel” mode, depress and pull the wheel out 1/4 inch to
release the pins and make sure the wheel snaps into the groove on
the axle.
Locate the anti-tip wheel lock pin under the axle tube. Pull out the
anti-tip wheel lock pin and slide the anti-tip wheel into the frame
until it locks into place. You will hear a “click” when it is locked.
Lift the handle from the lower caddy frame, holding down the lower
frame if needed. The locking pin will automatically lock when the
lower handle is fully opened.

carttek.com
9
Load your golf bag onto the caddy:
Place the bottom of the golf bag into the lower bag rest first, then
lay the bag into the upper bag rest.
Use the pull tab on the bungee to
wrap the cord around the bag and
onto the bag rest hook.
Repeat this for both the upper and
lower bag rests.
Ensure that both the top and
bottom bag straps are tight, firmly
securing the bag in the bag rests.
If the bungees are loose and the
bag is rotating, you can tie a knot in the bungee to shorten its length
and make it tighter
Lift the upper handle and extend
it fully to your desired position.
Lock it into position by tightening
the black locking knob located
behind the upper bag rest. Twist
the knob clockwise to tighten and
counterclockwise to loosen.
Place the fully charged battery on
the battery tray and secure it using
the battery strap.
Insert the battery cable into the
battery port on the lower handle.
This will power on your cart.
Following these steps will ensure
that your wheels are installed
correctly, your golf bag is securely
placed, and your caddy is ready for use.
carttek.com
10
PRECAUTIONS &
IMPORTANT CARE
INFORMATION
1. For optimal caddy performance, it is recommended to use a
normal cart bag. Lightweight stand or carry bags may not work
as well. Heavy cart bags are preferred for best performance. If
you use a carry bag or stand bag, you may need to add weight.
(See # 5 below)
2. Consider the all-around weight distribution of your golf bag.
Ensure that the bag is balanced evenly from side to side.
Uneven weight distribution may lead to “tracking errors,” where
too much weight on one side can cause the caddy to veer in
the opposite direction.
3. The front wheel must stay grounded during play, except on
steep inclines. Your 1500 V3 should only tip onto the rear wheel
when encountering extreme inclines (over 25° inclines).
4. It is recommended to use the manual/trolley mode on steep
inclines where the caddy will tip back, and the front wheel
comes o the ground. Avoid steering the caddy with the remote
control if the front wheel is not touching the ground.
5. If you are having diiculty keeping the front wheel on the
ground, consider adding weight to your golf bag, towards the
front of the caddy. We recommend carrying extra golf balls, a
bottle of water, or other items to increase the weight over the
front wheel.
6. Avoid pulling the cart backwards while riding in a power cart.
This can cause strain on the cart’s components and may lead
to damage or malfunction.

carttek.com
11
IMPORTANT TIP. Your caddy is equipped with
automatic downhill braking for your safety. If you
need to stop your caddy on a steep incline, it is
recommended to turn the caddy perpendicular
(across) the hill and press the Park button. This
action will engage the parking brake and keep the
caddy securely in place. It may be more eective
to perform this function in trolley mode rather than
remote mode to have better control over the caddy.
7. Regularly spray the front and anti-tip wheel bearings with
a silicone-based lubricant. This helps to maintain smooth
operation and prolong the lifespan of the wheels.
8. If you experience missed commands or inconsistent
performance from the remote, it may be necessary to recharge
the remote batteries. Ensure that the remote is fully charged to
optimize its functionality.

carttek.com
12
BATTERY
MAINTENANCE
• To ensure accurate battery meter readings on the charger, it is
crucial to follow the correct charging sequence. This sequence
involves first plugging the battery cable into the charger and
then connecting the charger to the wall outlet. By following this
sequence, the charger can accurately measure the charging
status of the battery and provide reliable battery meter readings.
• Always recharge battery after every golf outing. Never leave the
battery in an uncharged state.
• Unplug the battery from the caddy when it is not in use.
• During periods of inactivity/storage, charge your battery ever
60-90 days. Do not leave the charger connected to the battery
for more than 1-2 days. Disconnect the battery once it is fully
charged.
Operating YOUR
1500 V3
Follow the steps listed earlier in this manual under Setup (page 8).
There are two main modes for the 1500 V3.
Trolley Mode: Identified by the specific light sequence: The Blue
LED on the handle will be solid blue for 2 seconds, followed by
a quick 1/2 second o.
Remote Mode: Identified by the status light being solid Blue. For
futher details, see page 16 for opertation instructions.

carttek.com
13
To power the wheels in trolley mode, follow these steps:
- First, zero out your speed dial by spinning it
counterclockwise until it reaches the lowest setting.
- Next, roll the speed dial forward clockwise to increase the
speed and power of the wheels.
To stop the caddy, press and immediately release the main start/
stop button on the cart. This action will stop the wheels from
spinning and apply the electric parking brake.
To resume operation, press and immediately release the main start/
stop button on the cart. The cart will release the parking brake
and return to your previous walking pace.
If you wish to release the parking brake and manually push the cart
for a short distance (up to 5 yards), simply roll the speed dial
back to zero.
If you wish to push the cart without using any battery power, follow
these important steps:
- Pull the main drive wheels out 1/4 of an inch and lock them
into “free wheel” mode.
- Pushing the cart for long distances with the motors
engaged can potentially damage the electronics on the cart,
so it is recommended to use the “free wheel” mode when
manually pushing for extended periods.
To properly pack up your golf caddy after finishing your round:
Disconnect the battery from the cart and remove it.
Loosen the locking knob located behind the upper bag rest and
gently lower the upper handle to the folded position.
Loosen both bag straps and remove your golf bag from the caddy.
Pull the main locking pin to allow the handle to lower completely
flat.

carttek.com
14
If the remote has not been given a command for 30
minutes, it will automatically shut down to save energy.
Remote Transmitter
To turn the remote control on:
• Press and release both the left and right turn buttons at the same
time. This will power up the remote. You will see the LED flash
blue 3 times.
• Once the remote is powered on, you can give the cart any remote
command, and it will respond. Additionally, the main cart LED will
show a solid blue LED instead of flashing.
To turn o the remote control:
• Press and hold the parking brake button until you see the LED
flash red 3 times. This indicates that the remote is powered down.
To charge the remote:
• Use the supplied USB cable to connect the remote to a power
source that provides 5 Volts.
• While charging, the LED on the remote will flash red.
• When the remote is fully charged, the LED on the remote will be
solid red.

carttek.com
15
remote transmitter
Left
STOP
Preset
Speeds Park
Reverse
Right
Forward
LED
USB Charge Port
Belt Clip
Magnetic Mount Clip

carttek.com
16
remote control mode
• Push the directional buttons on the remote transmitter to move the
caddy in the desired direction.
• When the cart is stopped, you can press and hold either the right
or left button to make the caddy turn on itself.
• To increase the speed of the caddy, press the forward button. To
decrease the speed, press the reverse button.
• To bring the caddy to a complete stop, use the glide stop button on
the remote to cut power to the motors, and coast to a stop.
• When going downhill, the cart will automatically apply brakes to
maintain a safe speed. If the terrain is too steep, it is recommended
to switch to trolley mode to have full control over the cart’s
movement.
• To park the cart on a hill, press the parking brake button on the
remote. In the case of steep hills, you may need to position the cart
so that it is not facing directly downhill.
• The range of the remote transmitter is well beyond 100 yards, but
it is strongly advised to operate the cart within 10-20 yards of your
position at all times for safety reasons.
• For your protection, the cart has a 120-second hibernation timer.
If the cart is in remote mode and no directional inputs are given
for 120 seconds, the cart will stop. Simply give another remote
command to resume the movement of the caddy down the fairway.
It is crucial to never put a powered-on remote inside a
pocket. Doing so may inadvertently activate a command,
causing the cart to take o unexpectedly. To prevent any
unintended movement, always ensure that the remote is
securely stored in a safe and appropriate location when
not in use.

carttek.com
17
ALIGNMENT SYSTEM
If you are experiencing issues with your trolley not going straight
and drifting to one side, you can try adjusting the tracking to correct
it. Here are the steps to follow:
1. Verify that both wheels are fully engaged in the drive collars.
2. Ensure that the weight on your golf bag is evenly distributed from
left to right. Imbalanced weight can cause the cart to drift.
3. Check that all connecting hardware on the front wheel assembly
is tight.
4. If the cart is still drifting after verifying the above steps, you can
reset the caddie to factory settings (refer to page 20 in the manual).
5. Next, try electronically adjusting the tracking as described on
page 19 of the manual.
To fine-tune the front wheel:
• Loosen both ends of the axle cap nuts (A).
• If the cart tracks to the LEFT move the left slide of the axle forward
via the adjustment nuts (B). This pushes the wheel back to the
right. Tighten the Adjustment nuts (B) and Axle nuts (A) and test.
We recommend starting with a quarter-turn of the adjustment nuts
first. If the cart tracks to the RIGHT, move the left slide of the
axle rearward via the adjustment nuts (B). This pushes the wheel
back to the left. We recommend starting with a quarter-turn of the
adjustment nuts first.
• Tighten the Adjustment nuts (B) and
Axle Cap Nuts (A).
• Test your results. You may need to
repeat steps 1 and 2.
AB

carttek.com
18
PROGRAMMING YOUR
CADDY
The caddy electronics may be customized for your personal
preferences. All programing customization is done via the remote
transmitter. Using “Program Mode” you can adjust the electronics to:
• Tracking issues- If a caddy veers o to one side, read all tracking
information under ‘Precautions’ on page 10 and ‘Troubleshooting’
on page 19, before using electronic tracking adjustment.
• Adjust ‘Turning Force’- Depending on your course, flatter golf
courses require less turning force that hilly or undulated golf
courses.
• Reset Caddy back to original Factory Settings- This is useful if
your caddy accidently gets programed or you program it and you
do not like the new settings.
When first using your caddy, practice in a large open area.
Take the time to practice the dierence between a single
touch of a key and a prolonged push especially with left
and right functions. Also get comfortable with the coast
and parking brake buttons. Practice turning the caddy
perpendicular to hills when parking on an incline.
quick tip

carttek.com
19
For the instructions below that say “go into program
mode”, follow these instructions:
Press both speed 1 and speed 2(green buttons) until blue LED
double flashes to get into programming mode. The cart will
move forward at a slow speed at this time.
If the cart does not move, repeat as your caddy is not yet in
program mode.
Store personal speeds
(NO need to go into program mode)
• In remote mode, achieve your desired speed with the up and
down buttons. Press and hold the number you want to set(I.e.
#1) until the LED turns solid blue. Without releasing the button,
press and hold the glide stop button until the blue LED turns
o. The cart will come to a stop first, and then the LED on the
remote will turn o.
• Button is now set to new speed.
Adjust Tracking
i.e. Caddy trails o to one side or the other on flat ground
• Electronically adjust tracking only after adjusting bag weight.
(Instructions for front wheel axle adjustment are in the
troubleshooting section, “my caddy does not track in a straight
line”, later in this manual).
• Go into Program Mode.
• To adjust the caddy to the left, press ‘left’ button once. Or to
adjust the caddy to the right, press the ‘right’ button once. Two
button presses adjusts the tracking about one foot to either side,
in a 25-foot run.
continued...

carttek.com
20
Adjust turning force
You can increase or decrease the speed at which the caddy turns.
• Go into Program Mode. (two green buttons)
• Press the reverse button to stop the caddy.
• Press forward to increase turning force or reverse to decrease the
force. Press and hold the button until your LED becomes solid
then turns o for an incremental adjustment.
»To test if your force is correct, press left or right. Repeat
adjustments or save the turning force adjustments by
pressing Park.
Return all Programing back to Original Factory Settings.
• Go into Program Mode. (two green buttons) Press reverse to
stop the cart.
• Press numbers 1, 2, 3, 4, Parking Brake.
Your caddy should now be at facotry settings.
• If you’re cart doesn’t seem to be reseting to factory settings:
First, program speed 4 to a slow speed. Perform the factory
reset proceedure. If the preset speed 4 returns to the fast speed,
then your caddie has reset.
• To save the setting, push the ‘Parking Brake’ button.
• Test the caddy to see if you need further adjustment.
Repeat as needed.
Table of contents
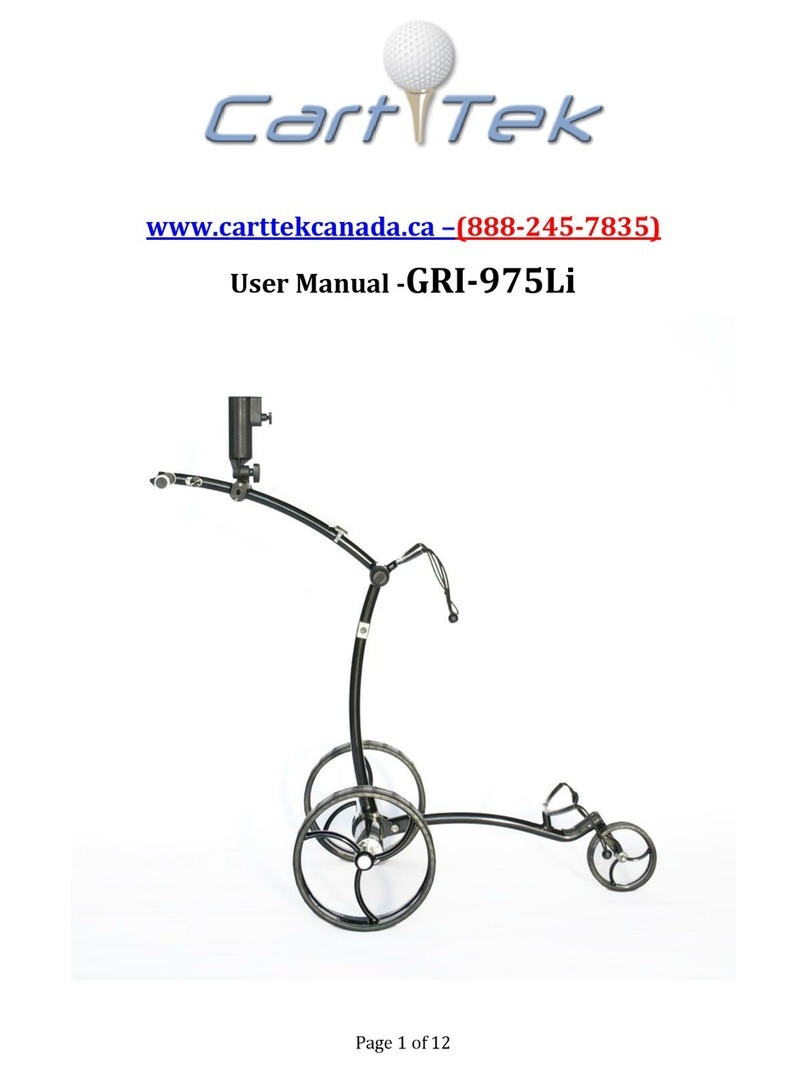
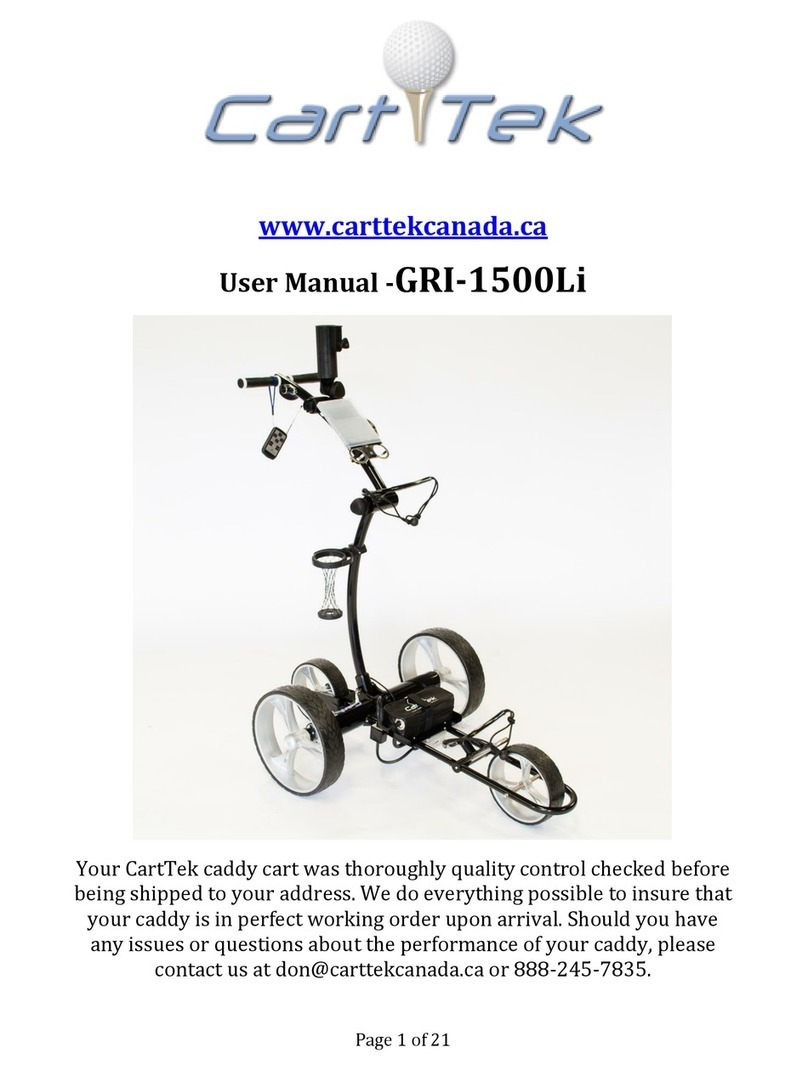
Other Cart-Tek Golf Trolley manuals

Cart-Tek
Cart-Tek GRI-1500Li User manual

Cart-Tek
Cart-Tek GRI-975Li User manual

Cart-Tek
Cart-Tek GRX-860 User manual

Cart-Tek
Cart-Tek GRI-975Li User manual

Cart-Tek
Cart-Tek GRI-1500Li User manual

Cart-Tek
Cart-Tek Yellowstone User manual

Cart-Tek
Cart-Tek GRi-1000Li User manual

Cart-Tek
Cart-Tek GRX-965Li User manual

Cart-Tek
Cart-Tek GRX-1250Li User manual

Cart-Tek
Cart-Tek GRX-950 User manual