carttek.com
12 carttek.com
13
BATTERY
MAINTENANCE
• To recharge battery, first connect the battery into the charger,
then the charger into the wall. When finished, disconnect the
charger from the wall, then the battery from the charger.
• The LED on the charger will be solid green when NOT charging.
The LED on the charger will be solid red when charging.
• Following a complete charging cycle, the LED is solid green.
• Unplug battery from caddy when not in use.
• Always recharge battery after every golf outing. Never leave the
battery in an uncharged state.
• During periods of inactivity/storage, charge your battery ever
60-90 days. Do not leave the charger connected to the battery for
more than 1-2 days. Disconnect the battery once it is charged.
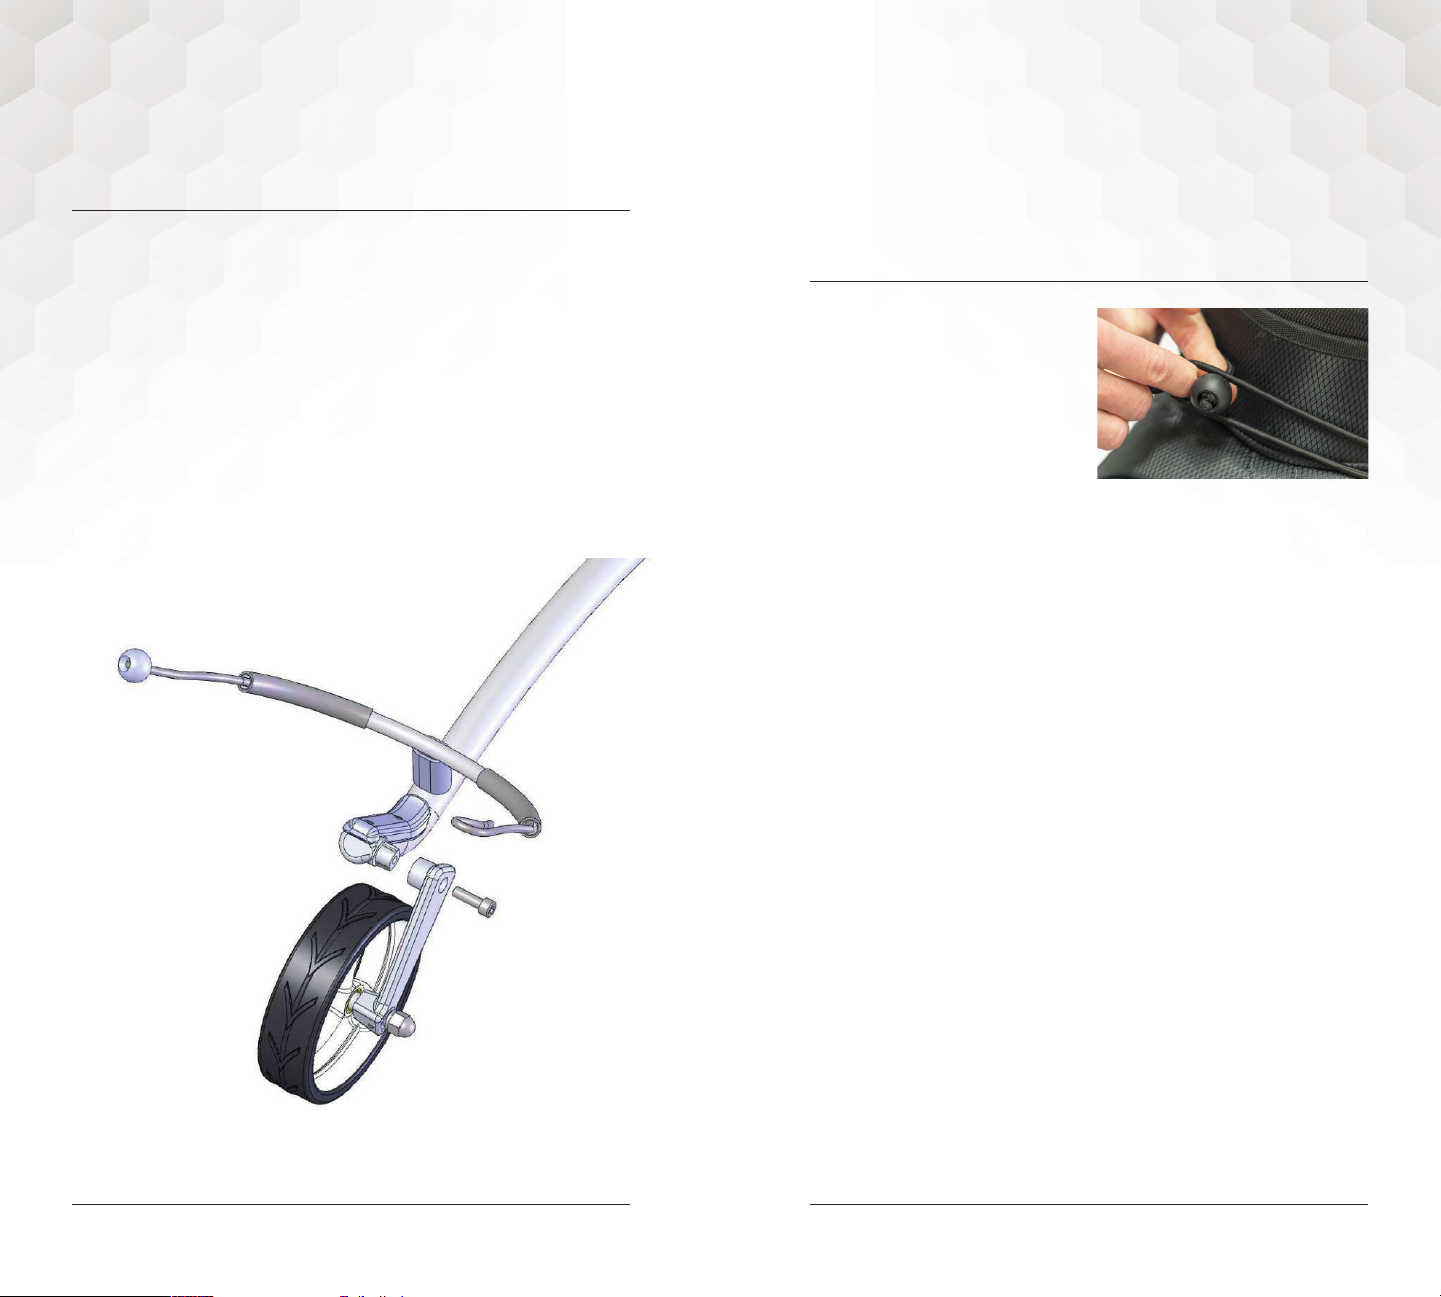
• Frequently inspect the round battery plug. Ensure that the round
plug is screwed tightly.
• If the trolley is submerged in water, immediately contact Cart Tek
Golf Carts (541-633-4308) to discuss the best course of action
for your safety and the safety of the trolley. DO NOT attempt to
charge the battery
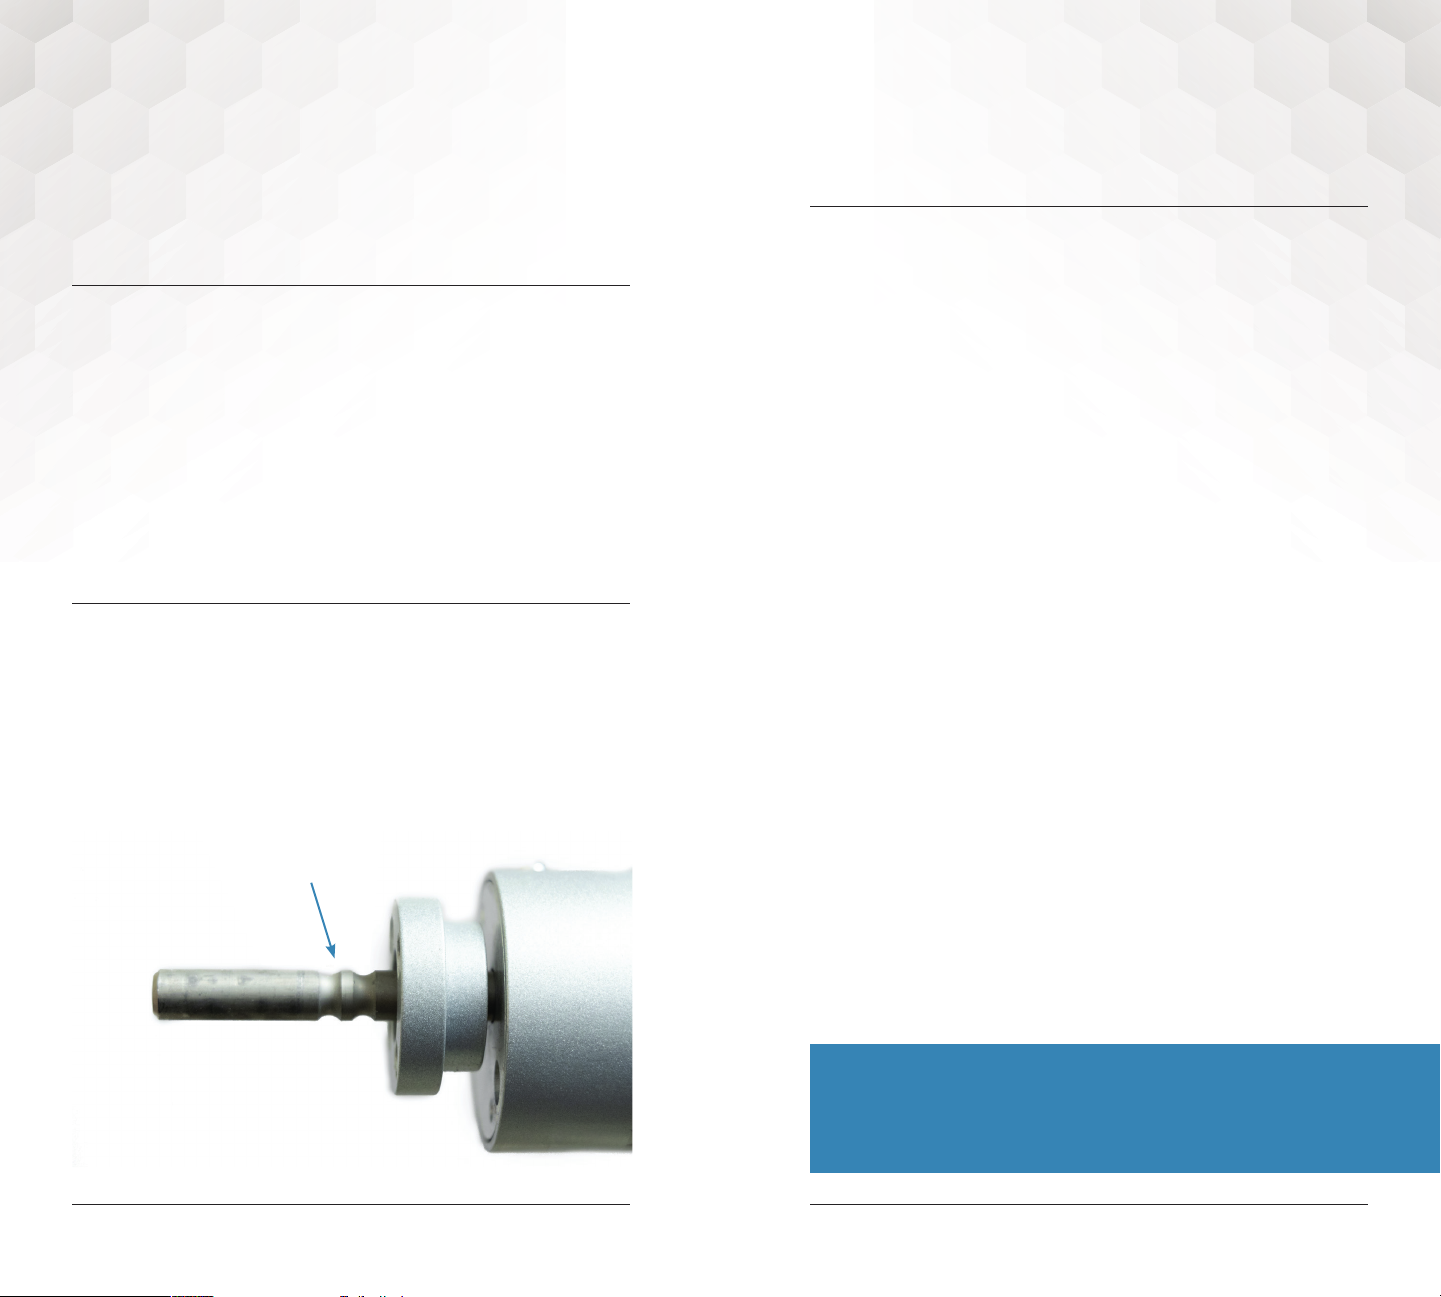
Assembly instruction on XLR connector
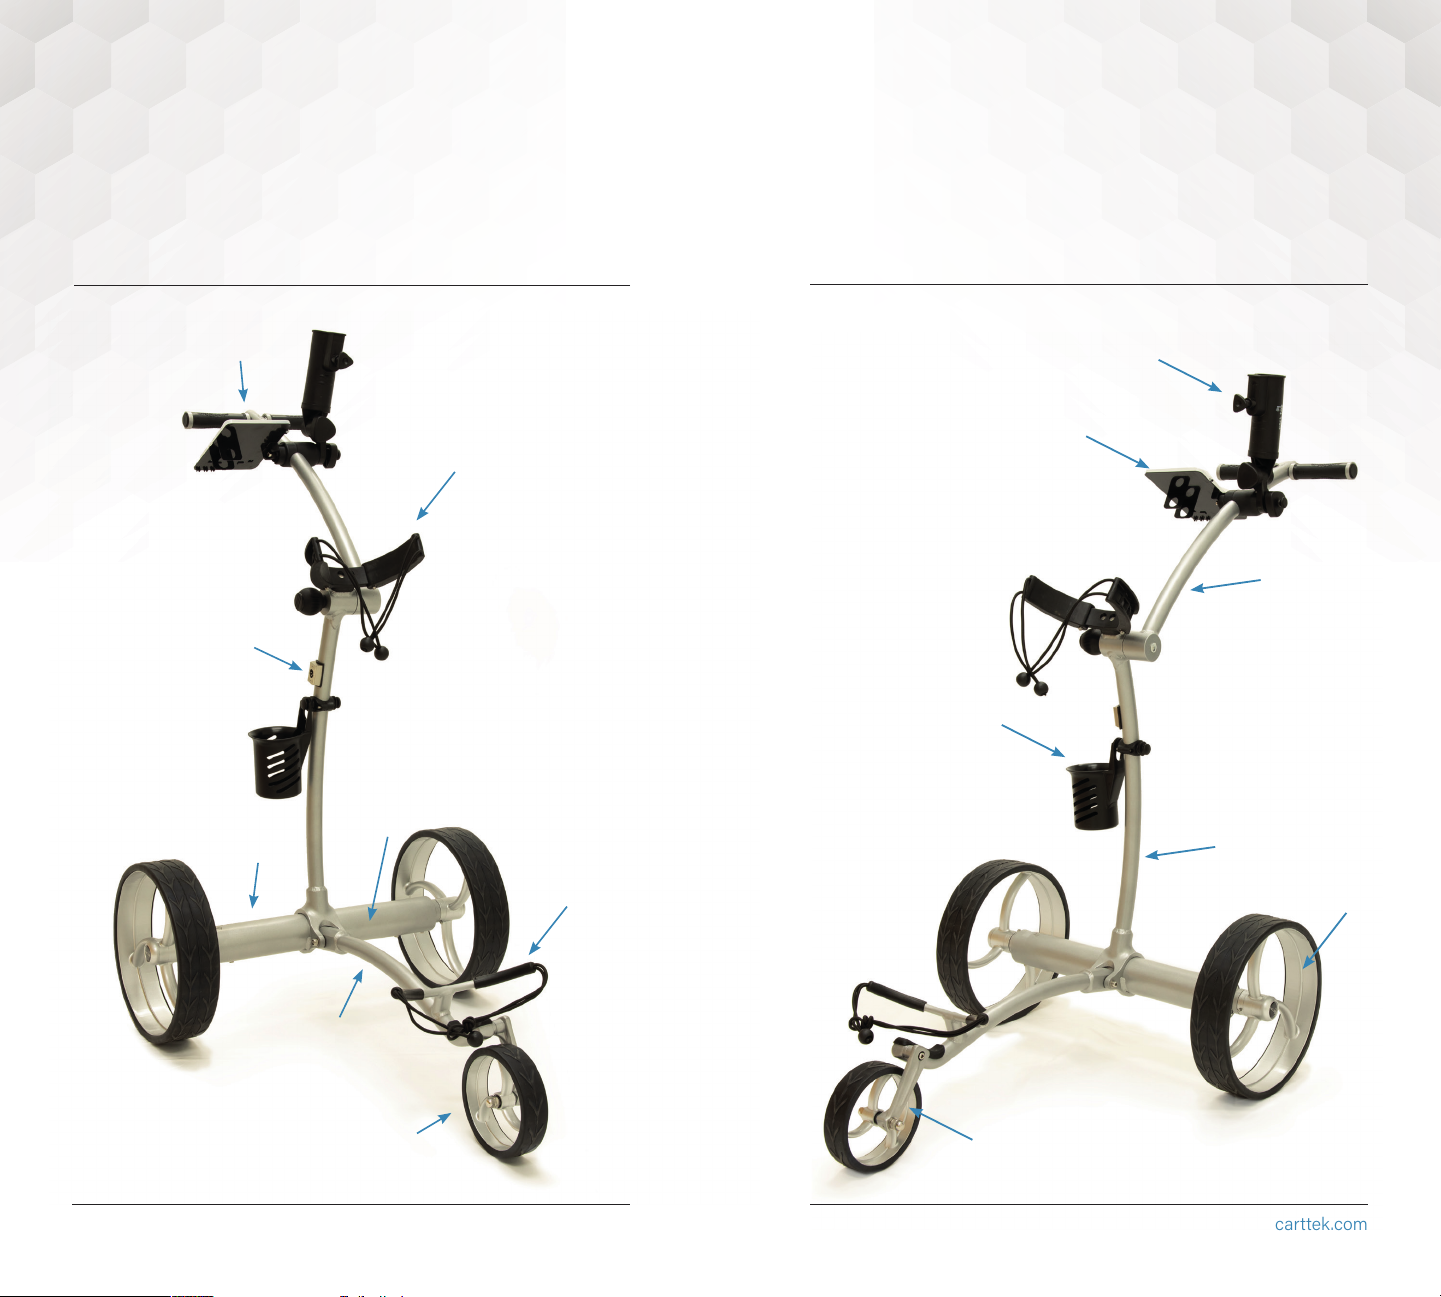
Get to know the parts
tail connector
Align the clamp and terminal, make
sure the terminal for ground wire
not hidden by the clamp
Get the clamp and terminals into the
shell, match the key to the slot on shell,
make sure the button on shell is on top
Assemble tail connector to the
shell and fasten by turning
clockwise
Assembly instruction on XLR connector
Get to know the parts:
Assembly instruction on XLR connector
Get to know the parts
tail connector
Align the clamp and terminal, make
sure the terminal for ground wire
not hidden by the clamp
Get the clamp and terminals into the
shell, match the key to the slot on shell,
make sure the button on shell is on top
Assemble tail connector to the
shell and fasten by turning
clockwise
tail connector clamp terminal shell
Align the clamp and terminal, make sure
the terminal for ground wire not hidden by
the clamp.
Assembly instruction on XLR connector
Get to know the parts
tail connector
Align the clamp and terminal, make
sure the terminal for ground wire
not hidden by the clamp
Get the clamp and terminals into the
shell, match the key to the slot on shell,
make sure the button on shell is on top
Assemble tail connector to the
shell and fasten by turning
clockwise
Get the clamp and terminals into the
shell, match the key to the slot on shell,
make sure the button on shell is on top.
Assembly instruction on XLR connector
Get to know the parts
tail connector
Align the clamp and terminal, make
sure the terminal for ground wire
not hidden by the clamp
Get the clamp and terminals into the
shell, match the key to the slot on shell,
make sure the button on shell is on top
Assemble tail connector to the
shell and fasten by turning
clockwise
Assemble tail connector to the shell and
fasten by turning clockwise.