manuals.online logo
Brands
  1. Home
  2. •
  3. Brands
  4. •
  5. Cartft
  6. •
  7. Automobile Accessories
  8. •
  9. Cartft InDash CarPC User manual

Cartft InDash CarPC User manual

Assembling Tutorial: InDash CarPC -V2-
The following units are lying on the table:
- InDash CarPC barebone
- 2,5“ HDD
- UltraSlim DDR RAM 0.8“
- SlimCD-to-IDE Adapter
- Slimline DVD drive SLOT IN
Here are listed all parts concerning InDash CarPC barebone :
- Barebone (Case InDash CarPC V2 with mainboard VIA EPIA M10000 and M1-ATX power-supply)
- Manual, Driver CD
- DC/DC converter
- SlimCD-to-IDE Adapter
Remove the 3 Screws, which hold the cover of the casing.
Pull off the cover of the casing from the front of the case.
Remove each 4 screws, on the left and on the right side of the casing, which hold the inner framework.
The inner framework is used to mount the HDD and (CD/DVD) Slimline disk drive onto it afterwards.
Now take off the inner framework and be careful, that it won’t damage or take off cables and connection plugs.
With help of a little screwdriver, you can carefully push cables and connection plugs aside.
Then you can put the RAM onto the mainboard.
Mounting the HDD:
The content of the SlimCD-to-IDE adapter plastic bag is:
4 black screws for mounting the 2,5“ HDD
2 small screws for mounting the Slimline disk drive onto the inner mounting unit.
2 long screws for the mounting at the Slimline-drive later.
Screw in tight the HDD onto the inner framework. The pins have to show to the rear part of the casing:
Then drive through the IDE cable under the inner framework and attach it to the HDD.
Put the inner framework into the casing.
Pay attention that no cable gets jammed or damaged and the processor cooler can turn without problems later.
Then screw tight the inner framework at the casing:
The power connection gets connected to the HDD..
Preparing the Slimline-drive for mounting into the casing:
Plug in the SlimCD-to-IDE into the drive and screw tight the long screws.
Sliding now the Slimline disk drive of the front into the track by the case disk drive slit until the screw holes of the Slimline
disk drive lie at the 2 corresponding openings Æthen screw them tight.
First attach the power cable to the CD/DVD-drive and then you can attach the IDE-cable.
IDE-cable: Pay attention that it will be attached correctly. The red wire from the IDE-cable has to point to the direction of the
power-connection of the Slimline-drive. It’s shown in the picture below:
At the top view you can see, that the IDE-cable must be carried on the side over the inner framework due to place problems.
At last, the cover of the casing gets screwed onto the casing, but take care that no cable gets jammed in or gets damaged.
Now the InDash V2 Car PC has been assembled completely.
Now you can connect the PC and turn on.
The BIOS is pre-configured and set to CD IDE BOOT so that you can begin with the O/S installation immediately.
There is a BIOS On-Screen Menu, which can be seen at the picture below:
At the case front buttons or keyboard you can select, whether the O/S shall be started now (PC) or a DVD shall be played
without loading the O/S before (DVD) or whether you want to turn the PC off (I/O).
Now the hardware part of the system installation is finished.
Author: B. Lambert - CarTFT.com
Latest revision: Januar 2006-01-31

Other Cartft Automobile Accessories manuals

Cartft FLEETPC-4-F User manual

Cartft

Cartft FLEETPC-4-F User manual

Cartft FleetPC-5-B User manual

Cartft

Cartft FleetPC-5-B User manual

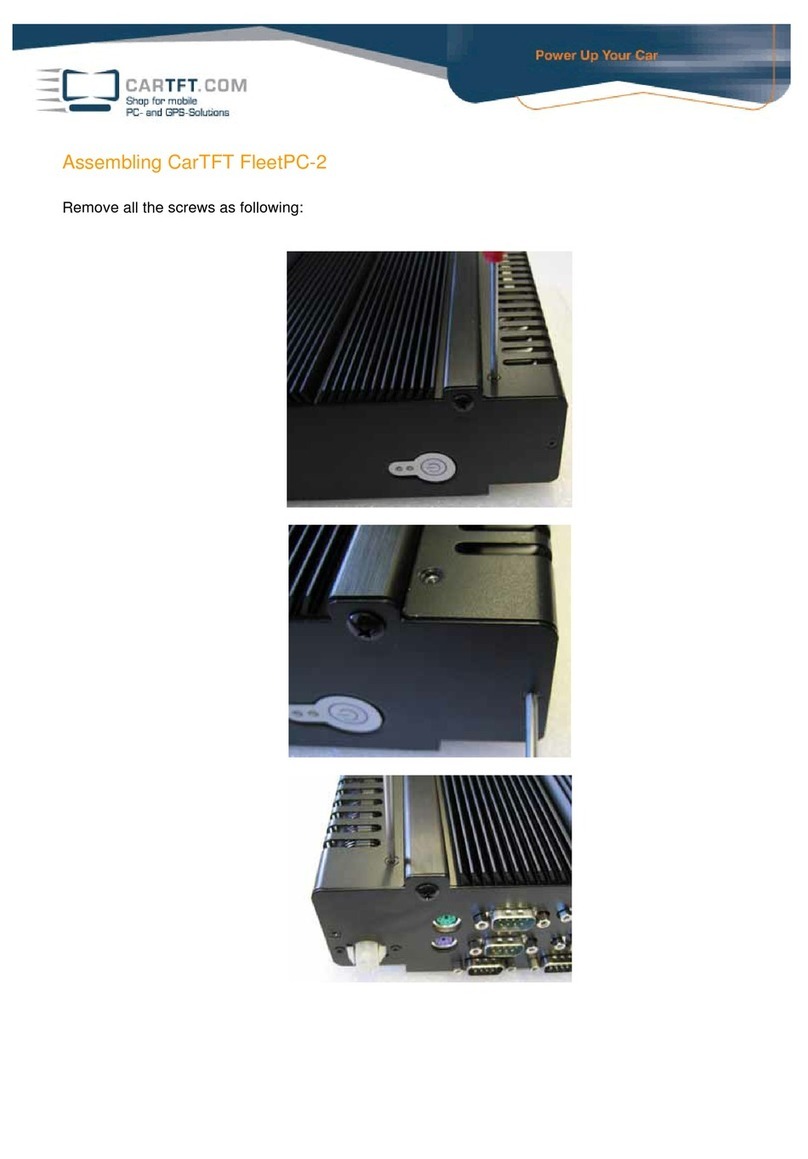
Cartft FleetPC-2 User manual

Cartft

Cartft FleetPC-2 User manual

Cartft FleetPC-8-i7C User manual

Cartft

Cartft FleetPC-8-i7C User manual

Cartft FLEETPC-ARM-300 User manual

Cartft

Cartft FLEETPC-ARM-300 User manual
Cartft FleetPC-11 Series User manual

Cartft

Cartft FleetPC-11 Series User manual

Cartft FLEETPC-8-I7BPOE User manual

Cartft

Cartft FLEETPC-8-I7BPOE User manual

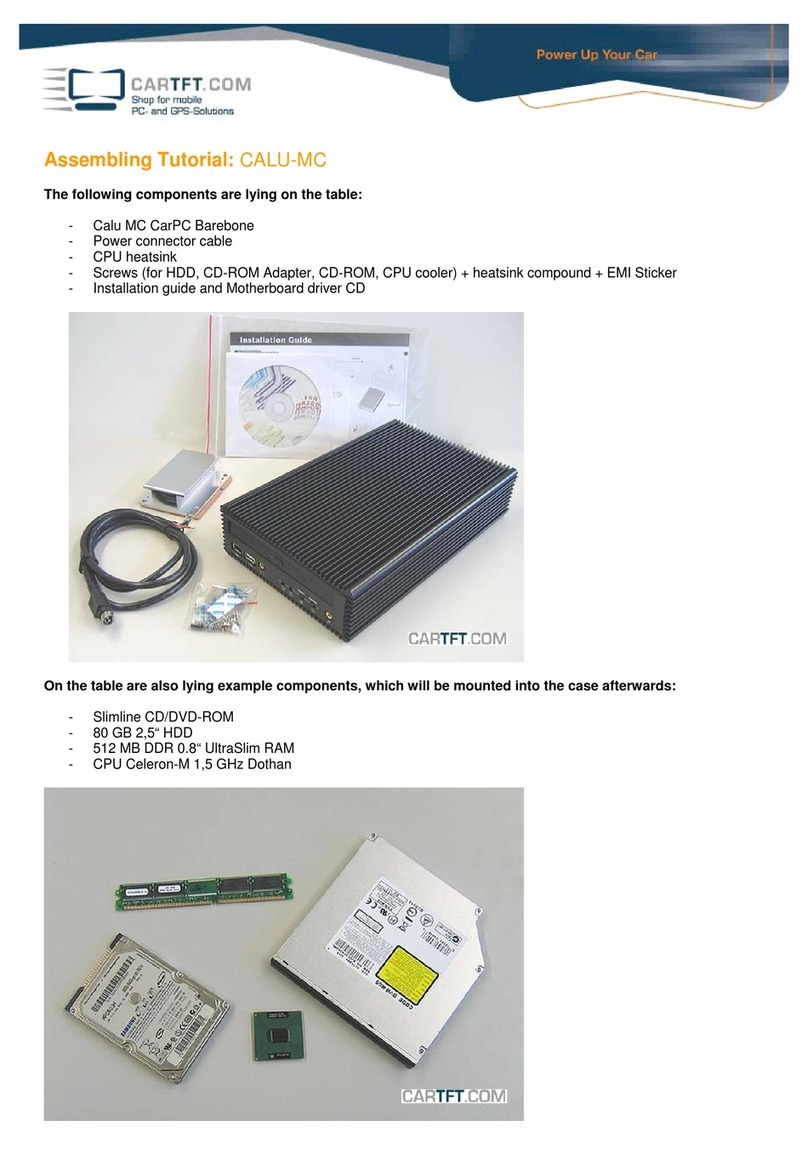
Cartft CALU-MC User manual

Cartft

Cartft CALU-MC User manual

Cartft FleetPC-5-B User manual

Cartft

Cartft FleetPC-5-B User manual

Cartft FleetPC-4-B User manual

Cartft

Cartft FleetPC-4-B User manual

Cartft FleetPC-2 User manual

Cartft

Cartft FleetPC-2 User manual
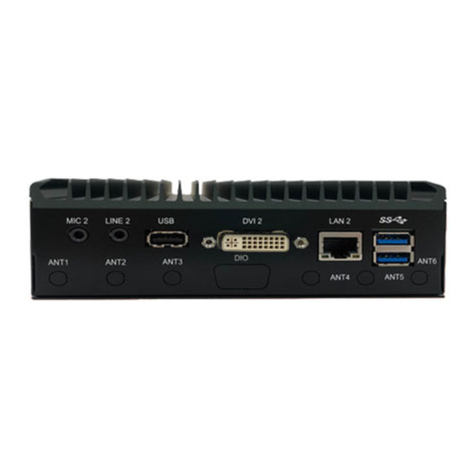
Cartft FLEETPC-ARM-300 User manual

Cartft

Cartft FLEETPC-ARM-300 User manual

Popular Automobile Accessories manuals by other brands

Husky GM UPRIGHTS Assembly, installation and operating instructions

Husky

Husky GM UPRIGHTS Assembly, installation and operating instructions

Victory 4x4 UNIVERSAL CARGO BASKET Install instructions

Victory 4x4

Victory 4x4 UNIVERSAL CARGO BASKET Install instructions

Thule 144 Mounting & installation

Thule

Thule 144 Mounting & installation

Techart 086.100.200.009 Mounting instructions

Techart

Techart 086.100.200.009 Mounting instructions

Torklift central X7286 installation instructions

Torklift central

Torklift central X7286 installation instructions

MBRP Off Camber Fabrications 130872 quick start guide

MBRP

MBRP Off Camber Fabrications 130872 quick start guide

Edge Evolution 15051 Installation instructions & manual for maintenance

Edge

Edge Evolution 15051 Installation instructions & manual for maintenance

EGG Shell User Manual and Maintenance Instruction

EGG

EGG Shell User Manual and Maintenance Instruction

FALCON RIDGE Can-Am Maverick Instructions for Installation and Care

FALCON RIDGE

FALCON RIDGE Can-Am Maverick Instructions for Installation and Care

Advantech TREK-132 user manual

Advantech

Advantech TREK-132 user manual

Prorack K879 Fitting instructions

Prorack

Prorack K879 Fitting instructions

TAUBENREUTHER 50-10JT9862 instructions

TAUBENREUTHER

TAUBENREUTHER 50-10JT9862 instructions

RUD RUDinnov8 Hybrid FITTING INSTRUCTION

RUD

RUD RUDinnov8 Hybrid FITTING INSTRUCTION

HKS MAX IV SP installation guide

HKS

HKS MAX IV SP installation guide

HOLDEN ATB01063 FITTING INSTRUCTION

HOLDEN

HOLDEN ATB01063 FITTING INSTRUCTION

travall TDG 1551 FITTING INSTRUCTION

travall

travall TDG 1551 FITTING INSTRUCTION

Whelen Engineering Company Edge Multi-Reflector Conversion guide

Whelen Engineering Company

Whelen Engineering Company Edge Multi-Reflector Conversion guide

Prorack K165 Fitting Instructions for Basic Carrier

Prorack

Prorack K165 Fitting Instructions for Basic Carrier

manuals.online logo
manuals.online logoBrands
  • About & Mission
  • Contact us
  • Privacy Policy
  • Terms and Conditions

Copyright 2025 Manuals.Online. All Rights Reserved.