manuals.online logo
Brands
  1. Home
  2. •
  3. Brands
  4. •
  5. Casio
  6. •
  7. Cash Register
  8. •
  9. Casio SE-G1 Operating instructions

Casio SE-G1 Operating instructions

Other manuals for SE-G1

4

Other Casio Cash Register manuals

Casio SE-S100 User manual

Casio

Casio SE-S100 User manual

Casio SE-C2000 User manual

Casio

Casio SE-C2000 User manual

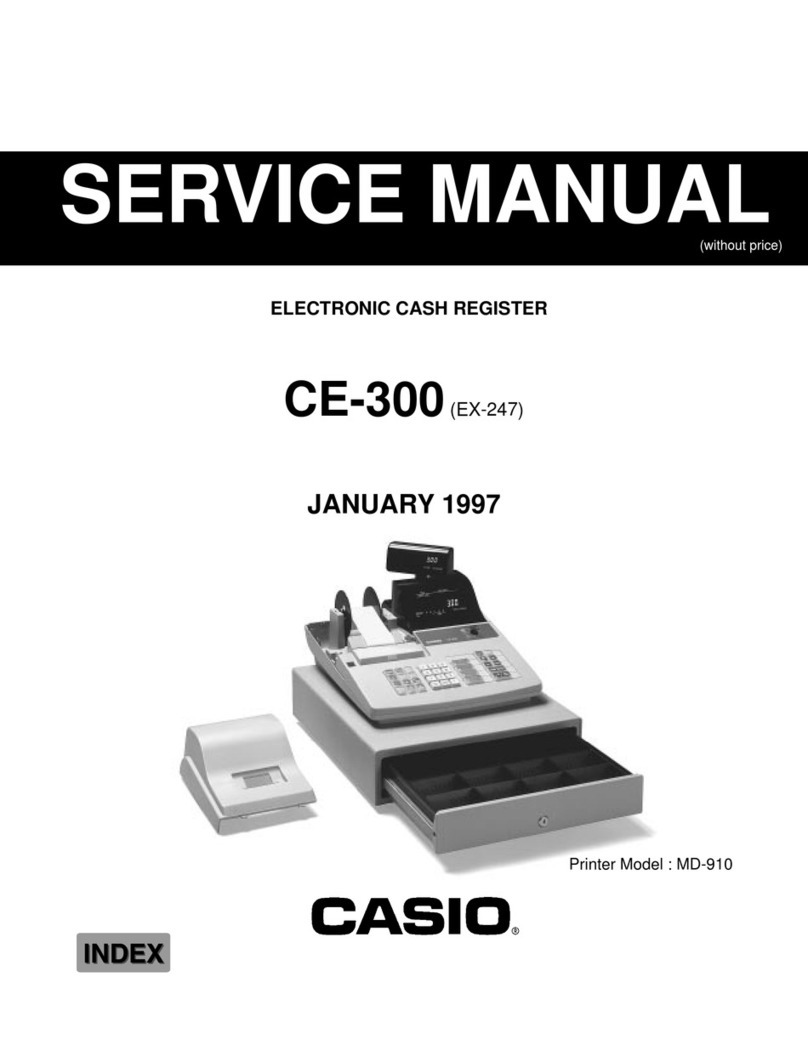
Casio CE-300 (EX-247) Parts list manual

Casio

Casio CE-300 (EX-247) Parts list manual

Casio SE-S400 User manual

Casio

Casio SE-S400 User manual

Casio PCRT275 - Cash Register w/ 15 Depts User manual

Casio

Casio PCRT275 - Cash Register w/ 15 Depts User manual

Casio 240CR Assembly instructions

Casio

Casio 240CR Assembly instructions

Casio 140CR - Cash Register User manual

Casio

Casio 140CR - Cash Register User manual

Casio PCR 272 - Cabinet Design Cash Register User manual

Casio

Casio PCR 272 - Cabinet Design Cash Register User manual

Casio TE-3000S - Cash Register User manual

Casio

Casio TE-3000S - Cash Register User manual

Casio PCR-355 Assembly instructions

Casio

Casio PCR-355 Assembly instructions

Casio 140CR - Cash Register User manual

Casio

Casio 140CR - Cash Register User manual

Casio PCR-208 Assembly instructions

Casio

Casio PCR-208 Assembly instructions

Casio SE-C300 User manual

Casio

Casio SE-C300 User manual
Casio SE-C2000 User manual

Casio

Casio SE-C2000 User manual

Casio 96-Department - PCRT465A Cash Register User manual

Casio

Casio 96-Department - PCRT465A Cash Register User manual

Casio TK-T200 User manual

Casio

Casio TK-T200 User manual
Casio fx-8200 AU User manual

Casio

Casio fx-8200 AU User manual

Casio PCR-T500 User manual

Casio

Casio PCR-T500 User manual

Casio PCR-T2000 User manual

Casio

Casio PCR-T2000 User manual

Casio PCR-255P User manual

Casio

Casio PCR-255P User manual

Casio TE-7000S User manual

Casio

Casio TE-7000S User manual

Casio 130CR User manual

Casio

Casio 130CR User manual

Casio SR-S500 Operating and maintenance instructions

Casio

Casio SR-S500 Operating and maintenance instructions

Casio PCR-260B User manual

Casio

Casio PCR-260B User manual

Popular Cash Register manuals by other brands
Royal 480nt operating manual

Royal

Royal 480nt operating manual

Olivetti ECR 8200 S user guide

Olivetti

Olivetti ECR 8200 S user guide

TEC TEC FS-3600 owner's manual

TEC

TEC TEC FS-3600 owner's manual

Integrated System Laboratory ISL 4006 user manual

Integrated System Laboratory

Integrated System Laboratory ISL 4006 user manual

Sam4s ER-380 Operation and program manual

Sam4s

Sam4s ER-380 Operation and program manual

Sharp XE-A206 Guía de inicio Rápido

Sharp

Sharp XE-A206 Guía de inicio Rápido

Samsung ER 5215 Operator's manual

Samsung

Samsung ER 5215 Operator's manual

Toast Toast Quick setup guide

Toast

Toast Toast Quick setup guide

QUORION CR 1200 user manual

QUORION

QUORION CR 1200 user manual

Olivetti ECR 7700 LD eco Plus user guide

Olivetti

Olivetti ECR 7700 LD eco Plus user guide

Sharp XE-A137-WH Operation Basic user manual
Sharp

Sharp XE-A137-WH Operation Basic user manual

Sharp XE-A203 - Cash Register Thermal Printing Graphic Logo... instruction manual

Sharp

Sharp XE-A203 - Cash Register Thermal Printing Graphic Logo... instruction manual

TEC TEC MA-1060 owner's manual

TEC

TEC TEC MA-1060 owner's manual

American Changer CLASSIC Series Operation manual

American Changer

American Changer CLASSIC Series Operation manual

Sharp XE-A130 Bedienungsanleitung

Sharp

Sharp XE-A130 Bedienungsanleitung

Sam4s ER-5100? SERIES Service manual

Sam4s

Sam4s ER-5100? SERIES Service manual

Sharp ER-2540 Service manual

Sharp

Sharp ER-2540 Service manual

Sharp ER-2540 Service manual

Sharp

Sharp ER-2540 Service manual

manuals.online logo
manuals.online logoBrands
  • About & Mission
  • Contact us
  • Privacy Policy
  • Terms and Conditions

Copyright 2025 Manuals.Online. All Rights Reserved.

Load Memory Protection Batteries and Paper Roll
D) Install the supplied thermal paper roll by lifting up the
platen arm and placing the paper roll into the printer well as
shown below. Close the cover firmly.
1
Initialize Your Cash Register
2
A)
Insert the supplied key and turn
to the “OFF”position.
B) Plug the power cord into the AC outlet and wait for
the instructional messages to print.
IMPORTANT: Confirm that the plus (+) and minus (-
) ends of the batteries
are facing in the directions indicated in the illustration inside the
battery compartment.
To prevent losing all of your settings and sales
data, we recommend you install the two memory
protection batteries.
Choosing the Language
3
A)
For English select the following:
Please also refer to printout instructions from the cash register
To set for
Receipt printing
:
To set for
Journal printing
:
A) Turn key to the PGM position
B) Perform steps as follows:
Setting Date and Time
4
A)
Input date and time as indicated on the printout chit on the cash
register
6
A) Turn key to the
Z position
B) Perform the following sequence
Note: This operation automatically sets correct tax
rates, rounding, and receipt formats to Australian
standards.
Setting for Australian Standards
6
6
A) Turn key to the PGM position
B) Press
To enable
C) Press then press departments as required
D) Press
If using shift departments
otherwise skip this step
To disable use same sequence except use in place of
Casio SE-G1 Australian Quick Programming Guide
(please also refer to the “User Manual”supplied for further information if required)
“
A) Turn key to the PGM position
B) Perform steps as follows:
1
Load Memory Protection Batteries and Paper Roll
Printer switch for receipt or journal
5
A) Remove the printer cover
B) Open Battery
Compartment
cover
C) Insert 2 new “AA”type batteries
into the compartment
Setting GST to Departments
7
A)
B)
C)
D)
E)
Casio SE-G1 Australian Quick Programming Guide
(please also refer to the “User Manual”supplied for further information if required)
Linking PLU’s to departments is only required if you are using PLU’s.
This process aids end of day reporting by grouping products (PLU’s)
with departments.
A) Turn Key to PGM position
B) Press
C) Enter
D) Press
The SE-G1 contains 24 departments, 8 are located on the keyboard and
an additional 16 are accessible using the “department shift" function.
Prices may be set to departments if required or entered manually from
with
in the sale
.
B) Press
D) Key price then press department key
A) Turn Key to PGM position
Note: Press dept shift once to access departments
9
~
16
or twice
for 1
7~24 etc.
IMPORTANT: Never use decimal point key when imputing
price.
C) Press “Dept Shift”if programming shift departments
otherwise skip to step D
A) Turn Key to PGM position
B) Press
C) Press
D) Enter
E) Press
The SE-G1 has an option of 999 PLU’s
. A PLU lookup function is provided
should you decide to use PLU’s on this register.
E) Press
Linking PLU’s to Departments
1
1
Programming Receipt Message
10
You can program receipt message text at the top
of the receipt. Up to 5 lines of text may be
programmed.
Receipt message sample
Flash Report
A flash report useful to monitor how much money
has been taken throughout the trading day.
A) Turn Key to the Xposition
B) Press
.
The following operation will print the end of day financial report.
Note: Using XMode will print only while ZMode will print and reset the figures ready for the next trading day.
13
Daily End of Day Report
Links PLU0001
to Department 4
This procedure sets $1.00 to PLU0001.
12
Setting prices to Departments
8
Setting prices to PLU’s
9
YOUR RECEIPT
THANK YOU
CALL AGAIN
Receipt message 1
st
line
Receipt message 2nd line
Receipt message 3rd line
Receipt message 4th line
Receipt message 5th line