manuals.online logo
Brands
  1. Home
  2. •
  3. Brands
  4. •
  5. Castleton Home
  6. •
  7. Indoor Furnishing
  8. •
  9. Castleton Home DD-QB1261 Instruction sheet

Castleton Home DD-QB1261 Instruction sheet

For assistance with assembly or questions contact:
Wayfair Customer Service, 877-WAYFAIR (877-929-3247) | www.wayfair.com
PAGE 1
DD-QB1261
Queen Upholstered Bed 1
Product Instructions for:
For assistance with assembly or questions contact:
Wayfair Customer Service, 877-WAYFAIR (877-929-3247) | www.wayfair.com
PAGE 2
DD-QB1261
Queen Upholstered Bed 1
Before beginning assembly, separate all parts and carefully study the parts
diagrams below. Review all parts and hardware before disposing of any
packaging. You may receive extra hardware with your unit. Call Customer
Service for missing hardware.
A: Headboard (1)
B: Base Headboard (1)
C: Right Arm Post (1)
D: Left Arm Post (1)
E: Right Rail (1)
F: Left Rail (1)
G: Footboard (1)
H: Slat (4)
I: Leg (4)
J: Support Leg (4)
K: Support Block (2)
Parts list
For assistance with assembly or questions contact:
Wayfair Customer Service, 877-WAYFAIR (877-929-3247) | www.wayfair.com
PAGE 3
1: Bolt Dia. 1/4”x2-1/4”L (4)
2: Bolt Dia. 1/4”x2-3/8”L (10)
3: Bolt Dia. 1/4”x1-1/4”L (12)
4: Threaded Bolt Dia. 5/16”x4-1/4”L
(8)
5: Bolt Dia. 5/16”x2”L (3)
6: Flat Washer Dia. 5/16” (3)
7: Nut Dia. 5/16” (8)
8: Spring Washer Dia. 5/16” (11)
9: Allen Wrench (1)
10: Metal Plate (4)
11: Wrench (1)
12: Tooth Lock Washer (4)
13: Flat Washer Dia. 1/4” (10)
14: Spring Washer Dia. 1/4” (10)
For assistance with assembly or questions contact:
Wayfair Customer Service, 877-WAYFAIR (877-929-3247) | www.wayfair.com
PAGE 4
DD-QB1261
Queen Upholstered Bed 1
Figure 1
Step 1
Place a Tooth Lock Washer
(12) onto the bolt on each
Leg (I). Then, attach Legs (I)
and Tooth Lock Washers
(12) to Base Headboard (B)
by inserting Legs (I) into the
predrilled holes on Base
Headboard (B) and rotating
clockwise until Legs (I) are
tight.
Figure 2
Step 2
Use Bolts (1) to connect
Support Blocks (K) to Right
Arm Post (C) and Left Arm
Post (D) as shown in Figure
2.
Tighten Bolts (1) using Allen
Wrench (9).
Assembly Instructions
KD
C9
1
B
I
12
For assistance with assembly or questions contact:
Wayfair Customer Service, 877-WAYFAIR (877-929-3247) | www.wayfair.com
PAGE 5
Figure 3
Step 3
Lift the velcro strip cover at
the back of Headboard (A).
Using Bolts (5), Spring
Washers (8) and Flat
Washers (6), connect
Headboard (A) to Base
Headboard (B) as shown in
Figure 3.
Tighten Bolts (5) using Allen
Wrench (9).
Figure 4
Step 4
Lift the velcro strip cover at
the back of Base Headboard
(B).
Attach Headboard (A) and
Base Headboard (B) to
Right Arm Post (C) and Left
Arm Post (D) using Bolts (2),
Spring Washers (14) and
Flat Washers (13) as shown
in Figure 4.
Tighten Bolts (2) using Allen
Wrench (9).
Close the velcro strip
covers.
A
B
9
5
86
13
2
9
A
D
B
C
14
For assistance with assembly or questions contact:
Wayfair Customer Service, 877-WAYFAIR (877-929-3247) | www.wayfair.com
PAGE 6
Figure 5
Step 5
Place a Tooth Lock Washer
(12) onto the bolt on each
Leg (I). Then, attach Legs (I)
and Tooth Lock Washers
(12) to Footboard(G) by
inserting Legs (I) into the
predrilled holes on
Footboard(G) and rotating
clockwise until Legs (I) are
tight.
Figure 6
4
F2
J2
Step 6
Screw Threaded Bolts (4)
into predrilled holes on Right
Arm Post (C) and Footboard
(G). Attach Right Rail (E) to
Right Arm Post (C) and
Footboard (G) by inserting
exposed part of Threaded
Bolts (4) into predrilled holes
on Right Rail (E).
Repeat process on left side.
I
12
G
4
C
A
BE
FG
D
For assistance with assembly or questions contact:
Wayfair Customer Service, 877-WAYFAIR (877-929-3247) | www.wayfair.com
PAGE 7
Figure 7
Step 7
Insert a Metal Plate (10) into
each cavity on Right Rail
(E), placing Metal Plates
(10) onto exposed ends of
Threaded Bolts (4).
Use Nuts (7) and Spring
Washers (8) to secure Right
Rail (E) as shown in Figure
7.
Tighten Nuts (7) using
Wrench (11).
Repeat process on left side.
4
7
10
11
7
Figure 8
Step 8
Attach Support Legs (J) to
Slats (H) using Bolts (3).
Tighten Bolts (3) using Allen
Wrench (9).
8
10
11
7
8
7
9
3
H
J
For assistance with assembly or questions contact:
Wayfair Customer Service, 877-WAYFAIR (877-929-3247) | www.wayfair.com
PAGE 8
Figure 9
Step 9
Align Slat (H)/Leg (J) units
from Figure 8 with predrilled
holes on the inside of
bedframe Rails (E & F).
Use Bolts (3) to secure Slat
(H)/Leg (J) units to Rails (E
& F).
Tighten Bolts (3) using Allen
Wrench (9).
Figure 10
Step 10
Now your Queen
Upholstered Bed 1 is ready
to use!
3
9

Other Castleton Home Indoor Furnishing manuals
Castleton Home ZH2622 User manual

Castleton Home

Castleton Home ZH2622 User manual

Castleton Home IDT 3705 User manual

Castleton Home

Castleton Home IDT 3705 User manual

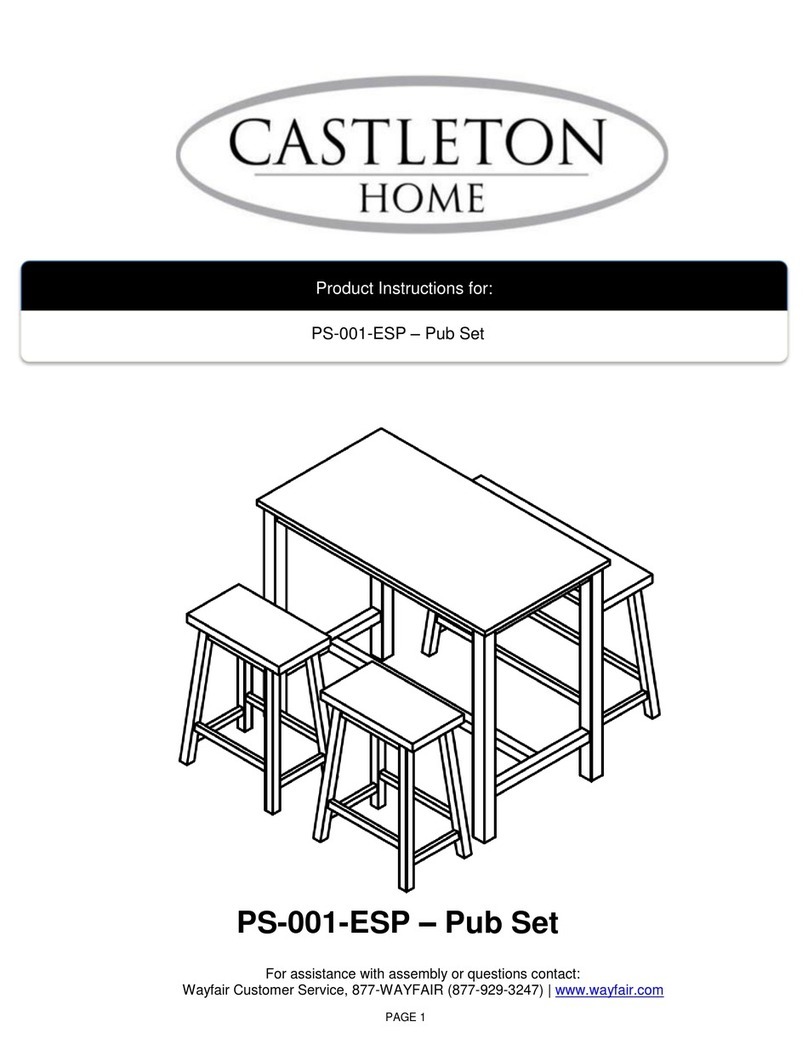
Castleton Home PS-001-ESP Instruction sheet

Castleton Home

Castleton Home PS-001-ESP Instruction sheet

Castleton Home DS1880SLV Instruction sheet

Castleton Home

Castleton Home DS1880SLV Instruction sheet

Castleton Home YX-ET402 Instruction sheet

Castleton Home

Castleton Home YX-ET402 Instruction sheet

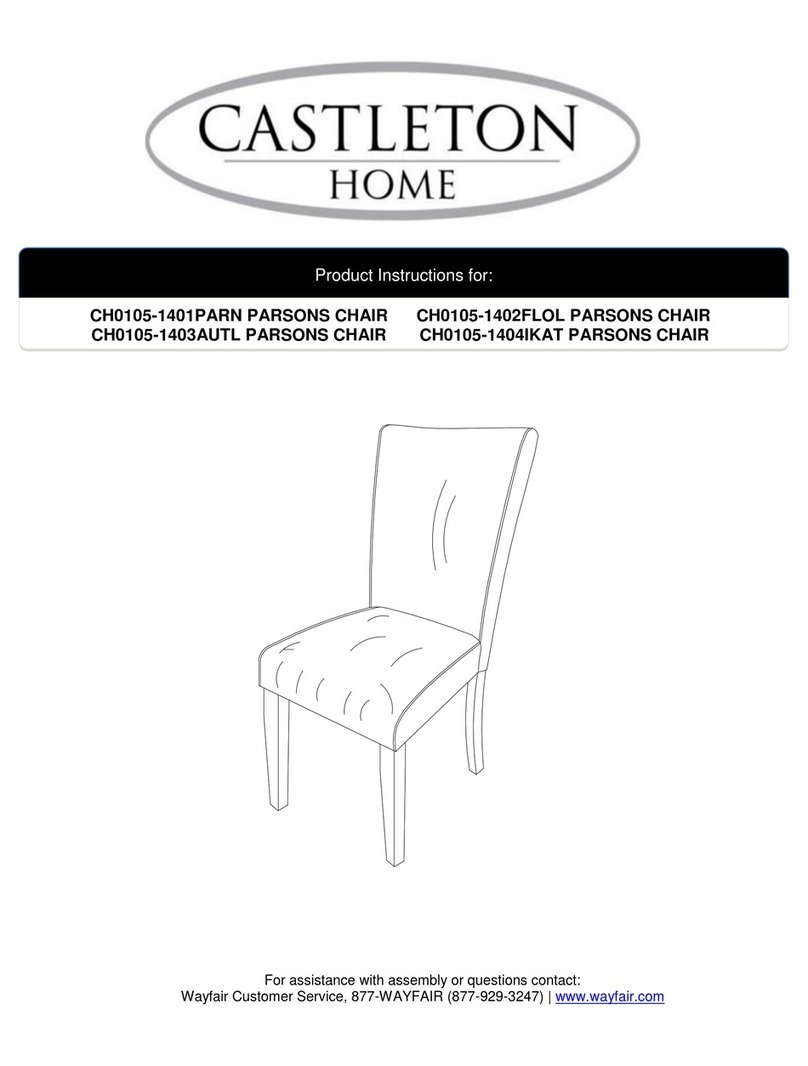
Castleton Home CH0105-1401PARN User manual

Castleton Home

Castleton Home CH0105-1401PARN User manual

Castleton Home Barstool 2 Instruction sheet

Castleton Home

Castleton Home Barstool 2 Instruction sheet

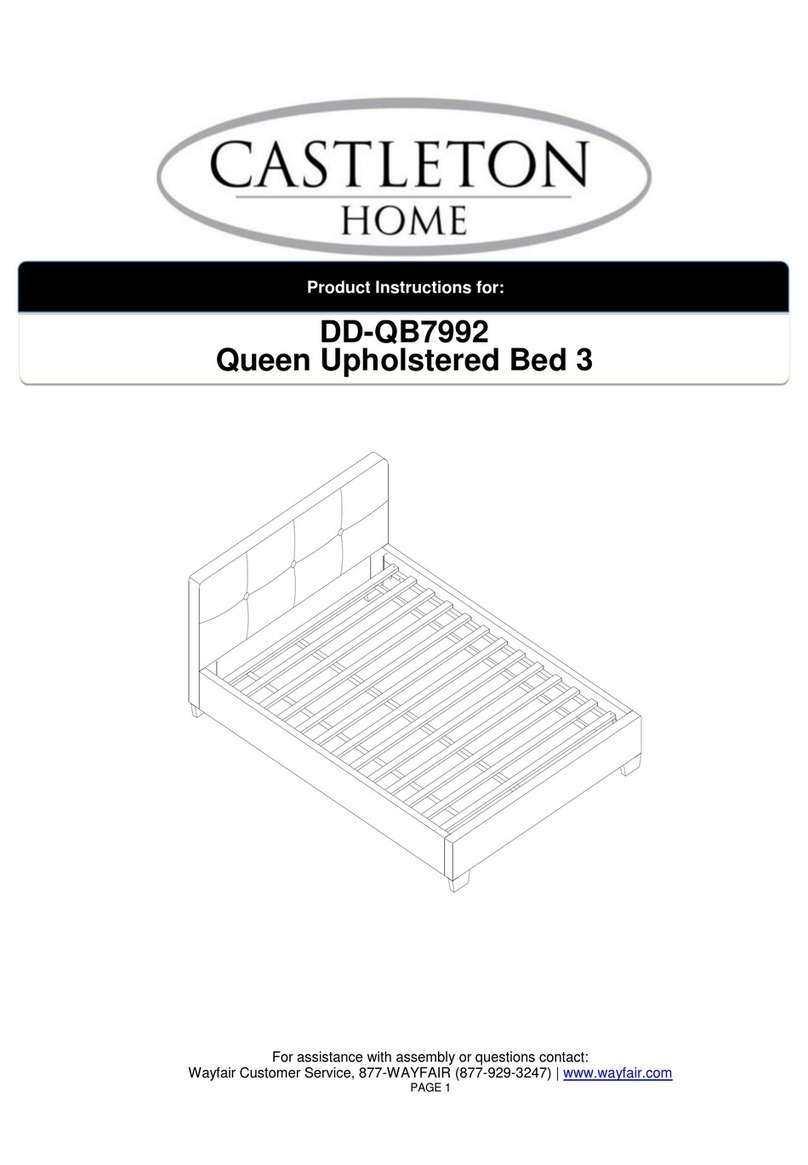
Castleton Home DD-QB7992 Instruction sheet
Castleton Home

Castleton Home DD-QB7992 Instruction sheet

Castleton Home DD9410-1-BR User manual

Castleton Home

Castleton Home DD9410-1-BR User manual

Castleton Home CX1125 User manual

Castleton Home

Castleton Home CX1125 User manual

Castleton Home IDT 3705 User manual

Castleton Home

Castleton Home IDT 3705 User manual

Castleton Home HM-ET302 User manual

Castleton Home

Castleton Home HM-ET302 User manual

Castleton Home JR-5648 Hall Tree User manual

Castleton Home

Castleton Home JR-5648 Hall Tree User manual

Castleton Home ZH2023 User manual

Castleton Home

Castleton Home ZH2023 User manual

Castleton Home WA003 User manual

Castleton Home

Castleton Home WA003 User manual

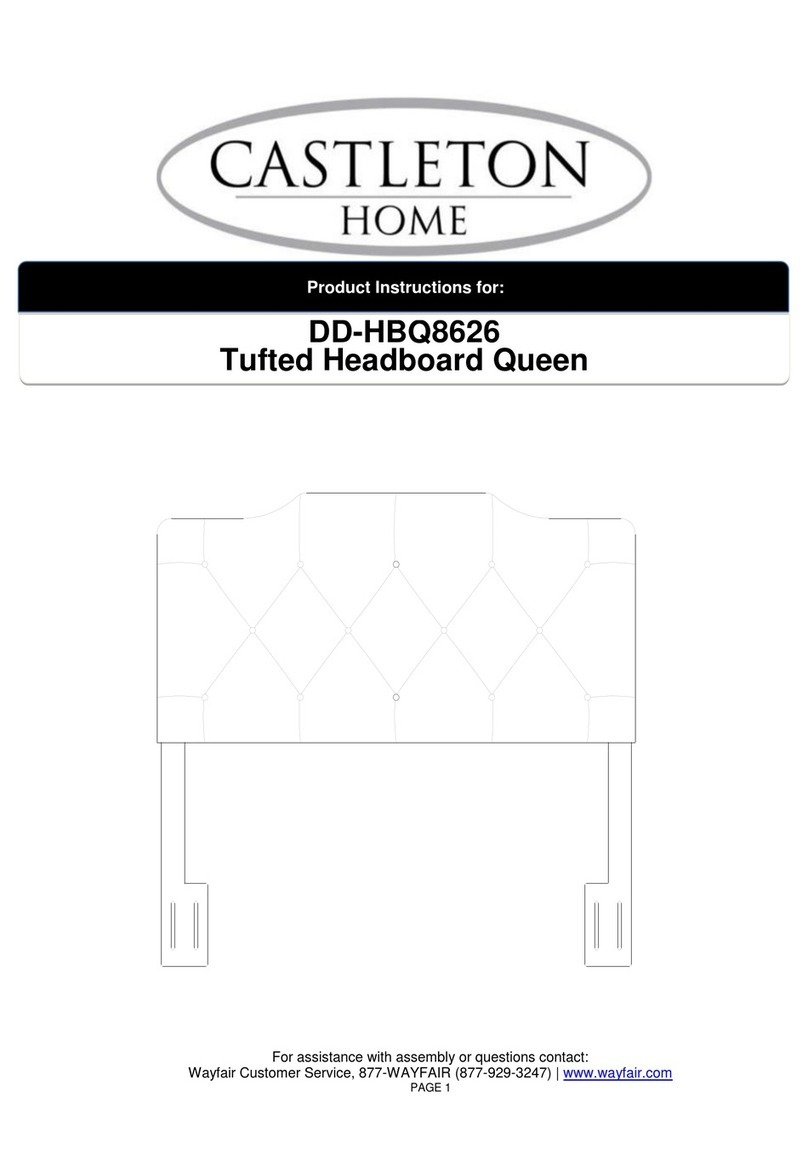
Castleton Home V-QHB445 Instruction sheet

Castleton Home

Castleton Home V-QHB445 Instruction sheet

Castleton Home YX-CK237 User manual

Castleton Home

Castleton Home YX-CK237 User manual

Castleton Home DD-KB1262 User manual

Castleton Home

Castleton Home DD-KB1262 User manual

Castleton Home DD-KHB8270-1CR User manual

Castleton Home

Castleton Home DD-KHB8270-1CR User manual

Castleton Home ZH6431 User manual

Castleton Home

Castleton Home ZH6431 User manual
Castleton Home ZH1333 User manual

Castleton Home

Castleton Home ZH1333 User manual
Castleton Home IDT 3703 User manual

Castleton Home

Castleton Home IDT 3703 User manual

Castleton Home V-KHB446 Instruction sheet

Castleton Home

Castleton Home V-KHB446 Instruction sheet

Castleton Home ZH1825-1IVY Instruction sheet

Castleton Home

Castleton Home ZH1825-1IVY Instruction sheet

Popular Indoor Furnishing manuals by other brands

INTERSTEEL 23.450116 Assembly instruction

INTERSTEEL

INTERSTEEL 23.450116 Assembly instruction

Homelegance 1451-1 Assembly instruction

Homelegance

Homelegance 1451-1 Assembly instruction

TONN FURNITURE PORTAL SHELF 244 cm Assembly instructions

TONN FURNITURE

TONN FURNITURE PORTAL SHELF 244 cm Assembly instructions

LIVIQUE Hedy 6716237 Assembly instructions

LIVIQUE

LIVIQUE Hedy 6716237 Assembly instructions

RiverRidge 06-199 Assembly instructions

RiverRidge

RiverRidge 06-199 Assembly instructions

RESTWOOD DOMEK TRANO AP quick start guide

RESTWOOD

RESTWOOD DOMEK TRANO AP quick start guide

Next 875368 Assembly instructions

Next

Next 875368 Assembly instructions

Cooper Lighting RKD-148SL-10B installation instructions

Cooper Lighting

Cooper Lighting RKD-148SL-10B installation instructions

Ben Sanitair BEN VARIO PG3V002CX-1422 Assembly instruction

Ben Sanitair

Ben Sanitair BEN VARIO PG3V002CX-1422 Assembly instruction

Rauch M2811 Assembly instructions

Rauch

Rauch M2811 Assembly instructions

KIC AVAWOOD SS-HNG11-NA11 Assembly guide

KIC

KIC AVAWOOD SS-HNG11-NA11 Assembly guide

Songmics VASAGLE RMB073 manual

Songmics

Songmics VASAGLE RMB073 manual

KI Lancaster Auditorium Seating Disassembly instructions

KI

KI Lancaster Auditorium Seating Disassembly instructions

FIAM. LOLLIPOP LP/200 Product information

FIAM.

FIAM. LOLLIPOP LP/200 Product information

Nightingale CXO 6200 series User handbook

Nightingale

Nightingale CXO 6200 series User handbook

Forte FRTD311 Assembling Instruction

Forte

Forte FRTD311 Assembling Instruction

Twin-Star International TC56-6066 manual

Twin-Star International

Twin-Star International TC56-6066 manual

armen LIVING DC17477G-B Product assembly instructions

armen LIVING

armen LIVING DC17477G-B Product assembly instructions

manuals.online logo
manuals.online logoBrands
  • About & Mission
  • Contact us
  • Privacy Policy
  • Terms and Conditions

Copyright 2025 Manuals.Online. All Rights Reserved.