manuals.online logo
Brands
  1. Home
  2. •
  3. Brands
  4. •
  5. Castleton Home
  6. •
  7. Indoor Furnishing
  8. •
  9. Castleton Home JR-5648 Hall Tree User manual

Castleton Home JR-5648 Hall Tree User manual

For assistance with assembly or questions contact:
Wayfair Customer Service, 877-WAYFAIR (877-929-3247) | www.wayfair.com
PAGE 1
Product Instructions for:
JR-5648 Hall Tree
For assistance with assembly or questions contact:
Wayfair Customer Service, 877-WAYFAIR (877-929-3247) | www.wayfair.com
PAGE 2
JR-5648 Hall Tree
Before beginning assembly, separate all parts and carefully study the parts diagrams
below. Review all parts and hardware before disposing of any packaging. You may
receive extra hardware with your unit. Call Customer Service for missing hardware.
A: Top Panel (1)
B: Coat Rack (1)
C: Left Frame (1)
D: Right Frame (1)
E: Left Storage Frame (1)
F: Right Storage Frame (1)
G: Middle Frame (2)
H: Storage Back Panel (1)
I: Storage Frame (1)
J: Storage Lid (1)
K: Base Panel (1)
Parts List
For assistance with assembly or questions contact:
Wayfair Customer Service, 877-WAYFAIR (877-929-3247) | www.wayfair.com
PAGE 3
1: Hook (4)
2: Allen Wrench Dia. 1/4" (1)
3: Bolt Dia.1/4” x1-3/4" (8)
4: Bolt Dia.1/4” x1" (21)
5: Left Hinge (1)
6: Right Hinge (1)
7: Dowel Dia. 1/3” x1-1/5” (16)
8: Flat Head Screw Dia. 1/2” x1-1/5” (20)
9: Wall Anchor (2)
10: Bracket (4)
11: Plastic Strap (2)
12: Screw Dia. 1/3” x1-1/4" (2)
13: Screw Dia. 1/3” x5/8" (2)
14: Plastic Cover (27)
For assistance with assembly or questions contact:
Wayfair Customer Service, 877-WAYFAIR (877-929-3247) | www.wayfair.com
PAGE 4
JR-5648 Hall Tree
B
1
8
Figure 1
Step 1
Unpack and lay parts on a clean,
padded surface like a carpet or
blanket. Check that you have all
parts indicated on the front page.
Attach Hook (1) to Coat Rack (B)
using Screws (8) as shown in
Figure 1.
Tighten Screws (8) with Phillips
screwdriver (not included).
E
73214
H
K
Figure 2
Step 2
Connect Storage Back Panel (H)
to Left Storage Frame (E) using
Bolts (3) and Dowels (7) as shown
in Figure 2.
Tighten Bolts (3) with Allen Wrench
(2).
Cover Bolt (3) holes with Plastic
Covers (14).
Insert Base Panel (K) into the
grooves of Storage Back Panel (H)
and Left Storage Frame (E).
WARNING: Do not over-tighten
Bolts (3).
Assembly Instructions
For assistance with assembly or questions contact:
Wayfair Customer Service, 877-WAYFAIR (877-929-3247) | www.wayfair.com
PAGE 5
I
3
2
14
7
Figure 3
Step 3
Connect Storage Frame (I) to unit
from Figure 2 using Bolts (3) and
Dowels (7) as shown in Figure 3.
Tighten Bolts (3) with Allen Wrench
(2).
Cover Bolt (3) holes with Plastic
Covers (14).
WARNING: Do not over-tighten
Bolts (3).
F
14 23
7
7
7
Figure 4
Step 4
Connect Right Storage Frame (F)
to unit from Figure 3 using Bolts
(3) and Dowel (7) as shown in
Figure 4.
Tighten Bolts (3) with Allen
Wrench (2).
Cover Bolt (3) holes with Plastic
Covers (14).
Insert Dowels (7) into the predrilled
holes on top of Left Storage Frame
(E) and Right Storage Frame (F).
WARNING: Do not over-tighten
Bolts (3).
For assistance with assembly or questions contact:
Wayfair Customer Service, 877-WAYFAIR (877-929-3247) | www.wayfair.com
PAGE 6
Figure 5
Step 5
Mount Left Frame (C) on Dowels
(7) attached to unit from Figure 4.
Use Bolts (4) to secure Left Frame
(C) from underside of Left Storage
Frame (E) and from side of
Storage Back Panel (H) as shown
in Figure 5.
Cover Bolt (4) holes with Plastic
Covers (14).
Insert Middle Frame (G) into
grooves of Storage Back Panel (H)
and attach to Left Frame (C) using
Bolts (4) and a Dowel (7) as
shown in Figure 5.
Tighten Bolts (4) with Allen
Wrench (2).
WARNING: Do not over-tighten
Bolts (4).
Figure 6
Step 6
Insert remaining Middle Frame (G)
into grooves of Middle Frame (G)
on unit from Figure 5. Connect
remaining Middle Frame (G) to
Left Frame (C) using Bolts (4) and
a Dowel (7) as shown in Figure 6.
Tighten Bolts (4) with Allen
Wrench (2).
WARNING: Do not over-tighten
Bolts (4).
G
7
4214
C
G
4
74214
For assistance with assembly or questions contact:
Wayfair Customer Service, 877-WAYFAIR (877-929-3247) | www.wayfair.com
PAGE 7
Figure 7
Step 7
Insert Coat Rack (B) into grooves
of Middle Frame (G) on unit from
Figure 6. Connect Coat Rack (B)
to Left Frame (C) using Bolts (4)
and a Dowel (7) as shown in
Figure 7.
Tighten Bolts (4) with Allen
Wrench (2).
Cover Bolt (4) holes with Plastic
Covers (14).
Insert Dowels (7) into predrilled
holes on unit from Figure 6.
WARNING: Do not over-tighten
Bolts (4).
Figure 8
Step 8
Connect Right Frame (D) to unit
from Figure 7 using Bolts (4) as
shown in Figure 8.
Tighten Bolts (4) with Allen
Wrench (2).
Cover Bolt (4) holes with Plastic
Covers (14).
WARNING: Do not over-tighten
Bolts (4).
B
7
7
4214
D
4
2
14
For assistance with assembly or questions contact:
Wayfair Customer Service, 877-WAYFAIR (877-929-3247) | www.wayfair.com
PAGE 8
Figure 9
Step 9
Attach Top Panel (A) to unit from
Figure 8 using Bolts (4) and
Dowels (7).
Tighten Bolts (4) with Allen
Wrench (2).
Cover Bolt (4) holes with Plastic
Covers (14).
WARNING: Do not over-tighten
Bolts (4).
Figure 10
Step 10
Use Screws (8) to connect Storage
Lid (J) to unit from Figure 9 as
shown in Figure 10.
Tighten Screws (8) with Phillips
screwdriver (not included).
Align Hinges (5 & 6) with Storage
Lid (J) and unit from Figure 9.
Attach Hinges (5 & 6) using
screws (8) as shown in Figure 10.
Tighten Screws (8) with Phillips
screwdriver (not included).
A
4
7
214
J
8
8
5
6
6
8
8
8
For assistance with assembly or questions contact:
Wayfair Customer Service, 877-WAYFAIR (877-929-3247) | www.wayfair.com
PAGE 9
Figure 11
Step 11
Attach two Brackets (10) to the
back of Top panel (A) using
Screws (13) as shown in Figure
11.
Mark two desired locations on the
wall and drill two holes. Insert Wall
Anchors (9) into holes in wall as
shown in Figure 11. Use a
hammer to insert Wall Anchors (9)
until they are flush with wall.
Attach remaining two Brackets
(10) to Wall Anchors (9) in wall
using Screws (12).
Tighten Screws (12 & 13) using
Phillips screwdriver (not included).
Figure 12
Step 12
Move assembled Hall Tree close
to wall Brackets (10) and tie
corresponding Brackets (10)
together with Plastic Straps (11)
as shown in Figure 12.
WARNING: Anti-tipping hardware
must be used for this product to
avoid tipping and injury.
Now your Hall Tree is ready to
use!
10
13
10
9
12
10
9
12
910 12
13
11
910 12
13
11
9
12
10
11
13

Other Castleton Home Indoor Furnishing manuals

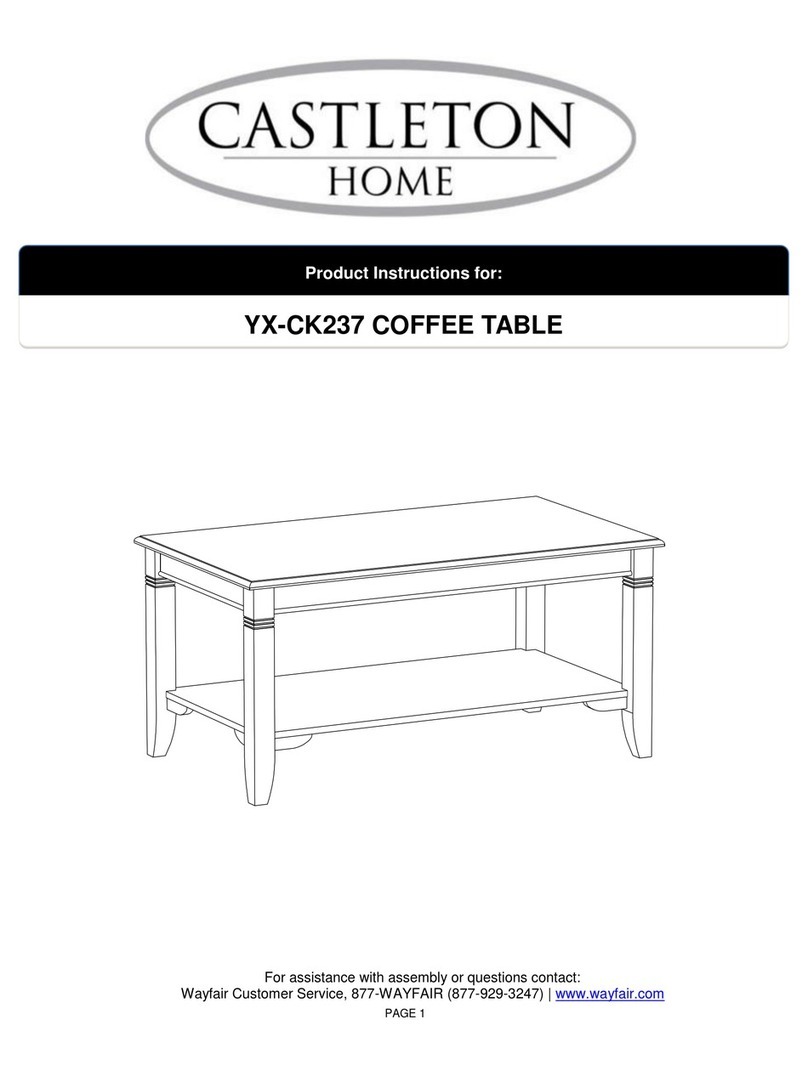
Castleton Home ZH2023 User manual

Castleton Home

Castleton Home ZH2023 User manual

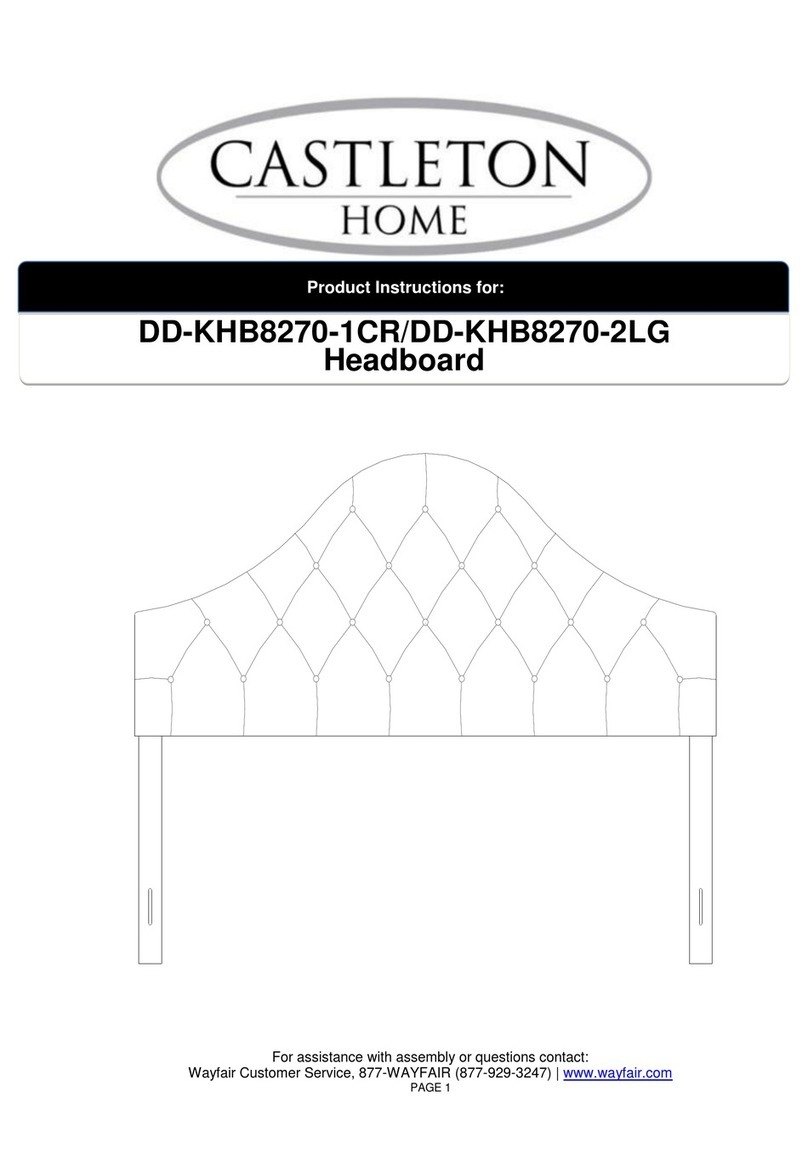
Castleton Home DD-KHB8270-1CR User manual

Castleton Home

Castleton Home DD-KHB8270-1CR User manual

Castleton Home SG-CT12 Instruction sheet

Castleton Home

Castleton Home SG-CT12 Instruction sheet

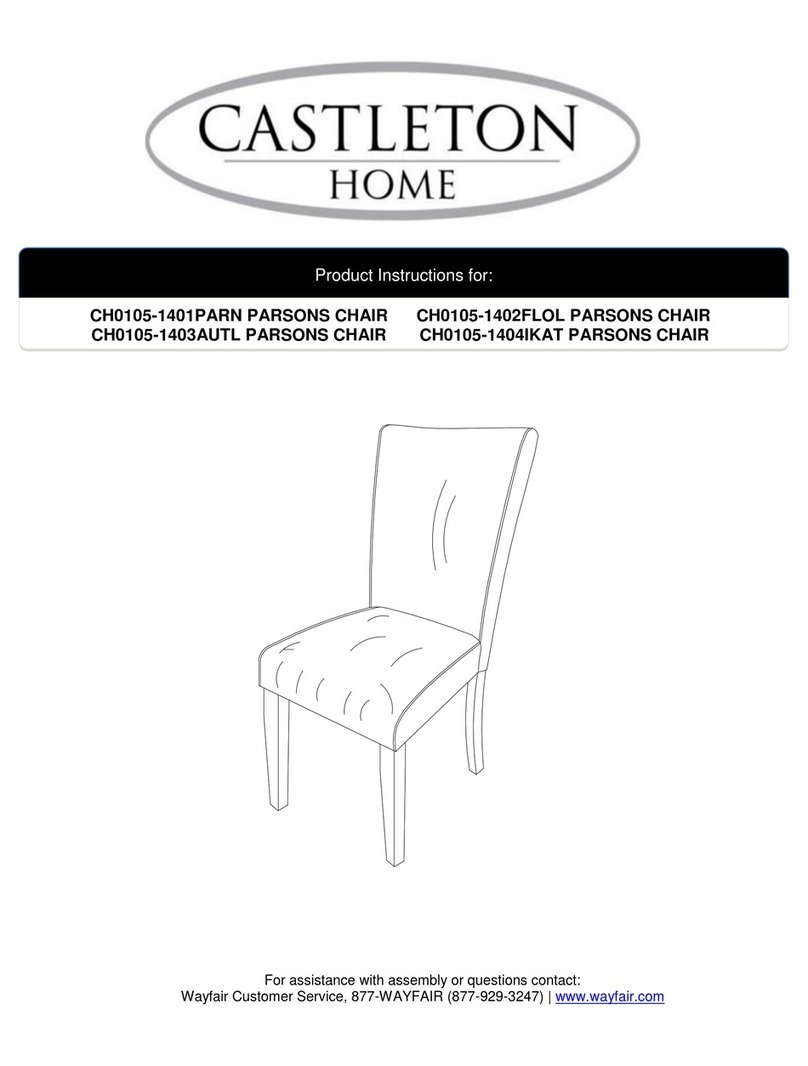
Castleton Home CH0105-1401PARN User manual

Castleton Home

Castleton Home CH0105-1401PARN User manual

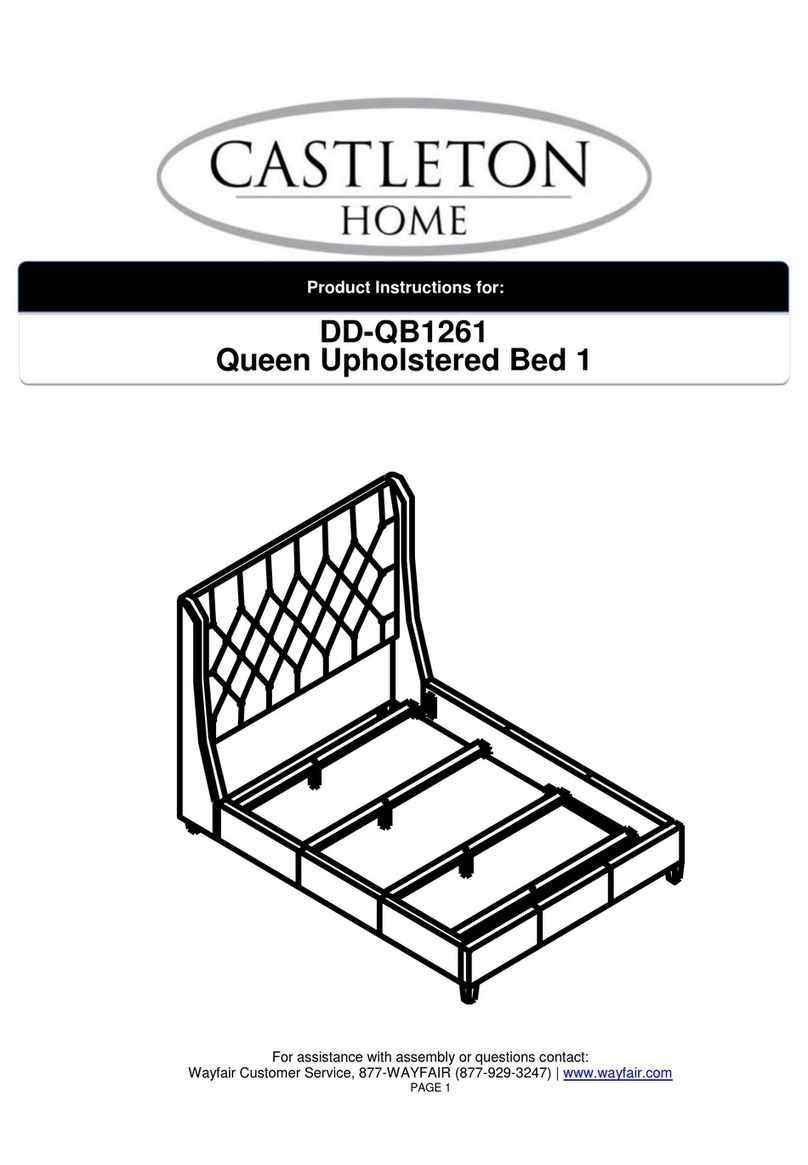
Castleton Home DD-QB1261 Instruction sheet

Castleton Home

Castleton Home DD-QB1261 Instruction sheet

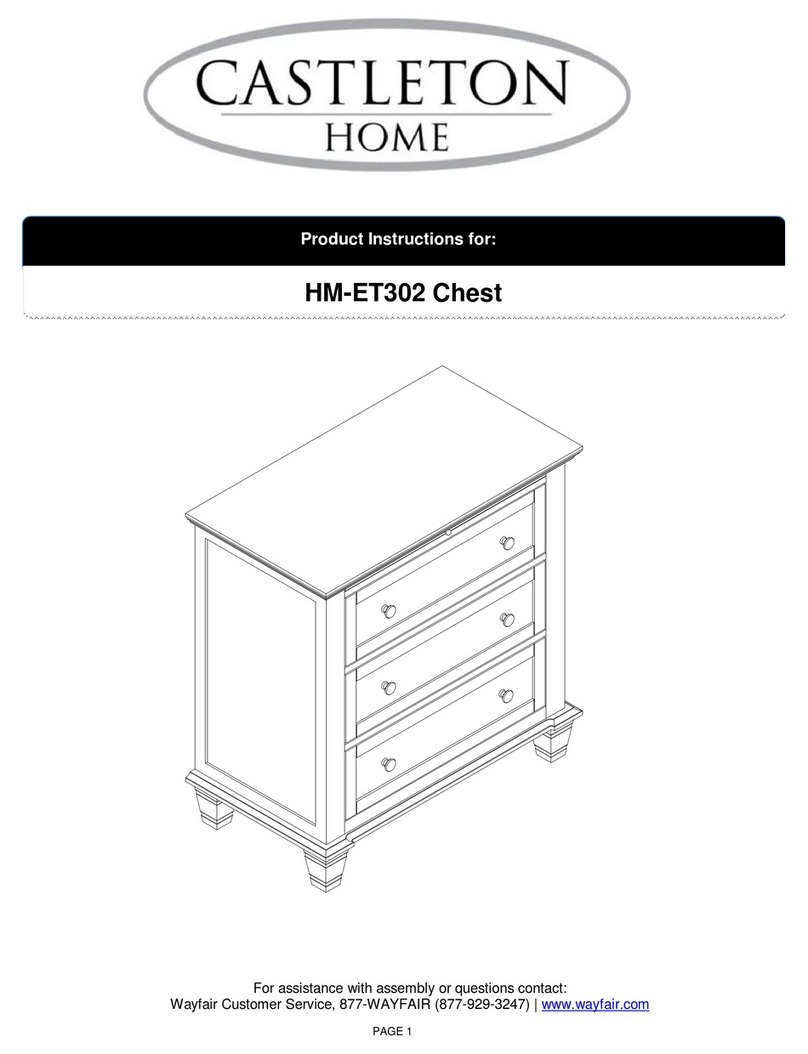
Castleton Home HM-ET302 User manual

Castleton Home

Castleton Home HM-ET302 User manual

Castleton Home CH0105-1201PARN Instruction sheet

Castleton Home

Castleton Home CH0105-1201PARN Instruction sheet

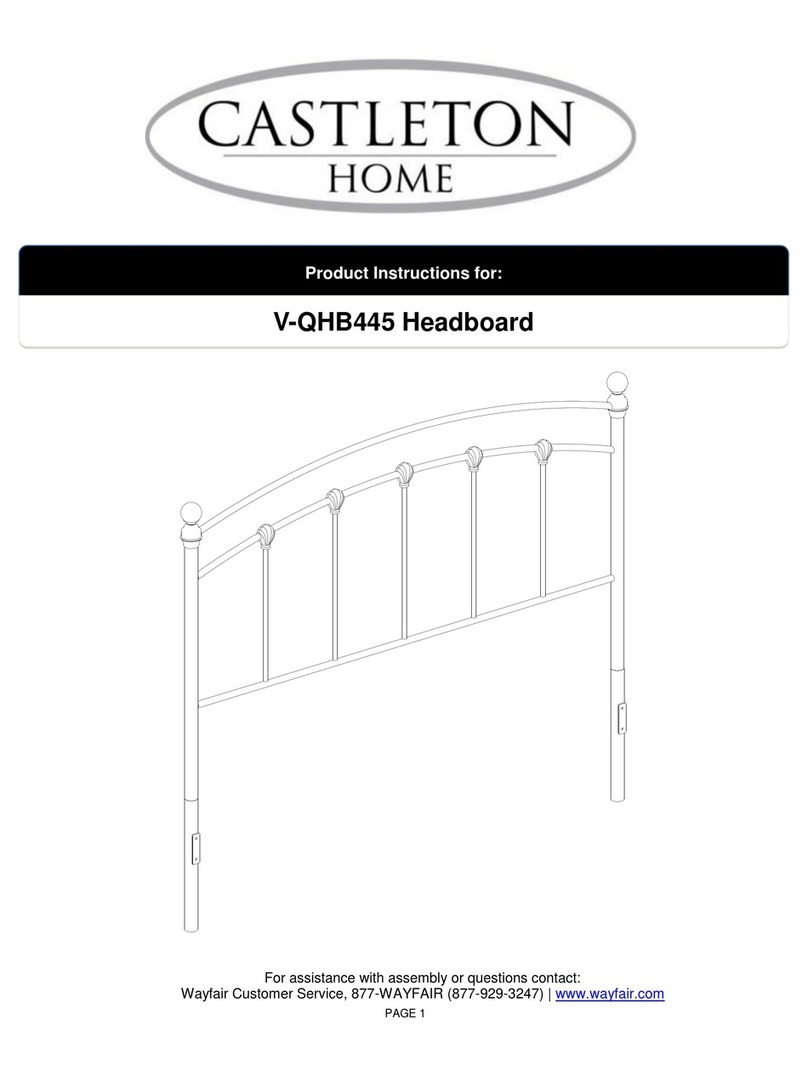
Castleton Home V-QHB445 Instruction sheet

Castleton Home

Castleton Home V-QHB445 Instruction sheet

Castleton Home DD-KB1262 User manual

Castleton Home

Castleton Home DD-KB1262 User manual

Castleton Home ZH2622 User manual

Castleton Home

Castleton Home ZH2622 User manual

Castleton Home CX1125 User manual

Castleton Home

Castleton Home CX1125 User manual

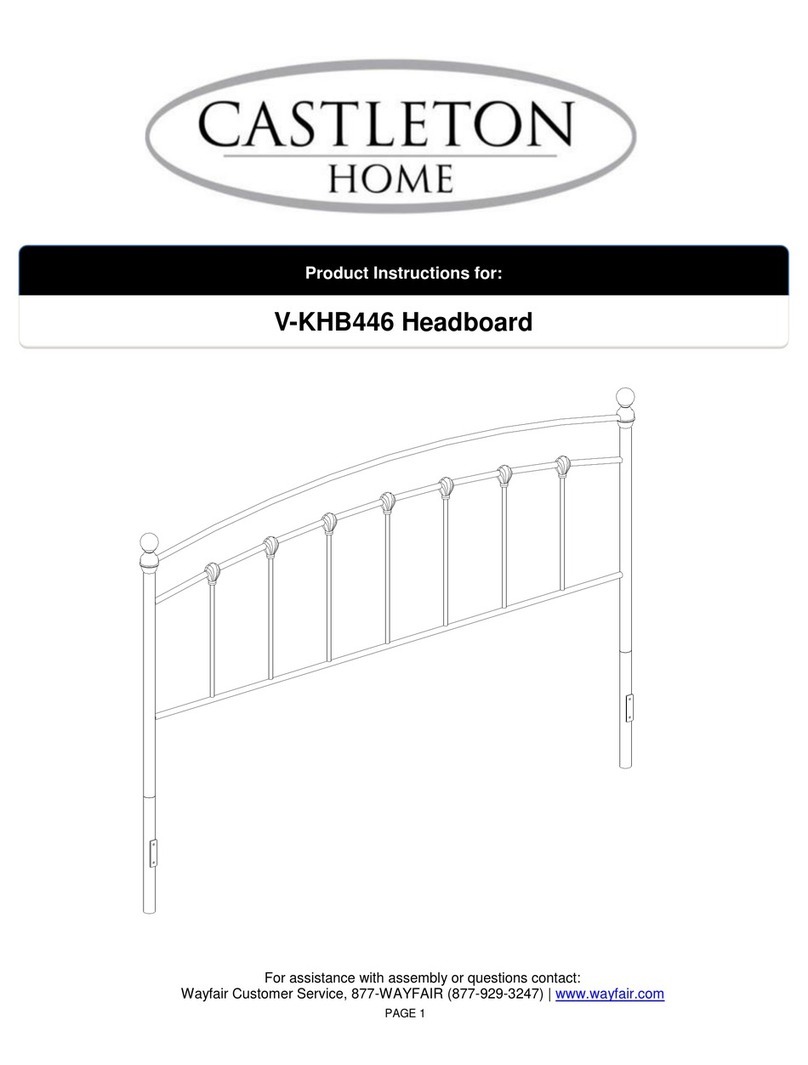
Castleton Home V-KHB446 Instruction sheet

Castleton Home

Castleton Home V-KHB446 Instruction sheet

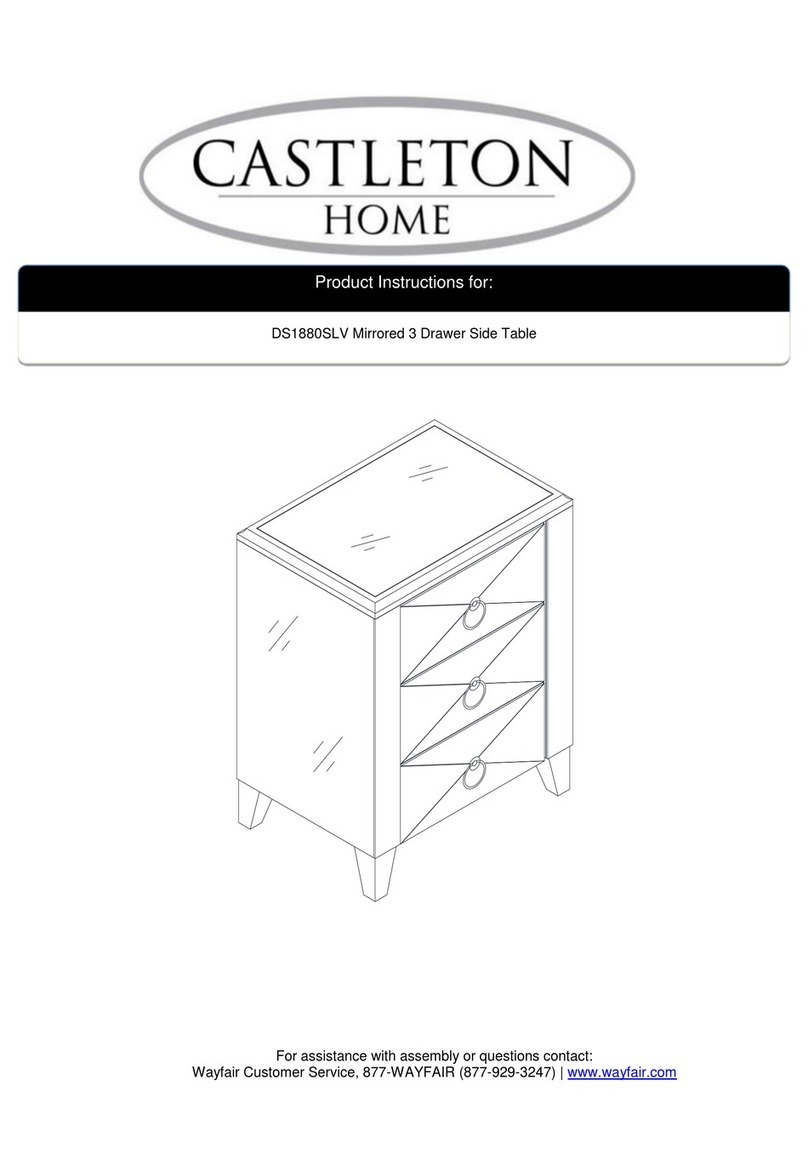
Castleton Home DS1880SLV Instruction sheet

Castleton Home

Castleton Home DS1880SLV Instruction sheet

Castleton Home WA003 User manual

Castleton Home

Castleton Home WA003 User manual

Castleton Home DD9410-1-BR User manual

Castleton Home

Castleton Home DD9410-1-BR User manual

Castleton Home ZH6431 User manual

Castleton Home

Castleton Home ZH6431 User manual

Castleton Home IDT 3705 User manual

Castleton Home

Castleton Home IDT 3705 User manual

Castleton Home IDT 3703 User manual

Castleton Home

Castleton Home IDT 3703 User manual

Castleton Home DD-HBQ8626 User manual

Castleton Home

Castleton Home DD-HBQ8626 User manual

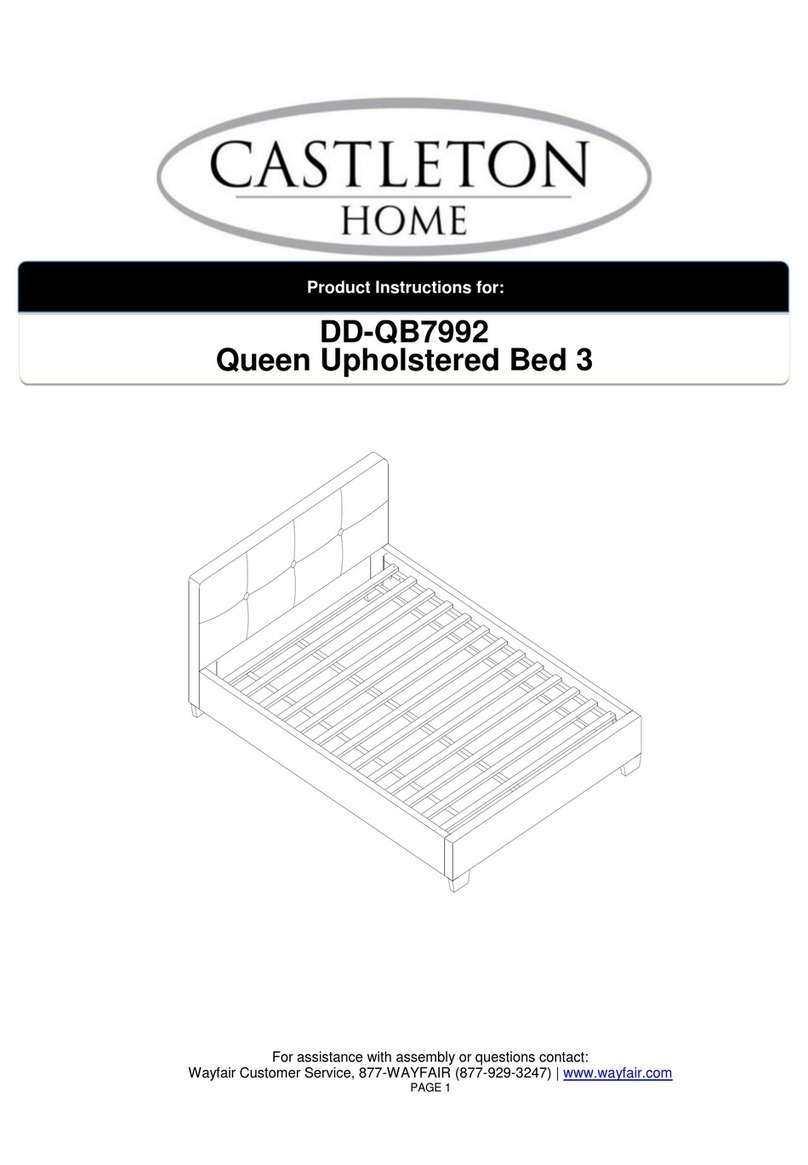
Castleton Home DD-QB7992 Instruction sheet

Castleton Home

Castleton Home DD-QB7992 Instruction sheet

Castleton Home YX-ET402 Instruction sheet

Castleton Home

Castleton Home YX-ET402 Instruction sheet

Castleton Home CX1124 User manual

Castleton Home

Castleton Home CX1124 User manual
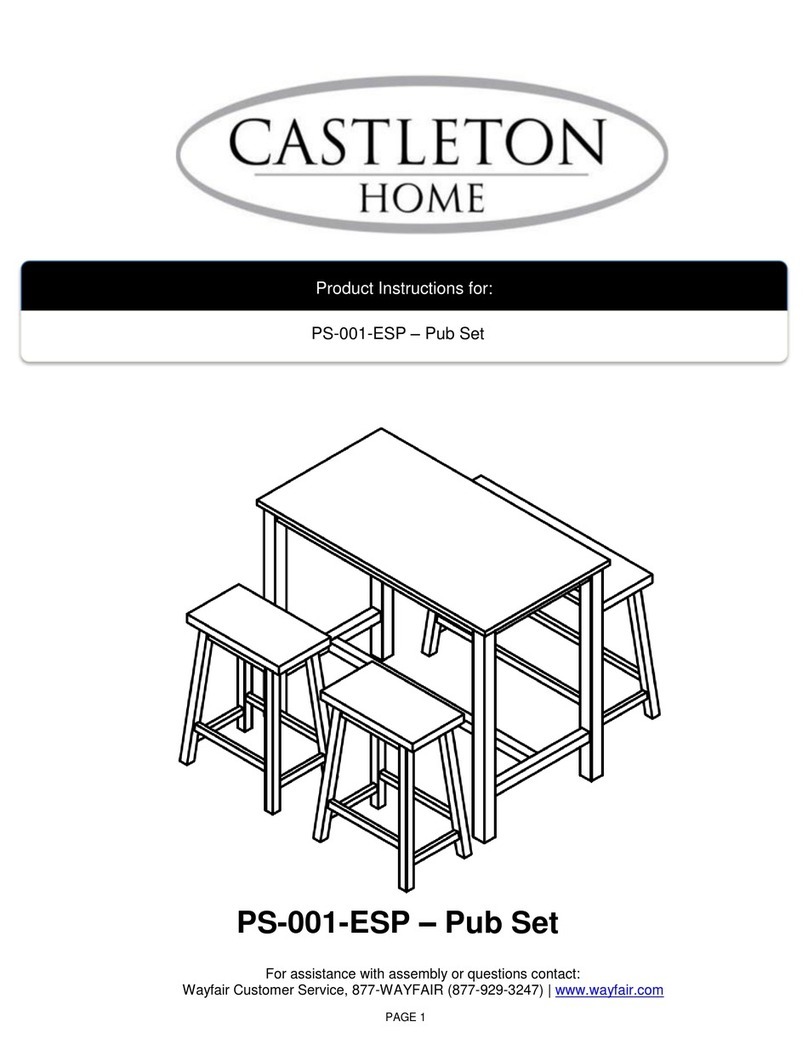
Castleton Home PS-001-ESP Instruction sheet

Castleton Home

Castleton Home PS-001-ESP Instruction sheet

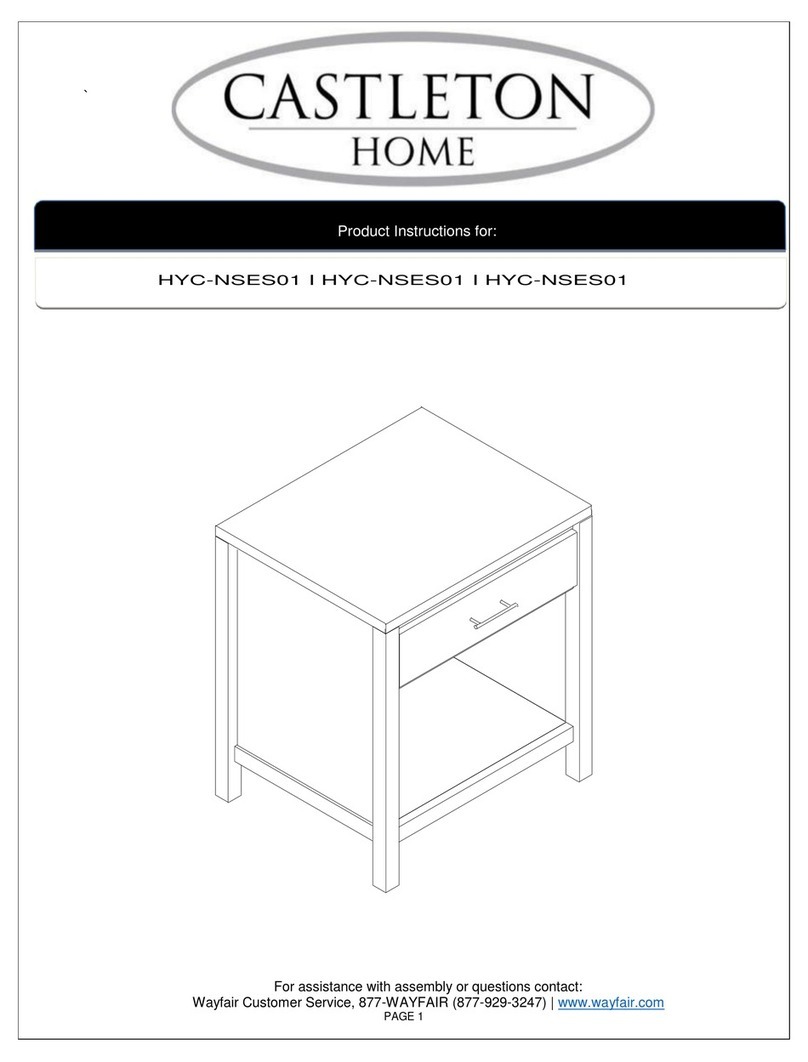
Castleton Home HYC-NSES01 Instruction sheet
Castleton Home

Castleton Home HYC-NSES01 Instruction sheet

Popular Indoor Furnishing manuals by other brands

Regalo 3520 instructions

Regalo

Regalo 3520 instructions

LAZBOY Colton owner's manual

LAZBOY

LAZBOY Colton owner's manual

SouthShore 2246 Series Assembly instructions

SouthShore

SouthShore 2246 Series Assembly instructions

Closet Maid Selectives S25RPDW5 quick start guide

Closet Maid

Closet Maid Selectives S25RPDW5 quick start guide

EUROSTYLE Anderson-95 Assembly instructions

EUROSTYLE

EUROSTYLE Anderson-95 Assembly instructions

TrippNT 51032 Assembly guide

TrippNT

TrippNT 51032 Assembly guide

HAMPTON BAY LAGUNA POINT 65-516183A Use and care guide

HAMPTON BAY

HAMPTON BAY LAGUNA POINT 65-516183A Use and care guide

HAMPTON BAY FCS00015Y2PKBWC Use and care guide

HAMPTON BAY

HAMPTON BAY FCS00015Y2PKBWC Use and care guide

Home Styles 88 5086 95C Assembly instructions

Home Styles

Home Styles 88 5086 95C Assembly instructions

Lightolier Calculite C2X21LEDWW specification

Lightolier

Lightolier Calculite C2X21LEDWW specification

Triarch Indoor Lighting 75360-10 Assembly instructions

Triarch

Triarch Indoor Lighting 75360-10 Assembly instructions

Glacier bay BATH STORAGE CABINET Use and care guide

Glacier bay

Glacier bay BATH STORAGE CABINET Use and care guide

Demeyere 158 282-00 Assembly instructions

Demeyere

Demeyere 158 282-00 Assembly instructions

modway MOD-6320 manual

modway

modway MOD-6320 manual

El Corte Inglés IW-17-1128-70-2-0 Assembly instructions

El Corte Inglés

El Corte Inglés IW-17-1128-70-2-0 Assembly instructions

HunterDouglas Duette Installation operation care

HunterDouglas

HunterDouglas Duette Installation operation care

Kvik DBS6414 manual

Kvik

Kvik DBS6414 manual

YitaHome FTBFSD-6008 Assembly instructions

YitaHome

YitaHome FTBFSD-6008 Assembly instructions

manuals.online logo
manuals.online logoBrands
  • About & Mission
  • Contact us
  • Privacy Policy
  • Terms and Conditions

Copyright 2025 Manuals.Online. All Rights Reserved.