Chapman AH200 User manual


Page 2
English
Introduction
THIS MANUAL MUST BE HANDED TO THE OPERATOR BEFORE USE. THE OPERATOR MUST UNDERSTAND FULLY THE CONTENT OF THIS
HANDBOOK BEFORE USING THE MACHINE FOR THE FIRST TIME. OF THE IMPLEMENT IS RESOLD, THIS MANUAL MUST ACCOMPANY THE
MACHINE.
NOTE: The information contained in this manual is correct at the time of going to press. However, in the course of development, changes in
specification are inevitable. Should you find the information given differs from your machine, please contact Chapman Machinery Ltd direct
for advice. Use only Chapman Genuine Service Parts on Chapman Machinery and Machines.
HSE Information
The safe use of all-terrain vehicles (ATVs) & Side by Sides (UTVs) in agriculture and forestry must be
adhered to at all times with machinery attached or not. The HSE information, AIS Sheet 33, gives advice on
the safe use of ATVs/UTVs. It covers the two main types used in off-road working in agriculture and
forestry. The Full HSE information sheet can be found here or using the QR Code to the right
https://www.hse.gov.uk/pubns/ais33.pdf and must be read prior to any ATV/UTV use.
REMEMBER - GET PROPERLY TRAINED AND ALWAYS WEAR HEAD PROTECTION
Important Safety Information
Always read this manual before fitting or operating the machine –whenever any doubt exists contact your
dealer or the Chapman Machinery Service Department for advice and assistance.
•Do not operate this equipment unless you have studied this manual in full
•Only use this machine for its designated task - improper use is both highly dangerous and damaging to machine components
•Both operators & maintenance fitters should be familiar with the machine and fully aware of dangers surrounding improper
use or incorrect repairs
•Before starting, carry out a visual check on both machine & towing vehicle as regards functionality,road safety & accident
prevention rules
•Even when using the machine correctly, accidents can occur. It is imperative that nobody stand withinthe danger area. If working
near roads, buildings or animals, special attention must be taken to ensure safety.
•Never wear loose clothing which could get caught in rotating equipment
•Never carry passengers on the towing vehicle
•Do not stand near the machine when operating
•Damaged or missing safety decals must be replacedimmediately
Transportation Safety
•When transporting, especially over rough ground, reduce speed to prevent damage to machine.
•This machine is not road legal in its standard form. DO NOT tow on public highways.
Operating Safety
•Pay special attention when working not to harm livestock if crowding around the machine occurs.
•If anything should become entangled in the mechanism, or blocked, stop the machine and disconnect the power before
attempting to clear the blockage.
Page 3
English
Description
The AH200 is the ultimate tool for a professional finish on your arenas or sand schools. The 2.0m working width and heavy duty fixed spring tines
on a steel frame give the AH200 exceptional performance in levelling and rejuvenating surfaces, along with a rear consolidation roller to give a
great finish. Arenas and gallops are becoming more sophisticated in their construction with synthetic materials being added to the surfaces to
provide superior, stable riding surfaces.
40 8mm tines offset over 4 rows means no missed spots. Easily adjust the aggressiveness of the tines with three tine settings and simple
adjustment. Six front mounted ‘S’ Tines allow the AH200 to loosen and lift the surface to give a greater mix of more fibre and synthetic materials.
The Spring Tines that follow smooths out the surface before the rear consolidation roller compacts and orientates fibres across the surface. A 12v
electric lift actuator is fitted which lets you simply raise & lower the machine into work mode or travelling mode with a remote switch on the
back of your ATV/UTV.
These machines should however only be used to perform tasks for which they were designed - use of the machine for any other function may be
both dangerous to persons, and potentially damaging to components. Use of the machine beyond the stated usage may invalidate any applicable
warranty, as well as being potential in breach of applicable safety regulations.
Note: This machine is for off-road use only and is not designed or approved for highway travel
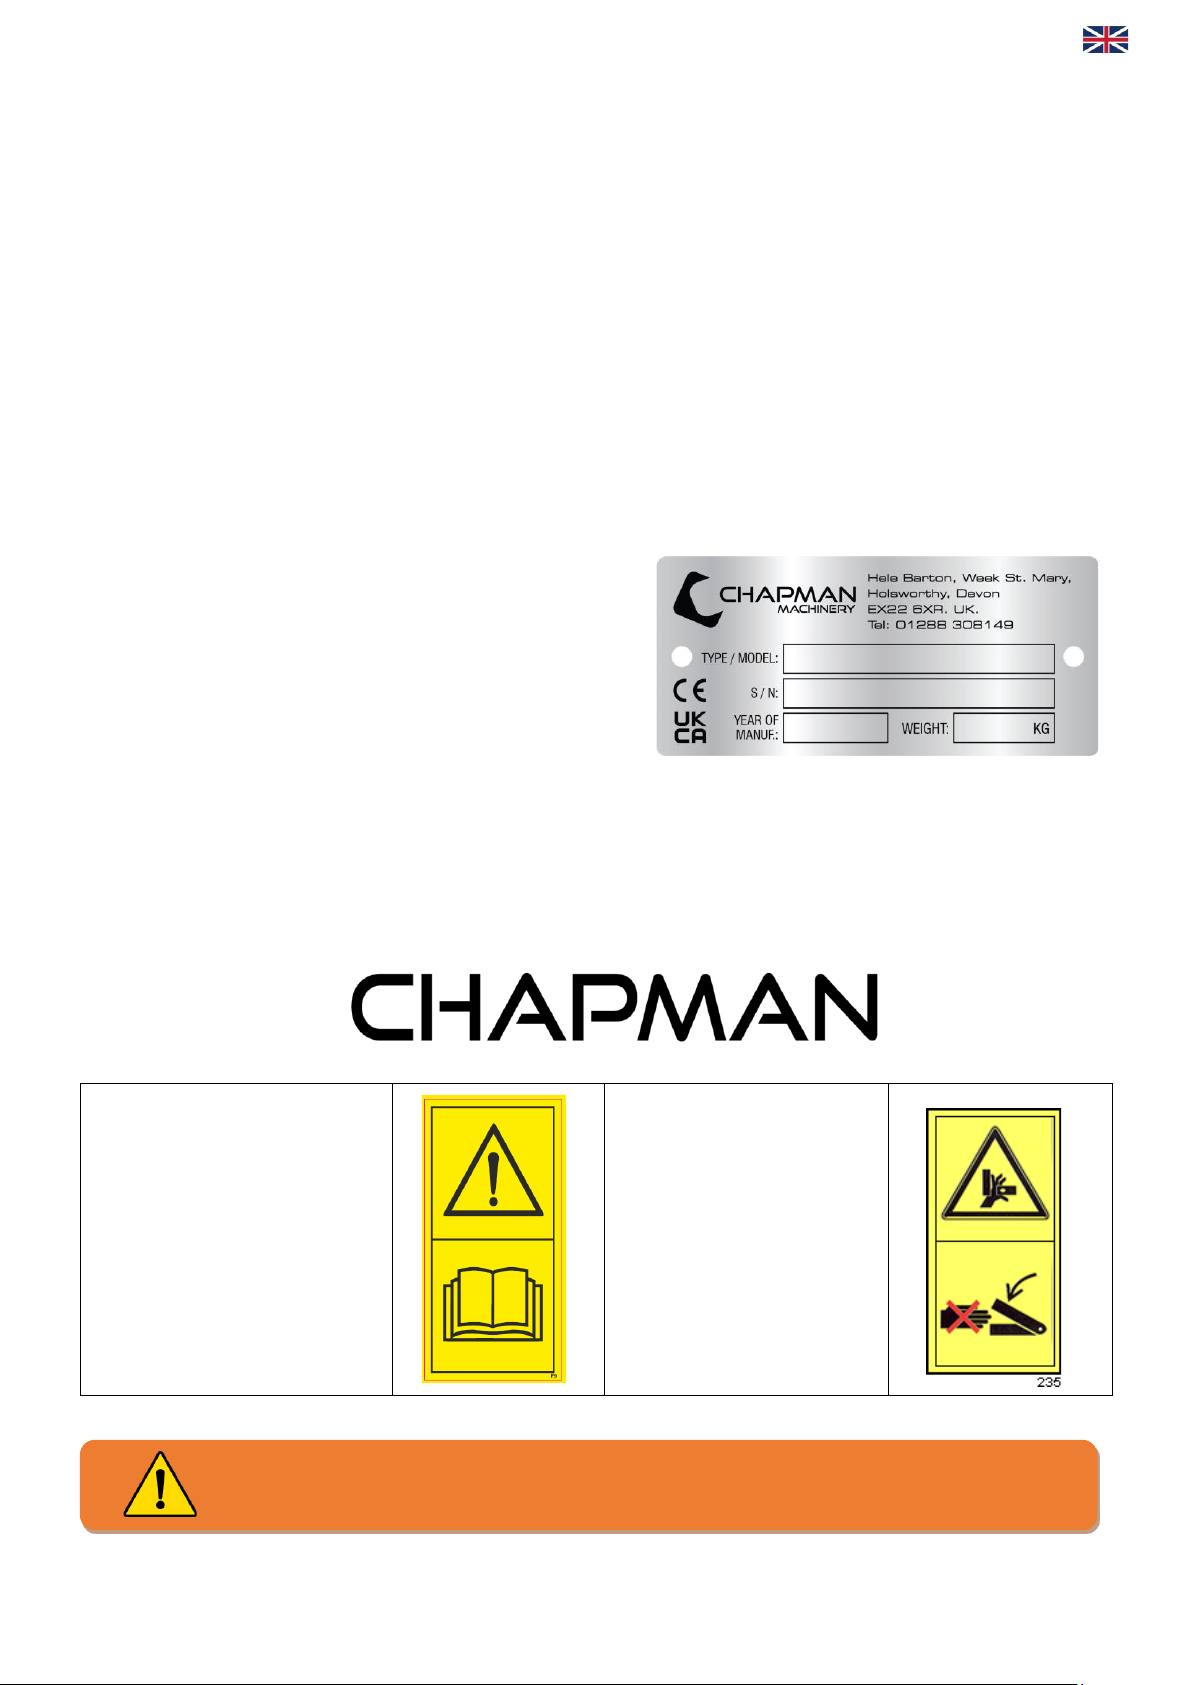
Identification
Each machine is fitted with a serial plate (shown below) which details the
following:
1. Model
2. Date of Manufacture (DOM)
3. Serial Number
4. Mass
When enquiring regarding spares or additional equipment, ensure you have this information to hand.
Implement Decals
If your implement does not contain all of the decals shown below, please contact Chapman Machinery for replacement decals before use.
Note: All decals must be present and visible. It is imperative that these are replaced if damaged to prevent potential harm to users.
ENSURE CONTROL EQUIPMENT IS SECURELY ATTACHED TO THE TOWING
CAUTION - Read operators
manual before handling this
machine. Observe
instructions and safety rules
when operating.
WARNING –Crush Hazard
Never reach into crush area
as parts may move trapping
appendages
ENSURE CONTROL EQUIPMENT IS SECURELY ATTACHED TO THE TOWING
VEHICLE BEFORE USE

Page 4
English
Attachment
Before attachment, ALWAYS ensure the following:
•All safety guards & decals are in good working order and correctly fitted
•Lubrication points have been lubricated as per scheduled maintenance period
•The tyres are free of damage and inflated to the correct pressure
•Electrical connections are free of dirt and moisture
NOTE: This machine is designed to attach to the towing vehicle through a 50mm diameter ball hitch.
1. Reverse the towing vehicle up to the machine.
2. Attach the machine onto the towing vehicle’scoupling. Adjust drawbar angle as necessary to ensure main frame of machine is parallel
with ground when in working height, this ensures even tine contact across the 4 rows of tines.
3. Attach the control cable to the control socket fitted on the towing machine, ensuring a secure connection.
4. If required, adjust tine angle setting before lowering machine into work mode.
Initial Set-up
Towing Vehicle Wiring
Initially the towing vehicle must be wired using the supplied two core power cable to be wired directly to the vehicle battery terminals. Failure
to wire the supplied dedicated feed directly to the battery may cause issues with towing vehicle electrics. Ensure the supply is suitably routed to
protect from heat and mechanical damage.
Battery Specification
12V DC Nominal, Minimum 18Ah battery
Tine Angle
The tines on the AH200 can be set to three settings of aggressiveness, using the black tine bar adjuster located just behind the machine
drawbar. Pulling the adjuster forwards (towards the towing vehicle) will make the tines less aggressive and pushing the adjuster rearwards will
make the tines more aggressive. The adjuster is fixed in place once set using a pin and retaining clip. *We recommend you begin operation with
the tines in the middle setting and adjust as required thereafter*
Height
The working height of the machine is set using the electronic actuator and control box. Pressing the relevant up / down arrow will raise or
lower the main frame accordingly. The AH200 should only be transported across fields with the height at it’s maximum, and then lowered into
use as required. The AH200 should be lowered to allow weight onto the tines, such that consistent ground contact is achieved by the tines. The
wheels will always carry some weight, to ensure the unit tows easily and travels over rough terrain smoothly.
Initial Test Operation
In order to familiarise the operator(s) with the machine, first adjust the tines and machine height in the yard, before commencing work. This will
ensure the operator is fully familiar with the operation of the machine. During this period the angle of the drawbar should be adjusted to suit
the towing vehicle, such that the main frame of the AH200 runs level with the ground when the unit is in a working height.
Operating Limits
Minimum / Maximum Temperature: -5°C / +40°C
Maximum Speed: 10 km/h
Battery Voltage: 12V DC Nominal
Maximum Speed 8km/h (5mph)
DO NOT OPERATE BEYOND OPERATING LIMITS, DAMAGE TO MACHINERY OR INJURY TO
OPERATOR MAY OCCUR.

Page 5
English
Operation
Ensure that the operator is suitably qualified to use a machine of this nature and that they have fully read and understood this manual - they
should be aware of all safety aspects relating to the safe use of the machine.
AFTER APPROXIMATELY ONE HOUR OF WORK WITH A NEW MACHINE, ALL NUTS AND BOLTS SHOULD BE CHECKED FOR TIGHTNESS AND
ADJUSTED AS NECESSARY!
Operation
1. Set desired tine angle with machine in transport position (ie. height at maximum). Recommended start position is middle hole on tine
adjustment.
2. Drive onto surface and using control box lower tines onto ground until all the axle lifts off the surface. Continue to raise the axle fully.
The working height of the AH200 is set by the level of the rear roller at the back of the machine and the spring tines at the front. You
should aim for the main frame of the AH200 to be level when working as a starting point.
3. Drive around the surface and examine the results –if the S tines are too deep and aggressive then adjust the drawbar to raise the front
of the machine slightly (and as such reduce the working depth of the S tines slightly) Conversely, if the S Tines are not being aggressive
enough, adjust the drawbar height down accordingly.
4. Following first adjustments, again drive around the surface and examine the results, re-adjusting as necessary. If needed you can also
adjust the setting of the 4 rows of following tines to be more of less aggressive as required by moving the black lever located just
behind the drawbar.
5. If you find that the front row and rear rows of following tines are doing an uneven amount of work then raise or reduce the level of the
rear roller accordingly to adjust this.
6. Once a suitable height setting is found it generally does not need to be changed, however it is advisable to make a mark on the frame of
the machine using an indelible pen or similar such that this setting can easily be recalled if changes are required in the future.
Forward Speed
A forward speed of up to 10km/h will typically produce the best results, however this may need to be reduced depending on the surface
conditions and any obstacles that may be present in the arena.
Storage
Machines should always be stored under cover and protected from the elements accordingly.
For extended periods of storage, it is advisable that the machine be kept in a clean dry environment protected from the elements to avoid risk of
corrosion.
Troubleshooting
Problem
Possible Causes
Remedies
Unit will not raise or lower
Shortage in wiring (may be
indicated by unit losing powerwhen
run button pressed)
Check plug and battery connection
are free from dirt and making good
contact
Actuator Fault
Replace motor, contact distributor
Switch Fault
Replace switch, contact distributor
Poor tine contact with ground
Working height too high
Lower unit
Tines worn
Inspect tines, replace if worn
Drawbar angle incorrect
Adjust drawbar adjuster so that
main frame is parallel with ground
when at working height
Table of contents
Languages:
Other Chapman Farm Equipment manuals


Popular Farm Equipment manuals by other brands

Schaffert
Schaffert Rebounder Mounting instructions

Stocks AG
Stocks AG Fan Jet Pro Plus 65 Original Operating Manual and parts list

Cumberland
Cumberland Integra Feed-Link Installation and operation manual

BROWN
BROWN BDHP-1250 Owner's/operator's manual

Molon
Molon BCS operating instructions

Vaderstad
Vaderstad Rapid Series instructions


