safety information. eGPS Solutions holds no
responsibility for the incorrect operation by users and for
the losses incurred by misunderstanding this guide.
However, eGPS Solutions reserves the right to
update and optimize the contents in this guide regularly.
1.4. Your Comments
Your feedback about this user guide will help us to improve
it in the future. Please email your comments to
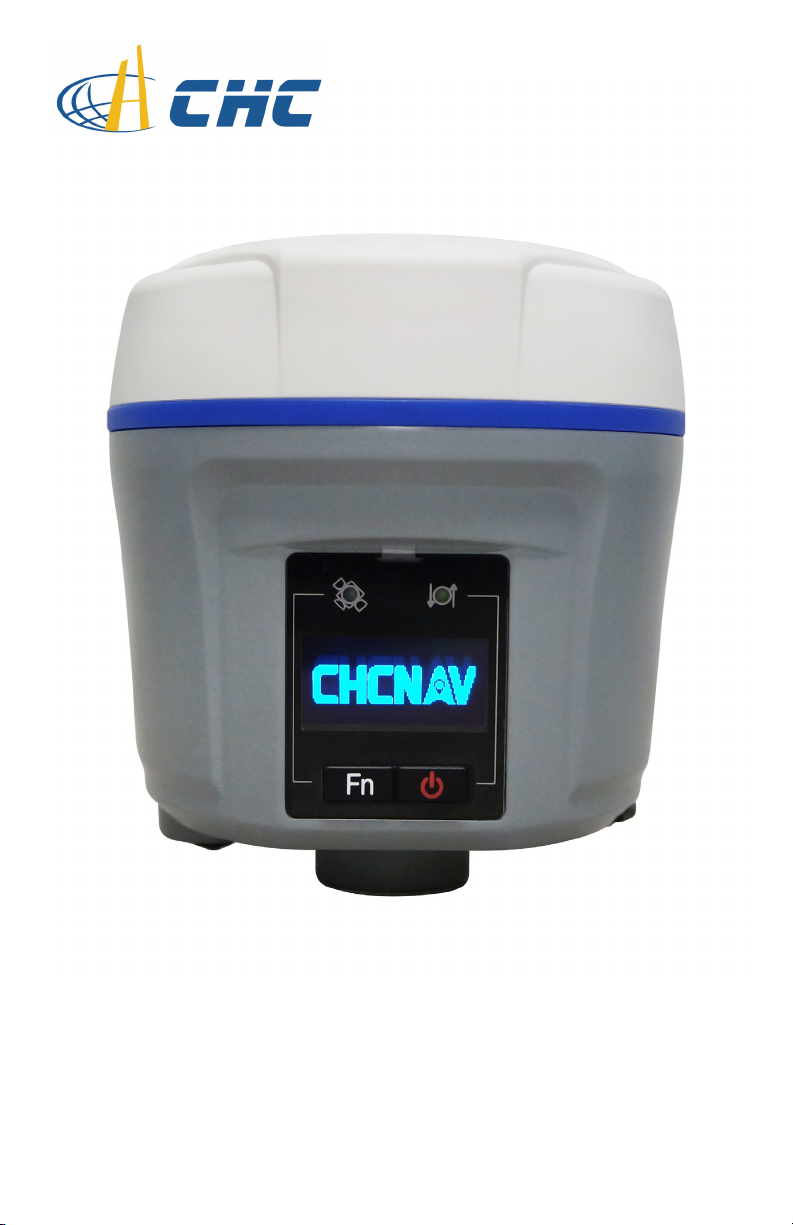
2. Getting Started with the CHC i80
2.1. About the Receiver
The CHC i80 GNSS receiver incorporates a GNSS engine,
GNSS antenna, internal radio, 3G cellular modem,
Bluetooth, WiFi and battery in a ruggedized and miniature
unit. Either unit may be a base, rover, or used without other
devices for static collection.
The receiver can be used as part of a Network RTK GNSS
system with Carlson SurvCE, MicroSurvey Field Genius or
CHC LandStar7 Android software. Static positions can be
stored in Rinex 2.11 format for easy OPUS submittal using
only the receiver. The static data can be stored in internal
memory, a USB flash drive using the optional OTG cable or
sent to your FTP using the internal 3G GSM modem!
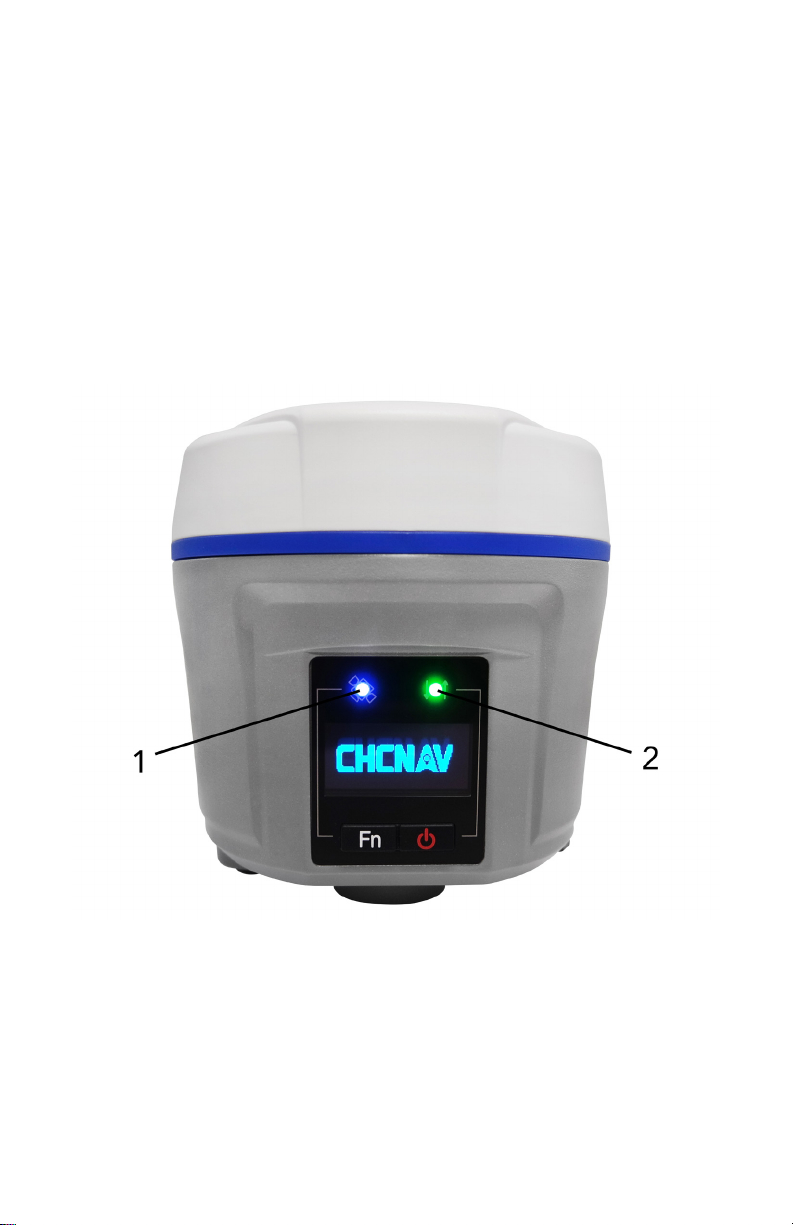
When using the CHC i80 without additional
equipment, configuration of the many features is
accomplished through a web browser. CHC LandStar7 may
also be downloaded from the Android app store. Static
positions can be taken by pressing the function button for 5
seconds.
6