ofthe function can't be used.
L. Introduction
1.1 Key Function
1.2 Startup and Shutdown
Startup
Long press POWER key for three seconds, you cm etrter startup pictue. The
system entere into scr€n lock shtu, plede unlock it.
Shuldown
1. Lory press POWER, there will be a popup shutdom window.
2. Shutdom window conhi$ airplme mode md shutdom Mo options/
3. Click ShutdoM is the l4t step.
1.3 Open and Close ofthe Screen
Screen will be closed on its om when no operalion happens.
1. Screen will be closed on its om if no opemtion happm for some time b save
baftery power
2. When screen is opm, press POWER key, the s6een will be closed imediately.
Open the screetr when it is closed.
Ifthe ffieetr is closed, shofr Fess POWER to opetr the soeen. The sqeen will be
locked ope! it, it will show the picture 6 below pichre, left slide to unlock md enter
itrto cmera, right slide the ulock icon to unlock the soren.
Hctrre l.l
1.4 Usage ofTouch Screen
MID operating methods
There ae below methods to vi€w the main scieen. menu md application procedure
in you MID-
Click
Whetr you wmt to use the screen keyboad typirg or choose application in the main
interface, you only treed to touch it by you fmger.
Press on
Ifyou wmt to open some ibm (textbox or the link in the webpage), or shortcut md
main procedre move, you cm press on this item.
Quickly slide or sllde
Quickly slide or slide indicates make quick vedical or horizontal movement by
finger.
Pull
Before you pull, you need to hold it with sfiength mtil you pull it into the position
you wmt.
Rotate
' For most pictues, you only need td rotate the MID sidewise to change the scrcen
direction fiom horizontal to vefical. For instmce, when you de t ?ing words, md
watchitrg movies.
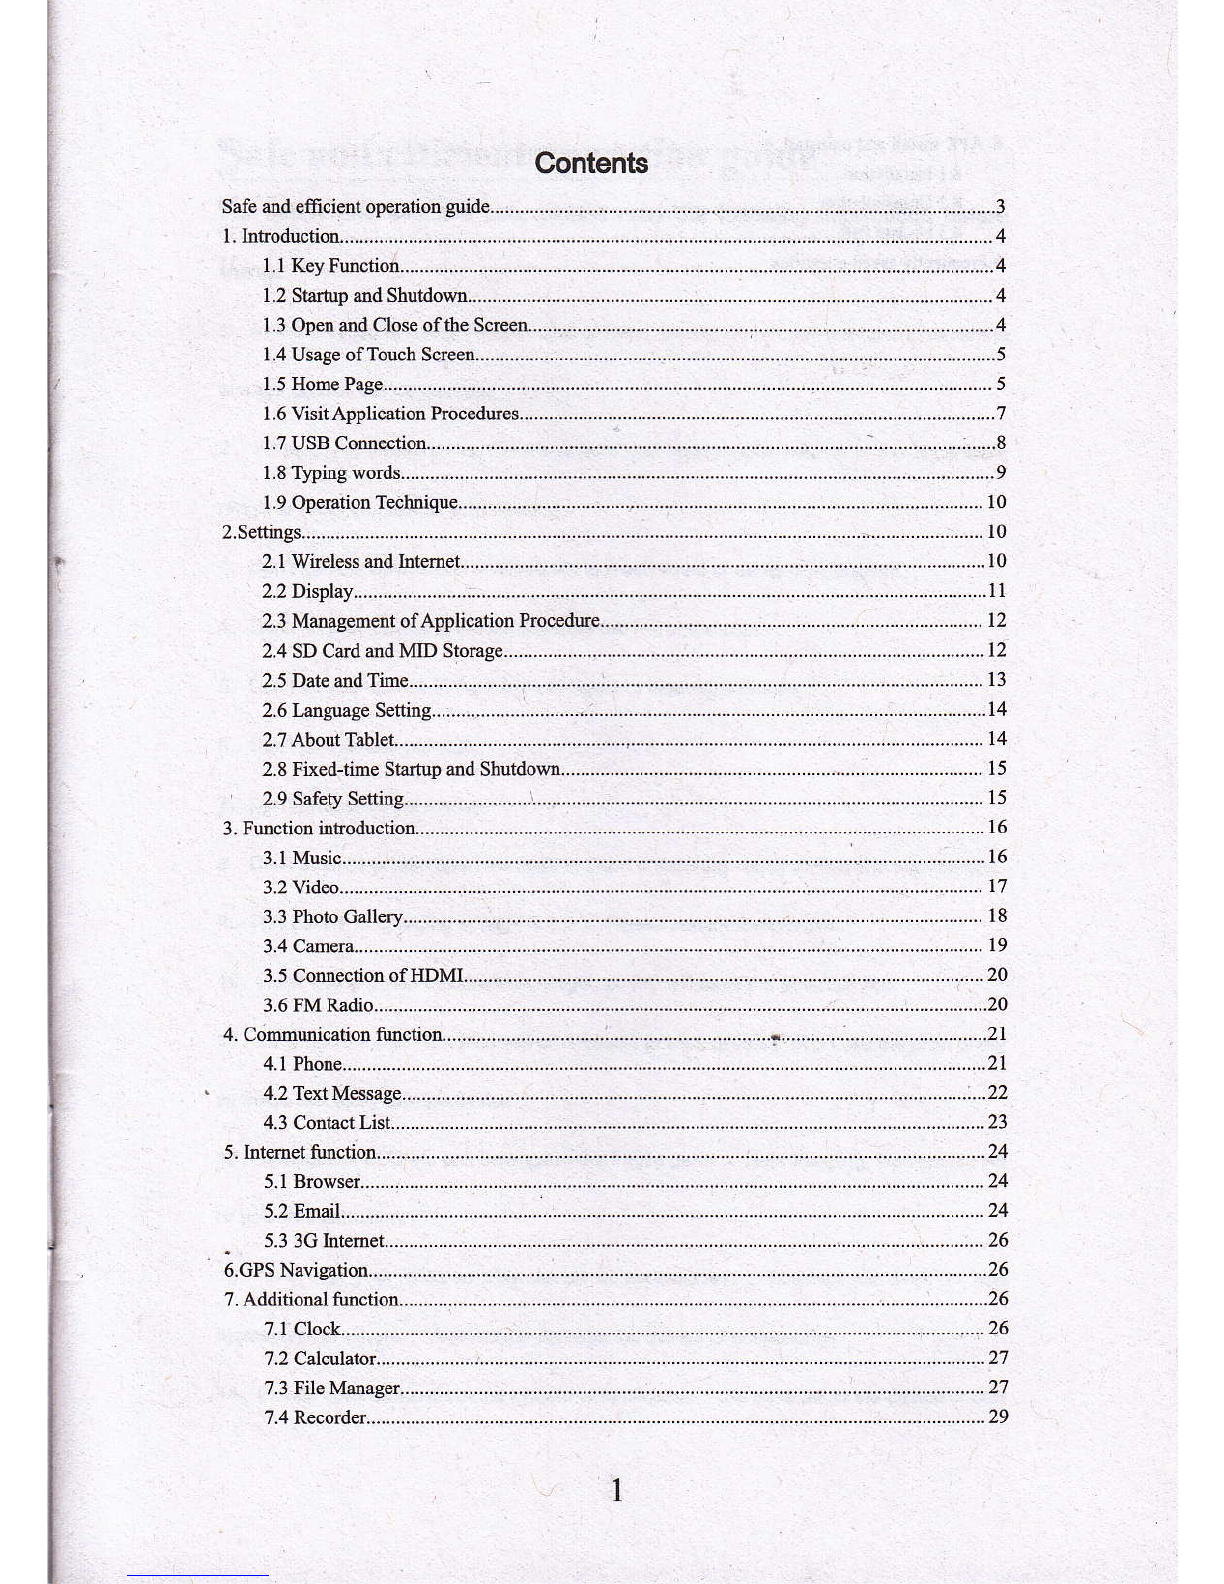
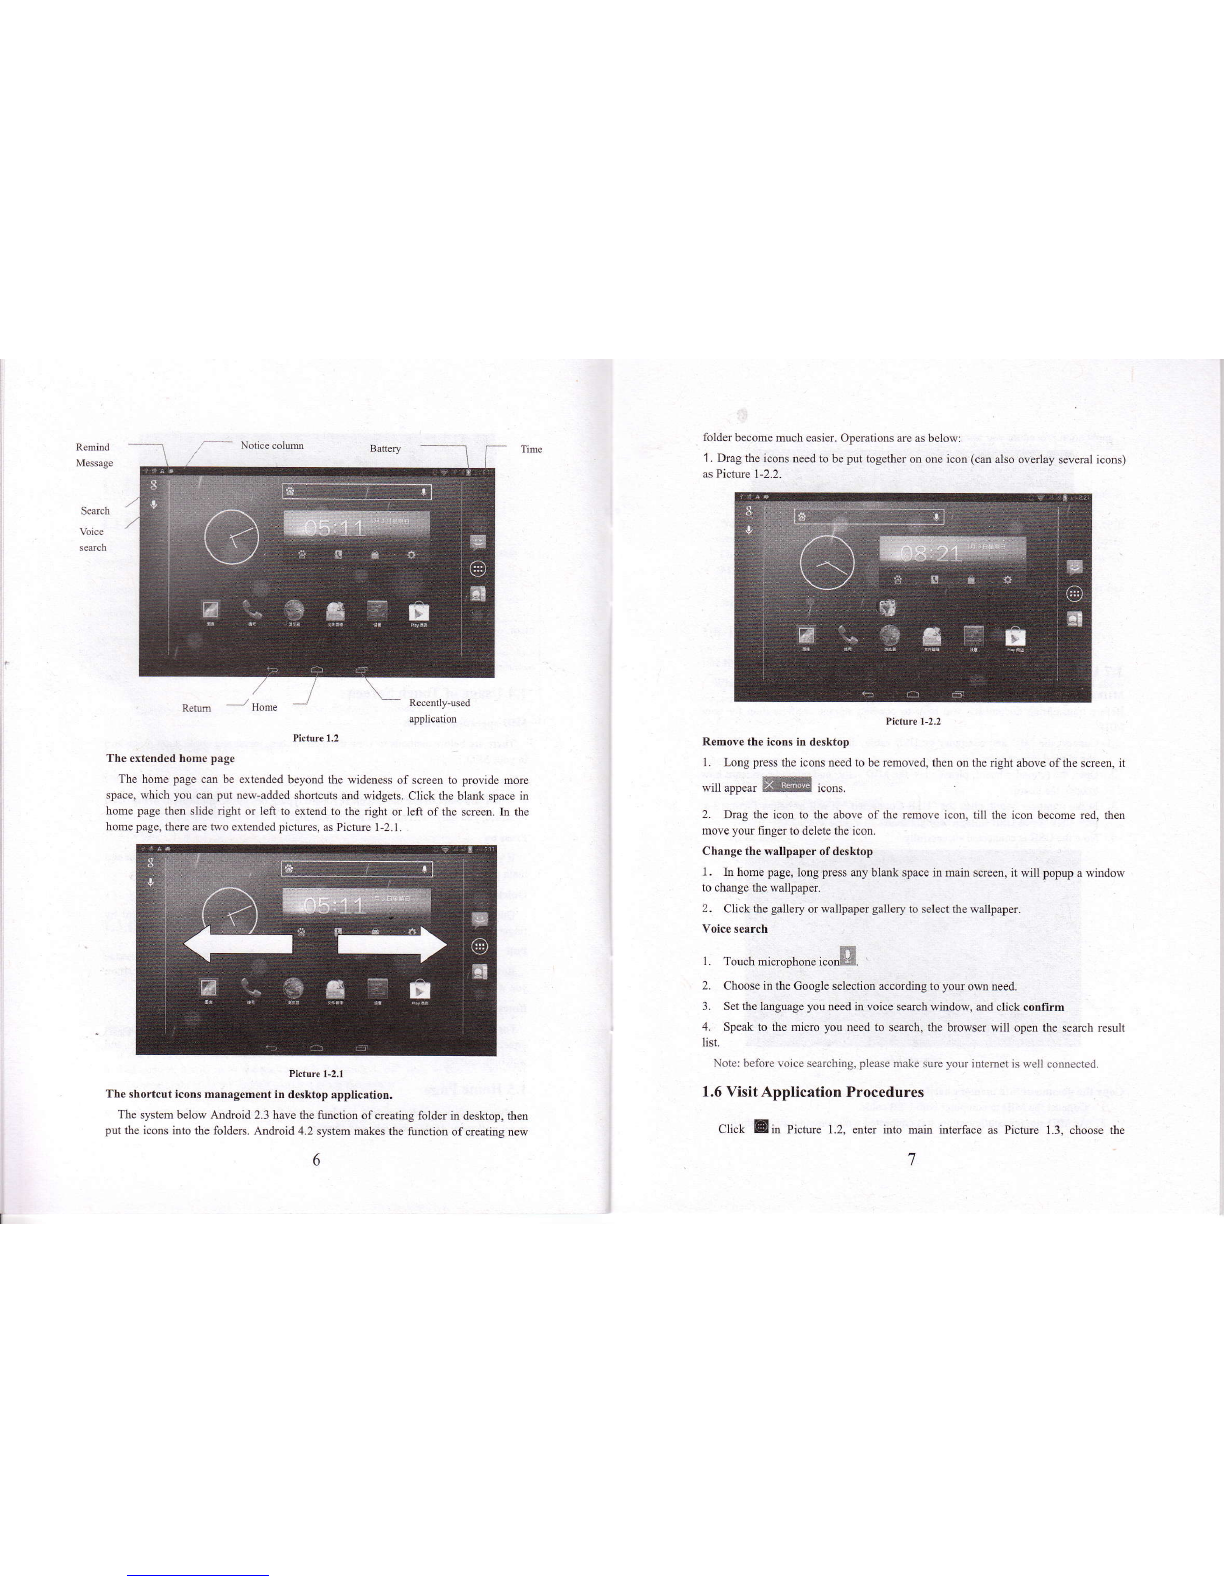
1.5 Home Page
Main interface as below pictue 1.2, long prcss the blaok md it will popup windows
to set wallpaper, folder, widgets, md shofrcut.
Power button Short press to sleep/wake up, long press to
staftm and shtrtdoM.
volMe + (up) increase ihe volme
Volme - (dom) decrease the volme
HOME bufton ( home ) IClick it in my iderface will rem to mm
Brckbuton (back) Iclick it itr dy interf&e will reM to prevlous
display recently-med applicatioJ display recently browsed history