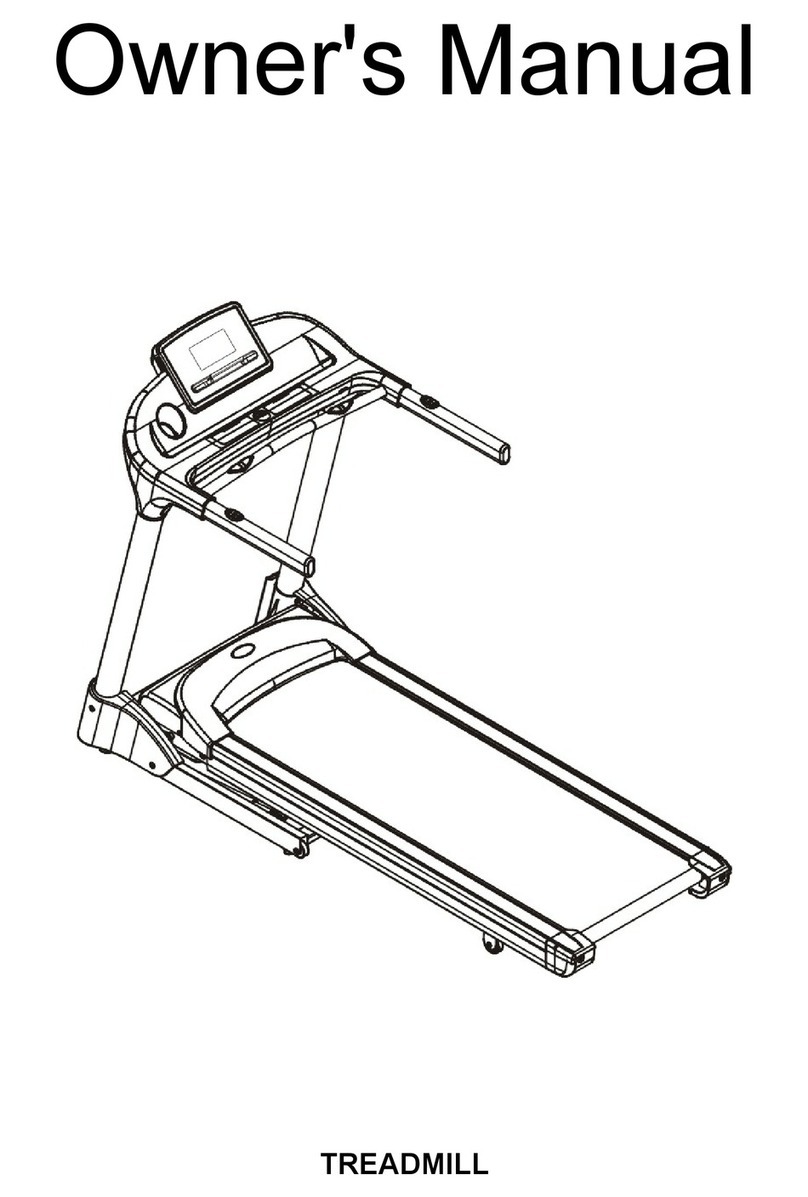
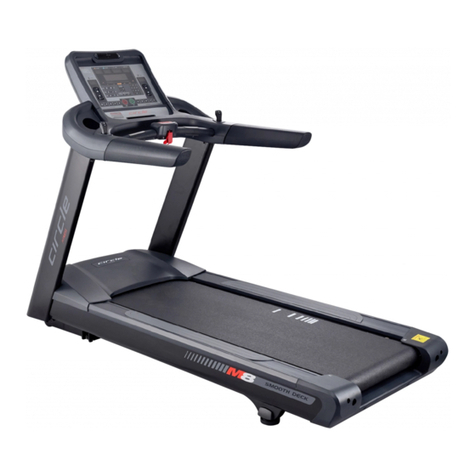
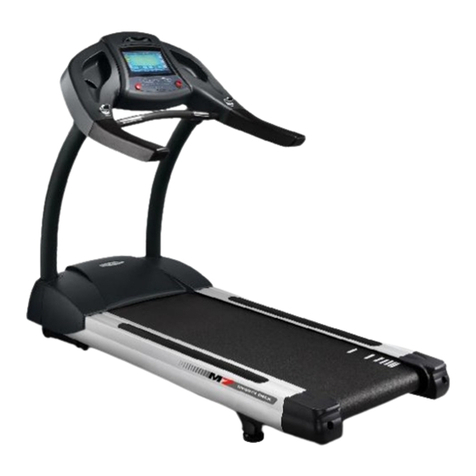
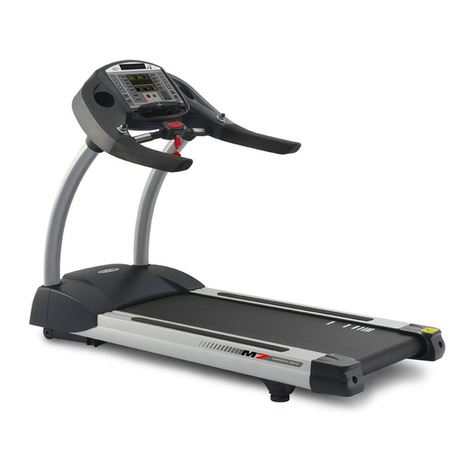
CIRCLE FITNESS M-7 SERIES E TYPE Quick start guide

Document NO.
M-7E-EM-English
PAGE Page 1 of 25
Engineer Manual-Trouble Shooting
VERSION B
ENGINEER MANUAL FOR
AFTER SALE SERVICE
PRODUCT:TREADMILL
MODEL: M-7 SERIES E TYPE

Document NO.
M-7E-EM-English
PAGE Page 2 of 25
Engineer Manual-Trouble Shooting
VERSION B
INFORMATION GUIDE:
1. Error Signal Check Steps And Sol tions
1.1 Error Signal:『LS』 ----- Page 3~7
1.2 Error Signal:『E1』 ----- Page 8
1.3 Error Signal:『E2』 ----- Page 8~9
2. Information For Components
2.1. Interface PCB -----Page 1 ~15
2.2. Console Wire -----Page 16
2.3. Speed Sensor -----Page 17
2.4. Inverter -----Page 18
2.5. Incline Motor -----Page 18~19
2.6. Membrane Key -----Page 2
3. Engineering Mode
3.1. Engineering Mode ONE: Factory Settings ----- Page 21~22
3.2. Engineering Mode TWO: Used Information Management ----- Page 22
3.3. Engineering Mode THREE: Real Speed and Incline Parameter ----- Page 22
4. Other Information
4.1. Real Speed Do Not To Fit In With Display Speed ----- Page 23
4.2. No Any Display On Console(No Power) ----- Page 23
4.3. Abnormal Display On Console ----- Page 24
4.4. Can Not Decrease Speed ----- Page 24
4.5. Membrane Key Lose Function ----- Page 25

Document NO.
M-7E-EM-English
PAGE Page 3 of 25
Engineer Manual-Trouble Shooting
VERSION B
1. Error Signal Check Steps And Sol tions
1.1. 【LS】:Can not receive signal from speed sensor over 8 seconds while workout, all
windows display will off, all output will stop, and show 【LS】 on TIME window.
※If this is a all new product that just finished assemble, there are more possibly in
assemble problems, maybe connect wire not well or wire damaged while assemble.
1.1.1.Steps illustrate:
Step
illustrate Auxiliary Photo
1
Show【LS】 on TIME window.
2
OFF the AC power source and wait 1 seconds
then ON the AC power.
3
Press START.
4
Do the running belt moved?
A:Moved then show【LS】:Execute step 5~8
B:Did not move then show【LS】:
Execute step
9~12
C:Moved but no any error signal at all:
Execute step 13~14
?
??
?
OFF
O
N

Document NO.
M-7E-EM-English
PAGE Page 4 of 25
Engineer Manual-Trouble Shooting
VERSION B
Step
illustrate Auxiliary Photo
5
Press STOP then press START and FAST
simultaneously immediately, to leave you
hand from keys till dot-
matrix window show
WELCOME.
6
LED display windows will do the scan mode
after show WELCOME.
After scan mode, to press ENTER till
incline window show 『15』 then
press START
to begin calibrate mode.

Document NO.
M-7E-EM-English
PAGE Page 5 of 25
Engineer Manual-Trouble Shooting
VERSION B
Step
illustrate Auxiliary Photo
Do it can be calibrate normally or show LS
on TIME window?
7
If calibrate normally and return to idle
mode, please check the SPEED para
meter on
CALORIES window when calibrate speed at
max speed 2 km/h(± .1).
In normal condition, the SPEED parameter
shall be between 34 ~35 .
If calibrate abnormal, open motor cover
and check speed sensor connected well.
If speed sensor connected well, please
replace the sensor and check again.
Refer to 2.3『Speed Sensor』
I
f still show error signal, have to check
the console wire, damage or connect
terminal problem.
I
f console wire check ok, please replace
the console wire then back to execute step
2, check the error signal disappear or not.
Refer to 2.2『Console Wire』
8
I
f still show error signal after replace
the console wire, please replace the
console PCB then back to execute step 2,
check the error signal disappear or not.
Calibrate abnormal, show 【LS】
Calibrate normal, return to idle mode

Document NO.
M-7E-EM-English
PAGE Page 6 of 25
Engineer Manual-Trouble Shooting
VERSION B
Step
illustrate Auxiliary Photo
9 Open the motor cover then ON t
he AC power,
press START to begin and check the pilot
lamp on interface PCB.
1. Is the LED7 light up before show 【LS】?
2. Is the LED6 flash before show 【LS】?
LED7 or LED6 not light or flash:
Execute
step 12~13.
LED7 light up and LED6 flash:
Execute step
1 ~11.
1 I
f LED6 & LED7 normal, have to check the
inverter first, if inverter check normal,
please replace the interface PCB then back
to execute step 2.
Refer to 2.4『Inverter』
11
Check the console wire, damage or connect
terminal problem.
After check or reconnect or replace the
wire, back to execute step 2.
Refer to 2.2『Console Wire』
12 After check or reconnect or replace the
wire but still show error signal, please
replace the console PCB then back to
execute step 2.
LED7
LED6

Document NO.
M-7E-EM-English
PAGE Page 7 of 25
Engineer Manual-Trouble Shooting
VERSION B
Step
illustrate Auxiliary Photo
13 If all function are normal and no error
signal after reset power, it maybe cause
by power core, maybe power core connect not
well, please check the power core.
If all function are normal and no error
signal after reset power, maybe the
loading is too heavy and inverter to start
the over current protect mode. I
f loading
is too heavy the motor noise will more
louder over 12km/h and running belt speed
will decreased or slippery while loading
.
P
lease maintenance or replace the running
belt and running deck.
14
On the AC power and check the fan where on
the inverter operate normal, otherwise the
inverter will over heating and to start
protect.
Refer to 2.4『Inverter』

Document NO.
M-7E-EM-English
PAGE Page 8 of 25
Engineer Manual-Trouble Shooting
VERSION B
1.2. 【E1】:When memory device damaged or read or write had program, all window display
will be off and all output will be stop and show【E1】on TIME window, show【EEPROM
ERROR】 on dot-matrix window.
1.2.1.Solution:Replace the console PCB.
1.3. 【E2】:IF incline had some problems when initial, incline can not reach the right
position, will show 『ELEVATION ERROR
ELEVATION ERRORELEVATION ERROR
ELEVATION ERROR
PRESS STOP TO BYPASS
PRESS STOP TO BYPASSPRESS STOP TO BYPASS
PRESS STOP TO BYPASS』on dot-matrix window,
press STOP to bypass the signal but incline function can not be use, if incline had
some problems when during workout, the INCLINE window will show 【E2】but other
function are normal to use.
※If this is a all new product that just finished assemble, there are more possibly in
assemble problems, maybe connect wire not well or wire damaged while assemble.
1.3.1.Steps illustrate:
Step
illustrate Auxiliary Photo
1
Open the motor cover then switch
OFF the
AC power source and wait 1 seconds then
ON the AC power.
2
Check the pilot lamps LED4 & LED5 on
interface PCB before show 【E2】.
The LED4 or LED5 light up before show E2?
Yes:Next step.
No:Check console wire connect well.
Refer to:
2.1『Interface PCB』
2.2『Console Wire』
OFF
O
N

Document NO.
M-7E-EM-English
PAGE Page 9 of 25
Engineer Manual-Trouble Shooting
VERSION B
Step
illustrate Auxiliary Photo
5
Check the console wire, damage or connect
terminal problem.
After check or reconnect or replace the
wire, back to execute step 1 to check.
Refer to 2.2『Console Wire』
6
After check or reconnect or replace the
wire but still show error signal, please
replace the incline motor or internal
variable resistor(VR)
then back to execute
step 1 to check.
Refer to 2.5『Incline Motor』
7
After replace the incline motor or
internal variable
resistor but still show
error signal, please replace the console
PCB then back to execute step 1 to check.

Document NO.
M-7E-EM-English
PAGE Page 10 of 25
Engineer Manual-Trouble Shooting
VERSION B
2. Information For Components
2.1. Interface PCB:
2.1.1.Appearance and connector description:
2.1.2.Description of pilot lamps on interface PCB:
LED2:Pilot lamp of console power, normal full light up when power ON.
LED3:Pilot lamp of decrease speed, flash when decreasing speed, switch off while
speed reached.
LED4:Pilot lamp of incline UP, light up when increase grade, switch of while
grade reached.
LED5:
Pilot lamp of incline DOWN, light up when decrease grade, switch of while
grade reached.
LED6:Pilot lamp of increase speed, flash when increasing speed, switch off while
speed reached.
LED7:Pilot lamp of enable motor, light up while work, switch off while stop.
Console wire
Speed sensor wire
Inverter control wire
Incline VR wire
AC power input
90~240Vac
Incline UP
Incline COM
Incline DOWN
Inverter AC power
LED2
LED7
LED6
LED3
LED4
LED5
U5
U2
U1

Document NO.
M-7E-EM-English
PAGE Page 11 of 25
Engineer Manual-Trouble Shooting
VERSION B
2.1.3.Interface PCB function check:
2.1.3.1. Check incline function
Step
illustrate Auxiliary Photo
1 OFF the AC power, t
o pull out the console
wire and incline motor power wires,
then
ON the AC
power, measure the terminal UP
& COM or DOWN & COM by multi-
meter, there
shall be
not have AC voltage(1 ~24 V) at
normal condition.
ON the AC power

Document NO.
M-7E-EM-English
PAGE Page 12 of 25
Engineer Manual-Trouble Shooting
VERSION B
Step
illustrate Auxiliary Photo
2 Connect back the console wire, pull
out the
incline motor power wires only, press
start to quick start, short the console
wire PINs for incline UP by metalwork
, to
measure terminals UP & COM by multi-
meter,
it shall be have AC voltage at normal
condition and pilot lamp LED4 will light
up.
3
Connect back the console wire, pull out the
incline motor power wires only, press
start to quick start, short the console
wire PINs for incline DOWN by metalwork
,
to measure terminals DOWN & COM by
multi-meter, it shall be have
AC voltage
at normal condition and pilot lamp LED5
will light up.
Short the black and orange wire PINs
(PIN 1 and PIN 4)
Short the black and yellow wire PINs
(PIN 1 and PIN 5)

Document NO.
M-7E-EM-English
PAGE Page 13 of 25
Engineer Manual-Trouble Shooting
VERSION B
2.1.3.2. Check speed output device
Step
illustrate Auxiliary Photo
1
Switch ON the AC power, short the enable
motor component by metalwork and keep on.
Short the motor fast component by
metalwork, then metalwork leave the motor
fast component (open), to do 5~1 times
circulates.(shortopenshortopen…)
Motor shall start to rotate and increase
speed, if you to do more circulate it will
be faster.
If to operate with con
sole but show LS, but
use this kind of way to operate the motor
and motor worked, it is mean that the
interface PCB is damaged.
Short the enable motor component
Short the enable motor componentShort the enable motor component
Short the enable motor component (U5)
by
by by
by
metalwork
metalworkmetalwork
metalwork
Short the motor fast compone
Short the motor fast componeShort the motor fast compone
Short the motor fast component
ntnt
nt(U2) by
by by
by
metalwork
metalworkmetalwork
metalwork
etalwork leave the motor fast component
etalwork leave the motor fast componentetalwork leave the motor fast component
etalwork leave the motor fast component
(U2)
otor shall start to rotate an
otor shall start to rotate anotor shall start to rotate an
otor shall start to rotate an
d increase
d increase d increase
d increase
speed
speedspeed
speed

Document NO.
M-7E-EM-English
PAGE Page 14 of 25
Engineer Manual-Trouble Shooting
VERSION B
Step
illustrate Auxiliary Photo
2
To continue, do not move out and keep on
short the enable motor component.
(Motor in
the rotating condition)
Short the motor slow component by
metalwork, then metalwork leave the motor
fast component (open), to do 5~1 times
circulates.(shortopenshortopen…)
Motor shall decrease speed, if you
to do
more circulate it will be slower.
If to operate with console but can not
decrease the speed, but use this kind of
way to decrease the speed and it did work
,
it is mean that the interface PCB is
damaged.
Do not move out and keep on short the enable
Do not move out and keep on short the enable Do not move out and keep on short the enable
Do not move out and keep on short the enable
motor component
motor componentmotor component
motor component
otor shall decrease speed
otor shall decrease speedotor shall decrease speed
otor shall decrease speed
Short the motor
Short the motor Short the motor
Short the motor slow
slowslow
slow compone
compone compone
component
ntnt
nt(U1) by
by by
by
metalwork
metalworkmetalwork
metalwork
etalwork leave the motor fast component
etalwork leave the motor fast componentetalwork leave the motor fast component
etalwork leave the motor fast component
(U1)

Document NO.
M-7E-EM-English
PAGE Page 15 of 25
Engineer Manual-Trouble Shooting
VERSION B
2.1.3.3. Check power supply for console
Step
illustrate Auxiliary Photo
1 Switch ON the AC power, check the pilot
lamp, it shall be full light up in the
normal condition.
It shall not flash or slight light up.
2 To pull out the power supply termi
nal and
measure the voltage by multi-meter.
It shall be have DC voltage 11~13V.

Document NO.
M-7E-EM-English
PAGE Page 16 of 25
Engineer Manual-Trouble Shooting
VERSION B
2.2. Console wire check:
2.2.1.Check all connect certainty and outward completely.
Step
illustrate Auxiliary Photo
1 To pull out the console wire connector
plug.
2 Check connector internal PINs, it shall
not be crooked.
3 Check connector internal PINs, it shall
not be draw back.
4
Check the wires outward, it shall not be
crush injuries or breakage.

Document NO.
M-7E-EM-English
PAGE Page 17 of 25
Engineer Manual-Trouble Shooting
VERSION B
2.3. Speed sensor check:
2.3.1.Check all connect certainty.
Step
illustrate Auxiliary Photo
1 Check the connector connection with
interface PCB certainly.
2 Check connector internal PINs, it shall
not be draw back.
2.3.2.Check outward completely and function normal.
Step
illustrate Auxiliary Photo
1 To c
heck the wire, it shall not be crush
injuries or breakage.
2 To turn around the fr
ont roller till the
magnet close to the speed sensor, then
measure the wire PINs by multi-meter.
It shall be have low resistance in the
normal condition.(short condition)
3
To turn around the front roller till the
magnet leave away from
the speed sensor,
then measure the wire PINs by multi-meter.
I
t shall be have infinity resistance in the
normal condition.(open condition)

Document NO.
M-7E-EM-English
PAGE Page 18 of 25
Engineer Manual-Trouble Shooting
VERSION B
2.4. Inverter check:
Step
illustrate Auxiliary Photo
1
Switch ON the AC power and to check the fan
where on the inverter.
I
t shall be operate when power ON and stop
when power OFF.
2
To execute the 2.1.3.2 step 1 & 2, it shall
be operate normally.
2.5. Incline motor check:
Step
illustrate Auxiliary Photo
1
Switch OFF the AC power, to pull out the
incline motor power wires.
(red/white/black wire)
2 To pull out the inverter power source
terminal and connect the incline motor
wires white one and red one to inverter
power source terminal.
Switch ON the AC power, the incline motor
shall be operate in the normal condition.

Document NO.
M-7E-EM-English
PAGE Page 19 of 25
Engineer Manual-Trouble Shooting
VERSION B
Step
illustrate Auxiliary Photo
3
To continue, switch OFF the AC power, to
connect the incline motor wires white one
and black one to inverter power source
terminal.
Switch ON the AC pow
er, the incline motor
shall be operate in the normal condition.
4
Open the incline motor cover, pull out the
connect wires(red/white/black wire) and
to take apart the internal VR.
5 To turning the VR and measure the
resistance(white and black wire connect
terminals), the resistance shall be change
between range ~1 kΩ when turning the VR.
The lowest incline position resistance
about .83kΩ, the highest incline
position about 6.72 kΩ
If you want to replace the in
cline motor
or VR, you have to connect the new
incline
motor all
wires to interface PCB and switch
ON the power for
correction before fix on
the treadmill. Or to adjust the resistance
of VR to the lowest position value.
Otherwise, it will be jam or break away.

Document NO.
M-7E-EM-English
PAGE Page 20 of 25
Engineer Manual-Trouble Shooting
VERSION B
2.6. Membrane key
Step
illustrate Auxiliary Photo
1. To pull out the connection from console
PCB.
2. If mull-function when you are using,
please find the PINs definition
for keys
terminal as below.
To measure the PINs by multi-meter then
press the mull-
function key and keep on,
it shall be have low resistance in the
normal condition(short condition), if got
infinity resistance, the membrane key is
damaged.
For example:SPEED UP key mull-
function,
to measure the Pin 4 and Pin 8.
PIN P1 P2 P3 P4 P5 P6 P7 P8 P9 P1
P1
INCLINE 9
SPEED 8 INCLINE↑
P2
INCLINE 6
SPEED 6 SELECT
P3
INCLINE 3
SPEED 4 SPEED↓ START
P4
INCLINE 0
SPEED 2 SPEED↑ ENTER
P5
INCLINE12
SPEED 10 INCLINE↓
P6
INCLINE 9
INCLINE 6
INCLINE 3
INCLINE 0
INCLINE12
P7
SPEED 8 SPEED 6 SPEED 4 SPEED 2 SPEED 10
P8
INCLINE↑
SPEED↓ SPEED↑ INCLINE↓
P9
SELECT START ENTER
P1
P1
P10
Other manuals for M-7 SERIES E TYPE
1
Table of contents
Other CIRCLE FITNESS Treadmill manuals
CIRCLE FITNESS
CIRCLE FITNESS M7 User manual

CIRCLE FITNESS
CIRCLE FITNESS M-7 SERIES E TYPE User manual

CIRCLE FITNESS
CIRCLE FITNESS M8 User manual

CIRCLE FITNESS
CIRCLE FITNESS M8 LED User manual

CIRCLE FITNESS
CIRCLE FITNESS M6 AC User manual

CIRCLE FITNESS
CIRCLE FITNESS M7 User manual

CIRCLE FITNESS
CIRCLE FITNESS M7 User manual

CIRCLE FITNESS
CIRCLE FITNESS E6 User manual
CIRCLE FITNESS
CIRCLE FITNESS Run 3.0i User manual