SAFETY PRECAUTIONSSAFETY PRECAUTIONS
Waste DisposalWaste Disposal
2
Products are recyclable. At the end of its useful life please dispose of thisProducts are recyclable. At the end of its useful life please dispose of this
Article correctly and safely (local refuse sites).Article correctly and safely (local refuse sites).
▪The running belt must be set up on firm even ground. Ensure that the power cable is not pinched
and that on-one can trip over it.
▪The running belt must be set up on firm even ground. Ensure that the power cable is not pinched
and that on-one can trip over it.
▪Never touch the moving belt with your hands. Also ensure that there are no objects close to the belt or
the rollers which could be pulled into it thus causing injury or damaging the unit itself.
▪Never touch the moving belt with your hands. Also ensure that there are no objects close to the belt or
the rollers which could be pulled into it thus causing injury or damaging the unit itself.
▪Repairs on the electrical components in the unit should be carried out by qualified persons only.▪Repairs on the electrical components in the unit should be carried out by qualified persons only.
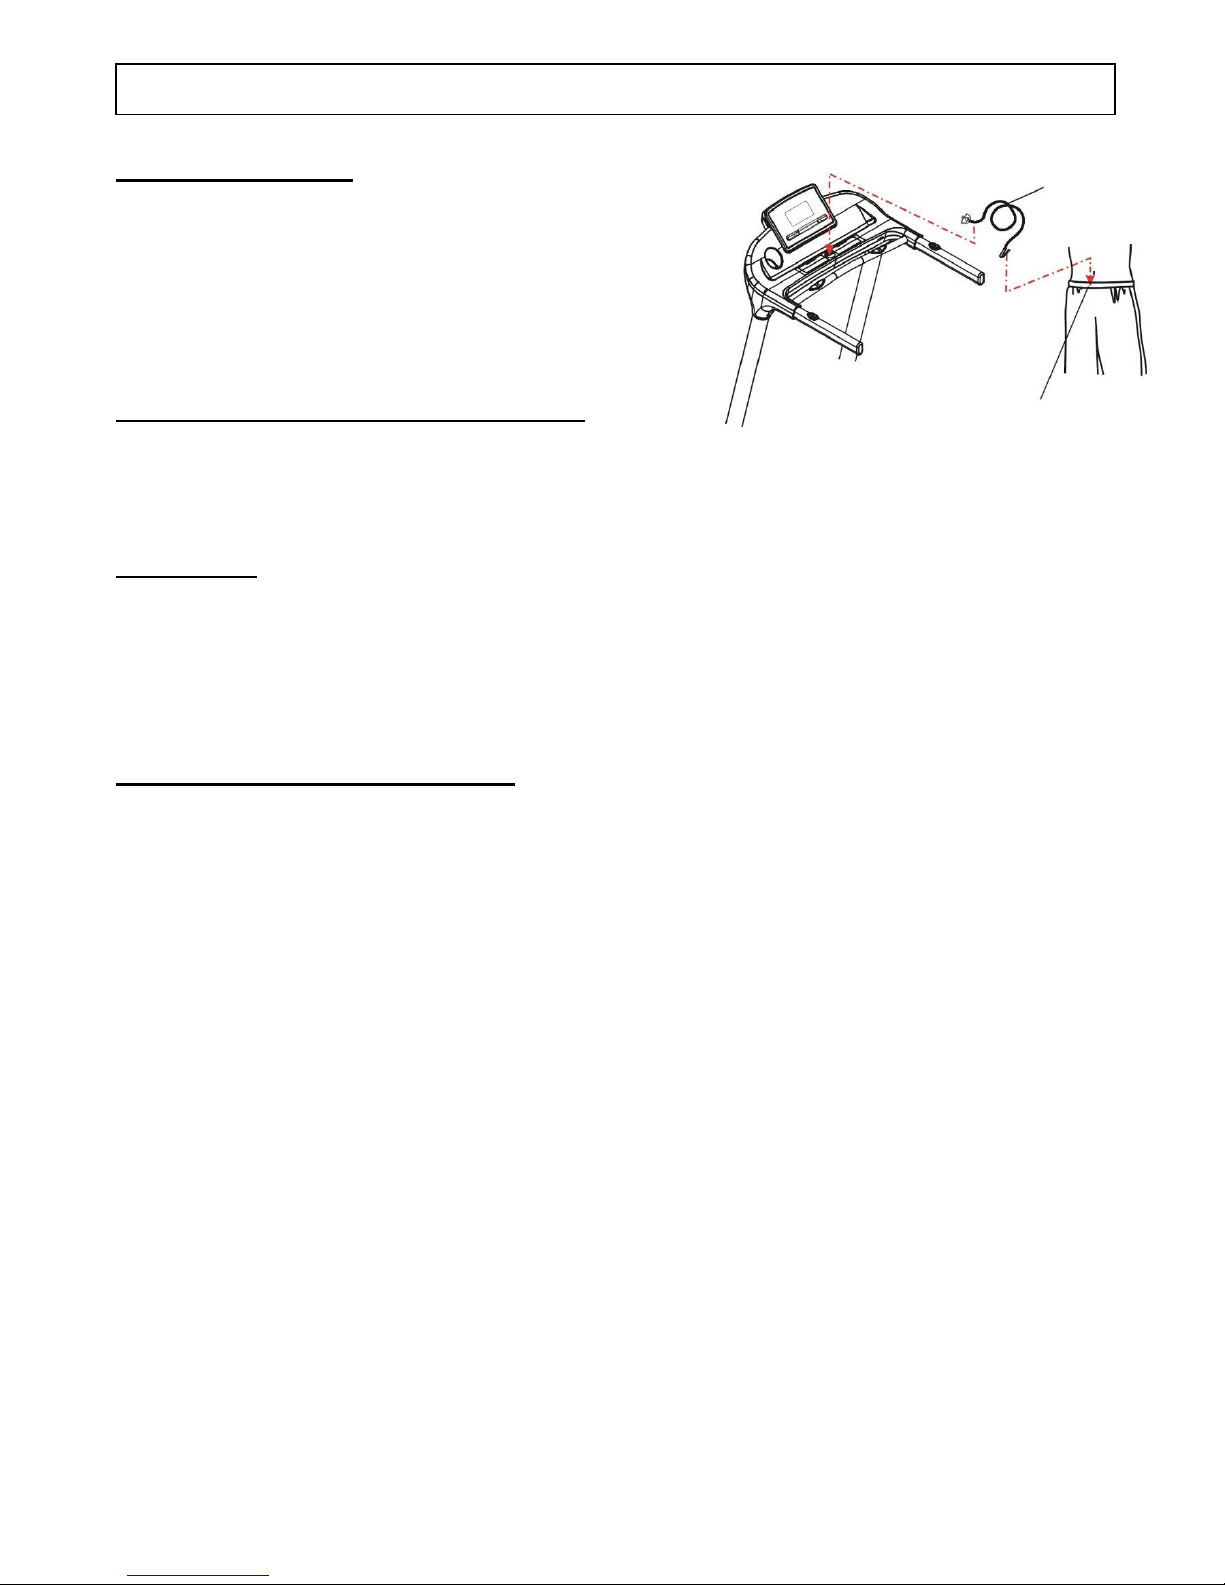
▪The treadmill has an emergency stop mechanism for your safety. Before starting your workout, fasten
the cord of the safety key to your clothing. If the treadmill has been shut down by removing the safety
key, restart it by reinserting the key. An automatic restart of the treadmill belt does not occur. Further
instructions concerning the handling of the safety cut-out can be found in the operating instructions for
the training computer.
Thank you for your purchasing our products. Even though we go to great efforts to ensure the
quality of each product, occasional error, and/or omissions do occur. In any event should you find
this product to be defective or missing parts please contact us.
Thank you for your purchasing our products. Even though we go to great efforts to ensure the
quality of each product, occasional error, and/or omissions do occur. In any event should you find
this product to be defective or missing parts please contact us.
IMPORTANT: Read all instructions and warnings before assembly and operation.IMPORTANT: Read all instructions and warnings before assembly and operation.
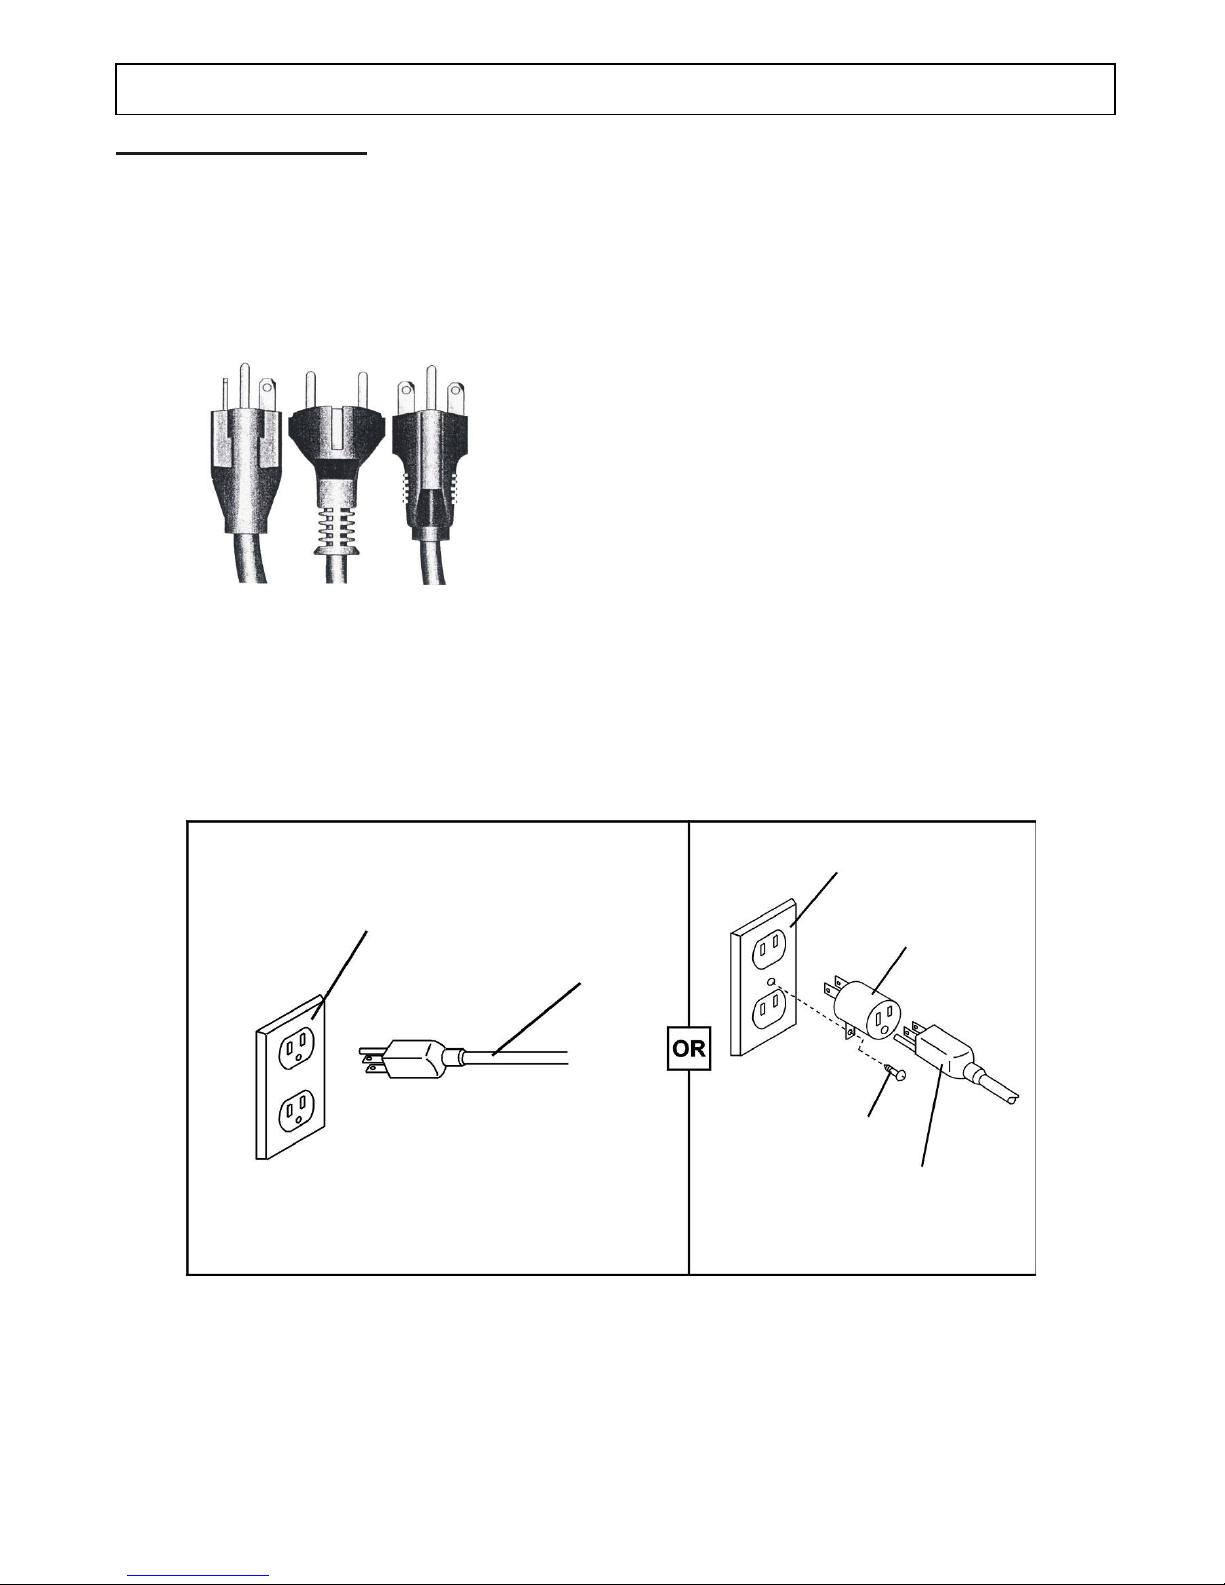
Important Voltage InformationImportant Voltage Information
Before plugging the power cord into an electrical outlet, verify that the voltage requirements for your
area match the voltage of the treadmill that you have received. The power requirements for the
treadmill include a grounded, dedicated circuit, rated for one of the following figure. See the serial
number decal for the exact voltage requirements of your treadmill.
WARNING:Don't attempt to use this unit with a voltage adapter. Don't attempt to use
this unit with an extension cord.