manuals.online logo
Brands
  1. Home
  2. •
  3. Brands
  4. •
  5. Clarke
  6. •
  7. Cutter
  8. •
  9. Clarke 1801518 User manual

Clarke 1801518 User manual

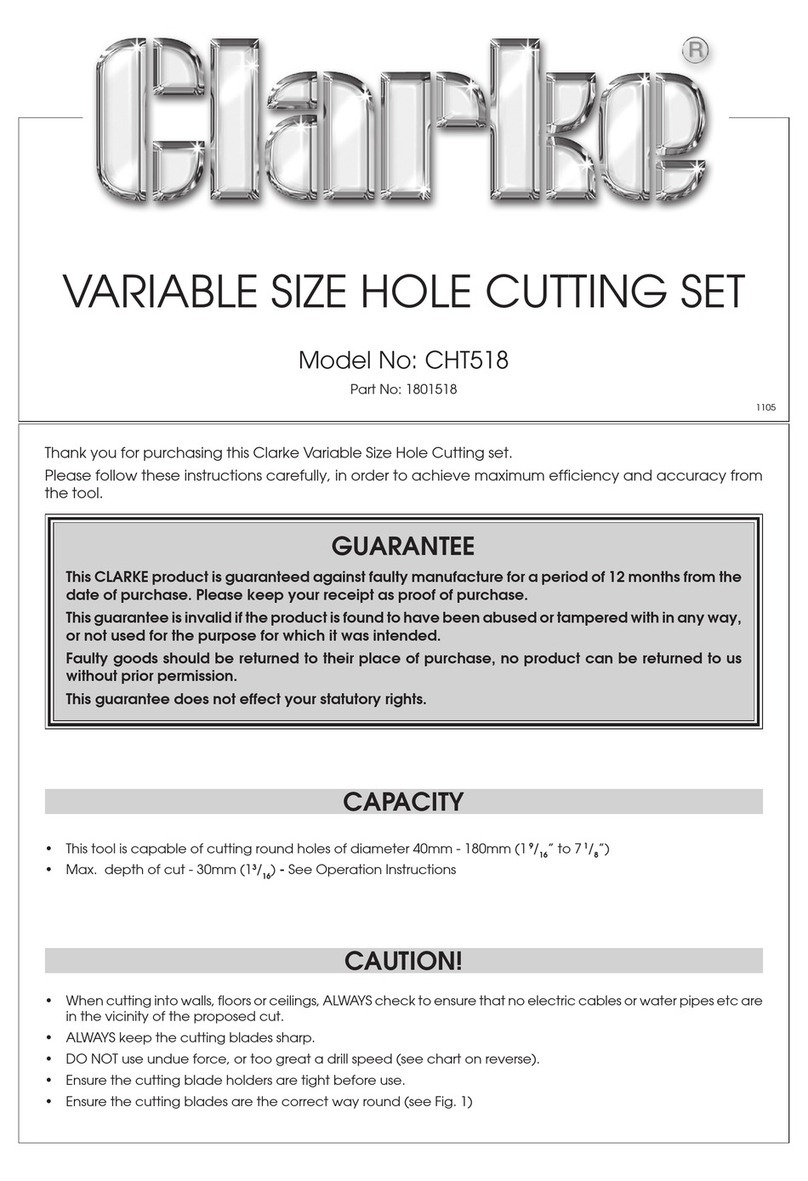
Thank you for purchasing this Clarke Variable Size Hole Cutting set.
Please follow these instructions carefully, in order to achieve maximum efficiency and accuracy from
the tool.
VARIABLE SIZE HOLE CUTTING SET
Model No: CHT518
Part No: 1801518
GUARANTEE
This CLARKE product is guaranteed against faulty manufacture for a period of 12 months from the
date of purchase. Please keep your receipt as proof of purchase.
This guarantee is invalid if the product is found to have been abused or tampered with in any way,
or not used for the purpose for which it was intended.
Faulty goods should be returned to their place of purchase, no product can be returned to us
without prior permission.
This guarantee does not effect your statutory rights.
CAUTION!
• This tool is capable of cutting round holes of diameter 40mm - 180mm (1 9/16” to 7 1/8”)
• Max. depth of cut - 30mm (13/16)- See Operation Instructions
• When cutting into walls, floors or ceilings, ALWAYS check to ensure that no electric cables or water pipes etc are
in the vicinity of the proposed cut.
• ALWAYS keep the cutting blades sharp.
• DO NOT use undue force, or too great a drill speed (see chart on reverse).
• Ensure the cutting blade holders are tight before use.
• Ensure the cutting blades are the correct way round (see Fig. 1)
CAPACITY
1105
All manuals and user guides at all-guides.com
SETUP
Using the Hex. wrench supplied, adjust the cutting
blade holders so that the cutting blades are at
the desired diameter. The inner edge of the
holders should line up with the appropriate
graduation on the arm.
It is important to note the orientation of the cutting
blades, refer to ‘A’ Fig. 1 to ensure they are correct.
Fig. 1
Fig. 2
Fig. 3
Fig. 4
STEP 1.
With the cutter blades correctly adjusted and holders
perfectly secure, slide the spindle through the hole in
the protection cowl.
STEP 2.
Slide the compression spring on to the protruding spindle.
STEP 3.
Screw the wing nut on to the threaded end of the spindle in
the manner shown so that the assembly is secure.
Attach the assembly to a suitable variable speed hand
drill ensuring the spindle is perfectly secure. Select a
speed in accordance with the chart below.
Very carefully offer the complete assembly up to the
workpiece, switch ON and allow the pilot drill to begin
its work.
The protection cowl will quickly come into contact with
the workpiece....ensure it is SQUARE. Continue to push
the spindle inwards, but DO NOT force it, allow the cutters
to come into contact with the work very gently. If the
cutters grab, the tool could be wrenched from your
grasp. Take care at this point.
NOTE: Depth of cut may be set by adjusting the compression
spring wing nut, noting that it has a left hand thread.
Please note that it is possible to cut material, up to 34mm
in thickness. However, this could cause damage to the
perifery of the hole in the material being cut, as the
cutting blade hoIders would create score marks on the
surface. It is preferable therefore to restrict cutting
thickness to 30mm.
If it is possible to cut from both sides of the workpiece,
then the maximum thickness that may be cut is 60mm
(or 68mm if scoring of the work is not a problem).
In order to do this, first proceed to cut from one side as
described, then using a 8mm drill bit, drill the pilot hole
through the remaining thickness. Finally, very carefully
cut from the reverse side of the workpiece ensuring the
pilot drill of the cutter, neatly enters the pilot hole
previously drilled. This process is illustrated in Fig.4
Spare Cutter Blades and pilot drills are available
from your CLARKE dealer
Hemnall Street, Epping, Essex CM16 4LG: Tel: 019925 565300
CUTTING SPEEDS
Hole Dia (mm) Drill Speed (RPM)
40 - 49 ......................... 800
50 - 69 ......................... 600
70 - 89 ......................... 400
90 - 119 ........................ 200
120 - 180 ....................... 100
NOTE: This is not a precision tool. If precision is required. then the distance between the centre line of the drill bit and the outer
cutting edge of the cutter should be measured, and both cutters adjusted accordingly. If necessary, take a trial cut.

All manuals and user guides at all-guides.com

This manual suits for next models

1

Other Clarke Cutter manuals

Clarke ETC6 Installation and operation manual

Clarke

Clarke ETC6 Installation and operation manual

Clarke CHT532 User manual

Clarke

Clarke CHT532 User manual

Clarke ETC8 Instruction Manual

Clarke

Clarke ETC8 Instruction Manual

Clarke TCM430 User manual

Clarke

Clarke TCM430 User manual

Clarke CHT518 User manual

Clarke

Clarke CHT518 User manual

Clarke X-Pro CAT203 Installation and operation manual

Clarke

Clarke X-Pro CAT203 Installation and operation manual

Clarke WE6493A User manual

Clarke

Clarke WE6493A User manual

Clarke CAT127 Installation and operation manual

Clarke

Clarke CAT127 Installation and operation manual

Clarke 30SI Installation and operation manual

Clarke

Clarke 30SI Installation and operation manual

Clarke ETC8 Instruction Manual

Clarke

Clarke ETC8 Instruction Manual

Clarke Strong-Arm CS10HC Installation and operation manual

Clarke

Clarke Strong-Arm CS10HC Installation and operation manual

Clarke ETC400 Troubleshooting guide

Clarke

Clarke ETC400 Troubleshooting guide

Clarke ETC180 Manual

Clarke

Clarke ETC180 Manual

Clarke ETC7 Installation and operation manual

Clarke

Clarke ETC7 Installation and operation manual

Clarke ETC180 Quick reference guide

Clarke

Clarke ETC180 Quick reference guide

Clarke 20CI Instruction Manual

Clarke

Clarke 20CI Instruction Manual

Clarke CMB710 Instruction Manual

Clarke

Clarke CMB710 Instruction Manual

Clarke CLC1 User manual

Clarke

Clarke CLC1 User manual

Clarke TCM420 User manual

Clarke

Clarke TCM420 User manual

Popular Cutter manuals by other brands

Target SUPER TILEMATIC STM10100 Operating instructions and parts list

Target

Target SUPER TILEMATIC STM10100 Operating instructions and parts list

Martor SECUNORM 380 Series manual

Martor

Martor SECUNORM 380 Series manual

RCBS VLD instructions

RCBS

RCBS VLD instructions

AMTI Products Slice 123 quick start guide

AMTI Products

AMTI Products Slice 123 quick start guide

Tatu Marchesan RC2 1300 instruction manual

Tatu Marchesan

Tatu Marchesan RC2 1300 instruction manual

Huskie Tools REC-MKS740L Operator's manual

Huskie Tools

Huskie Tools REC-MKS740L Operator's manual

KLIC-N-KUT KNK Force user manual

KLIC-N-KUT

KLIC-N-KUT KNK Force user manual

Emerson Klauke EBS8CFB manual

Emerson

Emerson Klauke EBS8CFB manual

Formax FD 125 Operator's manual

Formax

Formax FD 125 Operator's manual

Citizen CL-S521 user manual

Citizen

Citizen CL-S521 user manual

Makita CC02 instruction manual

Makita

Makita CC02 instruction manual

Trotec SP500 quick start guide

Trotec

Trotec SP500 quick start guide

Cembre B-TC04 Operation and maintenance manual

Cembre

Cembre B-TC04 Operation and maintenance manual

Zipper Mowers ZI-FS200 user manual

Zipper Mowers

Zipper Mowers ZI-FS200 user manual

Feider Machines FCPR852 Original instructions

Feider Machines

Feider Machines FCPR852 Original instructions

Martor SECUPRO MEGASAFE quick start guide

Martor

Martor SECUPRO MEGASAFE quick start guide

Skycut C Series manual

Skycut

Skycut C Series manual

Jancy Engineering Slugger MCCS14 Operator's manual

Jancy Engineering

Jancy Engineering Slugger MCCS14 Operator's manual

manuals.online logo
manuals.online logoBrands
  • About & Mission
  • Contact us
  • Privacy Policy
  • Terms and Conditions

Copyright 2025 Manuals.Online. All Rights Reserved.