Clarke CLC1 User manual
Other Clarke Cutter manuals

Clarke
Clarke ETC8 Instruction Manual
Clarke
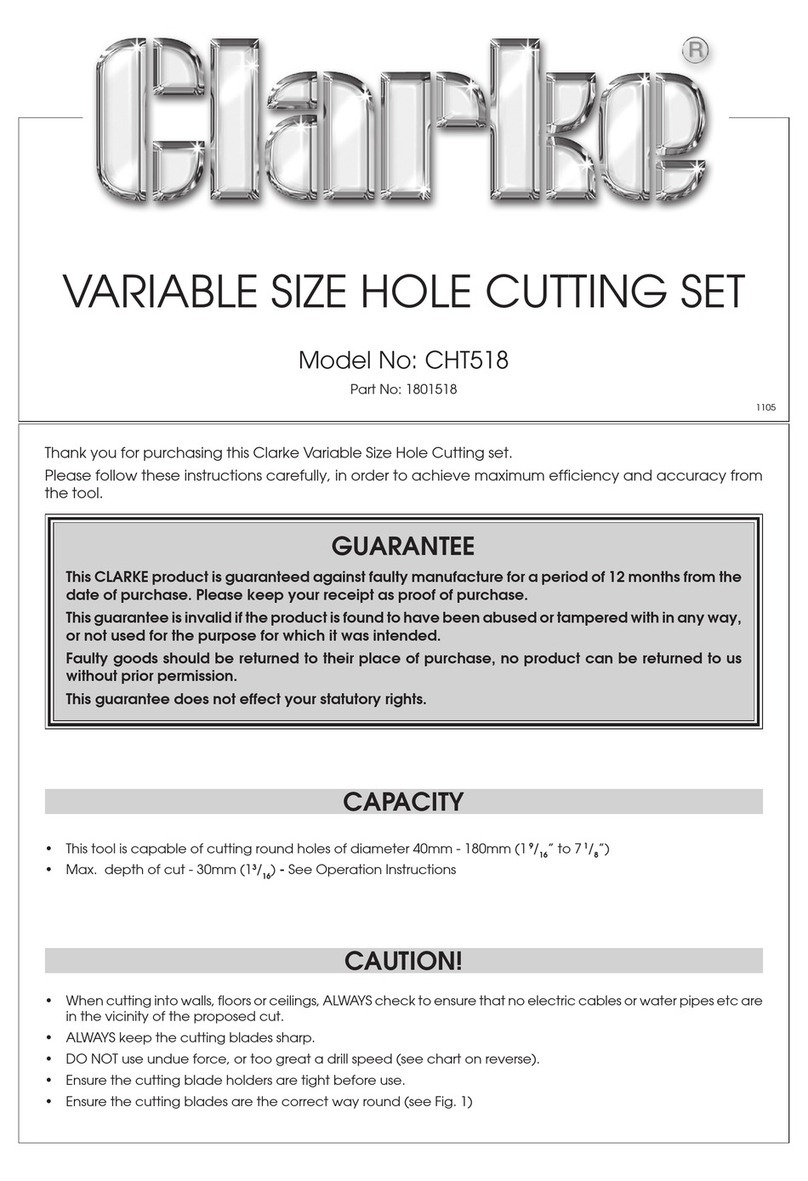
Clarke CHT518 User manual
Clarke
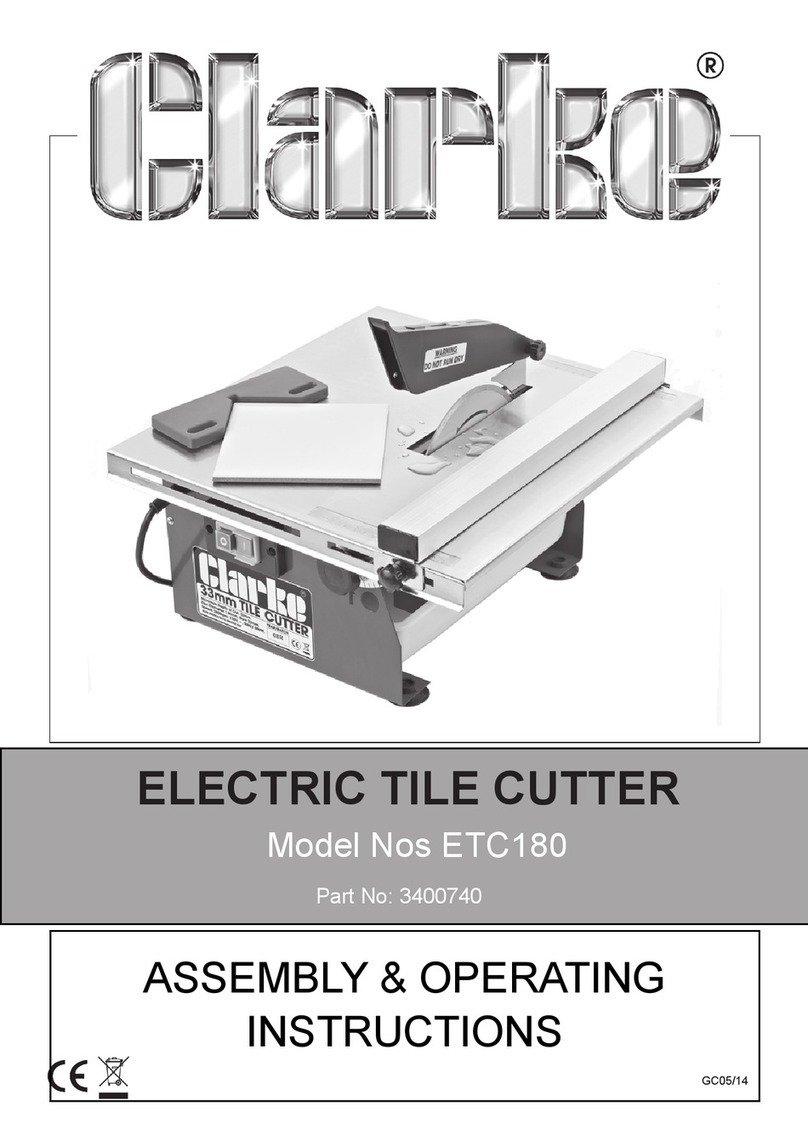
Clarke ETC180 Quick reference guide
Clarke
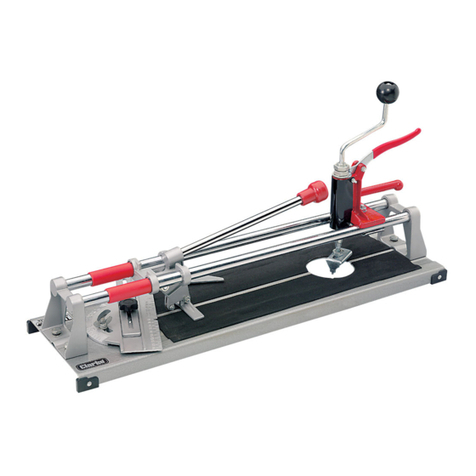
Clarke TCM420 User manual
Clarke
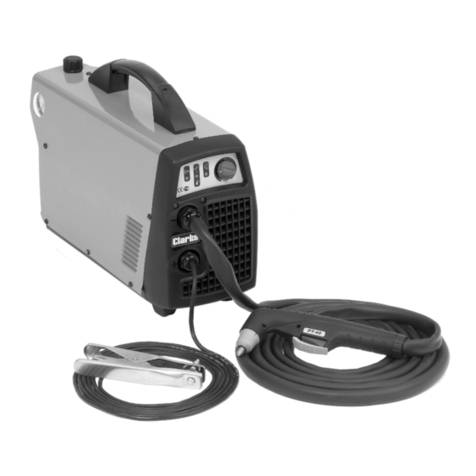
Clarke 30SI Installation and operation manual
Clarke
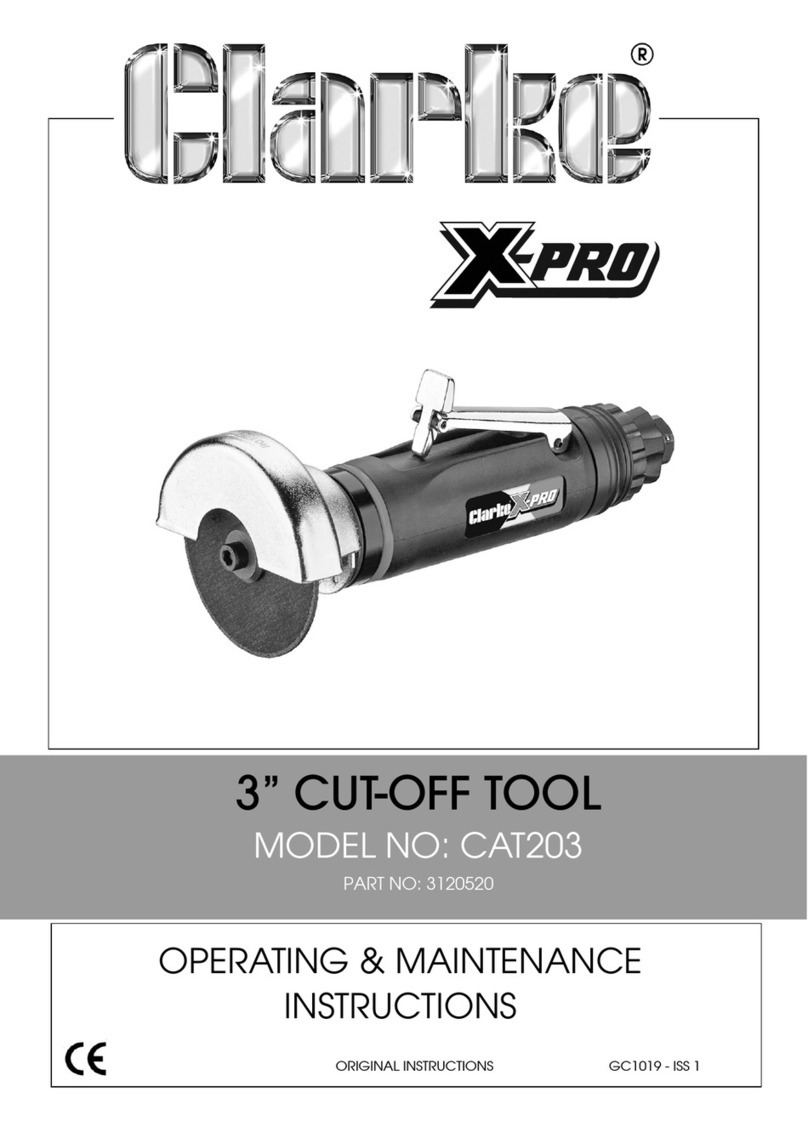
Clarke X-Pro CAT203 Installation and operation manual

Clarke
Clarke ETC6 Installation and operation manual
Clarke
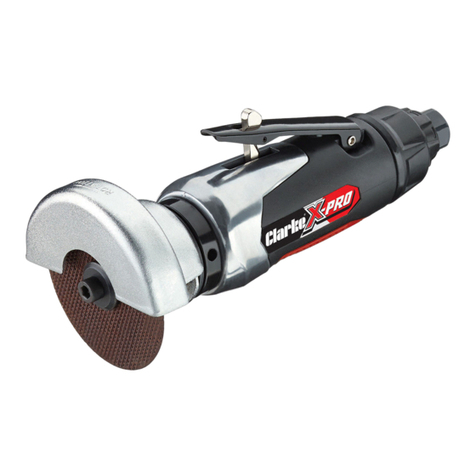
Clarke CAT127 Installation and operation manual
Clarke
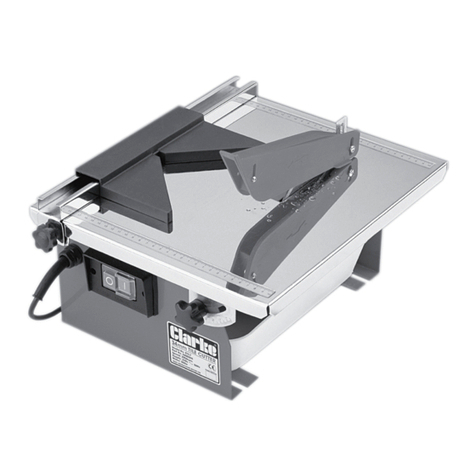
Clarke ETC7 Installation and operation manual
Clarke
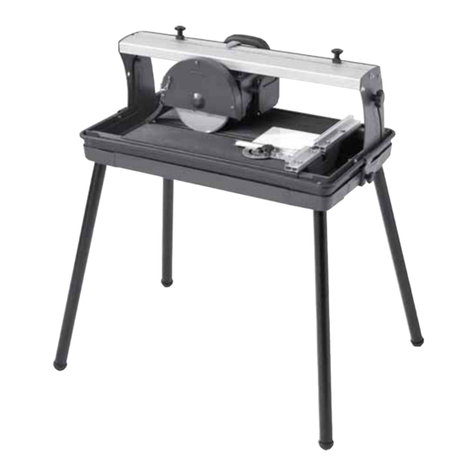
Clarke ETC400 Troubleshooting guide

Clarke
Clarke WE6493A User manual

Clarke
Clarke Strong-Arm CS10HC Installation and operation manual

Clarke
Clarke 1801518 User manual
Clarke
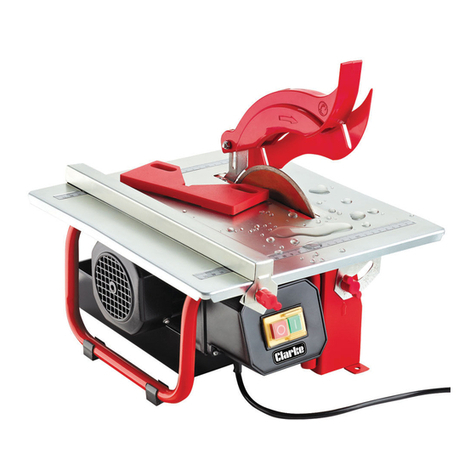
Clarke ETC8 Instruction Manual

Clarke
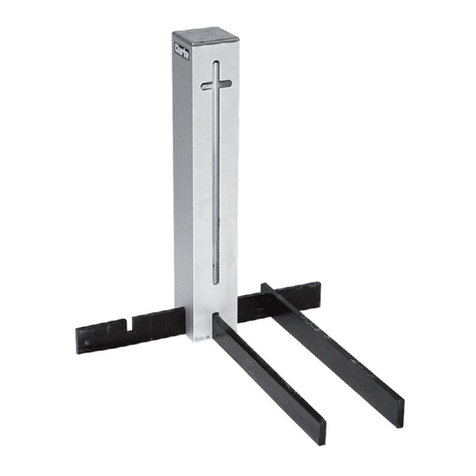
Clarke 20CI Instruction Manual
Clarke
Clarke CHT532 User manual
Clarke
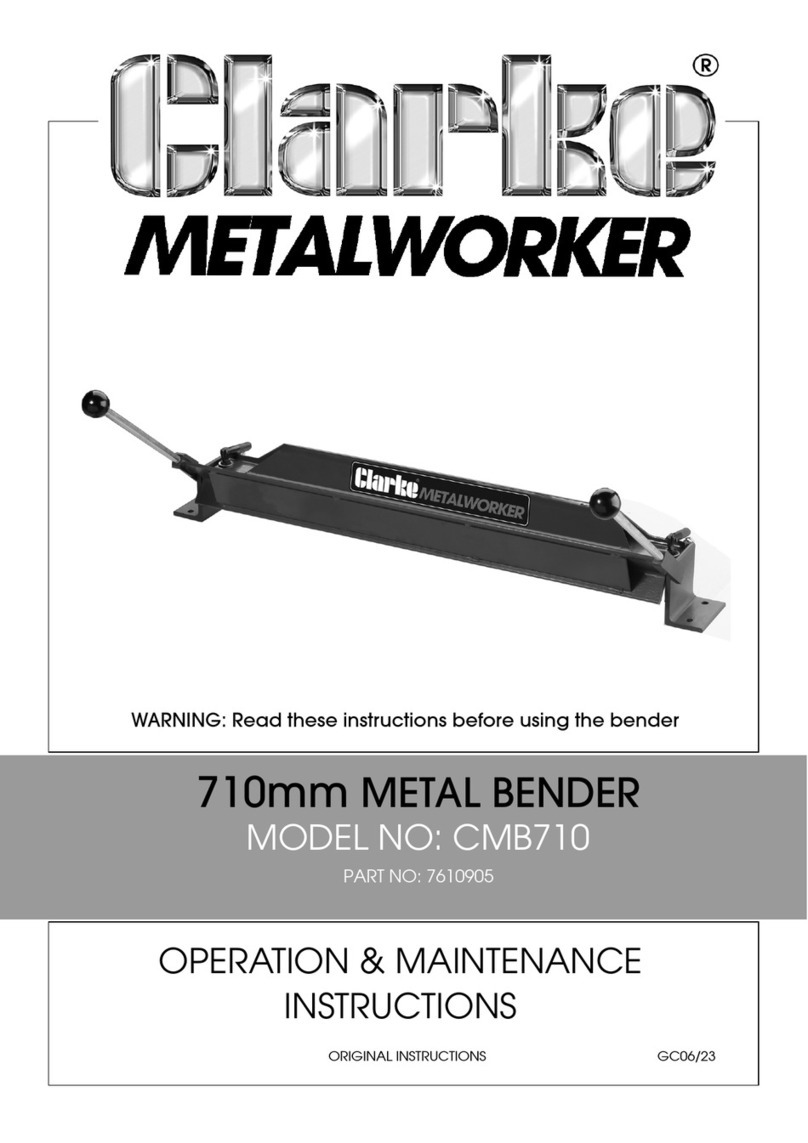
Clarke CMB710 Instruction Manual
Clarke
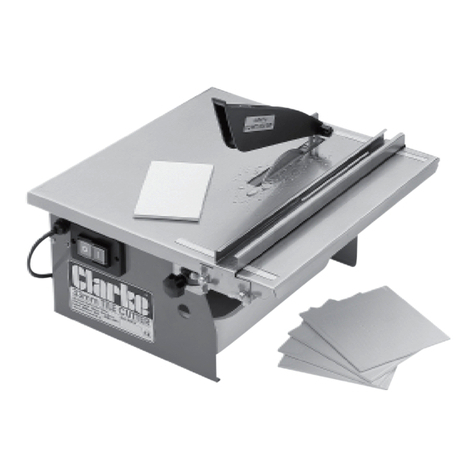
Clarke ETC180 Manual

Clarke
Clarke TCM430 User manual
Popular Cutter manuals by other brands

Bosch
Bosch POF 1400 ACE Original instructions

SignWarehouse.com
SignWarehouse.com Bobcat BA-60 user manual

Makita
Makita 4112HS instruction manual

GEISMAR STUMEC
GEISMAR STUMEC MTZ 350S manual

Hitachi
Hitachi CM 4SB2 Safety instructions and instruction manual

Dexter Laundry
Dexter Laundry 800ETC1-20030.1 instruction manual


