manuals.online logo
Brands
  1. Home
  2. •
  3. Brands
  4. •
  5. Clarke
  6. •
  7. Jack
  8. •
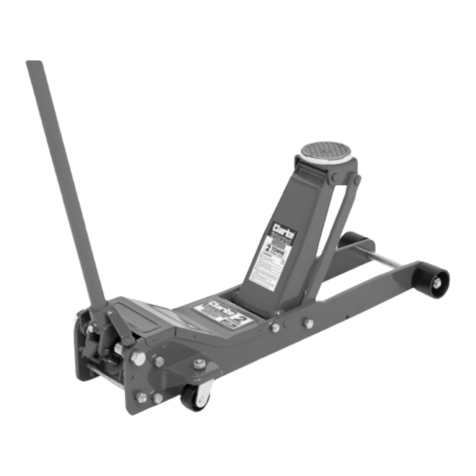
  9. Clarke STRONG-ARM CTJ2GLC User manual

Clarke STRONG-ARM CTJ2GLC User manual

Other Clarke Jack manuals
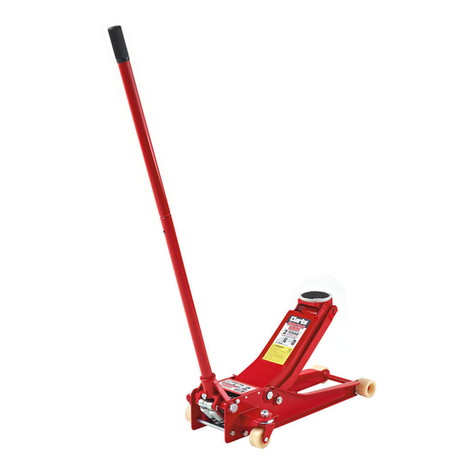
Clarke Strong-Arm CTJ2GLS Instruction Manual

Clarke

Clarke Strong-Arm CTJ2GLS Instruction Manual

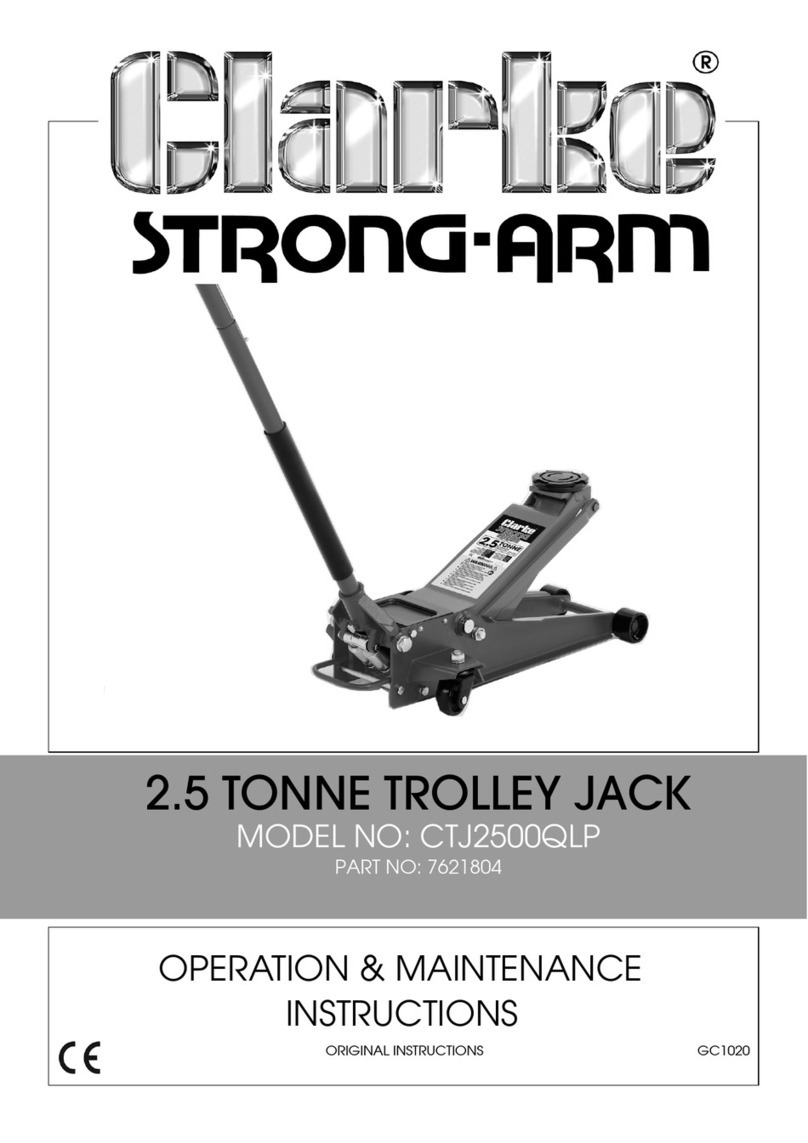
Clarke STRONG-ARM CTJ2QLP Instruction Manual

Clarke

Clarke STRONG-ARM CTJ2QLP Instruction Manual

Clarke STRONG-ARM CTJ1500QL Installation and operation manual

Clarke

Clarke STRONG-ARM CTJ1500QL Installation and operation manual

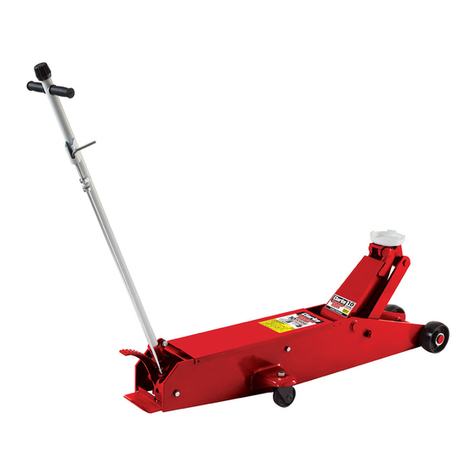
Clarke STRONG-ARM CTJ10GLB Instruction Manual

Clarke

Clarke STRONG-ARM CTJ10GLB Instruction Manual

Clarke STRONG-ARM CTJ5GLB Instruction Manual

Clarke

Clarke STRONG-ARM CTJ5GLB Instruction Manual

Clarke CTJ1800A Instruction Manual

Clarke

Clarke CTJ1800A Instruction Manual

Clarke STRONG-ARM CTJ1250A User manual

Clarke

Clarke STRONG-ARM CTJ1250A User manual

Clarke Strong-Arm CBJ2B Troubleshooting guide

Clarke

Clarke Strong-Arm CBJ2B Troubleshooting guide

Clarke strong-arm CBJ30 Troubleshooting guide
Clarke

Clarke strong-arm CBJ30 Troubleshooting guide

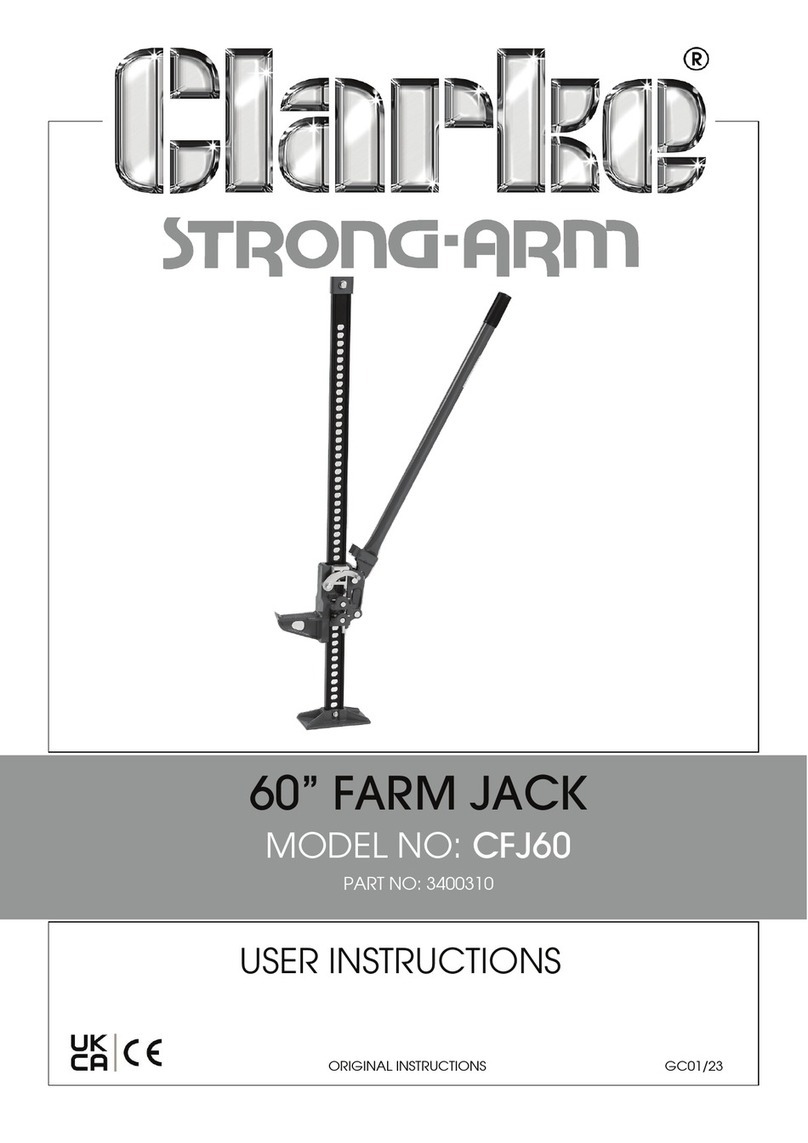
Clarke CFJ48 Installation and operation manual

Clarke

Clarke CFJ48 Installation and operation manual

Clarke CTJ2500SUV Instruction Manual

Clarke

Clarke CTJ2500SUV Instruction Manual

Clarke STRONG-ARM CFJ48B User manual

Clarke

Clarke STRONG-ARM CFJ48B User manual
Clarke CFTJ500 Troubleshooting guide

Clarke

Clarke CFTJ500 Troubleshooting guide

Clarke Strong-Arm CTJ5GLS Instruction Manual

Clarke

Clarke Strong-Arm CTJ5GLS Instruction Manual

Clarke CTJ2CB Instruction Manual

Clarke

Clarke CTJ2CB Instruction Manual

Clarke CTJ2000G User manual

Clarke

Clarke CTJ2000G User manual

Clarke CBJ32 Instruction Manual

Clarke

Clarke CBJ32 Instruction Manual

Clarke STRONG-ARM CTJ2B Instruction Manual
Clarke

Clarke STRONG-ARM CTJ2B Instruction Manual

Clarke Strong-Arm CTJ4000G Instruction Manual

Clarke

Clarke Strong-Arm CTJ4000G Instruction Manual

Clarke CSJ1500 User manual

Clarke

Clarke CSJ1500 User manual

Clarke Strong-Arm CTJ 50 Installation and operation manual

Clarke

Clarke Strong-Arm CTJ 50 Installation and operation manual

Clarke CTJ2001G Instruction Manual

Clarke

Clarke CTJ2001G Instruction Manual
Clarke STRONG-ARM CTJ2500QLGB Installation and operation manual

Clarke

Clarke STRONG-ARM CTJ2500QLGB Installation and operation manual

Clarke CTJ2000LP Instruction Manual

Clarke

Clarke CTJ2000LP Instruction Manual

Popular Jack manuals by other brands

Pittsburgh 62590 Owner's manual & safety instructions

Pittsburgh

Pittsburgh 62590 Owner's manual & safety instructions

Powerbuilt 640405 Operating and maintenance instruction manual

Powerbuilt

Powerbuilt 640405 Operating and maintenance instruction manual

Omega Lift Equipment 18122C Operating instructions & parts manual

Omega Lift Equipment

Omega Lift Equipment 18122C Operating instructions & parts manual

Pittsburgh 58816 Owner's manual & safety instructions

Pittsburgh

Pittsburgh 58816 Owner's manual & safety instructions

Unimec TP Assembly instructions

Unimec

Unimec TP Assembly instructions

Sonic 4800703 instructions

Sonic

Sonic 4800703 instructions

Pfaff Merkur M0 Operating	 instruction

Pfaff

Pfaff Merkur M0 Operating instruction

BGS technic 70039 instruction manual

BGS technic

BGS technic 70039 instruction manual

TradeQuip 1128T owner's manual

TradeQuip

TradeQuip 1128T owner's manual

VEVOR TJD-12000SP-F quick start guide

VEVOR

VEVOR TJD-12000SP-F quick start guide

ULTIMATE SPEED URW 2 A1 HYDRAULIC TROLLEY JACK operating instructions

ULTIMATE SPEED

ULTIMATE SPEED URW 2 A1 HYDRAULIC TROLLEY JACK operating instructions

Stels 51131 user manual

Stels

Stels 51131 user manual

Beta 3050/K Operation manual and instructions

Beta

Beta 3050/K Operation manual and instructions

Sealey 1050CXHV manual

Sealey

Sealey 1050CXHV manual

Valex 1650520 Translation of the original instructions

Valex

Valex 1650520 Translation of the original instructions

SW-Stahl 20700L instruction manual

SW-Stahl

SW-Stahl 20700L instruction manual

Jung JH Series operating instructions

Jung

Jung JH Series operating instructions

Silverline 598558 quick start guide

Silverline

Silverline 598558 quick start guide

manuals.online logo
manuals.online logoBrands
  • About & Mission
  • Contact us
  • Privacy Policy
  • Terms and Conditions

Copyright 2025 Manuals.Online. All Rights Reserved.

GUARANTEE.
This CLARKE product is guaranteed against faulty manufacture for a period of 12 months
from the date of purchase. Please keep your receipt which will be required as proof of
purchase.
This guarantee is invalid if the product is found to have been abused in any way, or not used
for the purpose for which it was intended. Faulty goods should be returned to their place of
purchase, no product can be returned to us without prior permission.
This guarantee does not effect your statutory rights.
HYDRAULIC TROLLEY JACK
1299
Model Nos. CTJ2GLC
Thank you for purchasing this Clarke Trolley Jack.
Before attempting to use the unit, please read this instruction booklet thoroughly, and follow
all directions carefully, paying particular attention to the safety precautions. By doing so, you
will ensure the safe operation of the unit, and the safety of yourself and others around you.
You can then look forward to long and reliable service from your CLARKE Trolley Jack.
SAFETY PRECAUTIONS
1. This jack is for lifting ONLY..DO NOT move a load using the jack as a dolly
2. Always inspect the jack before use. Ensure that all parts are in good condition and
operating smoothly, the wheels are sound and that no cracks or distortion is apparent.
If in doubt do not use. Have the parts replaced or consult your CLARKE dealer.
3. Ensure the jack is on a firm solid base, and that there is no likelihood of it slipping when
under load.
4. Ensure the load is taken by the FULL saddle and that the point of lift on the load, is of
sufficient strength to support the full load adequately.
5. Always ensure that the load is stabilised or supported in such a way that it will not shift
during lifting or lowering operations.
6. Always use supports to stabilise the load once lifted. NEVER work on or under a load
unless it is fully and adequately supported. NEVER rely upon the jack to hold the load
in position.
7. Never push a load off the jack.
8. Ensure that all personnel are well clear of a load being raised, or lowered.
9. NEVER exceed the rated load for the jack (see ‘Specifications’).
10. Do not use if an oil leak is apparent...Consult your Clarke dealer.
ASSEMBLY
Unscrew the bolt, at the rear of the jack handle housing, sufficient for the handle to be
inserted. Ensure the square drive on the end of the handle, engages fully with the square
spigot within the housing, before retightening the securing bolt
Attach the foot pedal using the fixtures supplied.
OPERATION
RAISING A LOAD
Ensure the load is chocked and stable and on firm level ground, before manoeuvring the
jack so that the saddle is directly beneath the lifting point. Consult the vehicle handbook to
determine the correct lifting points.
Turn the knob, at the top of the handle, fully clockwise and pump the handle, or
alternatively, pump the pedal, to raise the saddle, As it meets the lifting point, check to
ensure it is in full contact and there is no obstacle to prevent a clean lift, before proceeding
to pump the handle further to raise the load. UNDER NO CIRCUMSTANCES attempt to move
the load whilst supported by the jack.
Place axle stands or suitable supports beneath the vehicle, before VERY GENTLY turning the
knob anticlockwise. This action will open the release valve to lower the load on to the stands.
DO NOT jerk the handle...ensure it lowers under complete control on to the axle stands which
must be correctly positioned and take the weight evenly.
IMPORTANT:
The foot pedal is used to quickly bring the saddle to the lifting point, NOT to raise a load.
LOWERING A LOAD
First jack up the load in order to clear the axle stands or supports, then, when the supports
have been removed, check to ensure that there are no obstacles that could prevent the
load from lowering without hindrance, and that all personnel are well away from the site.
VERY GENTLY turn the Knob anticlockwise and the load will lower. DO NOT jerk the
handle....lower the load under complete control....DO NOT allow it to lower too quickly as
this could damage the pump seals
MAINTENANCE
Daily.
Inspect for distortion of components, and security of all nuts and bolts. If in doubt, do not use.
Have damaged parts repaired or replaced. If necessary, consult your CLARKE dealer.
Monthly
1. Oil all joints, linkages, the pump roller and front wheel hubs.
2. Apply grease to the caster bearings.
NOTE: Lubrication and cleanliness is important as dirt, rust etc can cause a jerky action which
could damage internal components.
Every 6 months
Carry out a thorough inspection for serviceability of components and check for oil leaks.
Only a very slight oil seepage is permissible. If a leak is evident, take the jack out of service,
and consult your CLARKE dealer.
Annually
Check the ram oil level as follows:
1. Ensure the ram is fully retracted by turning the Knob fully anticlockwise.
2. Remove the cover plate, located at the base of the handle housing, to gain access the
ram, then remove the ram filler plug.
3. Lift the jack so that it is vertical, resting on its front wheels and check the oil level. It should
be level with the bottom of the oil filler hole.
If necessary, top up with CLARKE HYDRAULIC OIL ONLY. (See your CLARKE dealer.
Quote Part No. 3050830 for 1 litre bottle 3050835 for 5 litres.)
4. Replace filler plug and purge system of air.....see below.
Storage
Store in a dry place where it cannot be attacked by the elements with the ram in its fully
retracted position. If stored for long periods, inspect at least twice a year, clean and re-oil.
For servicing, contact your CLARKE dealer, or CLARKE International Service Dep’t.
SYSTEM AIR PURGE
1. Turn handle ONE full turn anticlockwise and pump handle EIGHT full strokes.
2. Turn handle clockwise FULLY, and pump handle to maximum height...then continue to
pump 5 or 6 times to remove trapped air.
3. Turn handle anticlockwise and allow arm to lower and ram to fully retract.
4. Turn handle clockwise FULLY, and pump handle to maximum height to test pump action.
NOTE: It may be necessary to perform the above action more than once to ensure that air is
totally evacuated.
For Spare Parts and Servicing, please contact your nearest dealer, or
CLARKE International, on one of the following numbers.
PARTS & SERVICE TEL: 020 8988 7400
PARTS & SERVICE FAX: 020 8558 3622
PROBLEM PROBABLE CAUSE REMEDY
Jack will not lift Oil level low Top up oil
to full height
Jack will not hold . 1 Release valve not closing 1 Turn handle fully clockwise
the load 2 Pump valves not seating 2 Consult your CLARKE dealer
3 Air in ram 3 Purge air (see below)
Arm will not lower 1 Broken return Spring 1 Replace (See your dealer)
2 Lift arm linkage bent or 2 Consult your CLARKE dealer
binding
3 Cylinder ram binding 3 Consult your CLARKE dealer
4 Parts Worn 4 Consult your CLARKE dealer
Jack feels spongy when Air in system Purge air (see System Air Purge)
lifting
SPECIFICATIONS
Maximum load (tonnes) ................................................................. 2
Min. Saddle Height (mm) ............................................................ 125
Maximum Height (mm) ............................................................... 800
Overall Length (mm) ................................................................. 1190
Overall Width (mm) ..................................................................... 435
Weight (kg/lbs) ................................................................. 57.5/126.5
Part No. ................................................................................. 7621025
SPARE PARTS
The following user serviceable parts are available from your Clarke dealer, or Clarke
International Parts Dept.
1. Saddle
2. Castor Assembly
3. Front Wheel Assembly
4. Handle Assembly complete
5. Foot Pedal
FAULT FINDING