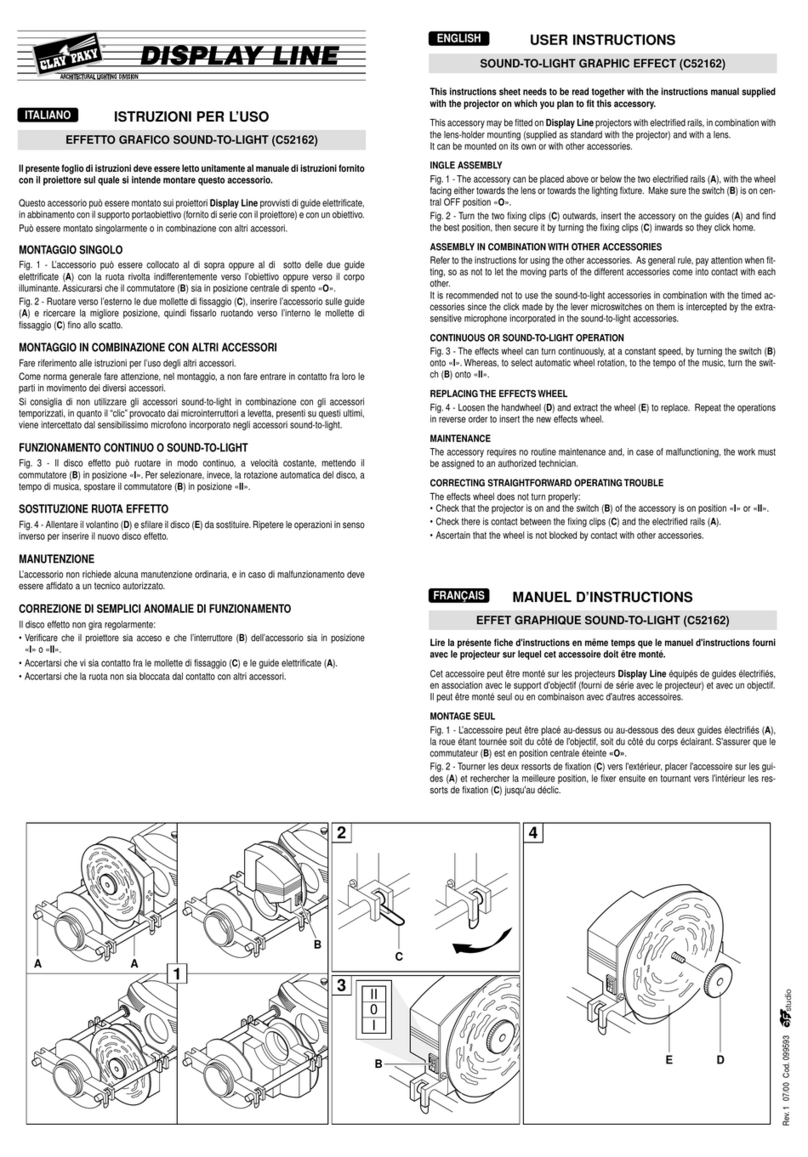
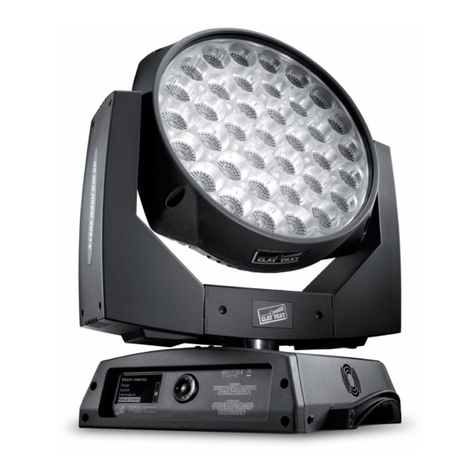
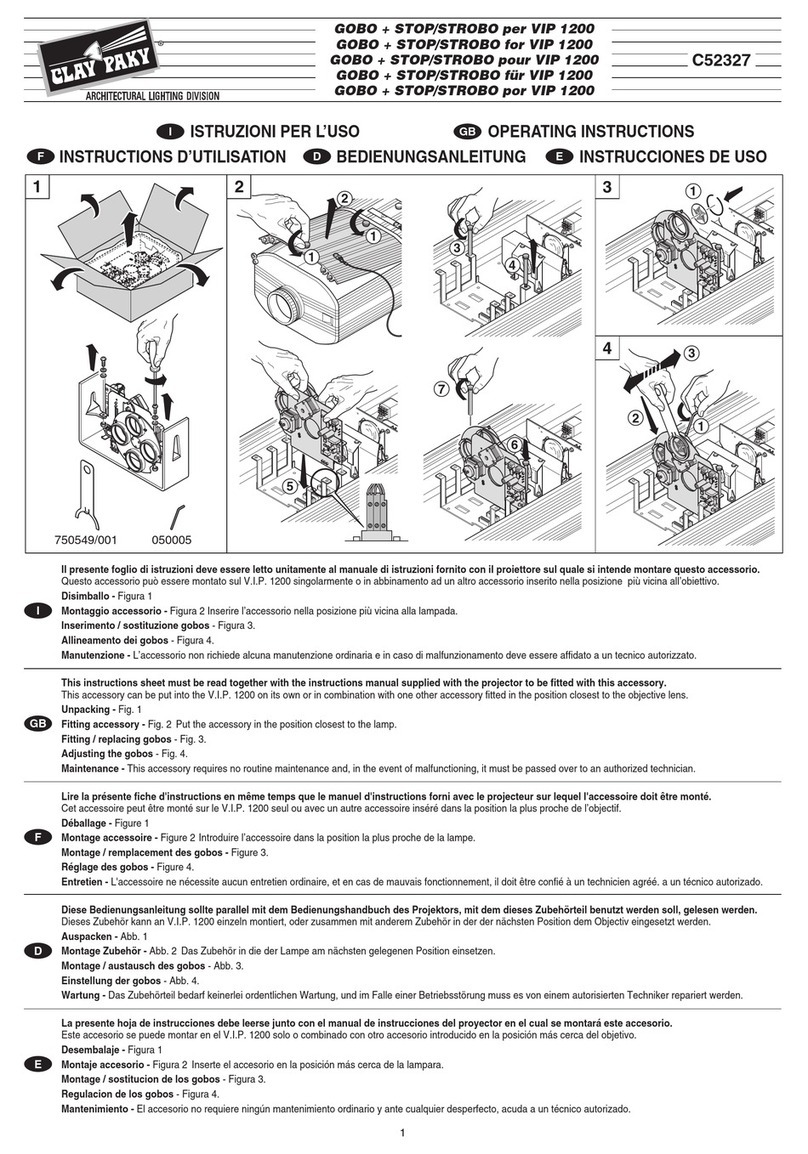
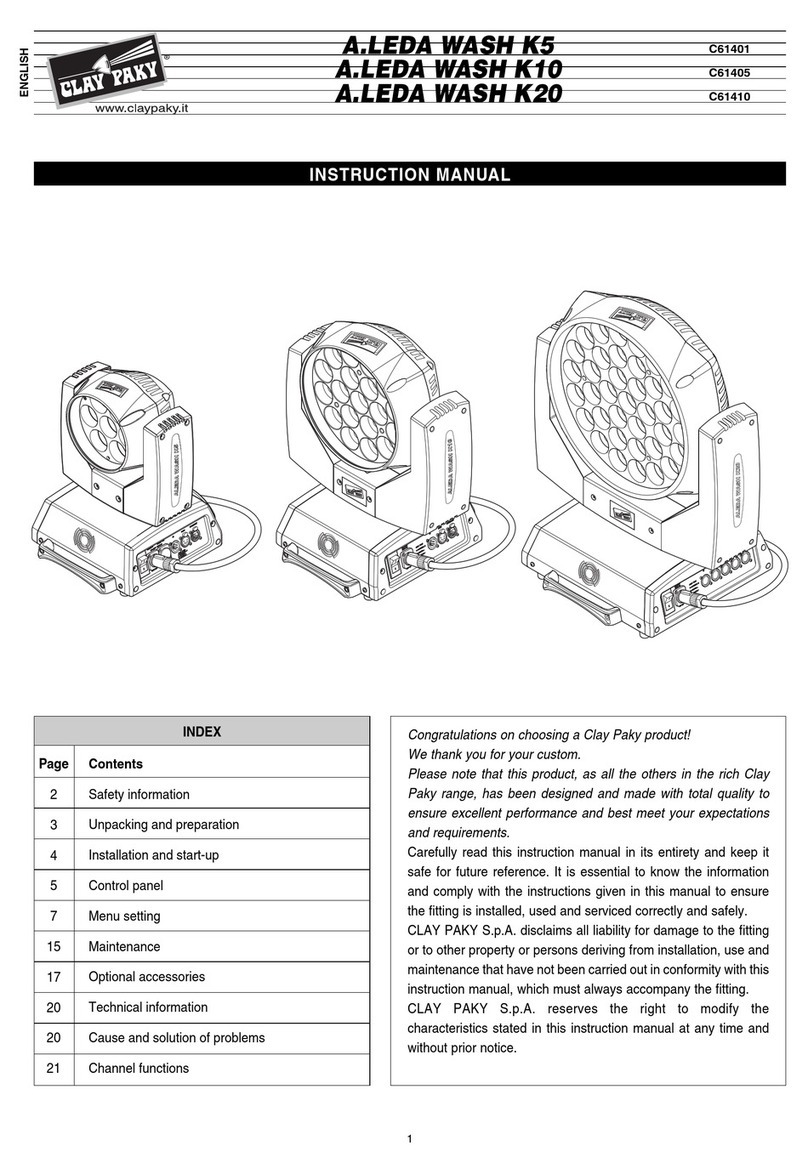
5
PIN SCAN
•
Unpacking
Open the box, remove the projector
from the packing and place it on a
flat, horizontal surface.
Unpack the standard accessories
supplied with the fixture. Inspect the
lamp change label (1) and replace it
with one of the optional language
versions if necessary.
Make sure that the label is never
removed, as it displays important
safety information.
•
Connecting to the electrical power supply
The operations described in this heading must be carried out by a licensed electrician.
The projector must be wired up to the electrical power supply using the special socket
connector provided (6).
It is good policy to connect projectors to the power supply by way of dedicated
switches, so that each can be turned on and off individually from a remote station.
The projector is designed to operate at the voltage and frequency indicated on the
electrical data plate (7). Check that these two values correspond to the mains voltage
and frequency.
IMPORTANT: the projector must be connected to a power supply circuit
having a proper earth system (Class I appliance).
• Connecting the control signals
0 -10V CONNECTION
The connection between controller and projector must be made using a multicore
cable with 8 wires of 0,25mm
2
section and a DIN 8 PIN 45° plug/socket connector.
RS 232/423(PMX) - DMX 512 CONNECTION
•
Fitting the filter
The protective filter (2) is designed
to prevent the projection of glass
splinters in the event of a lamp
bursting, and must therefore be fit-
ted to the projector at all times.
Use a Phillips screwdriver to remove
the screws (3), position the filter (2)
over the front of the projector and
then re-insert the screws (3) and
tighten them fully down. In alterna-
tive to the clear protective filter sup-
plied as standard, the projector can
be equipped with red, green, yellow,
blue, violet, amber or pink dichroic
filters complete with the relative sur-
round, following the same assembly
instructions as for the standard filter.
•
Fitting the lamp
Refer to the directions for replacement of the lamp given under heading 5 MAIN-
TENANCE.
•
Installing the projector
The projector can be placed on the floor on the rubber feet (4) or installed on the
ceiling or wall using the holes (5) in the base.
Make certain that the anchorage is stable before positioning the projector.
•
Minimum distance from target objects
The projector must be positioned in such a way
that objects struck by the beam are located at
least 1.3 m (4’ 3”) from the lens.
•
Minimum distance of inflammable materials from any part of the fixture:
m 0.1 (4”).
The fixture may be mounted on surfaces rated normally inflammable.
IMPORTANT: For better and more reliable operation of the fixture, the ambient
temperature must not exceed 35° C (95° F). Protection factor IP 20: the fixture is
protected against penetration of solid bodies more than 12mm (0.5”) in diameter (first
digit 2), but can be damaged by spray, jet, drip or rain water (second digit 0).
45
