Cloner Alliance Box Pro User manual

ClonerAlliance Box Pro User Manual
CLONER ALLIANCE BOX
Source Snapshot Rec/Stop

ClonerAlliance Box Pro User Manual
This documentation describes how to use ClonerAlliance Box Pro (Model: CA-998P) device.
Copyright Notice
Copyright © ClonerAlliance Inc. All rights reserved.
Documentation Version 2.7.0
No part of this publication may be reproduced, transmitted, transcribed, stored in a retrieval system, or translated into any
language or computer language, in any form or by any means, electronic, mechanical, magnetic, optical, chemical, manual,
or otherwise, without the prior written permission of ClonerAlliance Inc.


Safety Notices
Before using ClonerAlliance Box Pro, please ensure that you read and understand
the safety precautions below:
1. Do not attempt to open the case of ClonerAlliance Box Pro or modify it in any way,
as this will void the warranty.
2. Keep ClonerAlliance Box Pro away from water and other liquids, as this may cause
the unit to malfunction.
3. ClonerAlliance Box Pro may become warm during use. This does not indicate
malfunction.
4. Do not place heavy objects on ClonerAlliance Box Pro, as this may cause the unit
to overheat and malfunction.
5. If the exterior of ClonerAlliance Box Pro requires cleaning, wipe it with a soft dry
cloth.
6. Do not dispose of the unit via conventional domestic waste.

CONTENTS
1Getting Started 1
1.1 Box Contents ...............................................................................1
1.2 Product Diagram.............................................................................2
2How to record videos to the USB storage device? 6
2.1 Connect Diagram ............................................................................6
2.2 Record/Capture ..............................................................................8
2.3 Playback ...................................................................................9
2.4 How to playback the recorded files on ClonerAlliance Box Pro directly?.................................9
2.5 Schedule Recording ..........................................................................13
2.6 Menu Navigation ............................................................................15
2.7 System Setting ..............................................................................15
2.8 Image Setting ...............................................................................17
2.9 Audio Setting ...............................................................................19
2.10 Schedule Setting .............................................................................21
3How to connect to PC and record videos directly? 23
3.1 Install & Register ClonerAlliance Helper..........................................................23
3.2 Register ....................................................................................23
3.3 How to get the registration code? ................................................................24
3.4 Connect ....................................................................................25
3.5 Record/Capture ..............................................................................29
4How to live stream with OBS? 37
4.1 Connection Guide of ClonerAlliance Box Pro (To PC Mode) ..........................................37
4.2 Install ClonerAlliance Helper and OBS Studio .....................................................37
i

ClonerAlliance Box Pro User Manual
1.2 Product Diagram
Source Snapshot Rec/Stop
1. LED indicator light for recording. Blue means recording in 1080p, while Green means recording in 720p or others.
2. When this light is on, it means ClonerAlliance Box Pro is turned on.
3. Source: Press this button to switch the input signal. HDMI, VGA, YPbPr and AV are available.
4. Snapshot: Press this button to take a snapshot.
5. Rec/Stop: ClonerAlliance Box Pro will be turned on automatically once it’s connected with power supply. Press and
hold “Rec/Stop”button on Box Pro for 5 secs to turn off the unit. Press “Rec/Stop”button again can turn it on again.
1.2. Product Diagram 2

ClonerAlliance Box Pro User Manual
9
6. Line Out: Insert the headphone plug into this jack to output the video sound.
7. Mic: Insert the microphone plug into this jack to input voice.
8. Line In: Stereo audio inputs.
9. Storage: Insert the USB flash drive or mobile hard disk and record videos to this storage medium.
1.2. Product Diagram 3

ClonerAlliance Box Pro User Manual
4131211101
10. 12V/1A: Plug the power adapter into this port and power on ClonerAlliance Box Pro.
11. Out: Connect an HDMI cable between ClonerAlliance Box Pro and TV.
12. In: Connect an HDMI cable between the video player and ClonerAlliance Box Pro.
13. MMI: Connect the included VGA/AV/YPbPr to HDMI cable between the video player and ClonerAlliance Box Pro.
14. To PC: Connect the Micro-USB to USB cable between PC and ClonerAlliance Box Pro for recording videos to PC. This
function must be realized together with ClonerAlliance Helper.
1.2. Product Diagram 4

ClonerAlliance Box Pro User Manual
CLONER ALLIANCE BOX
Start recording.
Stop recording.
Select HDMI as the input signal.
Select VGA as the input signal.
Select YPbPr as the input signal.
Select AV as the input signal.
Mute.
Switch to the aspect ratio of 4:3.
Switch to the aspect ratio of 16:9.
Microphone mute.
Show information.
Capture an image.
OK button.
Adjust the volume of the source video.
Adjust the volume of MIC input.
Show the main menu.
Back to the previous interface.
Set the system time by year/month/day/hour/minute/second.
Play back the contents in the USB storage device.
Set the recording frequency. Starting time and recording time. Then videos will be
recorded automatically according to your settings.
Back to the previous page.
Play(full screen) or stop playing.
Go to the next page.
Fast backward.
Delete the selected Video.
Fast forward.
Set the output resolution to 720p.
Set the output resolution to 1080p.
Select the recording resolution for PC, including 1920x1080, 1280x720 and 720x480.
Tips: The remote control is powered by 2 AAA batteries which are not included and need to be purchased independently.
1.2. Product Diagram 5

HOW TO RECORD VIDEOS TO THE USB STORAGE DEVICE?
2.1 Connect Diagram
1. Connect the power adapter. Plug the power adapter into the power socket and plug the other end into the 12V/1A port of
ClonerAlliance Box Pro.
2. Connect the video source/player. For HDMI Video Sources: Using the included HDMI cable, connect your video source
(gaming system, set-top box, etc.) to the ClonerAlliance Box Pro. Plug it into the IN port. For AV/VGA/YPbPr Video
Sources: Using the included MMI cable, plug one end into the “MMI IN”port. Plug/Connect the other end to your video
source device.
3. Connect ClonerAlliance Box Pro to TV. Connect your TV to the “Out”port on the ClonerAlliance Box Pro using
another HDMI cable (not included).
4. Plug the USB storage device into the “Storage”port of ClonerAlliance Box Pro.
6

ClonerAlliance Box Pro User Manual
2.1. Connect Diagram 7

ClonerAlliance Box Pro User Manual
2.2 Record/Capture
1. The default signal selection is HDMI. If you are trying to record from an HDMI video source, skip to the next step. If
you are trying to record from AV/VGA/YPbPr sources, press the “Source”button to switch signals until it’s set to the
correct one, or press the “VGA”“YPbPr”or “AV”buttons on the remote control. Note: DO NOT connect HDMI video
source to the “MMI In”port and DO NOT connect MMI cable to HDMI “In”port.
2. Once a signal is coming from your video source to ClonerAlliance Box Pro then to your TV, you should see a live
preview of your video source on your TV screen. (If not, please check section of “FAQ”. Also, check your signal and
make sure your TV is set to the correct HDMI input.)
3. To start recording, press the “REC/STOP”button on ClonerAlliance Box Pro, or press the “REC”button on the
remote control. The top LED light will flash while the unit is recording or saving a file.
4. To stop recording, press the “REC/STOP”button again on ClonerAlliance Box Pro, or press the “STOP”button on
the remote control.
5. To play back recordings on your ClonerAlliance Box Pro, press the “PLAYBACK”button on the remote control (be
sure to load batteries in it first). For more details on the playback feature, check section of “Playback”.
6. If you want to play back recordings on your computer, please transfer recordings to your PC or Mac, remove the USB
drive from your ClonerAlliance Box Pro after stopping and saving the recordings. Then plug it into your computer. Browse
the drive and go to the “video”folder.
Note: DO NOT remove the USB storage drive from ClonerAlliance Box Pro in the process of recording (Flashing Blue/Green
LED indicates it’s still in the process of recording.)
2.2. Record/Capture 8

ClonerAlliance Box Pro User Manual
2.3 Playback
Two scenarios:
1. Playback on ClonerAlliance Box Pro.
2. Or you can attach the USB storage drive to your PC/Mac/player to playback the recorded videos.
2.4 How to playback the recorded files on ClonerAlliance Box
Pro directly?
Once you’ve recorded at least one video, you may play back videos from ClonerAlliance Box Pro to your TV using the
playback feature. Please follow the steps below:
1. Plug the USB storage device into ClonerAlliance Box Pro. Press the“Playback”button on the remote control. (Make
sure the remote control is pointed at the IR Receiver). You will see a prompt message “Select storage device”.
2.3. Playback 9

ClonerAlliance Box Pro User Manual
2. Choose “USB”by the remote. You will then see a list of videos that have been recorded.
2.4. How to playback the recorded files on ClonerAlliance Box Pro directly? 10

ClonerAlliance Box Pro User Manual
3. Select your desired file by using the up and down arrow buttons on the remote control. And then press OK to playback
the selected video in full screen.
2.4. How to playback the recorded files on ClonerAlliance Box Pro directly? 11

ClonerAlliance Box Pro User Manual
4. During playback, you can use up/down/left/right arrow buttons on the remote to choose previous/next/rewind/forward.
To go back to “Capture”mode when you are done playing back videos, simply press the “Back”button on the remote
several times until you are back in “Capture”mode.
2.4. How to playback the recorded files on ClonerAlliance Box Pro directly? 12

ClonerAlliance Box Pro User Manual
2.5 Schedule Recording
1. Press the TIME button on the remote control. Set the system time by using the four buttons of volume control on the
remote control.
2.5. Schedule Recording 13

ClonerAlliance Box Pro User Manual
2. Press the SCHEDULE button on the remote control. Set the schedule mode as “Once”or “Every day”, start time
and stop time by using the four buttons of volume control on the remote control. Then exit schedule settings by clicking
“Back”button on the remote control.
3. Then ClonerAlliance Box Pro will start to record videos automatically at the scheduled time. Note: If you want to
record certain channel’s video, do select the channel first.
2.5. Schedule Recording 14
Table of contents
Other Cloner Alliance Video Gaming Accessories manuals
Cloner Alliance
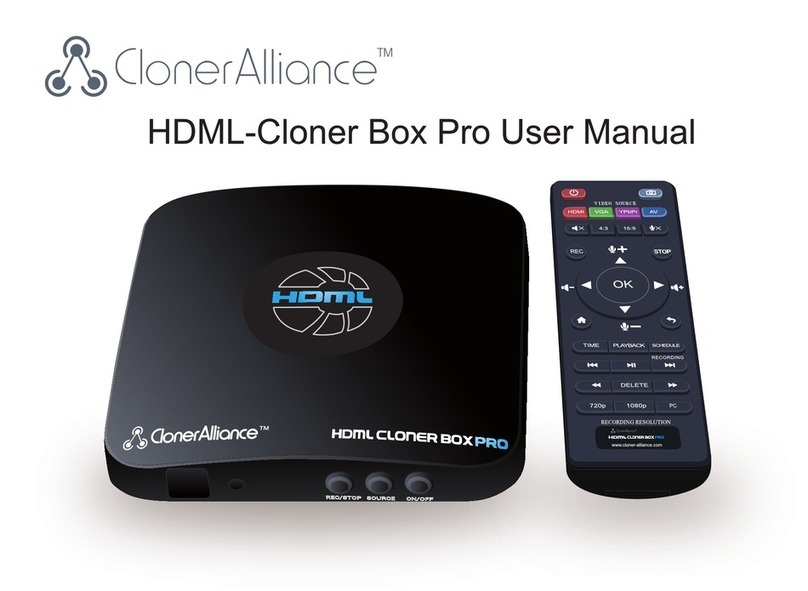
Cloner Alliance HDML-Cloner Box Pro User manual
Cloner Alliance
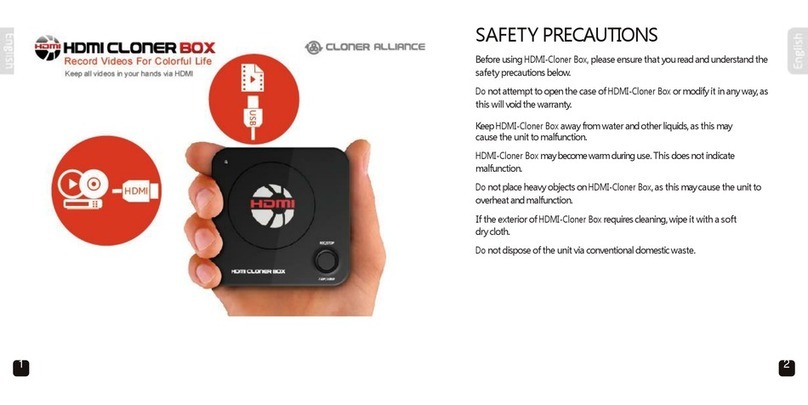
Cloner Alliance HDMI Cloner Box User manual
Cloner Alliance
Cloner Alliance Flint 4KP Plus User manual
Cloner Alliance
Cloner Alliance Flint D4 User manual
Cloner Alliance
Cloner Alliance CA-988B User manual
Cloner Alliance
Cloner Alliance HDML-Cloner Box Turbo CA-988BT User manual
Cloner Alliance
Cloner Alliance Box Turbo User manual
Cloner Alliance
Cloner Alliance Flint 4KP Pro User manual
Cloner Alliance
Cloner Alliance ViewPro User manual
Cloner Alliance
Cloner Alliance Flint LX CA-1080FL User manual


