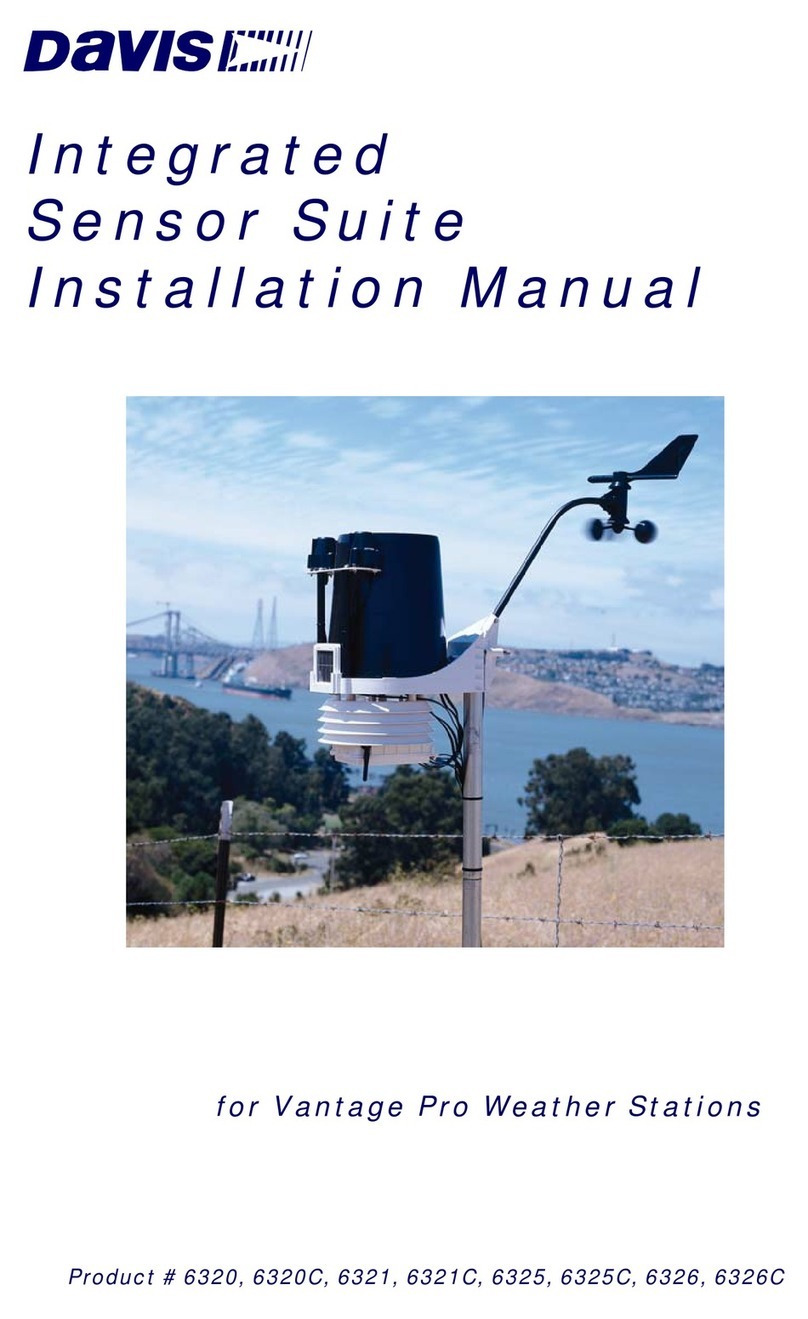
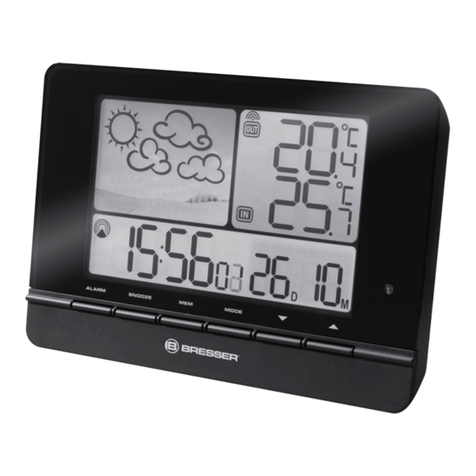
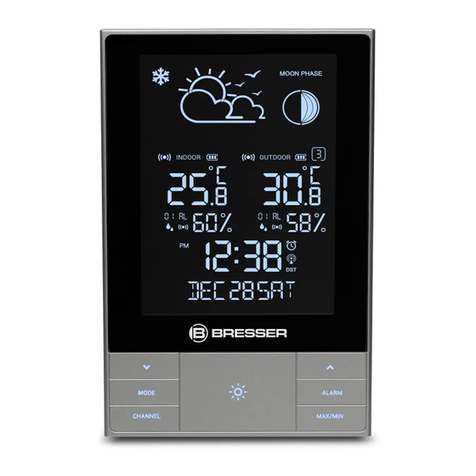
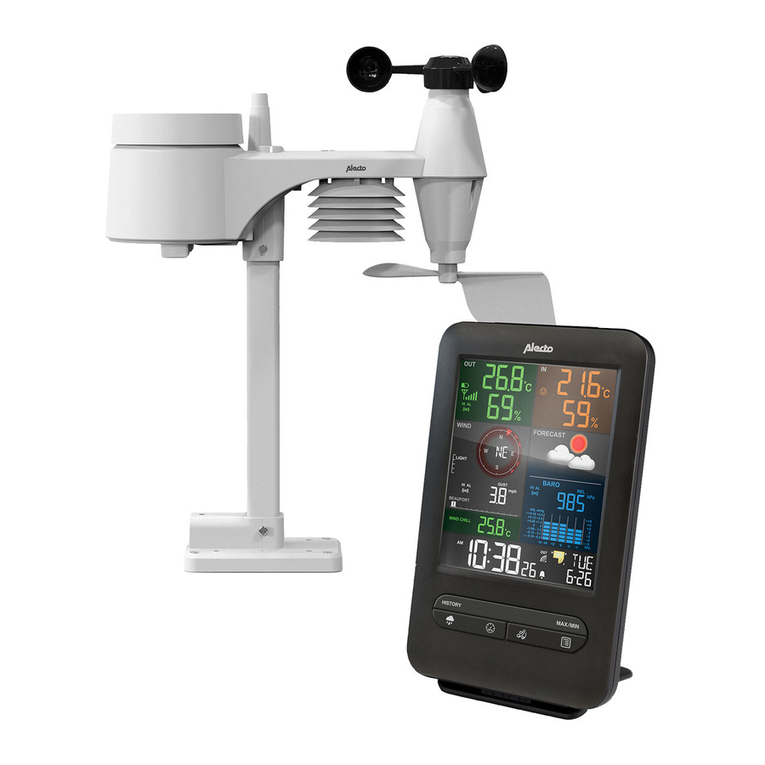
CO/Tech FT0203 User manual

Important:
Read the entire instruction manual carefully
and make sure that you fully understand
it before you use the equipment. Keep the
manual for future reference.
Viktig information:
Läs hela bruksanvisningen noggrant och
försäkra dig om att du har förstått den
innan du använder utrustningen. Spara
bruksanvisningen för framtida bruk.
Viktig informasjon:
Les disse anvisningene nøye og forsikre deg om
at du forstår dem, før du tar produktet ibruk.
Ta vare på anvisningene for seinere bruk.
Tärkeää tietoa:
Lue nämä ohjeet huolellisesti ja varmista
että olet ymmärtänyt ne, ennen kuin alat
käyttää laitetta. Säilytä ohjeet myöhempää
tarvetta varten.
Wichtiger Hinweis:
Vor Inbetriebnahme die komplette Bedienungs-
anleitung durchlesen und aufbewahren.
ENGLISHSVENSKANORSKSUOMIDEUTSCH
Trådlös väderstation med USB
Trådløs værstasjon med USB
Langaton sääasema jossa USB
Funk-Wetterstation mit USB
Art.no Model
18-3676 FT0203
36-7334 FT0203
Wireless Weather Station
with USB
Ver. 20180810
Original instructions
Bruksanvisning i original
Originalbruksanvisning
Alkuperäinen käyttöohje
Original Bedienungsanleitung

2

3
ENGLISH
Wireless Weather Station with USB
Art.no 18-3676 Model FT0203
36-7334 FT0203
Please read theentire instruction manual before use and save it for future reference.
We reserve theright for any errors in text or images and for making any necessary
technical changes to this document. If you should have any questions concerning
technical problems please contact our Customer Services.
Table of Contents
Safety..........................................................................................................4
Contents ....................................................................................................5
Assembly kit........................................................................................................................ 6
Keys and functions.................................................................................6
Installation ................................................................................................8
Inserting batteries..................................................................................8
Anemometer....................................................................................................................... 8
Rain gauge........................................................................................................................... 9
Thermometer/hygrometer ............................................................................................ 9
Indoor unit.........................................................................................................................11
Searching for sensors and checking thesensors’functionality .......12
Anemometer.....................................................................................................................12
Rain gauge.........................................................................................................................12
Thermometer/hygrometer ..........................................................................................13
Indoor unit.............................................................................................14
Display/key of symbols .................................................................................................14
Settings/adjustments ....................................................................................................16
Toggle between external temperature/hygrometer sensors..........................19
Max/Min..............................................................................................................................19
Reset measurement values..........................................................................................19
Histograms, weather forecast and moon phases ................................................20
Background lighting ......................................................................................................21
Alarm....................................................................................................................................22
Calibration..........................................................................................................................24

4
ENGLISH
Safety
• Theunit for indoor use must not be exposed to rain or moisture.
• Theproduct must not be dismantled or modified in any way.
• Theproduct is not intended to be used as areference in any way, and Clas Ohlson
will not be held liable for any damage or injury that may result from inaccurate readings.
• Only use high quality alkaline batteries. Never mix old and new batteries. Change
all batteries at thesame time. Never combine rechargeable batteries with non-
rechargeable batteries.
• When changing batteries in theindoor unit, all recorded data (histograms) and
stored maximum and minimum readings will be deleted.
• Do not expose theproduct to shocks or impacts of any kind.
• Appropriate safety equipment must be used if themounting of thesensors requires
working on aroof.
• Do not spend any time on theroof when there is arisk of thunderstorms.
Final mounting.....................................................................................25
Choice of location ...........................................................................................................25
Software (WeatherHome) ................................................................29
System requirements.....................................................................................................29
Installation .........................................................................................................................29
Instructions for use.........................................................................................................30
Care and maintenance ......................................................................33
Troubleshooting guide......................................................................34
Responsible disposal..........................................................................35
Specifications........................................................................................35
Sensor data........................................................................................................................35
Wireless transfer...............................................................................................................35
Update interval ................................................................................................................35
Batteries..............................................................................................................................36
Mains adapter...................................................................................................................36
Dimensions........................................................................................................................36

5
ENGLISH
1 2 3
5
478
9 10 11
6
Contents
1. Indoor unit
2. Temperature and humidity sensor (thermometer/hygrometer)
3. Sensor for wind speed and wind direction (anemometer)
4. Rain gauge
5. Filter for therain gauge
6. Arm for theanemometer
7. Mounting attachment for arm
8. Mounting plate for pipe mounting
9. Mains adapter
10. USB cable
11. CD with software (WeatherHome)

6
ENGLISH
12
13 14 15
16 21
22
23
24
25
17
18
19
20
Assembly kit
12. Pipe clamp, washer and nut (M5) for therain gauge for pipe mounting
13. Screw and nut (M5) for therain gauge for pipe mounting
14. Screw and nut (M3) for thearm for theanemometer
15. Wood screw for thewind gauge for wall/roof mounting
Keys and functions
16. [SNOOZE/LIGHT] Press to activate thesnooze function or to change
thebrightness of thedisplay. Press and hold to turn thedisplay lighting on or off.
17. [CHANNEL/+] Press to change channel or to increase avalue. Press and hold to
manually search for sensors.
18. [MODE/SET] Press to change display mode or to confirm selection. Press and
hold to access thesettings mode.
19. [MAX/MIN/ALARM] Press to show max/min values. Press and hold to display
thepreset alarm thresholds.
20. [HISTORY/−] Press to select histogram. Press and hold to change thesound
settings for thealarm and key presses.
21. Wall bracket
22. USB connection
23. DC 6.0 V
24. Battery cover
25. Table stand

7
ENGLISH
A
B
C
E
F
D
A. IN Indoor temperature and humidity
TIME Time/date/weekday
B. PRESSURE Air pressure and weather forecast
C. TEMPERATURE Temperature, external sensor
HUMIDITY Humidity, external sensor
D. WIND Wind direction
GUST Wind speed
AVERAGE Average value for wind speed
DEW POINT Dew point
FEELS LIKE Perceived temperature
E. RAIN Precipitation
F. HISTORY Graphical history (24 or 72 hour period)
MOON PHASE Phase of themoon

8
ENGLISH
Installation
Inserting batteries
Note:
Insert thebatteries into all sensors before inserting batteries into theindoor unit. When
power is supplied to theindoor unit, anautomatic search for nearby sensors will begin.
When inserting thebatteries into theunits, check themarkings in thebattery compartment
to ensure thecorrect polarity.
Anemometer
1. Remove thebattery cover on theunderside of theanemometer.
2. Insert 4×AAA/LR03 batteries. TheLED indicator will be illuminated for 3 seconds,
followed by continued flashing once every 16 seconds to indicate that data is
being transmitted from theunit.
3. If theLED indicator does not flash after thebatteries have been inserted, reset
thesensor by pressing [RESET ].
4. Replace thebattery cover so that it clicks into place.
Remove
the product from
the packaging and
check that nothing
is missing
Insert batteries
into the sensors
(the transmitters)
Start the indoor
unit (the receiver)
and connect
the sensors
Make the settings
for the weather
station and check
that the sensors
are working
Mount the sensors
in an appropriate
location

9
ENGLISH
Rain gauge
1. Remove thewater collector by turning it in thedirection of thearrow and then
lifting it upwards.
2. Remove thebattery cover. 3. Insert 4×AAA/LR03 batteries.
Theunit will begin to transmit data once
every 60 seconds.
4. Replace thebattery cover.
Thermometer/hygrometer
Note:
• If you are to connect any additional thermometers (other than that which is supplied),
these must be set so that they transmit on different channels. This is done by
altering theDIP switches in thebattery compartment. Atotal of 8 thermometers
may be connected.
• Ensure that theDIP switches have been set before you insert batteries into thesensor.

10
ENGLISH
C1
C3
C2
1. Unscrew theretaining screw that holds thebattery cover in place, and remove thecover.
2. Set thechannel on which thesensor is to transmit by changing DIP switches 1−3
(see thetable):
DIP switches*
1 2 3 4
OFF OFF OFF °F / °C Channel 1
OFF OFF ON °F / °C Channel 2
OFF ON OFF °F / °C Channel 3
OFF ON ON °F / °C Channel 4
ON OFF OFF °F / °C Channel 5
ON OFF ON °F / °C Channel 6
ON ON OFF °F / °C Channel 7
ON ON ON °F / °C Channel 8
* OFF = down, ON = up, DIP 4 = Down = Farenheit, Up = Centigrade
3. Insert 2×AAA/LR03 batteries. TheLED indicator will be illuminated for 3 seconds,
followed by continued flashing once every 60 seconds to indicate that data is
being transmitted from theunit.
4. Thedisplay shows thecurrent temperature (C1)
and therelative humidity (C2). Check that
thecorrect channel number (C3) is displayed.
5. Replace thebattery cover, ensuring that
thepacking fits tightly around thebattery
compartment, and tighten theretaining screw.

11
ENGLISH
Indoor unit
Note:
• Make sure that thesensors are working before you connect theindoor unit to
thepower supply.
• Make sure that thesensors are at least 3m and no more than 30m from
theindoor unit. If thesensors are too close or too far away, it may be difficult for
theindoor unit to receive thesignals.
• When theindoor unit is turned on, anautomatic search for nearby sensors will
begin (the symbol will be displayed). Do not press any buttons until all sensors
have been registered – otherwise, thesearch process will be discontinued.
Theindoor unit can be powered either by batteries or by themains electricity using
themains adapter provided.
Battery operation
1. Press in thecatch and remove
thebattery cover.
2. Insert 3×AAA/LR03 batteries.
Check thepolarity markings in
thebattery compartment to ensure
batteries are inserted correctly.
3. Refit thebattery cover.
Mains operation
• Connect themains adapter to thesocket
marked DC6.0V and to a230V
wall socket. “AC ON” will appear on
thedisplay for 3 seconds.
• If themains adapter is removed, and
theweather station reverts to battery
power, thedisplay will show “AC OFF.”
• Themains adapter must be unplugged
during heavy thunderstorms in order to
protect theweather station.

12
ENGLISH
Searching for sensors and checking thesensors’
functionality
When theindoor unit is turned on, anautomatic search for nearby sensors will begin.
Thesearch is indicated by . If you have more than one thermometer/hygrometer,
thedisplay will alternate between these as they are registered. When thesymbol
disappears, you can test that thesensors are working.
Information
If, when searching, theweather station is unable to find asensor, or if it loses contact
with asensor, “--.-” is shown on thedisplay. Perform amanual search for asensor:
1. In normal mode, press and hold [CHANNEL/+ ] for 3 seconds. “REG” appears on
thedisplay.
2. Press [CHANNEL/+ ] or [HISTORY/-] to select thermometer/hygrometer (CH1−8),
anemometer (WIND), rain gauge (RAIN), all sensors (ALL) or, to cancel thesearch,
(NOT). Confirm your selection by pressing [MODE/SET ].
Anemometer
1. Test thesensor for wind speed
by spinning thecups. Check that
thevalue shown on thedisplay
changes.
Rock therain gauge’s measuring cup
back and forth. Each time themeasuring
cup tips over represents 0.3mm of
precipitation. Check that thevalue shown
on thedisplay changes.
2. Test thesensor for wind direction by
changing theposition of theweather
vane. Check that thedirection
shown on thedisplay changes.
Rain gauge

13
ENGLISH
If thevalues lie outside of these limits, they can be adjusted on theindoor unit.
See theCalibration section.
Place thesensor close to theindoor unit, and
leave it lying there for approx. 30minutes
so that thetemperature stabilises. Read
thevalues for thetemperature and humidity,
and compare these. Thetemperature values
should be within 1°C (accuracy ±0.5°C)
and thehumidity values should be within 6%
(accuracy ±3%).
If you have any additional thermometers/
hygrometers connected, press [ CHANNEL/+]
(2) repeatedly to switch between these.
Thermometer/hygrometer

14
ENGLISH
1
2
3
4
5
6
7
8
9
10
11 12 13 14 15 16 17
18
19
20
21
22
23
24
25
262728
Indoor unit
Display/key of symbols

15
ENGLISH
1. Time/date/weekday
2. Alarm symbol for theclock
3. Alarm symbol for indoor temperature and humidity
4. Weather forecast, storm warning
5. Alarm symbol for air pressure
6. Indicates display mode for relative or absolute air pressure
7. Indicates rolling display of external thermometers/hygrometers
8. Alarm symbol for humidity, external sensor
9. Selected channel number, external sensor
10. Alarm symbol for temperature, external sensor
11. Signal indicator for thermometer/hygrometer. Appears when measurement data is
received and when searching for asensor.
12. Low battery level, external sensor
13. Alarm symbol for dew point
14. Signal indicator for theanemometer. Appears when measurement data is received
and when searching for asensor.
15. Wind direction
16. Alarm symbol for ‘feels like’ temperature
17. Alarm symbol for wind speed
18. Unit of measurement, wind speed
19. Alarm symbol for average wind speed
20. Signal indicator for therain gauge. Appears when measurement data is received
and when searching for asensor.
21. Measurement period, precipitation
22. Alarm symbol for precipitation
23. Indicator for selected histogram
24. Indicator for automatic reset of stored max/min values
25. Measurement scale for histogram
26. Time axis for histogram (24 or 72 hour period)
27. Indicator for memory usage
28. Moon phase indicator

16
ENGLISH
Settings/adjustments
Set the time, date, units of measurement, threshold values and background lighting
1. In normal mode, press and hold [MODE/SET] for 3 seconds to enter thesettings mode.
2. Press or hold [CHANNEL/+ ] or [HISTORY/−] to change thevalues. Confirm each
step with [MODE/SET].
3. You can, at any point, return to thenormal display by pressing [SNOOZE/LIGHT].
FMT
•12H
•24H
TIME
•Hour
•Minute
DATE
•DDMMyy
•MMDDyy
•Month
•Day
•Year
CLR
•ON
•OFF
UNIT SET
•Temperature
•Wind speed
•Rain
•Pressure
Threshold
•WEATHER
•STORM
Forecast
•Sunny
•Partly cloudy
•Cloudy
•Rainy
REC
•16s, 32s, 48s
•1 –240 min
Backlight Color
•LED
•IN
•OUT
•USE
•LOWER
•UPPER
•BRIGHT
• FMT: Select either 12 or 24-hour clock format (default = 24 hour clock)
• TIME: Set thehours and minutes.
• DATE:
- Set in which order theday and month are to be displayed: DDMMyy or MMDDyy.
- Set themonth.
- Set theday.
- Set theyear.
• CLR:
- Select ON if theweather station’s max/min values are to be reset automatically
at theend of each day (at midnight). “CLEARS 24” is shown on thedisplay.
- Select OFF if they are only to be reset manually. See theReset values section.
• UNIT SET:
- Temperature: Set theunit of measurement in which temperature is to
be displayed: °C or °F
- Wind speed: Set theunit of measurement in which wind speed is to
be displayed: m/s, km/h, knots, mph or btf (Beaufort scale)
- Rain: Set theunit of measurement in which precipitation is to
be displayed (mm or Inch)
- Pressure: Set theunit of measurement in which air pressure is to
be displayed (hPa, inHg or mmHg)

17
ENGLISH
• Threshold:
- WEATHER: Adjust thethreshold value for positive and negative changes in
pressure: 2−4 mBar/hour (default = 2). Alower value makes
theindicator of theweather forecast more sensitive to changes
in pressure. In areas subject to major variations in pressure,
ahigher value is recommended.
- STORM: Adjust thethreshold value for anegative change in pressure:
3–9 mbar/hour (default = 4). Alower value makes theindicator
of astorm warning more sensitive to changes in pressure.
In areas subject to major variations in pressure, ahigher value is
recommended. Theindicator of astorm warning is activated when
aconstant drop in pressure is registered during 3 consecutive
hours (thecloud & rain symbol flashes).
• Forecast: Adjust theweather forecast indicator based upon current weather
conditions. Selection options: Sunny, Partly cloudy, Cloudy or Rainy
(default = Partly cloudy).
• REC: Set thetime interval for recordings: 16, 32, 48 seconds or 1–240 minutes
(default = 30 minutes).
• LED: Thebackground lighting on theweather station can change colour to reflect
thecurrent outdoor (OUT) or indoor (IN) temperature. Alternatively, you can select
to use (USE) afixed colour (default = OUT). Because thetemperature range varies
according to global location, thetemperature range can be adjusted (see table).
- OUT
- LOWER Set thethreshold value for thelowest outdoor temperature
(default = −12.2).
- UPPER Set thethreshold value for thehighest outdoor temperature
(default = 37.8).
- IN
- LOWER Set thethreshold value for thelowest indoor temperature
(default = 14.4).
- UPPER Set thethreshold value for thehighest indoor temperature
(default = 28.9).
- USE Manually set thebackground colour: Select from achoice of 11 different colours.
No Colour ”OUT” Temp (°C) ”IN” Temp (°C)
1 White <(−12.0) <(14.5)
2 Pink (−12.0)..(−6.5) (14.5)..(16.0)
3 Purple (−6.5)..(−1.0) (16.0)..(17.5)
4 Blue (−1.0)..(4.5) (17.5)..(19.5)
5 Dark-blue (4.5)..(10.0) (19.5)..(21.0)
6 Dark-green (10.0)..(15.5) (21.0)..(23.0)
7 Green (15.5)..(21.0) (23.0)..(24.5)
8 Yellow (21.0)..(26.5) (24.5)..(26.0)
9 Orange (26.5)..(32.0) (26.0)..(27.0)
10 Red (32.0)..(37.5) (27.0)..(29.0)
11 Dark-red >(37.5) >(29.0)

18
ENGLISH
• BRIGHT Adjust thebrightness of thebackground lighting, from 1 (min.) to 8 (max.).
Change display mode for time/date and measurement values.
1. In normal mode, press [MODE/SET ] repeatedly to select Time/Date, Rain,
Pressure or History.
2. Press [CHANNEL/+ ] or [HISTORY/−] to change display mode.
3. You can, at any point, return to thenormal display by pressing [SNOOZE/LIGHT ].
Time , Date
•Time
•Time & week day
•Date
Rain
•1h
•24h
•Week
•Month
•Total
Pressure
•Relative (REL)
•Absolute (ABS)
History
•24h
•72h
• TIME Choose to display time, time and weekday, or date.
• RAIN Choose to display per hour, per 24 hour period, per week, per month or total
precipitation.
• PRESSURE Choose to display relative (REL) or absolute (ABS) air pressure.
• HISTORY Choose to display for a24 or 72 hour period.
Information about air pressure
Theweather station can display air pressure in two different ways: ABS – absolute
(measured) and REL – relative (adjusted to sea level).
• Therelative value is used by meteorologists in order to be able to compare theair
pressure in different locations.
• Thenormal air pressure at thelevel of thesea’s surface varies according to
geographical location, but has anaverage value of 1013.2hPa. Low pressure is
generally considered to be below 990hPa, and high pressure is above 1020hPa.
• Because air pressure decreases with altitude, therelative value will generally
always be higher than theabsolute value.
Sound settings for key presses and alarm
In normal mode, press and hold [HISTORY/−] for approx. 3 seconds to turn thesound
on or off. “BUZZON” (when turned on) or “BUZZOFF” (when turned off) will be shown
on thedisplay.
When thesound is turned off, key presses will be silent and theweather station will
only issue silent alarms (flashing alarm symbol).

19
ENGLISH
Toggle between external temperature/hygrometer sensors
• In normal mode, press [CHANNEL/+ ]
repeatedly to switch between connected
thermometers/hygrometers. Therelevant
channel number will be shown on
thedisplay.
• For therolling display of all sensors,
press [CHANNEL/+ ] until appears
on thedisplay. Theweather station will
now display values from each connected
sensor at 5-second intervals.
Max/Min
1. In normal mode, press [MAX/MIN/ALARM ] once. “MAX” will be shown on
thedisplay, together with themaximum values for precipitation, wind speed,
pressure, temperature and humidity.
2. Press [MAX/MIN/ALARM ] again. “MIN” will be shown on thedisplay, together with
theminimum values for pressure, temperature and humidity.
When displaying max/min values, press [HISTORY/−] to toggle between thedisplay
modes for precipitation and air pressure.
Reset measurement values
Max/Min values
Note:
When resetting maximum/minimum values, thestored values for all sensors will also
be reset.
1. In normal mode, press [MAX/MIN/ALARM ] repeatedly to select MAX or MIN.
2. Press and hold [MODE/SET ] for 3 seconds (CLR flashes) in order to reset themax
or min values respectively.
To reset themax/min values automatically, see theSettings/adjustments section (CLR).
Precipitation
1. In normal mode, press [MODE/SET] twice to select thedisplay mode for precipitation.
2. Press [CHANNEL/+ ] or [HISTORY/−] repeatedly to select thedisplay mode.
3. Press and hold [MODE/SET ] for 3 seconds to reset theselected value.
Memory
To clear theweather station’s memory, see theSoftware (WeatherHome) section.

20
ENGLISH
Histograms, weather forecast and moon phases
Histograms
Theweather station can display recorded
measurement data for thepast 24 or 72 hours.
See theChange display mode for time/date
and measurement values section.
Thevertical axis shows thehistorical changes
compared to thecurrent measurement value.
Thecurrent measurement value (thecolumn
furthest to theright) always shows 0.
E.g. when displaying thetemperature histogram:
If thecolumn shows 0.4, this represents
ahistorical temperature 0.4 degrees higher
than thecurrent temperature.
In normal mode, press [HISTORY/−] repeatedly to switch between thefollowing histograms:
Indoor temperature
Indoor humidity
Outdoor temperature (CH1)
Outdoor humidity (CH1)
Wind
Precipitation
Air pressure
This manual suits for next models
2
Table of contents
Languages:
Other CO/Tech Weather Station manuals
