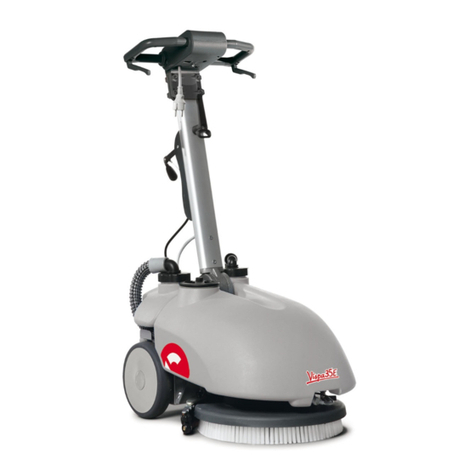
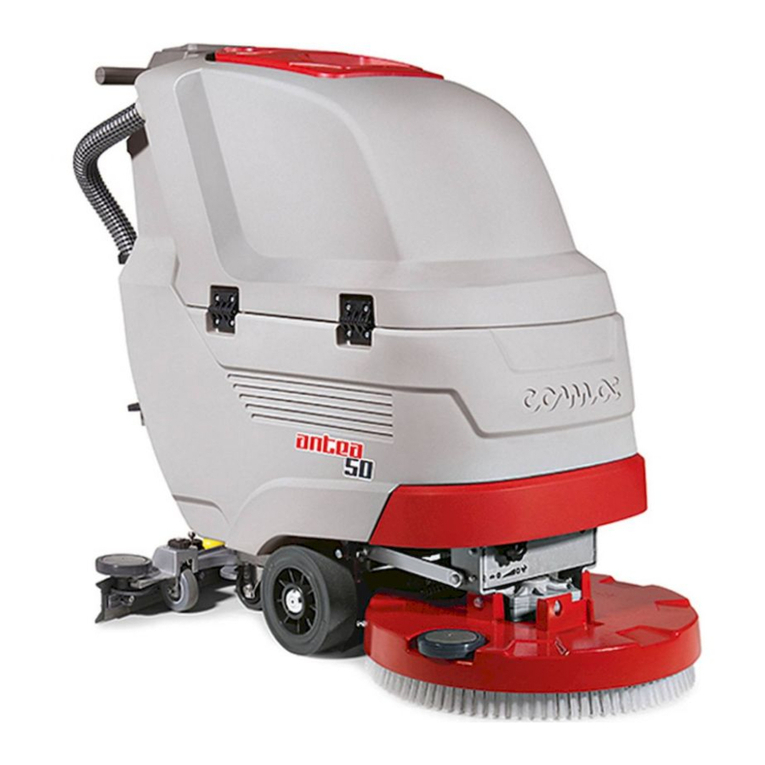
Disassmbley of the Brushes
1. Connect the battery connector, if it is not connected
2. Turn the key into poosition ON
3. With the manipulator lower the brushes base until ti almost touches the floor.
4. Turn the key into position OFF and take it off from the intrument board (to carryout
the operations of brushes disassembly with connected current can cause damage to
the hands)
5. Loosen the knobs (1) as shown in the figure
5. Loosen the knobs (1) as shown in the figure
6. Extract the bases by sliding them
7. Lift the bases using suitable equipment both for their weight (60kg) as for
their coupling type.
8. With the brushes base in lifted position, rotate the brush until it coems off from
the brush plate seat as shown in the figure. The figure shows the rotating direction
for the disassembly of the right brush, the left one has to be rotated inversley.
Solution Tank & Filter Cleaning
When the solution tank is empty:
1. Unscrew the filter and rinse the inside thoroughly
2. Take off the cartridge and clean it
3. Open the cock
4. Rinse the tank with a water jet
5. Reassemble everything again repeating inversley above instructions
Note:
Note: the filter can also be cleaned, when the solution tank is full. It is
enough to remember to close the cock.
Cleaning of the Hopper
1. Take off the clip from the right side bar and rotate it tot he outside
2. Releasethe pin off the hopper (1)
3. Extract the hopper (2) and clean it
4. Take off the filter (1) and clean it
5. Reassemble everything repeating inversley with above operations
Weekly Maintenance
Adjustment Side Bars
Periodically proceed with the height adjustment of the side bars. This operation has to be carried out with the
tunnel lowered:
1. Loosen the lock nut (1)
2. Hold steady the register (2)
3. Tighten the threaded pin (3) to lift the side bar or unscrew it to the lower bar
4. When the adjustment has been completed, fix the lock nut (1)
5.
5. Take off the retaining clip
6. Take off the side bar
7. Adjust the height of the support nut
8. Put the side bar and the retaining clip back into their position
9. Keep in mind that, the side bar must be parallel to the floor
10. These adjustments are carried out on both side bars
Adjustment Splash Guard Brushes Base
Periodically proceed with the height adjustment of the splash guards of the brushes base: This operation has to be
carried out with the brushes base down.
1. Loosen the screws
2. Adjust the height of the cover so that the rubber almost touches the floor uniformly
3. When adjustment has been completed fix the screws (1)
Adjustment Height Cylindrical Brush
Periodically proceed with the height adjustment of the cylindrical brush. This operation has to be carried out
with the tunnel lowered.
1. Loosen the knob (1)
2. To lower the brush unscrew the knob (2) and to lift the brush tighten the knob (2)
3. When the adjustment has been completed fix the knob
Industrial Floorcare Machines | Issue 1 | 3rd May 2012
