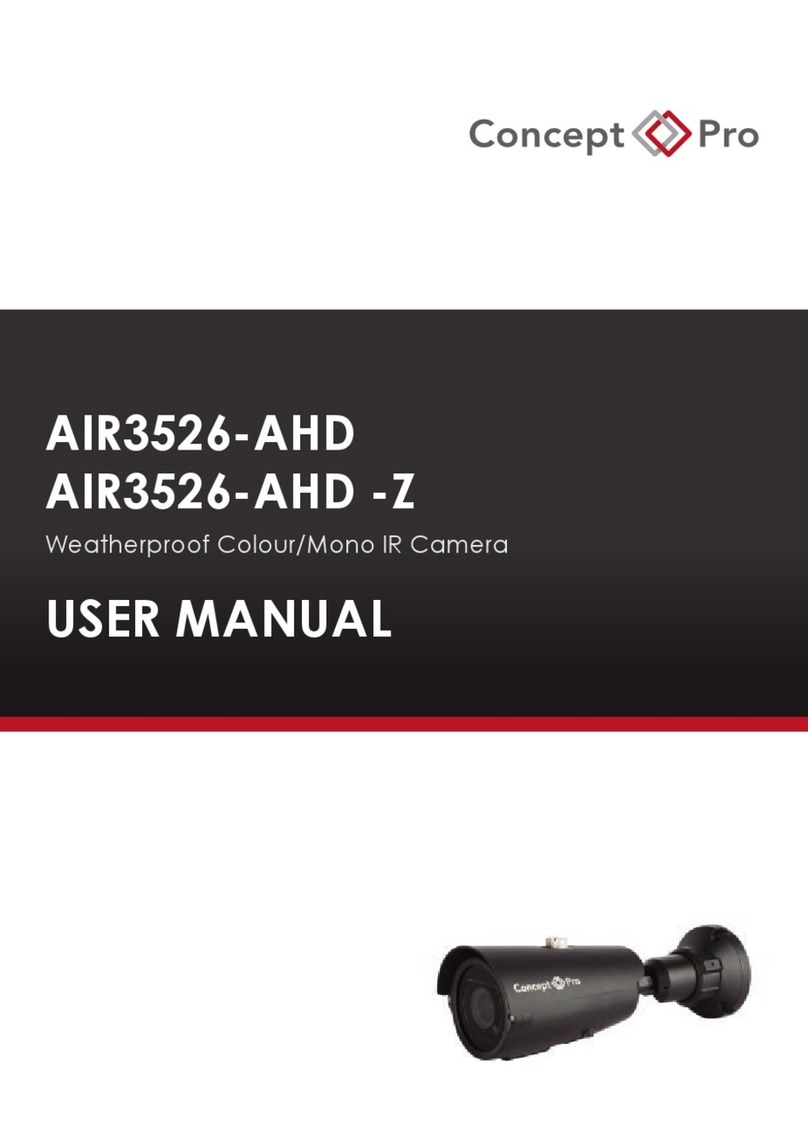
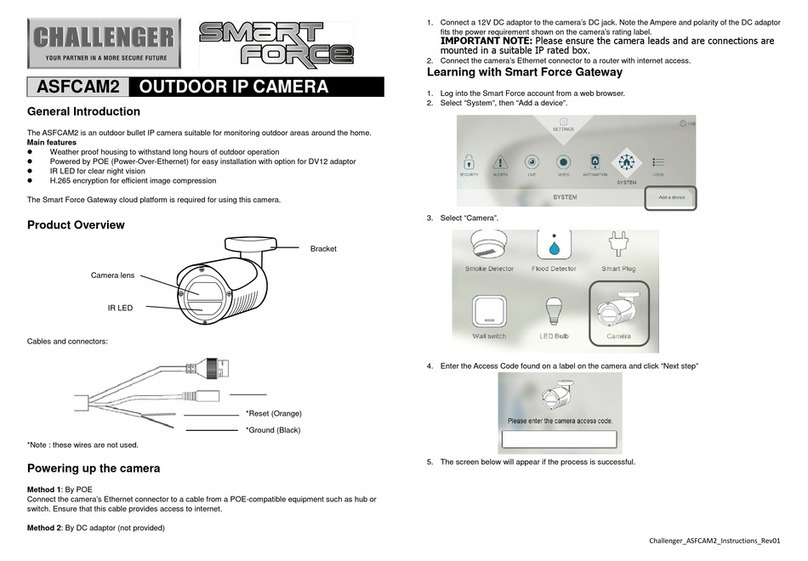
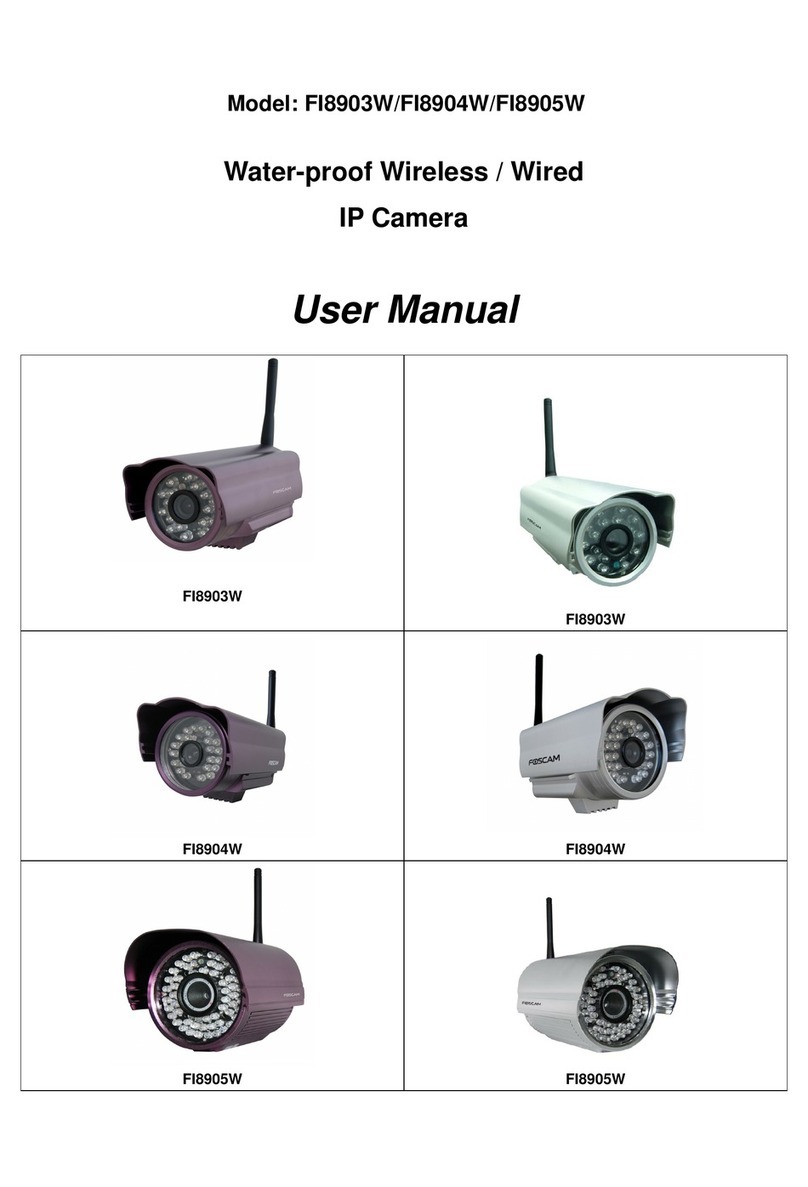
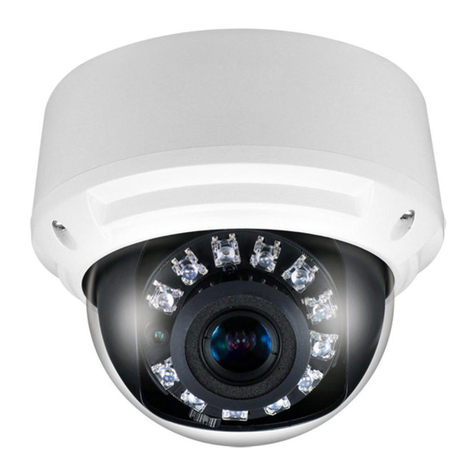
Concept Pro VHSDIR-870EXT-IP User manual

VHSDIR-870EXT-IP
External IP HIGH SPEED DOME
PLUG & PLAY
USER MANUAL

VHSDIR-870EXT-IP
User Manual
i Issue V1.1
About this Document
Purpose
This document is for the VHSDIR-870EXT-IP, including the product features,
hardware installation, network access, network configuration, technical
specification and troubleshooting.
Intended Audience
This document is intended for:
•Technical support engineers.
•Maintenance engineer.
•End user.
Symbol conventions
The symbols that may be found in this document are defined as followed:
Symbol Description
Alerts you to a high risk hazard that could, if not
avoided, result in moderate or minor in injury.
Alerts you to a medium or low hazard that could, if not
avoid, result in moderate or minor in injury.
Alerts you to a potentially hazardous situation that
could, if not avoid, result in damage, data loss,
performance deterioration, or unanticipated results.
Provide a tip that may help you solve a problem or
save time.
Provides additional information to emphasize or
supplement important points in the main text.

IR Network High Speed Dome
User Manual
About this Document
Issue V1.1
ii
Special notices
When using video surveillance products, comply with applicable statutory and
regulatory requirement to enable and maintain legal surveillance cameras. It is
illegal for a company or person to install surveillance cameras in an office to
monitor employees outside the scope of local law, or to use surveillance cameras
to invade other people’s privacy with illegal purposes.

Contents
VHSDIR-870EXT-IP
User Manual
iii
Issue V1.1
Contents
About this document………………………………………………………………..……. i
Contents……………………………………………………………………………….….…. iii
1. Installation Preparation.…………………………………………………….…….….1
1.1 Safety Precautions.…………………………………………………………….….….1
1.2 Check the Installation Environment……………………………………….….….3
1.3 Network Plan.…………………………………………………………………….….…3
2 Camera Port and Description………………………………………………….….…..4
2.1 Product Appearance………………………………………………………….…….…4
2.2 Features………………………………………………………………………….…….…9
3 Hardware Installation………………………………………………………………….10
3.1 Preparing Installation Tools……………………………………………………….10
3.2 Installing a Dome Camera………………………………………………………….11
4 Finding the Cameras IP Address…………………………………………………….16
4.1 Finding the Cameras IP Address using HD-IP…………………………………16
4.2 Finding the Cameras IP Address using UPnP in Windows 7……………….17
4.3 Finding the Cameras IP Address using Bonjour in Mac OS…………………19
4.4 Finding the Cameras IP Address using BNC Test Cable……………………..20
5 Configuration……………………………………………………………………..….…..21
5.1 Login and Logout………………………………………………………………….…..21
5.2 Main Page Layout……………………………………………………………………..22
5.3 Browsing Video………………………………………………………………….….….23
5.4 Sensor Config……………………………………………………………………....…..27
5.5 Device Info…………………………………………………………………………...…31
5.6 Device Configuration…………………………………………………………..….….32
5.6.1 Local Network………………………………………………………………………..32
5.6.2 Device Port………………...……………………………………………………..…..35
5.6.3 Camera.………………………………………………………………………………..35
5.6.4 Date and Time.………………………………………………………………….……36
5.6.5 OSD………………………………………………………………………………..……38
5.6.6 Microphone…………………………………………………………………….….….40
5.6.7 Dome PTZ…………………………………………………………………………..…40
5.6.8 CVBS Configuration/BNC Output……………………………………...……..…41
5.6.9 System Configuration……………………………………………………………...42
6 Stream Configuration………………………………………………………………..….43
7 Alarm Configuration……………………………………………………………….….…45
7.1 Alarm I/O………………………………………………………………………….….…45
7.2 Disk Alarm…………………………………………………………………………..…..46
7.3 Network Alarm……………………………………………………………………..…..48
7.4 I/O Alarm Linkage…………………………………………………………………..…49
7.5 Motion Alarm…………………………………………………………………….……..50
8. Local Record………………………………………………………………………….…..52
8.1 Record Policy……………………………………………………………………….…..52
8.2 Record Directory………………………………………………………………….……53
9 Privacy Masking…………………………………………………………………….…….56
VHSDIR-870EXT-IP
User Manual
Contents
Issue V1.1
iv
9 Privacy Masking…………………………………………………………………….…….56
10 Network Service……….…………………………………………………………….….57
10.1 DDNS……….……………………………………………………………………….…..57
11 Service Centre…………………………………………………………………….……..58
11.1 SMTP…………………………………………………………………………………….58
12 Privilege Manager………………………………………………………………………59
13 Protocol..………………………………………………………………..………………..61
14 Maintenance…………………………………………………………..………………...62
15 Technical Specification……….……………………………………..………………..63
16 Troubleshooting…………………………………………………………………………66
17 Lightning Proof and Surge Signal Proof…………………………………………..67
18 Declaration on Hazardous Substances in Electronic Information
Products……………………………………………………………………………………….69

VHSDIR-870EXT-IP
User Manual
1
Issue V1.1
1. Installation preparation
1.1 Safety precaution
The following precautions provide important information to prevent fire and
personal injury caused by improper use of the VHSDIR-870EXT-IP. Read this
section carefully before installing the camera and comply with these cautions
during use. If you want to install the camera in a public place, provide a warning
message such as “CCTV camera are in operation”.
The camera may be upgraded without prior notice.
•For the latest program and supplementary documentation, contact your
supplier
•If any problems occur during use, contact your supplier
Basic precaution
•Install the camera in strict accordance with the manufacture requirement.
•Never open or disassemble the camera unless it is by a qualified or
professional person, as this product maybe damaged or cause electrical
shock.
•No unit and individual are allowed to change the camera structure, safety
configuration, and performance without authorization.
•Use the camera in accordance with related laws and with respect for other’s
legal rights.
Power supply precautions
•Use power compliances with the local electrical safety standards during
camera installation.
•Use a power adapter matching this camera. The power supply voltage must
meet the input voltage requirement.
•Never power on the camera before installation is completed. Before installing
or removing a cable, stop using the camera and power it off.
•Verify that the correct power supply is used before using the camera.

VHSDIR-870EXT-IP
User Manual
Issue V1.1
2
•Keep the power plug clean and dry to prevent electric shock or other risks.
Precaution For Use
•Avoid heavy weight, violent vibration, soaking during transport, store, and
installation. Otherwise, the camera may be damaged. Any damage caused by
improper transport of the assembled camera during delivery from or sending
back to the manufacture for repair causes the warranty to be void.
•Never install the camera upside down. Hold the camera core carefully. Never
tightly press any structural parts, otherwise it could damage the camera.
•Never dissemble the camera to repair it. The camera must be checked and
repaired by professional CCTV installer.
•If smoke is blown out of the camera, the camera sounds abnormally, or
peculiar smell is found, stop using the camera, power it off, and remove all
the cables (such as the power cable and networking cables) connected to the
camera.
•If the camera is faulty, contact the supplier for repair.
Clean precautions
•Before cleaning the camera, stop using the camera and power it off, and
then remove all cables (such as the power cable and networking cables)
connected to the camera.
•Use a soft and dry cloth to clean the camera. If there is any dirt that is
difficult to clean, place a few drops of mild detergent on a soft and clean
cloth before cleaning. After the dirt is removed, dry the camera with a cloth.
•Never use any volatile solvents (such as the alcohol, benzene, and thinner)
or strong and abrasive alkaline detergent; otherwise the camera surface may
be damaged or the camera performance may be reduced.
Environment Precautions
•Never allow any water or other liquid to flow into the camera. If any liquid
flows into camera by accident, power off the camera, and remove all the
cables (such as the power cord and network cable) connected to the camera.
•Avoid heavy weight, violent vibration, soaking during transport, storage, and
installation. Otherwise, the camera may be damaged and is not covered
under warranty.
•Never install or use the camera in places where flammable or explosive
material are stored or in use.
Personnel precautions
•The camera-related installation and maintenance can be only be performed
by professional technical engineers or specific installation personnel.

VHSDIR-870EXT-IP
User Manual
3
Issue V1.1
1.2 Checking the Installation Environment
Before installing the camera, check the installation environment according to
Table 1-1.
Table 1-1 Installation environment check items
Check
Item
Standard
Moisture
The relative environment humidity must be in the range from 5%
to 90%. If the humidity is higher than 90%, a dehumidifier must
be installed, such as an air conditioner with the dehumidification
function or a dedicated dehumidifier. In addition, water seepage,
water dropping, and dew forming will damage the camera.
Dust
Make sure the camera is in a dust free area as it could damage the
internal workings of the camera.
Lighting
The camera must be installed in the environment that is not in
strong light to avoid image blur or a poor image.
1.3 Network Plan

VHSDIR-870EXT-IP
User Manual
Issue V1.1
4
2. Camera Port and Description
2.1 Product Appearance
Figure 2-1 shows the appearance of a VHSDIR-870EXT-IP
Figure 2-1 VHSDIR-870EXT-IP

VHSDIR-870EXT-IP
User Manual
5
Issue V1.1
Figure 2-2 shows the structure diagram of the VHSDIR-870EXT-IP.
Figure 2-2 Structure diagram of the VHSDIR-870EXT-IP
Figure 2-3 shows the multi-head cable used by a dome camera. Table 2-1
describes cores of the multi-head cable.

VHSDIR-870EXT-IP
User Manual
Issue V1.1
6
Figure 2-3 Multi-head cable
Table 2-1 cores of the multi-head cable
No.
Color
Function
Description
1
N/A
Video output port
You can connect the camera to a
TV monitor through this port to
view analog video. It also tells you
the IP address of the camera.
2
N/A
Network port
Connects a standard Ethernet
cable.
3
Red
taped
core
Audio output
Connects to an external audio
device such as a speaker.
4
White
taped
core
Audio input
Receives analog audio signals from
cameras such as a microphone.
5
Red core
AC 24 V power
supply wire
The red and black cores supply
power for the camera. The blue
and white cores supply power for
the heater.
NOTE
When the ambient temperature is
lower than 5 degrees centigrade
Black
core
Blue core
White

VHSDIR-870EXT-IP
User Manual
7
Issue V1.1
No.
Color
Function
Description
core
(error:±5 degrees centigrade), the
heater must be turned on to ensure
that the camera runs correctly.
6
N/A
Grounding wire
N/A
7
Yellow
core
Alarm output
channel 2
Seven alarm input channels and
two alarm output channels.
Orange
core
Alarm output
channel 2 common
terminal
Grey core
Alarm input channel
7
Blue core
Alarm input channel
6
Purple
core
Alarm input channel
5
Brown
core
Alarm input channel
4
Green
core
Alarm input channel
3
8
Pink
black
core
Alarm input channel
common terminal
Orange
black
core
Alarm input channel
1
Grey
black
core
Alarm input channel
2
Blue
black
core
Alarm output
channel 1 common
terminal
Purple
black
core
Alarm output
channel 1
9
Brown
black
core
RS485 output
(negative)
Connects to a keyboard controller
to control the camera.
Green
RS485 output

VHSDIR-870EXT-IP
User Manual
Issue V1.1
8
No.
Color
Function
Description
black
core
(positive)
Yellow
black
core
RS485 input
(positive)
Pink core
RS485 input
(negative)

VHSDIR-870EXT-IP
User Manual
9
Issue V1.1
2.2 Features
Network Features
•Supports TCP/IP protocol.
•Supports video, audio, and alarm data.
•Provides a built-in web browser using IE, Google Chrome, Mozilla Firefox
and Safari etc.
•Supports network data transmission and remote access.
•Support Point-to-Point protocol over Ethernet (PPPoE), Dynamic Host
configuration protocol (DHCP), and Dynamic Domain Name System
(DDNS). Protocols.
•Support remote upgrade and maintenance.
Image Processing Features
•Supports multiple steams. Single-stream model or dual-stream mode can
be selected based on the site requirement. Encoding parameters for the
main stream and sub stream can be configured separately.
•Supports dynamic stream parameters based on different image quality
requirement.
•Supports independent hardware compression, constant bit rate (CBR)
and variable bit rate (VBR). Videos can be compressed using the Motion
Joint Photographic Experts Group(MJPEG)or H.264 standards. The frame
rate and image quality can also be configured.
I/O Features
•Support bidirectional intercom and unidirectional broadcast.
•Support RS-485 serial port control and transparent channel transmission.
•Provides a 10/100 Mbits/s self-adaptive Ethernet port.
Other Features
•Supports the heartbeat function that allows the management host to
learn the running status of the IP camera in real time.
•Supports alarm input and output, motion detection alarm, and alarm
linkage function.
•Supports level-based user rights management.

VHSDIR-870EXT-IP
User Manual
Issue V1.1
10
3. Hardware Installation
3.1 Preparing Installation Tools
Table 3-1 shows a list of installation tools that you may need.
Table 3-1 Installation tools
Tool
Description
Phillips screwdriver
Claw hammer
Hammer drill
Level ruler
Slotted screwdriver
(camera accessory)
Screw (camera accessory)
Hexagon wrench (camera
accessory)

VHSDIR-870EXT-IP
User Manual
11 Issue V1.1
3.2 Installing a Dome Camera
Installation Modes
A dome camera supports wall-mounted and suspension installation modes.
The following describes how to install a dome camera in wall-mounted and on a
ceiling.
Wall-Mounted installation
Two kinds of bracket could be used. The following are steps for two different
brackets, wall mount and pendant mount.
Wall-Mounted Installation I
Mark wall based on bracket size for drilling the holes into the wall. Drill four
holes over 60 mm in depth. The bracket installing size is shown in the Figure
3-1.
Figure 3-1 Bracket installing size
Insert four expansion bolts into the holes.
Attach the PTZ camera to the bracket and rotate the camera clockwise to
align the screw holes on the base of the camera and the bracket. Then

VHSDIR-870EXT-IP
User Manual
Issue V1.1
12
tighten the three screws using it to fix the bracket to the camera, shown in
Figure 3-2.
Figure 3-2 Fix the camera and bracket together
Thread all the cables through the cable hole on the side of the bracket
Put on the bracket’s cover as shown in Figure 3-3.
Figure 3-3 Put on bracket’s cover
Mounting the PTZ dome camera to the wall, tighten the four screws on the
bracket.
Wall-Mounted Installation II
Mark wall based on bracket size for drilling the holes into the wall. Drill four
holes over 60 mm in depth. The bracket installing size is shown in Figure 3-4.
Bracket’s cover
Tighten screws

VHSDIR-870EXT-IP
User Manual
13
Issue V1.1
Figure 3-4 Bracket installing size
Insert four expansion bolts into the holes.
Thread all the cables through the cable hole on the side of the bracket,
shown in Figure 3-5.
Figure 3-5 Thread all cables through the bracket
Cables
85
140

VHSDIR-870EXT-IP
User Manual
Issue V1.1
14
Attach the PTZ camera to the bracket and rotate the camera clockwise to
align the screw holes on the base of the camera and the bracket. Then
tighten the three screws using it to fix the bracket to the camera, shown in
Figure 3-6.
Figure 3-6 Fix the PTZ camera and bracket together
Mounting the camera to the wall, tighten the four screws on the bracket.
Pendant Installation
Mark wall based on bracket size for drilling the holes into the wall. Drill four
holes over 60 mm in depth. The bracket installing size is shown in Figure 3-7.
Figure 3-7 Find the hole position and make the mark for drilling the holes
Tighten screws
103 mm
103 mm

VHSDIR-870EXT-IP
User Manual
15
Issue V1.1
Insert the expansion bolts into the holes.
Thread all cables through the cable hole on the side of the pendant bracket,
shown in Figure 3-8.
Figure 3-8 Thread the cables through the cable hole on the bracket
Attach the PTZ camera to the bracket and rotate the camera clockwise to
align the screw holes on the base of the camera and the bracket. Then
tighten the three screws using it to fix the bracket to the camera, shown in
Figure 3-9.
Figure 3-9 Fix the pendant bracket and camera together
Mounting the PTZ dome camera to the ceiling and tighten the four screws on
the bracket.
Cables
Part of suspension
bracket
Screw
Table of contents
Other Concept Pro IP Camera manuals

Concept Pro
Concept Pro AIR20NPC series User manual

Concept Pro
Concept Pro AIR701/IRH User manual

Concept Pro
Concept Pro AIR3526-AHD User manual

Concept Pro
Concept Pro CBP6325EL-AHD2M User manual

Concept Pro
Concept Pro AIR45 IP4M Series User manual

Concept Pro
Concept Pro CVP9314DNIR-AHD User manual

Concept Pro
Concept Pro AIR701/IRH User manual

Concept Pro
Concept Pro AIR3026-HD User manual

Concept Pro
Concept Pro AIR2024-AHD Series User manual

Concept Pro
Concept Pro CVP9328DNIR-AHD User manual