manuals.online logo
Brands
  1. Home
  2. •
  3. Brands
  4. •
  5. Consort
  6. •
  7. Heater
  8. •
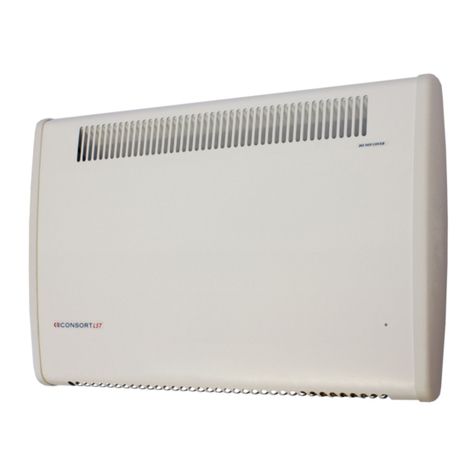
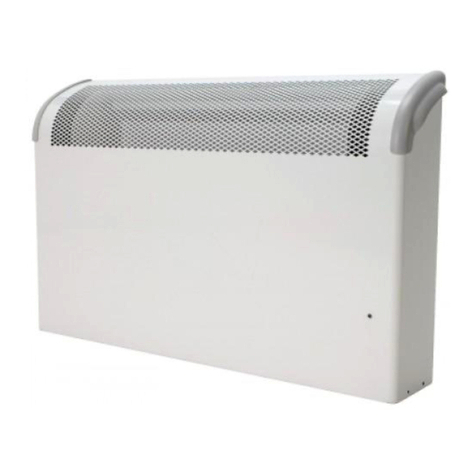
  9. Consort LST500 Manual

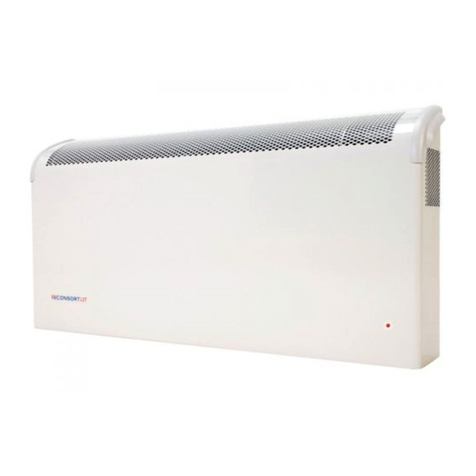
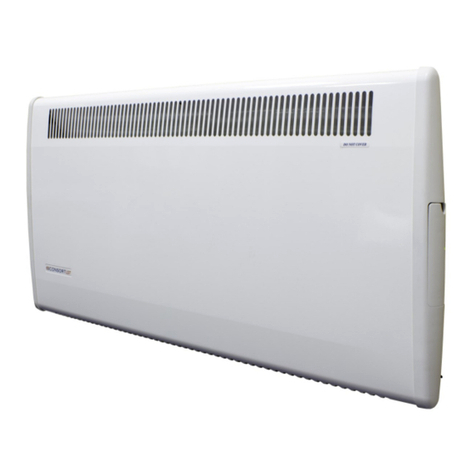
Consort LST500 Manual

66000414
Iss 01
M
ODEL
M
ILLIMETRES
W
ATTS
A B C D/E
LST500 500 830 430 616 107
LST800 800 1183 430 952 115
C
ONTROLS
When the appliance is connected to the mains supply and the wall socket is switched ‘ON’ the mains neon indicator on the front panel of
the heater will light, showing that the power is available to the unit.
H
EATERS FOR
W
IRELESS CONTROLS
(RF Models only)
For the
‘RF’
models please follow instructions supplied with the
wireless controller. Please note ‘RF’ models the heater will not work without
the controller CZC1.
H
EATERS
M
ANUAL CONTROLS
(Standard and T Models)
The controls (except RF models) are located behind a cover on the right
hand end of the appliance.
The heaters (except the W models) are fitted with a built-in thermostat to
control the temperature of the room. The thermostat adjustment knob is
located on the right hand end and is numbered. Rotate the knob clockwise to
a higher number to raise the room temperature. Once set it is unlikely to
require to be touched again.
To set the heater to the Frost Watch mode, turn the thermostat control knob
fully anti-clockwise until the frost symbol aligns with the reference mark.
The heat switch located on the bottom of the control panel turns the heat
on and off.
U
SING THE
T
IMER
(T Models only)
The heater must be connected to the mains supply in order for the timer to
operate continuously.
Set the correct time on the timer by rotating the dial clockwise until the
correct time is aligned with the timer reference mark on the 24-hour clock
face.
A
UTOMATIC
O
PERATION
Move the switch immediately beneath the timer to the auto position
designated
1. The 24-hour timer can be set to give any combination of On/Off
intervals to a minimum of 20 minutes on. Select the ‘On’ time required
by pressing the black segment (on the circumference of the timer)
adjacent to the time required outwards. This will cause the heater to
switch ‘On’ at the selected time for 20 minutes operation. Each
additional segment pressed out will give a further 20 minutes of
operation. In this way, select the length of time required for the unit to
be ‘On’ and push out the number of 20-minute segments necessary to
select the time period required.
2. The timer can be set to give as many ‘On’ periods as required during
any 24-hour period.
3. This program will repeat itself every 24 hours until changed. This
program may be overridden at any time by switching to manual
operation.
M
ANUAL
O
PERATION
Move the slider switch immediately beneath timer to the manual position
designated . The heater will now run continuously, controlled by the
heat settings and thermostat as described under ‘Controls’.
T
HERMALLY
O
PERATED
C
UT
-
OUT
For your safety the appliance is fitted with two over temperature cut-outs. These are safety devices, which switch the heater off if, for
any reason, the appliance overheats. It can only be re-set after the appliance has cooled down. In order to re-set the cut-outs, proceed as
follows:
•Switch off appliance and leave for approximately 15 minutes.
•Ensure the heater is not covered or the air intake is blocked. Switch appliance back on.
•Ensure that the appliance is functioning correctly. If the cut-outs operate again, the appliance should be checked by a competent
electrician.
The heater carries a ‘Do Not Cover’ label to warn the user that if the appliance is covered, there is a risk of overheating.

Selector
Switch
Thermostat
adjustment
knob
Heat on/off
Switch
Timer
reference
mark
Thermostat
reference
mark
NB: On the non-timer models there is
no timer control and selector switch.
66000414
Iss 01
M
OUNTING
To Wall Mount,
the wall bracket supplied must be used.
1. Remove the wall bracket from the heater, with the chains attached, by removing the 2 securing screws from the top of the rear panel.
2. Fix the wall bracket to the wall using 4 screws.
3. Fig 1: Present the heater to the bracket
4. Fig 2: Locate the heater onto the bottom lugs via the 2 slots in rear panel. Hinge the heater upwards and reattach the chain assembly, then
move the heater to the upright position. The link plates should slide under the slotted bracket lip.
5. Fig 3: Tighten both retaining screws.
The heater must not be located immediately below a fixed socket outlet.
C
LEANING
Always disconnect the heater from the mains before cleaning.
The heater should not require any maintenance, but it is strongly advised that it is kept clean. An occasional wipe over with a soft
cloth is all that should be necessary.
•Do NOT use metal or furniture polish on any part of the heater
•Do NOT touch the heater with wet hands or in any way bring water into contact with it.
If the supply cord is damaged, it must be replaced by the manufacturer or its service agent or a similarly qualified person in order
to avoid a hazard.
S
AFETY
The heaters have been designed to have a low surface temperature. This means it is safe to touch the heater when it is in
operation. The surface temperature of any part of the heater will not exceed a temperature of 43ºC as specified in the NHS Estates
Health Guidance notes on surface temperatures.
!!! WARNING !!! DO NOT COVER THE HEATER The surface temperature will exceed 43
º
C for a short period of time
when the heater is covered or the airflow around the heater is restricted in any way. If this happens the safety over temperature cut-
outs will turn the heater off.
This equipment has been designed and manufactured to the highest international standards
, but, like all electrical appliances which are
operated by mains voltage, care must be taken if you are to obtain the best results and safety is to be assured.
The appliance is not intended for use by persons (including children) with reduced physical, sensory or mental capabilities or lack
of experience and knowledge unless they have been given supervision or instruction concerning use of the appliance by a person
responsible for their safety.
Children should be supervised to ensure that they do not play with the appliance.
•Do NOT site the appliance into a corner.
•Ensure that nothing is pushed into any aperture of this appliance.
•Do NOT cover or restrict any aperture of the appliance when in use.
•Do NOT use the appliance if damaged.
•If used in a bathroom, the heater is to be installed so that the switches and other controls cannot be touched by a person in the
bath or shower.
This appliance meets the requirements of EU Directive 89/336 for EMC.
NOTE: The rating label can be viewed by loosening the two mounting bracket screws and hinging the appliance forward on its
retaining chains.
I
F
Y
OUR
H
EATER
D
OES
N
OT
W
ORK
•Check that power is available to the heater. The neon in the control switch should be illuminated.
•Check that the thermal cut-out has not operated. Follow the reset instructions given under the section headed ‘Thermal
Operated Cut-out’.
•Do not attempt to repair the heater.


 01646 692172 Mon to Fri 8.30 am to 3.30 pm
Consort Equipment Products Limited
Thornton Industrial Estate, ilford Haven, Pembrokeshire, SA73 2RT
Tel: 01646 692172 Fax: 01646 695195
Email: enquiri[email protected]m Web: www.consortepl.com
Q
UALITY
S
PACE
H
EATERS
I
NSTALLATION
,
O
PERATION AND
AINTENANCE
I
NSTRUCTIONS FOR
LOW SURFACE TE PERATURE
PANEL CONVECTOR HEATERS
P
LEASE RETAIN THIS LEAFLET FOR FUTURE AINTENANCE
Catalogue Numbers:
LST500, LST500TI, LST500RF
LST800, LST800TI, LST800RF
Please note: ‘TI’ suffix in the model number denotes Timer models,
‘RF’ suffix denotes models for Wireless controls

This manual suits for next models

5

Other Consort Heater manuals

Consort PLSTi050E Use and maintenance manual

Consort

Consort PLSTi050E Use and maintenance manual

Consort FANFAIR PFH15T Guide

Consort

Consort FANFAIR PFH15T Guide

Consort HE6502SL Use and maintenance manual

Consort

Consort HE6502SL Use and maintenance manual

Consort ScreenZone RAC1306 User manual

Consort

Consort ScreenZone RAC1306 User manual

Consort CN2FSLT Use and maintenance manual

Consort

Consort CN2FSLT Use and maintenance manual

Consort PLSTi050E Use and maintenance manual

Consort

Consort PLSTi050E Use and maintenance manual

Consort PHSL2 Series Use and maintenance manual

Consort

Consort PHSL2 Series Use and maintenance manual

Consort Heatflow BFH2T Installation and operating instructions

Consort

Consort Heatflow BFH2T Installation and operating instructions

Consort CN2F User manual

Consort

Consort CN2F User manual

Consort PRX050SS Use and maintenance manual

Consort

Consort PRX050SS Use and maintenance manual

Consort BHM1SL Use and maintenance manual
Consort

Consort BHM1SL Use and maintenance manual

Consort CN2MLSTiERF Use and maintenance manual

Consort

Consort CN2MLSTiERF Use and maintenance manual

Consort LST500ERF Use and maintenance manual

Consort

Consort LST500ERF Use and maintenance manual

Consort CN2LSTRX User manual

Consort

Consort CN2LSTRX User manual

Consort BFH2SL Use and maintenance manual

Consort

Consort BFH2SL Use and maintenance manual

Consort LST500SL Use and maintenance manual

Consort

Consort LST500SL Use and maintenance manual

Consort QZWP15N Manual

Consort

Consort QZWP15N Manual

Consort CSL1LST Use and maintenance manual

Consort

Consort CSL1LST Use and maintenance manual

Consort QZWP30N Manual

Consort

Consort QZWP30N Manual

Consort WMH3RX Manual

Consort

Consort WMH3RX Manual

Consort CSL2LST Original operating instructions

Consort

Consort CSL2LST Original operating instructions

Consort LST500EWIFI Use and maintenance manual

Consort

Consort LST500EWIFI Use and maintenance manual

Consort PVE050 Use and maintenance manual
Consort

Consort PVE050 Use and maintenance manual

Consort Heatflow BHM1 User manual

Consort

Consort Heatflow BHM1 User manual
Popular Heater manuals by other brands

Vermont Castings cS1b0 Installation and operating manual

Vermont Castings

Vermont Castings cS1b0 Installation and operating manual

TERMOFOL TF750W Installation & operation instructions

TERMOFOL

TERMOFOL TF750W Installation & operation instructions

Termo PARMA quick start guide

Termo

Termo PARMA quick start guide

Turbonics KWM6 installation instructions

Turbonics

Turbonics KWM6 installation instructions

Desa CHD24B owner's manual

Desa

Desa CHD24B owner's manual

Olimpia splendid Unico Instructions for installation, use and maintenance manual

Olimpia splendid

Olimpia splendid Unico Instructions for installation, use and maintenance manual

Marley K404A Installation & maintenance instructions

Marley

Marley K404A Installation & maintenance instructions

Blyss Faringdon 3663602847434 manual

Blyss

Blyss Faringdon 3663602847434 manual

EOS IRS 30 Keramik Assembly and operating instruction

EOS

EOS IRS 30 Keramik Assembly and operating instruction

Excelsior Excelair EOHA20GR instruction manual

Excelsior

Excelsior Excelair EOHA20GR instruction manual

Thermrup MHP621 instruction manual

Thermrup

Thermrup MHP621 instruction manual

Scarlett SC-053 instruction manual

Scarlett

Scarlett SC-053 instruction manual

SDS SMART HEATER POLIBOX Plug & Play user manual

SDS

SDS SMART HEATER POLIBOX Plug & Play user manual

Sealey Space warmer  LP100.V4 instructions

Sealey

Sealey Space warmer LP100.V4 instructions

Eberg RG11 user manual

Eberg

Eberg RG11 user manual

NARVI Black 16 installation, user and maintenance instructions

NARVI

NARVI Black 16 installation, user and maintenance instructions

Sonniger GUARD PRO Operation and Maintenance Documentation

Sonniger

Sonniger GUARD PRO Operation and Maintenance Documentation

Infratech W series Installation use & care instructions

Infratech

Infratech W series Installation use & care instructions

manuals.online logo
manuals.online logoBrands
  • About & Mission
  • Contact us
  • Privacy Policy
  • Terms and Conditions

Copyright 2025 Manuals.Online. All Rights Reserved.