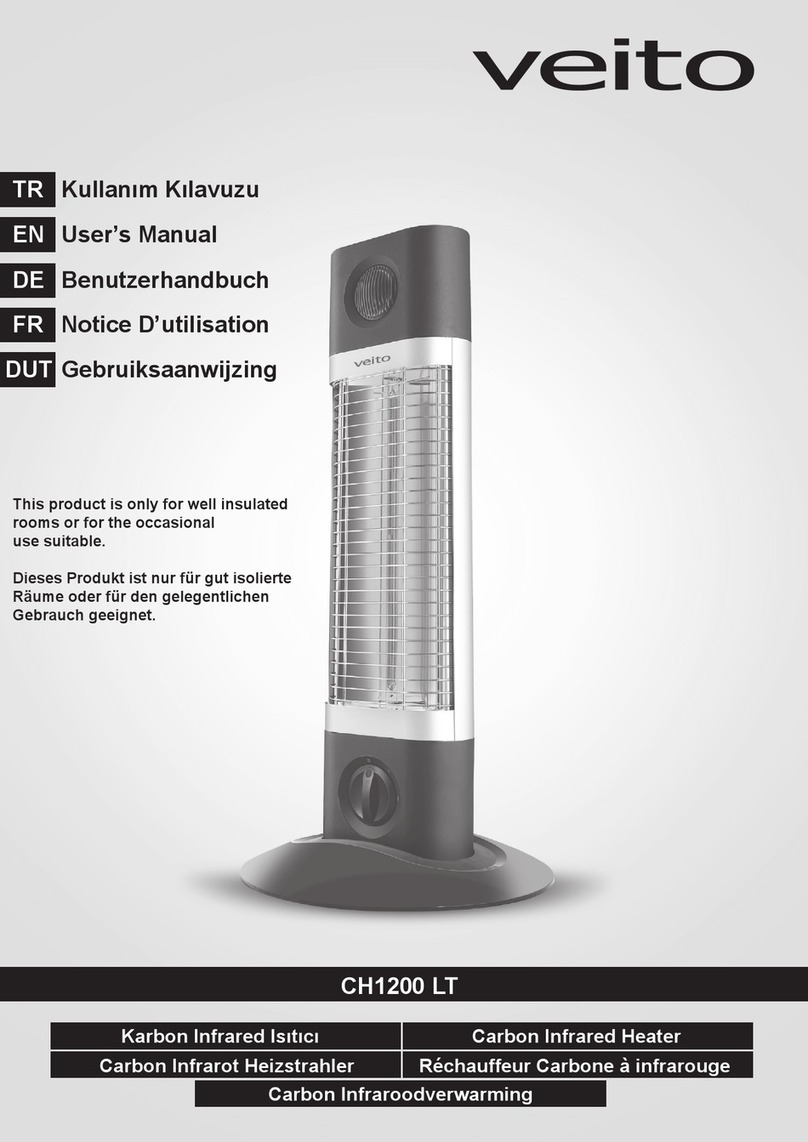
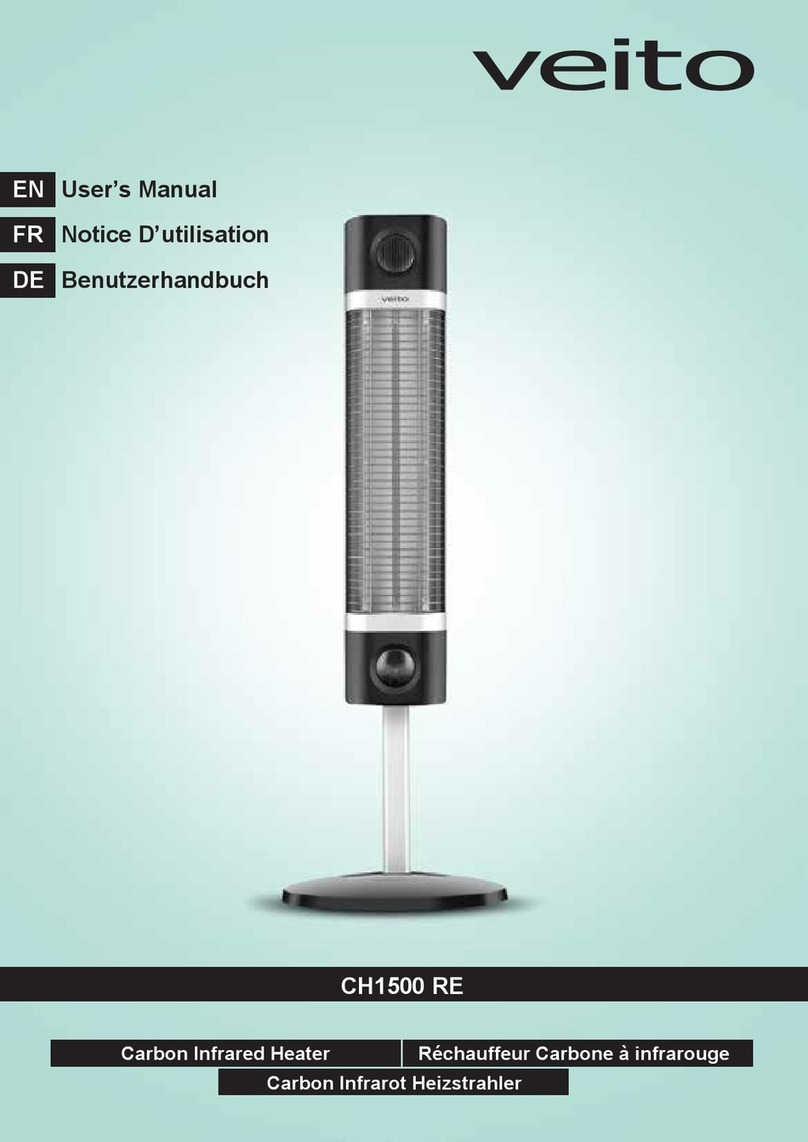
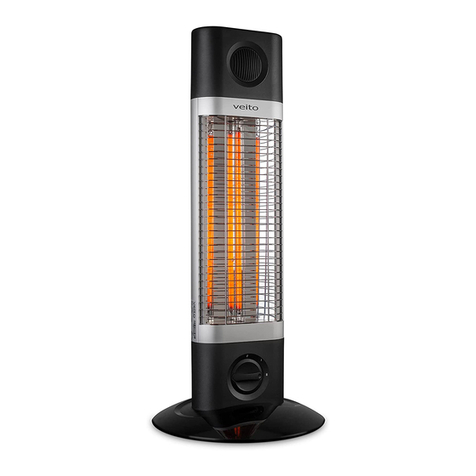
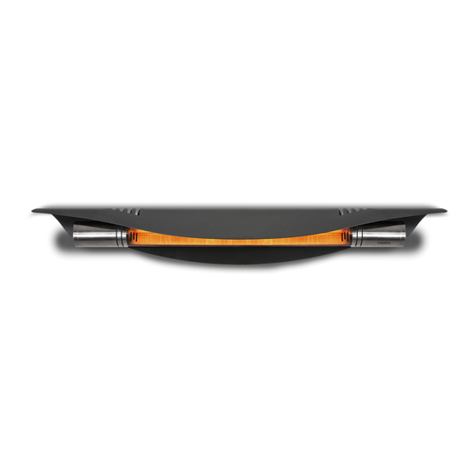
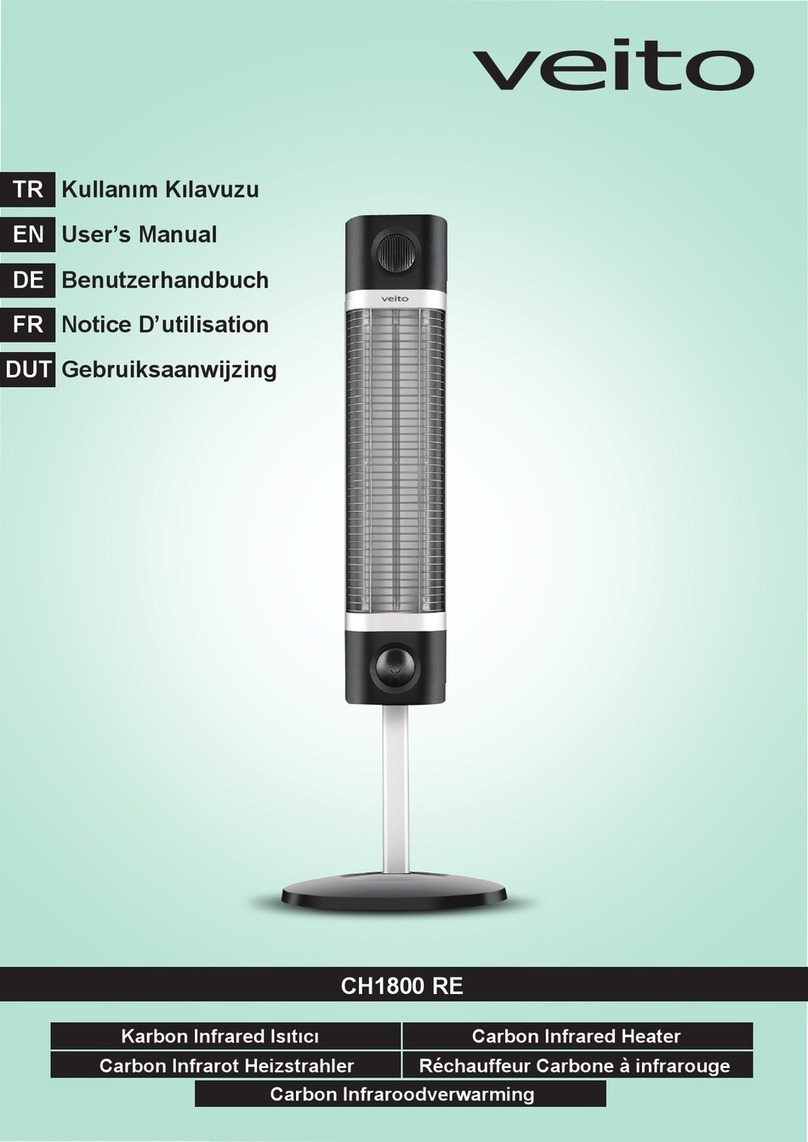
veito AERO S User manual

veito
User manual
THESE INSTRUCTIONS SHOULD BE READ CAREFULLY
AND RETAINED FOR FUTURE REFERENCE
AERO S

IMPORTANT SAFETY INSTRUCTIONS
Read all instructions before installing or using this heater.
Installation and repair must be carried out by a qualied and licenced person only.
Improper installation, adjustment, alteration, service or maintenance can cause
personal injury, property damage or death.
The installer is to ensure that the requirements of the local authority, local electrical
installation code, municipal building codes, and any other relevant statutory
regulations are carried out.
The manufacturer is not responsible for any damage that could happen from
improper use. The manufacturer emphasizes that this appliance should be used
in a responsible manner and that all procedures, warnings, and safety instructions
contained in this booklet be followed strictly.
When using electrical appliances, basic safety precautions should always be
followed to reduce the risk of re, electric shock, and injury to persons, including the
following:
Use this heater only as described in this manual. Any other use, not recommended
by the manufacturer, may cause re, electric shock, or injury to persons.
Do not install the heater directly near a bathtub, shower or swimming pool. Any
switches or controls must not be within reach of a person in the bathtub, shower or
swimming pool.
This heater is hot when in use. To avoid burns, do not let bare skin touch hot
surfaces. Keep combustible materials, such as furniture, pillows, bedding, papers,
clothes and curtains at least 1500 mm from the front of the heater and keep them
away from the sides and rear.
This appliance can be used by children aged from 8 years and above and persons
with reduced physical, sensory or mental capabilities or lack of experience and
knowledge if they have been given supervision or instruction concerning use of the
appliance in a safe way and understand the hazards involved.
Children should be supervised to ensure that they do not play with the appliance.
Children of less than 8 years should be kept away unless continuously supervised.
Cleaning and user maintenance shall not be made by children without supervision.
Keep packaging materials out of reach of children.
Children and vulnerable people should be alerted to the hazards of high surface
temperatures and should stay away to avoid burns, clothing ignition, or other serious
personal injury.
2
Do not attempt to alter the unit in any manner.
Do not paint any surface of the heater.
Do not touch the heater with wet hands at any time.
Do not insert or allow ngers or foreign objects to enter any ventilation or exhaust
opening as it may cause an electric shock or re or damage the heater.
Do not touch any part of the heater during operation.
Always disconnect the heater from the electricity supply and allow adequate time
(minimum of 30 mins.) for it to cool before adjusting the position or attempting to
work on it.
Do not use or store ammable materials near this appliance.
Do not spray aerosols or ammable materials in the vicinity of this appliance while it
is in operation.
Never operate the heater in an explosive environment such as areas where petrol or
other ammable liquids or vapours are stored.
Do not cover the heater.
Clothing or other ammable materials should not be hung from the heater or placed
on or near the heater.
After unpacking, make sure the appliance shows no signs of visible damage or
tampering. If the appliance appears damaged, contact the place of purchase for
assistance.
Check for damage to the appliance regularly. Do not use the heater if the heating
element is cracked or broken. If damage to the appliance is suspected, discontinue
use immediately and contact the supplier or qualied person to repair.
This heater must only be used on a 220-240V AC single phase electricity supply.
This heater must be grounded. Connect to properly grounded outlets only.
Ensure both plug and socket is clean and free from dust when using.
To disconnect the heater from the power supply, grip the plug and pull from the
power socket. Never pull by the cord.
Do not touch the plug with wet or moist hands.
Do not use an extension cord with this heater.
3

Do not allow the supply cord to sit or hang in front of the heater while in use and
keep it away from the body of the heater which will get hot during operation.
Keep the cable away from sharp edges during handling and installation.
Regularly inspect the power cord and plug for wear or damage and do not
operate the heater with a damaged cord, plug or loose socket or after the heater
malfunctions, has been dropped or damaged in any manner.
If the supply cord is damaged, it must be replaced by the manufacturer, it’s service
agent or similarly qualied persons in order to avoid a hazard.
Do not locate the heater immediately above or below a xed socket outlet or
connection box. This is because the heat radiated from the appliance may damage
the electricity outlet or plug.
Always unplug the heater when not in use.
The supply cable must be at the lower end of the heater if the heater is installed at
an angle or vertically.
For installation use only the supplied accessories or original accessories approved
by the manufacturer.
Do not place articles on or against this appliance.
A minimum safety distance of 1500 mm should always be left in front of the
appliance.
This heater must be mounted at a minimum of 1800 mm above the oor.
INTRODUCTION
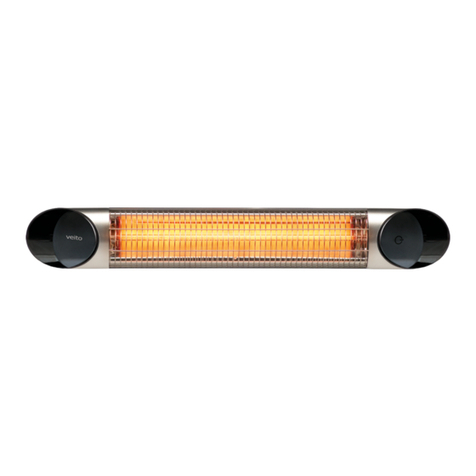
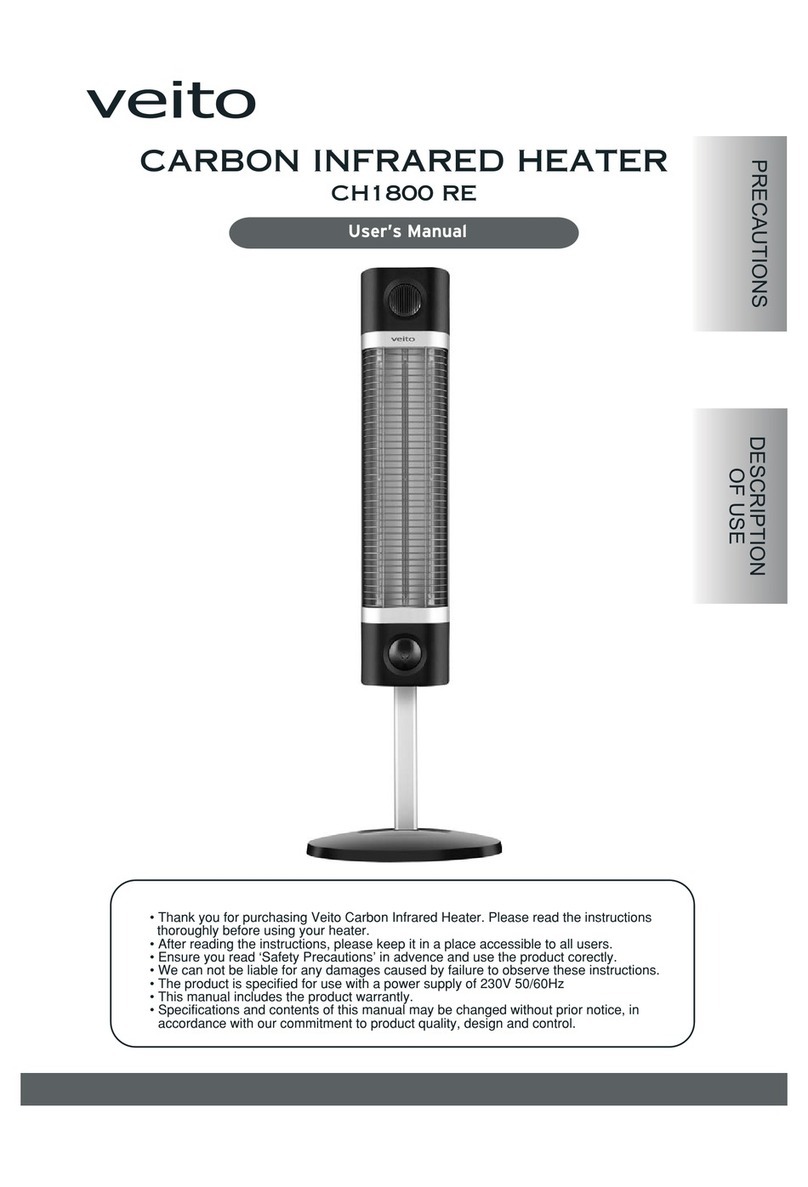
The AERO S carbon infrared heater is engineered as a robust indoor-outdoor heater.
Every component in the AERO S heater is optimized for performance. That includes
the veito carbon infrared tube producing mid-wave infrared heat. The AERO S
heater has weatherproof design, which means you can use it for patios, terraces,
smoking areas, conservatories, restaurants, hotels, garages, workshops, factories,
warehouses and many more.
Model AERO S
Voltage 220-240V AC, 50/60 Hz
Power 2500W
Dimensions (W x H x D) 820 x 180 x 55 mm
Weight 3 kg
IP Rating IP44
4

OPERATION
Press one of the 1234buttons on the remote control to turn the heater on.
Press ON button to turn on the heater in previous settings.
Press OFF button to turn the heater o.
You can also use the button on the unit to operate the heater.
REPLACING THE BATTERY
Press the battery compartment release button and then slide out the battery tray.
Remove the old battery and put the new battery in, making sure that the battery’s
positive side is facing up. Use only a CR2025 battery in this remote control.
Slide the battery tray back into the remote control until it clicks.
Note: Do not allow water or liquid to get into the remote control.
CLEANING AND MAINTENANCE
Installation and repair must be carried out by a qualied and licenced person only.
Always disconnect the heater from the electricity supply and allow adequate time
(minimum of 30 mins.) for it to cool before adjusting the position or attempting to
work on it.
If the heater has collected dust or dirt inside the unit or around the heating element,
have the unit cleaned by a qualied service agent. Do not operate the heater in this
condition.
The only maintenance required is cleaning of the external surfaces of the heater.
Do not use powerful abrasive or solvent cleaning uids when cleaning the heater.
Use a damp cloth to wipe the outside of the heater.
If removed from its mounting position when not in use, store the heater carefully in a
safe, dry, childproof location.
Do not touch the heating element with bare ngers, as residue from your hand could
aect the life of the lamp. If it is accidentally touched, remove the nger marks with a
soft cloth moistened with methylated spirit or alcohol.
Do not attempt to repair or adjust any electrical or mechanical functions on this
heater.
The heater contains no user serviceable parts. Check for damage to the appliance
regularly. If damage to the appliance is suspected, discontinue use immediately and
contact the supplier or qualied person to repair.
5

INSTALLATION
Installation must be carried out by a licensed and authorised person only.
Only connect the appliance to a power supply that conforms to the specication
stated on rating plate.
This heater must be installed according to the minimum installation clearances
shown in the diagrams.
The heater should always have a minimum clearance of 500 mm from a ceiling and
adjacent walls.
Mark and drill the mounting holes on the wall.
Attach the mounting bracket to the wall.
Bring the heater up to mounting bracket. Insert M6 bolts in the slots on the bracket.
Lock into position with M6 nuts.
Rotate the heater to require angle and lock into position with the bolt and nut on the
wall bracket.
Do not position the heater at an angle of more than 90° and less than 45°.
Plug in to turn the heater on.
WIRING DIAGRAM
6
220-240V AC
50/60 Hz
L
N
G
HEATING ELEMENT

Min.
500mm
Min. 1800mm
clearance to oor
Max.
45° angle
7
Min.
500mm
Max.
90° angle

www.veito.com
For electrical products sold within the European Community.
At the end of the electrical products useful life it should not be disposed
of with household waste. Please recycle where facilities exist. Check with
your Local Authority or retailer for recycling advice in your country.
Table of contents
Other veito Heater manuals

veito
veito BLADE Series User manual

veito
veito Blade User manual

veito
veito CH1200 LT User manual

veito
veito CH1200 LT User manual

veito
veito 19.07.3104 User manual

veito
veito Blade User manual

veito
veito CH1800 RE User manual

veito
veito MANTA User manual

veito
veito CH1200 LT User manual

veito
veito CH1800 RE User manual
Popular Heater manuals by other brands

Modine Manufacturing
Modine Manufacturing MELMEL-24B1-120 Series Installation and service manual

noken
noken TONO 100284608 manual

Rowenta
Rowenta SILENCE COMFORT - SO5115 manual

Ferroli
Ferroli NEO 500 Instructions for installation and use

CEH
CEH RCHB 4200 installation instructions

Optex
Optex Smart Line PCU-5 installation instructions