manuals.online logo
Brands
  1. Home
  2. •
  3. Brands
  4. •
  5. Consort
  6. •
  7. Heater
  8. •
  9. Consort CN1MLSTFS User manual

Consort CN1MLSTFS User manual

62001204 Iss 03
SAFETY
This equipment has been designed and manufactured to the highest international standards, but, like all electrical
appliances which are operated by mains voltage, care must be taken if you are to obtain the best results and safety is
to be assured.
NOTE: The appliance is not intended for use by persons (including children) with reduced physical, sensory or
mental capabilities, or lack of experience and knowledge unless they have been given supervision or instruction
concerning use of the appliance by a person responsible for their safety.
Children should be supervised to ensure that they do not play with the appliance
 Do NOT site the appliance into a corner when in use.
 Do NOT use this heater in the immediate surroundings of a bath, a shower or a swimming pool.
 Do NOT handle the appliance with wet hands.
 Do NOT use the appliance in workshops or rooms where excessive dust is generated or present.
 Ensure that nothing is pushed into any aperture of this appliance.
 Do NOT touch outlet grille when the appliance is in use.
 Do NOT cover or restrict any aperture of the appliance when in use.
 Do NOT use the appliance if damaged.
 Do NOT leave the appliance unattended where young children are present.
This appliance meets the requirements of EU Directive 89/336 for EMC.
IF YOUR HEATER DOES NOT WORK
 Check that the plug, where fitted, is firmly pushed into the wall socket with the socket switched to ON.
 Check that the socket/spur is live. (If it is not live, check the fuse at the distribution board).
 Check the plug, where fitted, is wired correctly.
 Check that the plug/spur fuse has not blown. (This can be done by replacement with another suitable
fuse).
 If you are replacing a fuse in the plug/spur, a 13 Amp fuse, approved by ASTA to BS 1362, must be used.
 Should none of the above remedies work, then disconnect heater from mains and consult an accredited
Service Agent. If the appliance is still under guarantee, return it to your supplier.
 Do NOT attempt to repair the heater yourself.
GUARANTEE
This guarantee is offered to you as an extra benefit and does not affect your legal rights.
All electrical appliances produced for the Company are guaranteed for one year against faulty material or
workmanship. This applies only if the appliance has been used for purposes in accordance with the instructions
provided and has not been connected to an unsuitable electricity supply, or subject to misuse, neglect, damage or
modified or repaired by any person not authorised by us.
The correct electricity supply voltage is shown on the rating label attached to the appliance.
CUSTOMER HELPLINE
Should you need any advice on the use of your new Consort product, or should you require service or repair, please
contact our Helpline:
Operating hours:
Monday to Thursday 8.30am to 4.30 pm | Friday 8.30am to 3.30pm
Consort Equipment Products Limited
Thornton Industrial Estate, Milford Haven, Pembrokeshire, SA73 2RT
Tel: 01646 692172 Fax: 01646 695195
Email: [email protected]om Web: www.consortepl.com
Quality Space Heaters
Using and looking after your
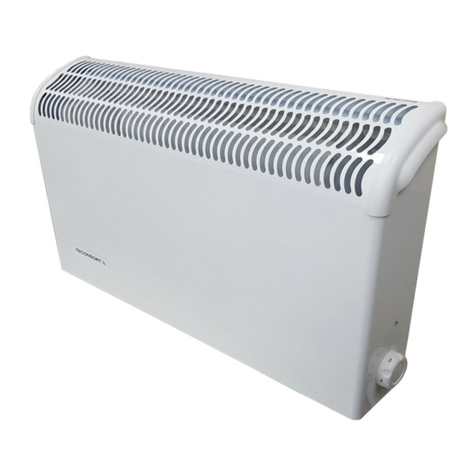
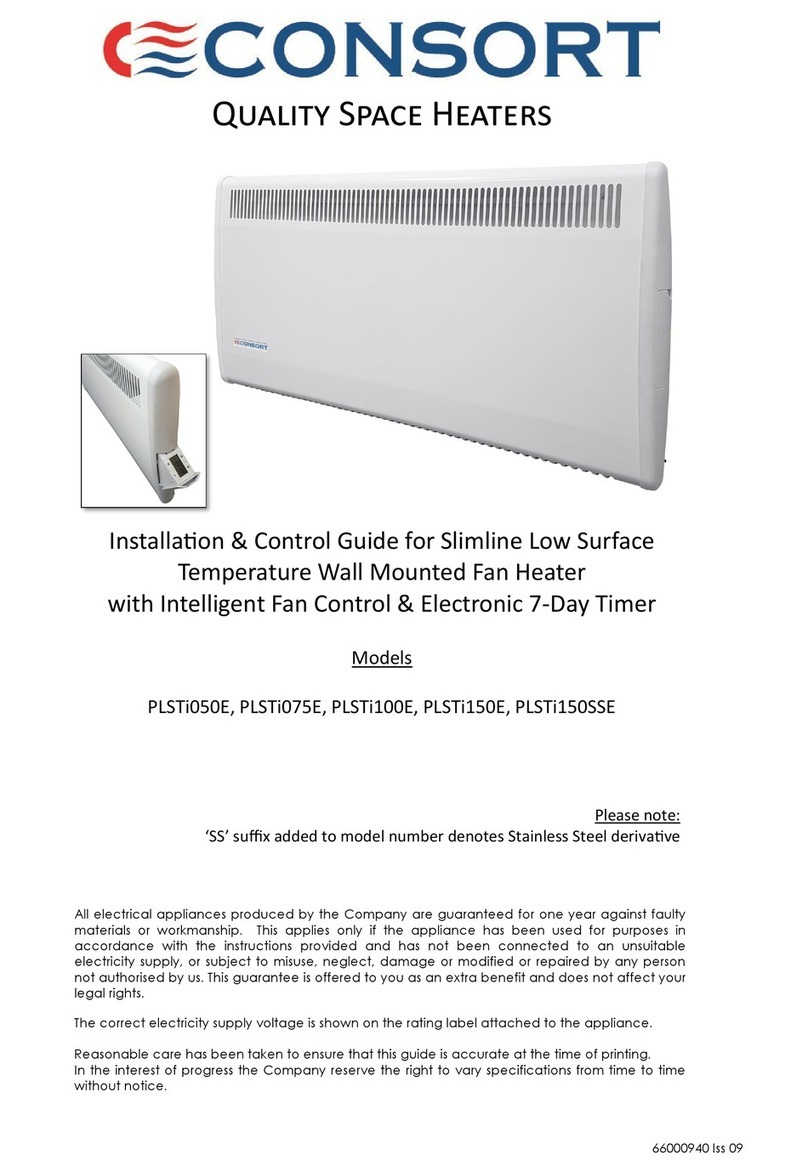
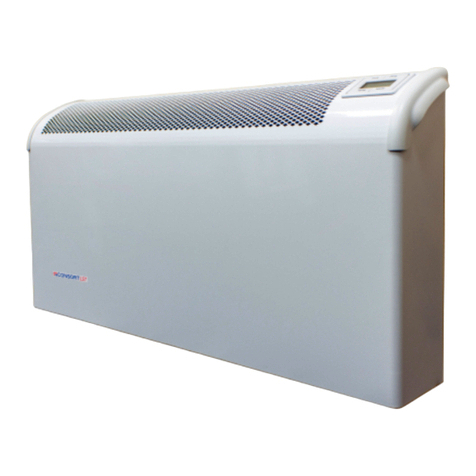
CN1MLSTFS Low Surface Temperature Heater
62001204 Iss 03
BEFORE USE
Check that the supply details on your heater are in accordance with your electricity supply.
The heater can be used in two ways, either free standing or wall mounted.
FREE STANDING
The feet supplied with this convector are a new improved design for easy fitting and are packed separately in
this carton. The feet fixing screws are supplied screwed into the heater base. The feet have raised pips which
fit into the holes in the base, preventing the feet from twisting.
To fit the feet, turn the heater upside down and slacken off the two screws (No 2 Posidrive Screwdriver),
locate the large hole over the screw head and slide the foot, so that the screw is at the end of the keyhole slot.
Ensure that the two pips are pressed into their locating holes. Tighten screws.
WARNING – THE FEET MUST BE FITTED BEFORE USE
WARNING – THIS APPLIANCE MUST BE EARTHED
CONTROLS
The heater is fitted with a built-in thermostat to control the temperature level to which the room is heated.
The thermostat adjustment knob is located on the right hand end and is numbered. Rotate the knob clockwise
to a higher number to raise the room temperature. Once set it is unlikely to require to be touched again.
To set the heater to the Frost Watch mode, turn the thermostat control knob fully anti-clockwise until the frost
symbol aligns with mark.
The switches, which are behind the swivel plate on the side panel of the heater, operate to give:
fan only or 1 kW. See Fig 1.
AUTOMATIC SAFETY CUT-OUT
The appliance is fitted with a tilt switch which automatically turns off the heater in the event of it being knocked
over.
THERMAL OPERATED CUT-OUT
The appliance is fitted with an Electronic Safety Control (ES). This is a safety device, which switches the heater
off if, for any reason, the appliance overheats. The ES control can only be re-set after the appliance has cooled
down. In order to re-set the ES control, proceed as follows:
 Switch off appliance and leave for approximately 5 minutes.
 Switch appliance back on and ES control will re-set.
 Ensure that the appliance is functioning correctly. If the ES control operates again, the appliance should
be checked by a competent electrician.
The heater carries a ‘Do Not Cover’ label to warn the user that if the appliance is covered, there is a risk of
overheating.
CAUTION – In order to avoid a hazard due to inadvertent resetting of the thermal cutout, this appliance must not
be supplied through an external timer.
CLEANING
Always disconnect the heater from the mains before cleaning.
The heater should not require any maintenance, but it is strongly advised that it is kept clean.
 Do NOT use metal or furniture polish on any part of the heater
 Do NOT touch the heater with wet hands or in any way bring water into contact with it.
 It is strongly recommended that the inlet grille on the bottom of the heater is cleaned regularly to avoid
a build up of dust/fluff.
If the supply cord on this appliance is damaged, it must be replaced by a special cord which is only available from
an Authorised Service Agent, or your supplier. If replacement of the supply cord is found to be necessary, the
following should be noted:
Cord Ref No: 62000786
Lay the appliance on its front face. Remove the two screws securing the back panel. The back panel can now
be lifted away from the body, giving access to the supply cord.
For re-assembly, the reverse of the above procedure should be carried out.
IMPORTANT – ALWAYS RETAIN YOUR USER INSTRUCTIONS FOR FUTURE REFERENCE.

Other Consort Heater manuals

Consort LST500EWIFI Use and maintenance manual

Consort

Consort LST500EWIFI Use and maintenance manual

Consort PLE050 Use and maintenance manual

Consort

Consort PLE050 Use and maintenance manual

Consort PLSTi100RX Use and maintenance manual

Consort

Consort PLSTi100RX Use and maintenance manual

Consort QZWP30N Manual

Consort

Consort QZWP30N Manual

Consort Heatflow BFH2T Installation and operating instructions

Consort

Consort Heatflow BFH2T Installation and operating instructions

Consort WMH3E Use and maintenance manual

Consort

Consort WMH3E Use and maintenance manual

Consort CN1LSTRX Original operating instructions
Consort

Consort CN1LSTRX Original operating instructions

Consort CN2F User manual

Consort

Consort CN2F User manual

Consort PLE050MWIFI Use and maintenance manual

Consort

Consort PLE050MWIFI Use and maintenance manual

Consort CN2LSTRX User manual

Consort

Consort CN2LSTRX User manual

Consort HE7915G Use and maintenance manual

Consort

Consort HE7915G Use and maintenance manual

Consort CSL2SC Use and maintenance manual

Consort

Consort CSL2SC Use and maintenance manual

Consort Heatflow BHM1 User manual

Consort

Consort Heatflow BHM1 User manual

Consort CHELSEA WMH3 Manual

Consort

Consort CHELSEA WMH3 Manual

Consort LST500ERF Use and maintenance manual

Consort

Consort LST500ERF Use and maintenance manual

Consort QZWP15N Manual

Consort

Consort QZWP15N Manual

Consort DF2SL Heatflow Manual

Consort

Consort DF2SL Heatflow Manual

Consort Heatsream PHRX Series User manual

Consort

Consort Heatsream PHRX Series User manual

Consort PLSTi050E Use and maintenance manual

Consort

Consort PLSTi050E Use and maintenance manual

Consort PRX050SS Use and maintenance manual

Consort

Consort PRX050SS Use and maintenance manual

Consort CN2FSLT Use and maintenance manual

Consort

Consort CN2FSLT Use and maintenance manual

Consort CSL1LST Use and maintenance manual

Consort

Consort CSL1LST Use and maintenance manual

Consort CN1LST Guide

Consort

Consort CN1LST Guide

Consort CSL2SC Use and maintenance manual
Consort

Consort CSL2SC Use and maintenance manual

Popular Heater manuals by other brands

EOS IRS 40 RHK Assembly and operating instruction

EOS

EOS IRS 40 RHK Assembly and operating instruction

Desa RM30SP owner's manual

Desa

Desa RM30SP owner's manual

MediaTech MT-001 instruction manual

MediaTech

MediaTech MT-001 instruction manual

Black & Decker 7BDQ1000 manual

Black & Decker

Black & Decker 7BDQ1000 manual

Flexiheat IH/AR 40 instruction manual

Flexiheat

Flexiheat IH/AR 40 instruction manual

Sonnenkonig CHAMA user manual

Sonnenkonig

Sonnenkonig CHAMA user manual

EUROM EK Fanheat 2000 instruction manual

EUROM

EUROM EK Fanheat 2000 instruction manual

Toyostove RC-37 Operation and maintenance instructions

Toyostove

Toyostove RC-37 Operation and maintenance instructions

Draper DSH450 instruction manual

Draper

Draper DSH450 instruction manual

Rowenta SO6511 Series instructions

Rowenta

Rowenta SO6511 Series instructions

Trotec TDS 100 operating manual

Trotec

Trotec TDS 100 operating manual

Dimplex RPX075N Installation and operating instructions

Dimplex

Dimplex RPX075N Installation and operating instructions

Orbegozo CVT 3400 A instruction manual

Orbegozo

Orbegozo CVT 3400 A instruction manual

Dimplex DCU18LCD Installation and operating instructions

Dimplex

Dimplex DCU18LCD Installation and operating instructions

GoodHome wilsona 3663602428565 manual

GoodHome

GoodHome wilsona 3663602428565 manual

Stanley ST-45-KFA-E manual

Stanley

Stanley ST-45-KFA-E manual

Bartscher W2000 E manual

Bartscher

Bartscher W2000 E manual

Draper PSH40 instruction manual

Draper

Draper PSH40 instruction manual

manuals.online logo
manuals.online logoBrands
  • About & Mission
  • Contact us
  • Privacy Policy
  • Terms and Conditions

Copyright 2025 Manuals.Online. All Rights Reserved.