Wallach®UltraFreeze™ Cryosurgical Instrument • Instructions for Use
3
OPERATING INSTRUCTIONS
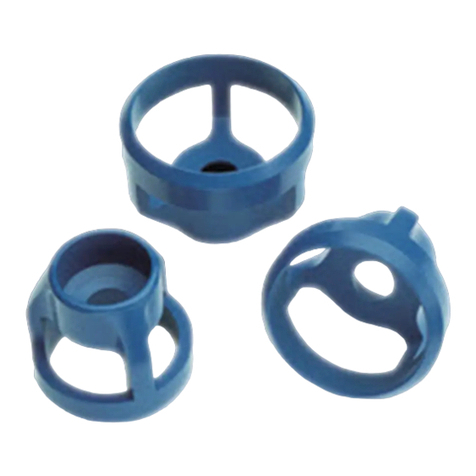
Use of the UltraFreeze requires the attachment of a Closed Tip or Open Aperture. The Aperture size
is dictated by the type of lesion, the size and shape of the treatment area, and the amount of Liquid Nitrogen to be
delivered. The spray apertures with a larger orifice should be used for large, deep lesions. Apertures with smaller
orifices should be used for warts and keratoses.
Once the UltraFreeze has been filled with Liquid Nitrogen, the proper Aperture or Closed Tip must be
attached. The desired Aperture (6) is attached to the Connecter (4) by inserting the base and rotating approximately
1/4 turn clockwise. The instrument is now ready for use. The flow of nitrogen, delivered to the patient, is controlled
by the amount of pressure applied to the Trigger (5).
At the end of the day, empty and dry the unit. To ensure that all liquids are removed from the bottle, the components
should be air-dried separately, with the bottle and cap inverted. Foreign materials inside the bottle, even in small
amounts, will cause the instrument to malfunction (clogged tubes, valves held open, etc.). Any foreign materials
detected inside the bottle may be removed by wiping or rinsing with alcohol; DO NOT attempt to use the instrument
until the bottle is completely dry.
The Wallach Ultrafreeze should be cleaned and disinfected after each patient use.
CLEANING/DISINFECTION INSTRUCTIONS
After each patient use, follow the combined cleaning/disinfecting instructions provided below for the
Wallach Ultrafreeze.
1. Prepare an enzymatic, neutral pH cleaner solution according to the Manufacturer’s instructions.
2. Immerse a clean, lint-free wipe into cleaning solution and thoroughly wring. Thoroughly wipe bottle and top
assembly surfaces in a circular motion. Discard the wipe.
3. Using a soft, nylon brush, scrub difficult-to-access areas such as crevices or textured surfaces.
4. Immerse a fresh, clean, lint-free wipe under warm flowing, utility water and thoroughly wring excess water.
Thoroughly wipe the front panel surface and crevices for at least 30 seconds. Discard the wipe.
5. Rinse a fresh, clean, lint-free wipe under warm flowing, utility water and thoroughly wring excess
water. Wipe for at least 30 seconds. Discard the wipe.
6. Inspect the device for visible soil or debris. If visible soil remains, repeat cleaning steps 2-5 until device is
visually clean.
7. Using disinfection wipe, Caviwipes®, thoroughly wipe bottle and top assembly surfaces and discard the wipe.
Allow the wiped and wetted device to stand for a minimum of the disinfectant product manufacturer’s labeled
contact time. Re-wet the wipes as necessary to ensure that all surfaces remain wet the entire time.
8. Use a 70% IPA wipe, or a low-lint wipe, saturated with 70% IPA, to thoroughly wipe the device.
9. Allow the device to air dry. Once dry, visually inspect the device for any residual soil.
10. Repeat cleaning/disinfection instructions if visible soil is present.
11. Place the cleaned/disinfected device in an appropriate dry storage area
TROUBLESHOOTING
Problem Probable Cause Solution
A. No Pressure 1) System leaking. 1) Ensure Top is fully seated on Bottle.
2) Actuate Pressure Relief Valve.
3) Listen carefully to locate source of leakage
and call Repair Technician.
B. Excessive Frost on 1) Punctured bottle (cannot 1) Call Repair Technician and replace unit.
Bottle maintain pressure;
non-operational)
C. No flow of Liquid 1) Clogged Aperture or 1) Clean Aperture with a pin or needle.
Nitrogen Instrument. 2) Call Repair Technician.
D. Main or Pressure Relief 1) Valve frosted over or 1) Depressurize and remove Top. Thaw at room
Valve stuck open frozen. temperature, wipe dry. Reassemble and test.
2) Call Repair Technician.
