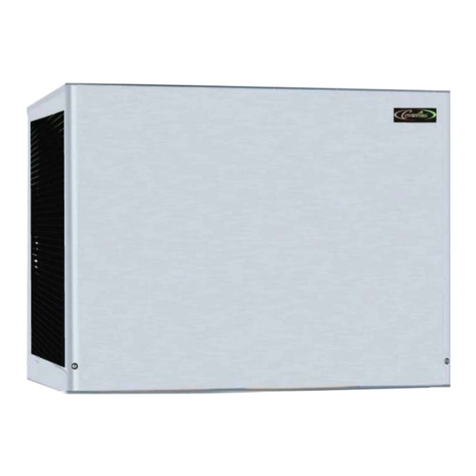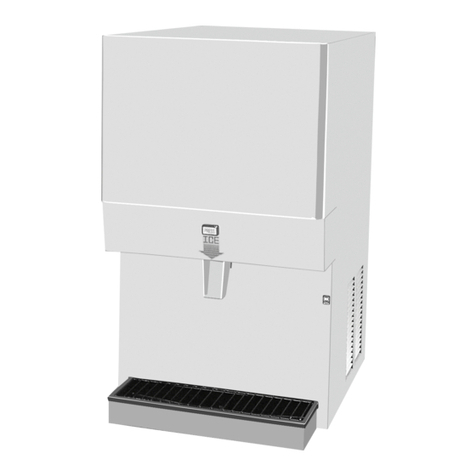
DF/ED300 Lid Kit Installation Instructions
Publication Number: 629087943TEINS - 2 - © 2016, Cornelius Inc.
INSTALLATION INSTRUCTIONS
Table 1. Loose Shipped Parts
Item No. Name Part No. Qty.
1. Lid Assembly 620046124 1
2. Cover and lanyard assembly - Black 620064177 1
Cover and lanyard assembly - Grey 620065192
3. Baffle Ice ED150 Adapter Lid 620042919 1
4. Bin-Stat Kit 631500108 1
5. Bracket 22127 2
6. Screw, Mounting 70217 12
7. Label 91957 1
8. Acorn Nut, Nylon 620701902 4
9. Sealing Washer 620701901 4
10. Nylon Washer 621701903 4
11. Gasket 620050102 103”
12. Screw #08-32 43164 2
13. Hex Nut #08-32 70100 2
All ice baffle plates and bin stats, if included or recommended in this kit, must be installed as directed in this manual or
the equipment manufacturer’s instructions.
Failure to comply could result in serious injury, death or damage to the equipment.
All of the attachment screws and plates must be installed as directed in this manual.
Failure to comply could result in serious injury, death or damage to the equipment.
IMPORTANT: For DF/ED300 models, adjust the automatic agitation timer located in the dispenser’s
electrical control box to 5 seconds on, 20 minutes off. Access to the timer is provided by removing
the merchandiser/upper front panel.
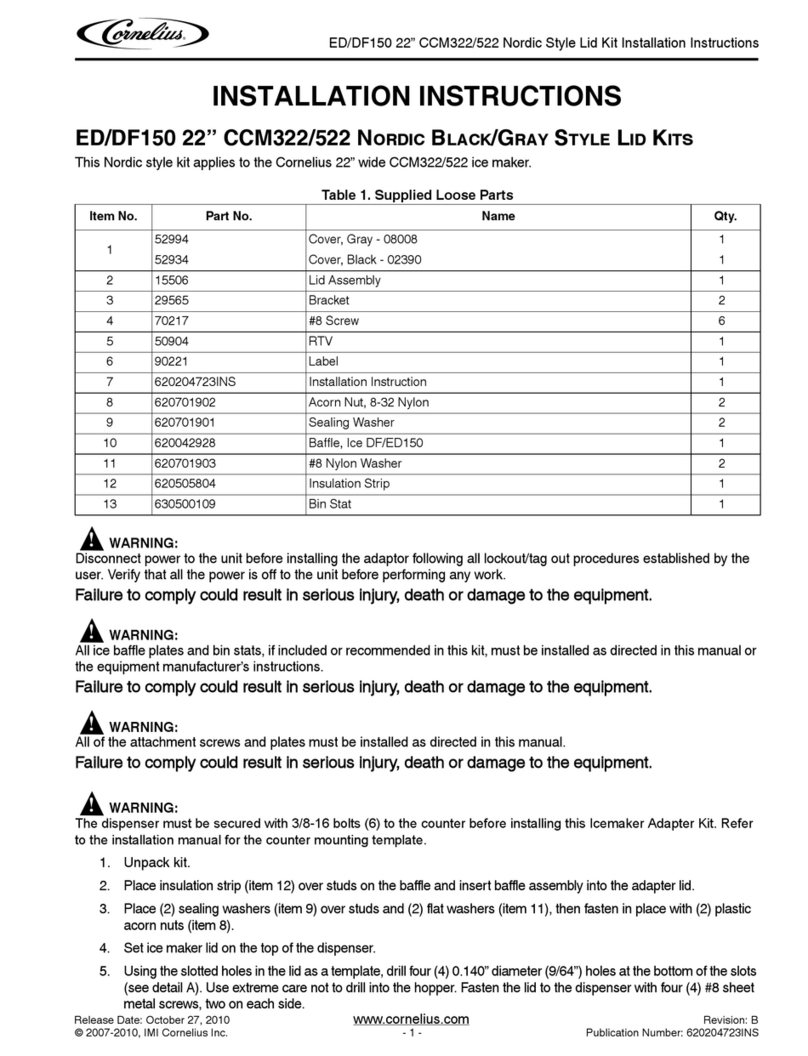
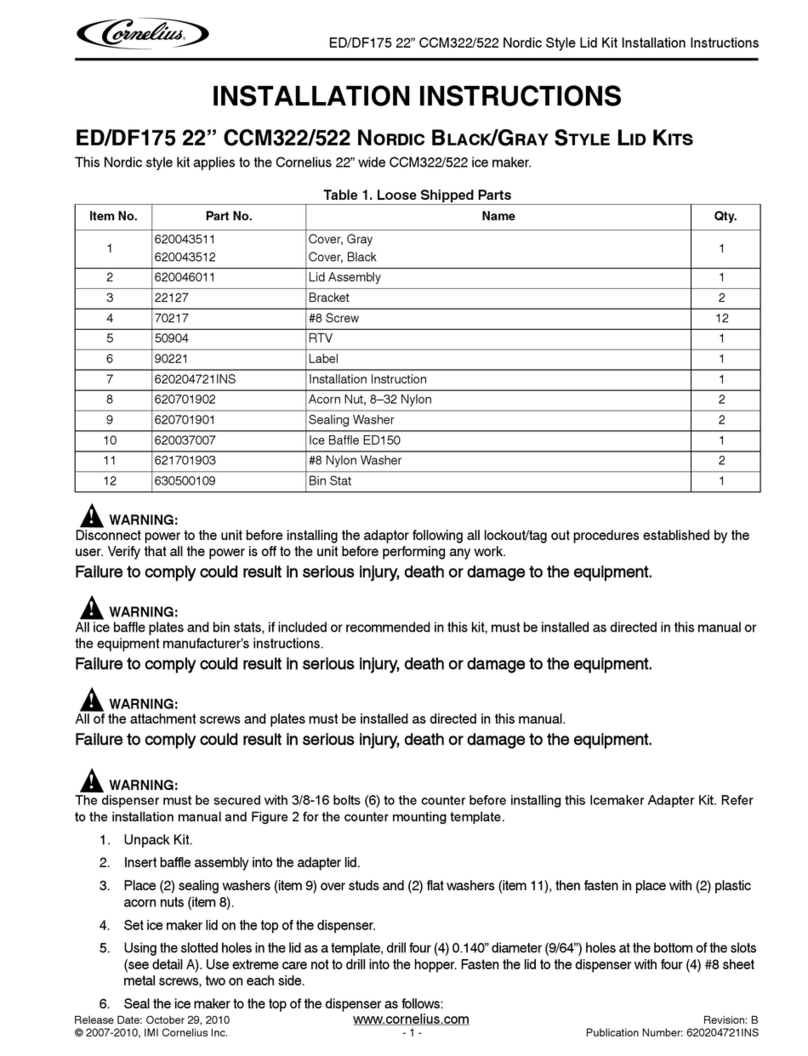
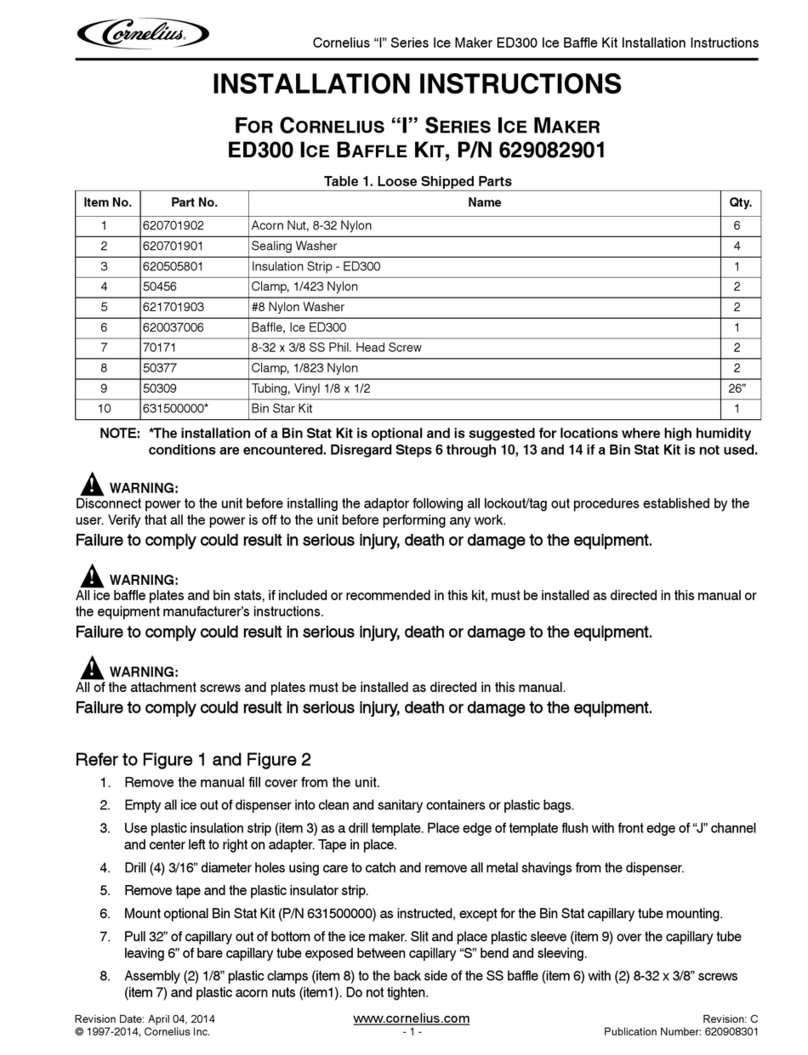
1. Unpack and inspect the kit. Refer to Figure 1. and Figure 2. for component details.
2. Insert the ice baffle (item 3) into the lid assembly (item1, Figure 1.)
IMPORTANT: The baffle prevents ice from overfilling the manual fill area during agitation/
dispensing with a full storage bin and forcing the manual fill cover off.
3. Place the sealing washers (item 9) over the studs and flat washers (item 10) then fasten in place with the
nylon acorn nuts (item 8).
4. Set the lid assembly onto the dispenser. Using the slotted holes on the side of the lid as a template, drill
four (4) 9/ 64” diameter holes at the bottom of the slots (Figure 2.)
Use extreme care not to drill into the hopper. Use a drill stop to ensure that the drill bit does not penetrate deeper than
1/4” past the sheet metal. Failure to do so could result in a hole in the hopper, greatly reducing the efficiency of both
the dispenser and ice maker.
5. Fasten the lid to the dispenser with four (4) #8 sheet metal screws (item 6), two on each side.
6. Seal the ice maker to the top of the dispenser as follows:
A. Remove the ice maker front panel.
