CALLER ID FEATURES
CALLER ID DISPLAY ERRORS
If the caller ID displayed on your phone from an incoming displays MESSAGE ERROR, NO DATA SENT,
PRIVATE CALL or UNKNOWN CALL:
MESSAGE ERROR - If your phone receives a call that has an error in the transmission or
reception from the incoming call, you will receive the MESSAGE EROR for the caller ID displayed
on your phone.
NO DATA SENT –No caller ID number sent from the telephone company
PRIVATE CALLS –the caller has blocked their name and/or number from being sent, you will
see PRIVATE NUMBER (caller blocked their phone number), PRIVATE NAME (caller blacked
their name) or PRIVATE CALLER (caller blacked their name and phone number).
5-7-10-11
Allows you to change the format of the displayed number (outside Lehigh phone numbers).
7 - 7-digit phone number
10 - 3-digit area code + 7-digit telephone number
11 –Long distance code 1 + 3-digit area code + 7-digit phone number
When the desired format of the phone number is displayed, press DIAL to dial the displayed phone number.
We recommend that you use the 11 setting to return outside calls and the 5 setting for on-campus calls.
USING THE DIRECTORY
Names are stored alphabetically starting with the first character and can store 99 contacts.
STORING ENTRIES
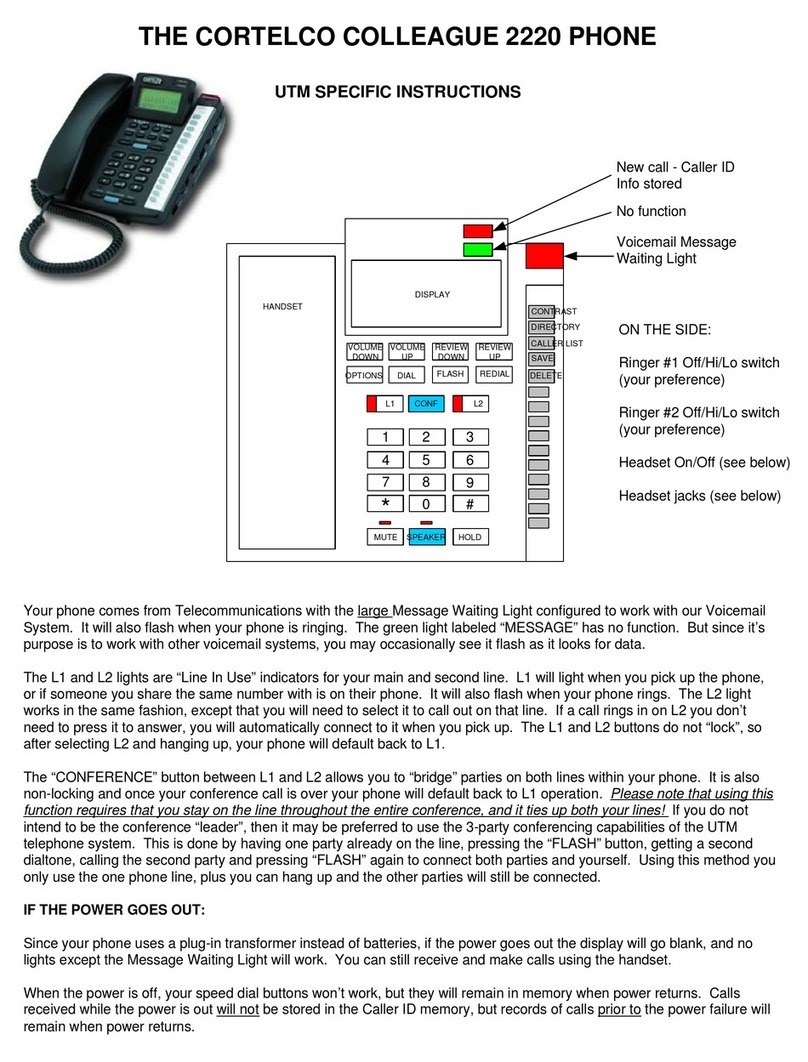
Press SAVE to store a number in the Directory.
After pressing SAVE, the display will show [Save To?]. Press DIRECTORY [Enter Number>] will
appear in the display.
Enter the phone number, using the keypad (no more than 24 digits). Press SAVE to confirm
[Enter Name] will appear in the display, type the name using the keypad, press SAVE again to
confirm all settings. [Number Stored] will briefly appear in the display.
FINDING STORED PHONE NUMBERS
Press DIRECTORY, the first entry in your Directory is displayed. Use the Down and Up Review arrows to
scroll through the directory. If you want to leave the Directory, press DIRECTORY.
To search for a directory entry, press DIRECTORY, type the desired name using the keypad.
To dial the number you want, press DIAL to start dialing.
DELETING ITEMS IN THE DIRECTORY
Deleting Individual Entries - Enter the directory and select the individual entry, press DELETE
once and then press 1 to confirm or 2 to cancel.
Deleting All Entries - Enter the directory, press and hold DELETE button, [DELETE ALL] will
appear in the display, select 1 for YES or 2 for NO. [NO RECORDS] will appear in the display to
confirm there are no more directory entries in memory.
