manuals.online logo
Brands
  1. Home
  2. •
  3. Brands
  4. •
  5. Costway
  6. •
  7. Bicycle
  8. •
  9. Costway TS10027 User manual

Costway TS10027 User manual

Please give us a chance to make it right and do better !
Contact our friendly customer service department for help first.
Replacements for missing or damaged parts will be shipped ASAP !
Contact Us !
Do NOT return this item.
Kid’s Bike
TS10027
USER’S MANUAL
THIS INSTRUCTION BOOKLET CONTAINS IMPORTANT SAFETY INFORMATION. PLEASE READ AND KEEP FOR FUTURE REFERENCE.
US:cs.us@costway.com
UK:cs.uk@costway.com
AU:[email protected]
US office: Fontana UK office: Ipswich AU office: Truganina
02 03
Before You Start
General Warnings:
The product must be installed and used under the supervision of an adult.
Read through each step carefully and follow the proper order.
Remove all packaging, separate and count all parts and hardware.
Please ensure that all parts are correctly installed, incorrect installation can lead to
a danger.
We recommend that, where possible, all items are assembled near the area in
which they will be placed in use, to avoid moving the product unnecessarily once
assembled.
Ensure a secure surface during installation, and place the product always on a flat,
steady and stable surface.
Please use this product with caution. The use of this product requires superb skills
to avoid accidents to the user or others due to a fall or collision.
Please wear suitable protective equipment during use, e.g. protective helmet,
gloves, knee pads, elbow pads etc.
Warnings:
Attention! Use it with protective equipment.
Attention! Not use it in the traffic.
Attention! The product is not suitable for the children under 3 years.
Please read all instructions carefully and keep it for future reference.
GETTING STARTED
Open the carton from the top and remove the bicycle.
Remove the straps and protective packaging from the bicycle.Important! Do
not discard packing materials until assembly is complete to ensure that no
required parts are accidentally discarded. NOTE: The bike comes with some
plastic pieces to protect the bike.
Inspect the bicycle and all accessories and parts for possible shortages. It is
recommended that the threads and all moving parts in the parts package be
lubricated prior to installation. Note:We recommend using a lithium based
grease on the parts before assembly.
Protective cap
Handlebar
assembly
Seat post
Wrench
Pedals Seat
Training
wheels (a pair)
04 05
GUIDE FOR ASSEMBLING THE BIKE
Preparation
Fixing the training wheels
IMPORTANT
Tools needed:Please open the carton from
the top. Take out the bike and all parts. Find
the small tool case and open it. Take out the
tools from the tools case.You will also need a
knife or scissors to cut the fixing tapes on the
bike and parts. Take care not to scratch or
mark the bike.
positioning
washer
“R”: for right
“L”: for left
Minimum
insertion mark
1. For safety the nuts should be screwed tightly.
2.The ear of the positioning washer should be fixed in the
clearance of the rear fork.
Fixing the Pedals
Adjusting the Saddle/Seat
If the height of the saddle/seat is not suitable for your child,
please release the quick release lever of the saddle post and
adjust the height and direction of the saddle. Please note the
“minimum insertion mark” on the tube. Tighten the quick
release lever to fix the saddle post to the right position.
Check the end of the Pedals and find out which one is for the
left and which one is for the right. Screw the Pedal to the right
crank and tighten it. Then the left Pedal.
Minimum
insertion mark
Remove the protective caps on the axle of the rear wheel.
Unscrew the nuts, and put the training wheel on. Then screw on
nuts again.
Note: Before the nuts are fully tightened, you can adjust the
training wheel up or down to make the bottom of the training
wheel have a clearance less than 0.2"(5mm) up from ground.
Front Reflector:
Should aim forward (as
picture shows) and be
mounted within 5
degrees of vertical.
Rear Reflector:
Should aim straight back
(as picture shows)
and be mounted within
5 degrees of vertical.
Fixing the handlebar
Reflectors
06 07
Hit the road for a test ride. Make sure everything's staying put and
won't surprise you with a shift when it's loaded up, and you're
ready for your first haul!
Attaching the front basket
Take out the plastic straps on the bottom of the basket.
Tighten the straps until everything's snug.
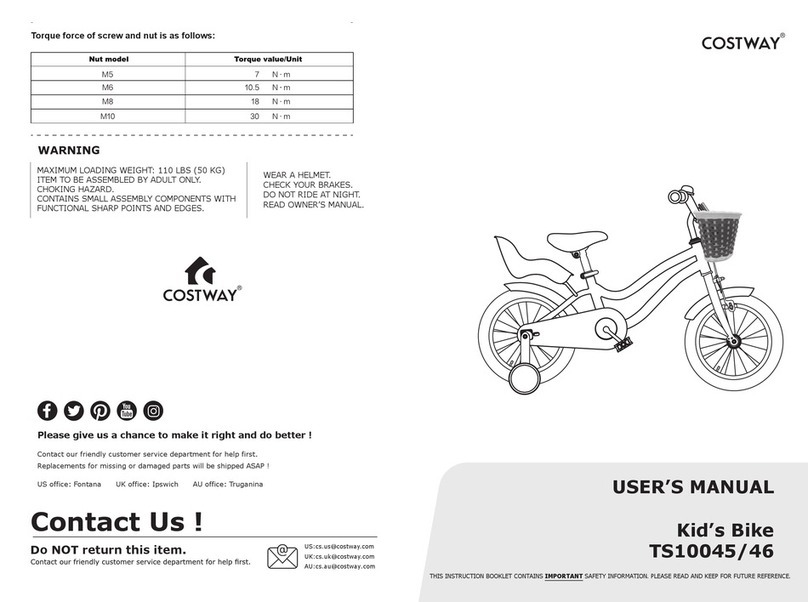
Torque force of screw and nut is as follows:
WARNING
MAXIMUM LOADING WEIGHT: 110 LBS (50 KG)
ITEM TO BE ASSEMBLED BY ADULT ONLY.
CHOKING HAZARD.
CONTAINS SMALL ASSEMBLY COMPONENTS WITH
FUNCTIONAL SHARP POINTS AND EDGES.
WEAR A HELMET.
CHECK YOUR BRAKES.
DO NOT RIDE AT NIGHT.
READ OWNER’S MANUAL.
Make the straps cross through the back of the basket. Set the
proper distance between two straps according to the
handlebar shape.
Slip the straps over and around your bars, centering the basket
over the front wheel as much as possible for balance.
Minimum insertion
mark
Minimum
insertion mark
Rear reflector
(red)Plus or
minus 5 degrees
of vertical
Front reflector
(white)
protector to be
removed
stem
Headset
Stem post
Steerer tube
Front wheel
(white)
Rear wheel
(white)
Pedal(orange)
Remove the protective cover from the end of the stem. Place the
end of the stem in the mounting. Adjust the handlebar to the right
height and direction, perpendicular to the front wheel. (Please note
the “minimum insertion mark” on the tube.) Tighten the bolt on the
top of the tube. When the handlebar is correctly fixed,the child
should be able to easily reach the tow grips of the handlebar with
his/her hands.

Other Costway Bicycle manuals

Costway TS10130 User manual

Costway

Costway TS10130 User manual

Costway TS10086 User manual

Costway

Costway TS10086 User manual

Costway TS10038 User manual

Costway

Costway TS10038 User manual

Costway TY327814 User manual

Costway

Costway TY327814 User manual

Costway TS10045 User manual

Costway

Costway TS10045 User manual

Costway TY326656 User manual

Costway

Costway TY326656 User manual

Costway 202352 User manual

Costway

Costway 202352 User manual

Costway TQ10062 User manual

Costway

Costway TQ10062 User manual

Costway BC10095 User manual

Costway

Costway BC10095 User manual

Costway TQ10102 User manual

Costway

Costway TQ10102 User manual

Costway TY327932 User manual

Costway

Costway TY327932 User manual

Costway TQ10049 User manual

Costway

Costway TQ10049 User manual

Costway TS10057 User manual

Costway

Costway TS10057 User manual

Costway TY328026 User manual

Costway

Costway TY328026 User manual

Popular Bicycle manuals by other brands

Giant YUKON FX datasheet

Giant

Giant YUKON FX datasheet

Performer JC26-X Assembly guide

Performer

Performer JC26-X Assembly guide

Derby cycle PEDELEC IMPULSE 2.0 ERGO user manual

Derby cycle

Derby cycle PEDELEC IMPULSE 2.0 ERGO user manual

Infinity Boss.three Assembly manual

Infinity

Infinity Boss.three Assembly manual

Espin Aero quick start guide

Espin

Espin Aero quick start guide

MoTrike M-009E owner's manual

MoTrike

MoTrike M-009E owner's manual

Razor DRIFT RIDER owner's manual

Razor

Razor DRIFT RIDER owner's manual

Blaupunkt FIETE 500 user guide

Blaupunkt

Blaupunkt FIETE 500 user guide

Puky Laufrad user manual

Puky

Puky Laufrad user manual

TRYBIKE STEEL User instructions

TRYBIKE

TRYBIKE STEEL User instructions

Little Tikes Ride & Relax 5-in-1 Trike manual

Little Tikes

Little Tikes Ride & Relax 5-in-1 Trike manual

Cannondale Adventure Neo Allroad 2023 quick start guide

Cannondale

Cannondale Adventure Neo Allroad 2023 quick start guide

Univega VIVA ACE owner's manual

Univega

Univega VIVA ACE owner's manual

Radio Flyer 411 manual

Radio Flyer

Radio Flyer 411 manual

TerraTrike Sportster Assembly guide

TerraTrike

TerraTrike Sportster Assembly guide

Banana Bike LT quick start guide

Banana Bike

Banana Bike LT quick start guide

Critical Cycles city owner's manual

Critical Cycles

Critical Cycles city owner's manual

Scott Foil Di2 Assembly manual

Scott

Scott Foil Di2 Assembly manual

manuals.online logo
manuals.online logoBrands
  • About & Mission
  • Contact us
  • Privacy Policy
  • Terms and Conditions

Copyright 2025 Manuals.Online. All Rights Reserved.