Costway MU70009DE User manual

EN DE FR ES IT PL
THIS INSTRUCTION BOOKLET CONTAINS IMPORTANT SAFETY INFORMATION. PLEASE READ AND KEEP FOR FUTURE REFERENCE.
Follow Costway
Please give us a chance to make it right and do better!
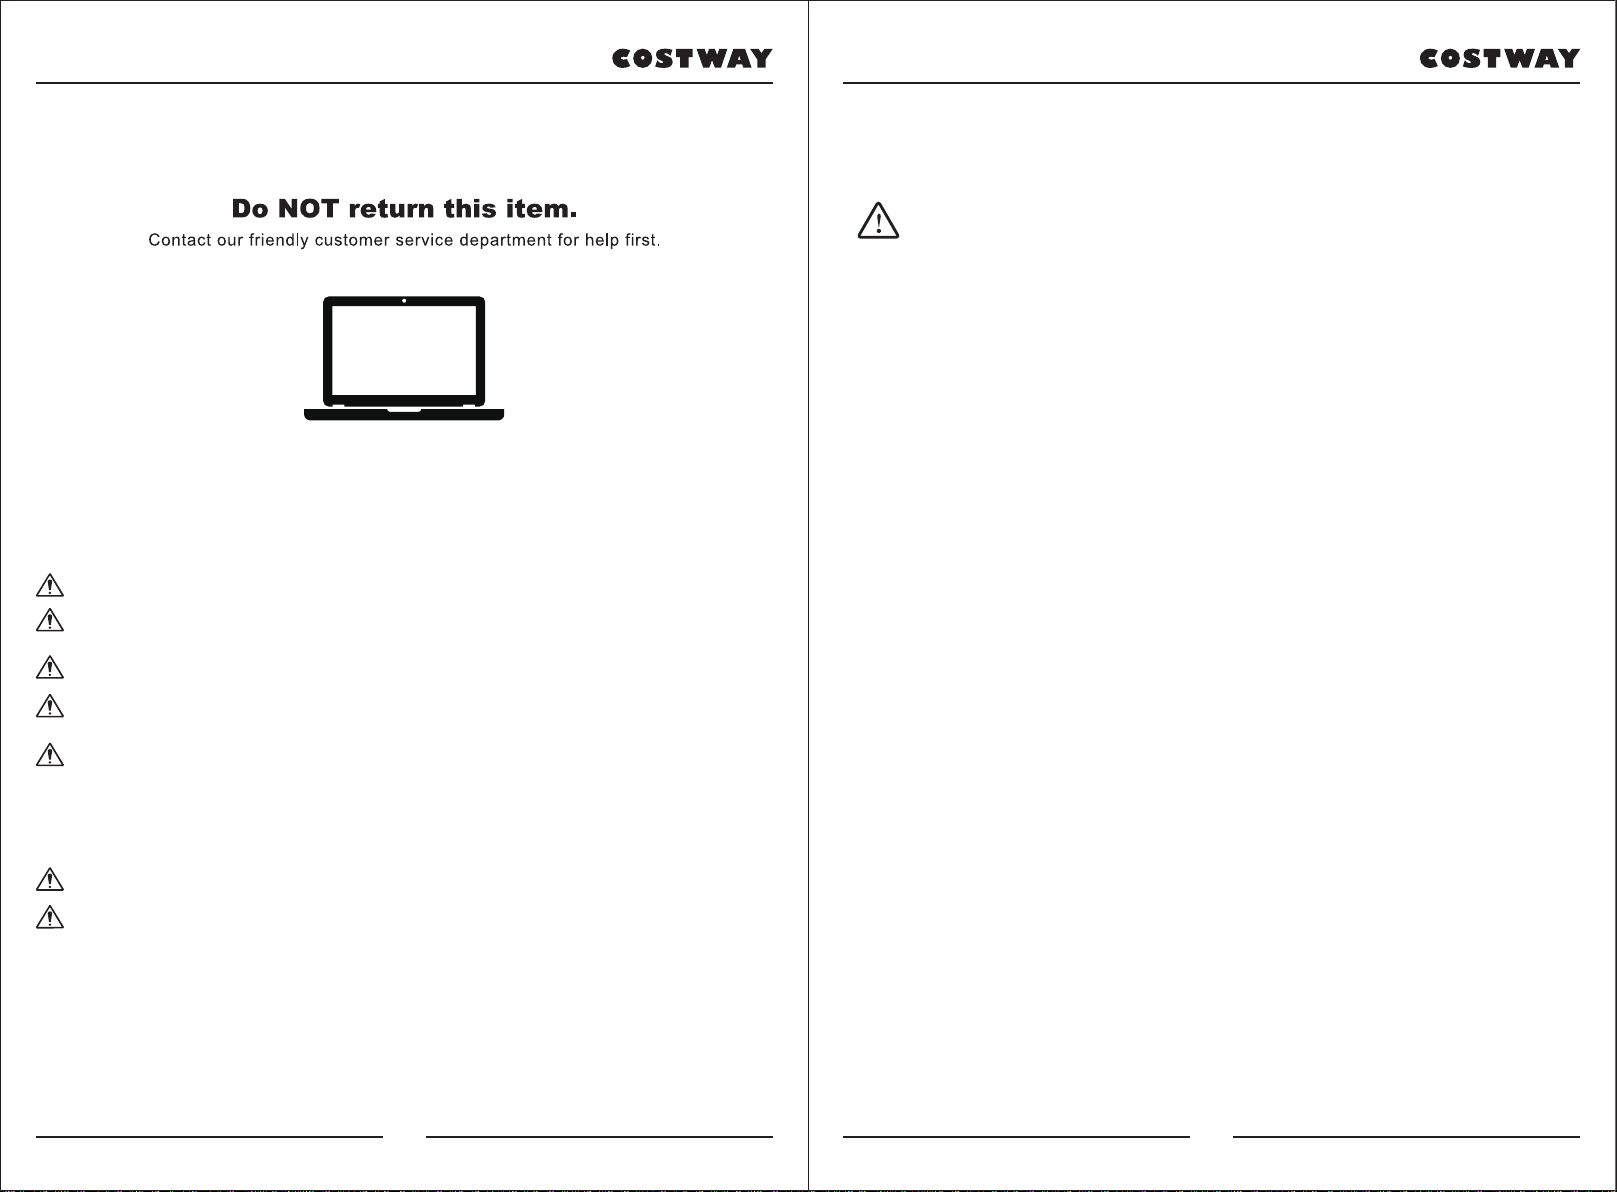
Contact our friendly customer service department for help first.
Replacements for missing or damaged parts will be shipped ASAP!
61-Key Lighting Electronic Keyboard Piano
MU70009DE
Contact Us!
E-mail
US: cs.us@costway.com
UK: cs.uk@costway.com
Before You Start
Please read all instructions carefully.
Retain instructions for future reference.
Separate and count all parts and hardware.
Read through each step carefully and follow the proper order.
We recommend that, where possible, all items are assembled near to the
area in which they will be placed in use, to avoid moving the product
unnecessarily once assembled.
Always place the product on a flat, steady and stable surface.
Keep all small parts and packaging materials for this product away from
babies and children as they potentially pose a serious choking hazard.
NOTICE
Please read over the NOTICE before use!
NOTICE
● Dedicated power adapter shall be used, and in case of adaptor damage,
replace it immediately
● The keyboard can only be disassembled by professionals, and no change
can be made to the internal structure. In case of any functional abnormality
during performance, stop performing immediately and send the keyboard to
professionals for maintenance.
● When connecting the keyboard to other device, ensure both the keyboard
and the device to be connected are powered off before connection.
● Do not turn and keep the volume to the maximum or to an uncomfortable
degree for a long time when pertorming
● Keep the keyboard away from heat source to protect its parts from damage.
● Prevent liquid, dust, small particle and other foreign matters from entering
the case of the keyboard, so as not to result in element short circuit.
● Pull out the plug before cleaning the keyboard, and do not pull out the plug
with wet hand.
● Please use dry and soft cloth to clean the keyboard. Paint, alcohol or other
chemical solvents shall not be used for cleaning, so as not to damage the
keyboard surface.
● Please pull out the plug after performing or when the keyboard is left
unused for a long time.
Package Contents
* 61-Key Lighting Electric Keyboard Piano with LCD Display X 1 pc
* Keyboard Stand X 1 pc
* Stool X 1 pc
* Power Adaptor X 1 pc
* Headphone X 1 pc
* Microphone X 1 pc
* Music Stand X 1 pc
* Installation Manual X 1 pc
02 03

39) UDISK
40) AUDIO INPUT
41) MIC
42) PHONES/OUTPUT
43) DC 12V
1) Loudspeaker
2) Power
3) Previous/Next
4) Play/Pause
5) Stop
6) MP3 Volume Control
7) Sequence/Random/
Single
8) Sound effect
9) Sync
10) Fill-in
11) Timbre
12) Rhythm
13) Key Lighting
14) Demo Song
15) LCD display
16) Keyboard
Percussion
17) Recording
18) Program
19) Play
20) Split
21) Sustain
22) Vibrato
23) One Key
24) Follow
25) Ensemble
26) Memory
27) Numbers
28) Single Chord
29) Fingered Chord
30) Chord Timbre
31) Chord OFF
32) Metronome
33) Start/Stop
34) Master Volume
35) Accom Volume
36) Tempo
37) Transpose
38) Chord Zone
MP3 Control
II. Preparations before Playing
● Power adaptor
Adedicated power adapter shall be used. Connect the output end of the
adaptor to the power port on the rear panel of the keyboard, and then the
other end to the power socket. (Note: the input voltage of the adaptor shall be
compatible with the power supply voltage)
● Audio output/ external headphone
◆ Audio output: Firstly, turn off the keyboard and the external audio
devices, secondly, connect one end of the audio cable to the
PHONES/OUTPUT port on the rear panel of the keyboard, and then connect
the other end to the audio input port of the audio devices.
◆ Headphone connection: When connecting a headphone to the
PHONES/OUTPUT port on the rear panel of the keyboard, the loudspeaker
will be disabled automatically. In this way, you can play the keyboard without
disturbing others.
※ Note! When using the headphone, do not turn up and keep the volume to
the maximum for a long time, which may cause hearing loss.
● Mic Input and Audio Input
◆ Mic input: Connect a microphone to the MIC port to start singing and
playing.
◆ The Keyboard has the stereo input function. Sound signals from mobile
phone, MP3 player, computer and other audio devices can be input into the
keyboard system for playing.
Firstly turn off the Keyboard, then, connect one end of audio cable to the
output port of an audio device, and the other end to the AUDIO INPUT port
on the rear panel of the Keyboard, finally, turn on the keyboard.
● Playing MP3 music
Insert a U disk into the UDISK port on the rear panel of the Keyboard for
MP3 music playing.
Support 32G (max.).
I. Panel Control and External Ports
● Top panel control
● Rear panel port
UDISK AUDIO
INPUT MIC 12V
PHONES/
OUTPUT
39 40 41 42 43
04 05

◆ Press the [ ] bottom to adjust the volume.
◆ Press [ ]to go to the previous track,. press [ ]to go to the next
track, press [ ] to play/pause a track, press [ ] to stop a playing track,
press [ ] to cycle through the repeat modes for continuous,
random, or single playback.
◆ Press [Effect] to adjust the effect among Common, Pop, Rock, Jazz and
Classic. The keyboard is defaulted to be in common effect.
III. Basic Playing Method
Press [Power On/Off], and the keyboard will light up from both sides, and the
LCD display will turn on and show the current timbre, tempo and other
status. Then you may operate the Keyboard as required.
● Key lighting
The Keyboard has luminous function, under the mode of playing, training and
playing demo song, the light hint will be provided. The luminous function is
defaulted to be enabled, press [KEY LIGHTING] to enable or disenable the
luminous function.
● Master volume adjustment
Press [MASTER VOL +/-] to turn up or turn down the master volume.
"VOLUME" and the current volume level will be shown on the display. Press
[MASTER VOL +/-] simultaneously to reset to the default value.
The master volume can also control the accompaniment volume.
● Accompaniment volume adjustment
Press [ACCOM VOL +/-] to turn up or turn down the master volume.
"RC-VOLUME" and the current volume level will show on the display. Press
[ACCOM VOL +/-] simultaneously to reset to the default value.
● Timbre selection
The Keyboard provides 255 timbres from "000" to "254" for your selection.
When turning on the keyboard, the timbre selection function will be enabled
automatically. "TONE" and current timbre number will show on the display.
When under other states, press [TIMBRE] to enable the timbre selection
function. The timbre is defaulted to be "000", and it can be adjusted
by pressing the corresponding number buttons or pressing the "+" / "-"button.
● Playing Percussion
This Keyboard provides 61 kinds of keyboard percussions. Press
[KEYBOARD PERCUSSION] to convert the key to percussion key. Each
key corresponds to one percussion instrument. Press this button again to
disenable the keyboard percussion function.
● Playing demonstration songs
50 demo songs have been stored in the Keyboard from "000" to "049" for
your selection.
Press [DEMO SONG] to play all demonstration songs in order, the luminous
key will flash to the melody. "SONG" and curent demo song number will
show on the display.
Press the number buttons or "+"/"-" buttons to select the demonstration song.
When pressing [TIMBRE] during the demonstration song playing process,
"TONE" will show on the display, press the number buttons or the "+"/"-"
button within 3 seconds to select other timbres for playing the demonstration
song.
Press (START/STOP] or press [DEMO SONG] again to stop playing the
demonstration song.
06 07

V. Auto Bass Chord
● Single chord
Under the state that the rhythm is enabled, press [SINGLE CHORD], and
"SIN" will show on the display, and then you can play a single chord on the
keys in the chord zone of the keyboard.
● Fingered chord
Under the state that the rhythm is enabled, press the [FINGERED CHORD]
button. "FIN" will show on the display, and then you can play a fingered
chord on the keys in the chord zone of the keyboard.
● Chord OFF
Press [CHORD OFF] to disenable the single chord or the fingered chord
function.
Single Chord Fingering
IV. Auto Rhythm
● Rhythm selection
This Keyboard provides 255 rhythms from "000" to "254" for your selection,
and the rhythm is defaulted to be "000". Press [RHYTHM] to enable the
rhythm selection function. "RHYM" and current rhythm number will show on
the display. Then you can press the number buttons or the"/"-" buttons to
select other rhythms.
● Rhythm control
1. Enable rhythm
◆ Press [START/STOP] to start accompaniment rhythm
◆ Press [SYNC], "SYN" will show on the display and the four beat points
will flash simultaneously, then play any key in the chord key zone (the
1st-19th key, from left), the accompaniment rhythm will be enabled.
2. Interlude
After the accompaniment rhythm is activated, press [FILL-IN] to have a
temporary rhythm playing during the accompaniment rhythm. If press and
hold [FILL-IN], the temporary rhythm will continue.
3. Stop rhythm
During the accompaniment rhythm, press [START/STOP] to stop the
accompaniment rhythm.
● Metronome
The metronome contains four tempos, 1/4, 2/4, 3/4 and 4/4, respectively.
Press the [METRONOME] continuously to select the corresponding tempo.
Press the [METRONOME] button again to stop the tempo.
● Tempo adjustment
Press [TEMPO +/ - to increase or decrease the rhythm speed. Press the two
buttons simultaneously to reset to the default value.
08 09

Fingered Chord Fingering (C Key)
(The C key fingered chord fingering is as shown in the following figure, and
the rest can be oblained by analogy)
● Chord Timbre
During single chord or fingered chord accompaniment, you can press
[CHORD TIMBRE| to change the chord tone, and press [CHORD TIMBRE]
again to resume the original chord tone.
VI. Status memory function
With the status memory function, you can save the tone, rhythm, tempo and
other parameters to be changed during playing, for fast shifting. This
keyboard is equipped with 3 status memories, which can be flexibly called at
any time during playing
● Storage of status memory
Set the tone, rhythm, tempo and chord as required, and then press the
[MEMORYJ] button and one of buttons from [MEMORY 1] to [MEMORY
3] to save the current status.
● Calling of status memory
Press any one of buttons from [MEMORY 1]to [MEMORY 3] to call the
setting parameters saved under this memory to replace the current status.
※ No power failure prote ction is provided for the saved conte nts, and the
saved contents will loss after the electronic keyboard is restarted after power
cut.
VII. Effect Control
● Transpos ing function
With the transposing function, you can play musicof other tunes with C-tune
fingering method. Press the [TRANSPOSE - ] to decrease the tone by
half-tone (minor second), and the tune in C-tune keybaard zone will change
to B-tune. Press the [TRANSPOSE + ]to increase the tone by half-tone
(minor second), and the tune in C-tune keyboard zone will change to #C tune
or bD tune. When pressing the [TRANSPoSE - ] for twice, C-tune will shift
to bB-tune,
when pressing the [TRANSPOSE + ] for five times, C-tune will shift to
F-tune. Press [TRANSPoSE + ] and [TRANSPOSE - ] simultaneously to
recover to C-tune "00". Press [TRANSPOSE + ] and [TRANSPOSE - ] to
adjust the level from "P-6" to'P06".
● Sustain function
Press [SUSTAIN]. "SUS" will show an the display, and the sustain effect will
be activated.
Press this button again to disenable the sustain effect.
● Vibrato function
Press [VIBRATO]. "VIB" will show on the display, and the vibrato effect will
be activated.
Press this buttan again to disenable the vibrato effet.
● Keyboard splitting function
Press [SPLIT] to enable the keyboard splitting function, "SPLIT" will show
on the display. 24 keys on the left of the keyboard will split with the
remaining keyboard. While the left keyboard zone will increase by one octave
and maintain the original tone, the right keyboard zone will decrease by one
octave to maintain the same pitch with the left keyboard zone. The tone of
the right keyboard zone can be set as needed so different tones can be played
by the left and right keyboard zones at the same time. Press [SPLIT] again to
disenable this function.
10 11

VIII. Recording and Rhythm Programming
● Recording
Press [REC] to enable the recording function, "REC" will show on the
display. Under this mode all playing notes will be recorded. When the storage
is full, "REC" will flash on the display, and recording will stop automatically.
◆ Press [PLAY] to playback the recorded notes, and "PLAY" will show on
the display. On completion of playback, it will enter to the recording mode
and "REC will show on the display.
You can record a new note, or you can press [PLAY] to playback the recorded
note.
◆ Press [Start/Stop] or press [REC] again to disenable the recording
function, and all recorded rhythm will be removed.
● Rhythm programming
Press (PROG] to enable the rhythm programming function, "PRG" will show
on the display, and the keyboard percussion will be activated. Under this
mode, you can create custom rhythms by playing the corresponding
percussion key.
◆ 32 percussions can be recorded at maximum, after that PRG" will flash on
the display, and programming will slop automatically.
◆ Press [PLAY] to playback the programming rhythm. Press [PLAY] again
to stop playback, "PRG" will show on the display and programming function
will be enabled. You can re-program rhythms or you can press [PLAY] again
to playback.
◆ Press [START/STOP] or press [PROG] again to disenable the
programming function, and all recorded rhythm will be removed.
IX. Three-step Smart Teaching With Illuminated Keys
● Trainingl: One Key
Press [ONE KEY] to enable the One Key training function, "LEARN",
"SONG" and the song number will show on the display, and then press
"+"/"-" button to select the song to be learned.
The luminous keyboard will light on according to the main melody notes,
indicating the note to be played, and you can perform by following the
guidance of the lighted key.
Single Key training aims at duration learning, and there is no requirement for
pitch or correctness. This mode allows mistakes when playing the keys, but
the keyboards still plays correct notes, and the luminous keys will light on
according to the correct notes while the key zone in the display will also
show the correct notes.
After one song is finished, repeat the current song to be learned.
Press [Start/Stop] or press [ONE KEY] to disenable the training function.
● Training lI: Follow
Press [FOLLOW] to enable the follow function, "LEARN", "SONG" and the
song number wil show on the display, and then press "+"/"-" button to select
the song to be learned.
With [FOLLOW] function, you can learn by following the correctly playing
notes. You can play according to the demonstration song. the key will light on
according to the melody notes, indicating the notes to be played, and you can
play correctly by following the guidance. You can also learn how to play by
following the indicators in the key zone of the display. It will wait for you to
play the correct note before it moves to the next one.
※ Notes: Under this state, the Keyboard plays only the correct notes, and
gives no response to the wrong notes.
Press STARTISTOP] or press [FOLLOW] to disenable the training function.
● Training III: Ensemble
Press [ENSEMBLE] to enable the Ensemble training function, "LEARN",
"SONG" and the song number will show on the display, and then press
"+"/"-" button to select the song to be learned.
12 13

Attach the part (B) to (D) and(C) using
the appropriate screw(F).Repeat this
process for the other side.
Fasten screws (F) for adjusting the
suitable height of the keyboard
stand.
Attach two parts (B) to the part (A)
using four screws (F) to create the
upper part assembly. Fasten screws(G)
for fixing the keyboard on stand.
The Ensemble training aims at the correct and comprehensive learning of the
song duration and notes. The keynote will be shielded for ensemble. The
luminous keyboard will light on according to the main melody notes,
indicating the note to be played, and you can perform by following the
guidance of the lighted key. You need to play the correct note according to the
correct duration of the song. If you fail to play within 3 seconds, the keyboard
will automatically play the keynote, and the keyboard zone in the screen will
display the correct note and tempo.
After one song is finished, repeat the current song to be learned.
Press [START/STOP] or press [ENSEMBLE] to disenable the training
function.
Assembly Instruction of Keyboard Stand
ATTENTION:ADULTASSEMBLY REQUIRED
HTYPE STAND
Find out the parts (D) and (E), align the
holes on the base of the part (D) with the
holes on the part (E). Use nut (I) and bolt
(H) to connect the two parts. Use correct
tools to ensure a firm attachment. Repeat
this process for the other side.
14 15

Bitte geben Sie uns eine Chance,
es zu korrigieren und besser zu machen!
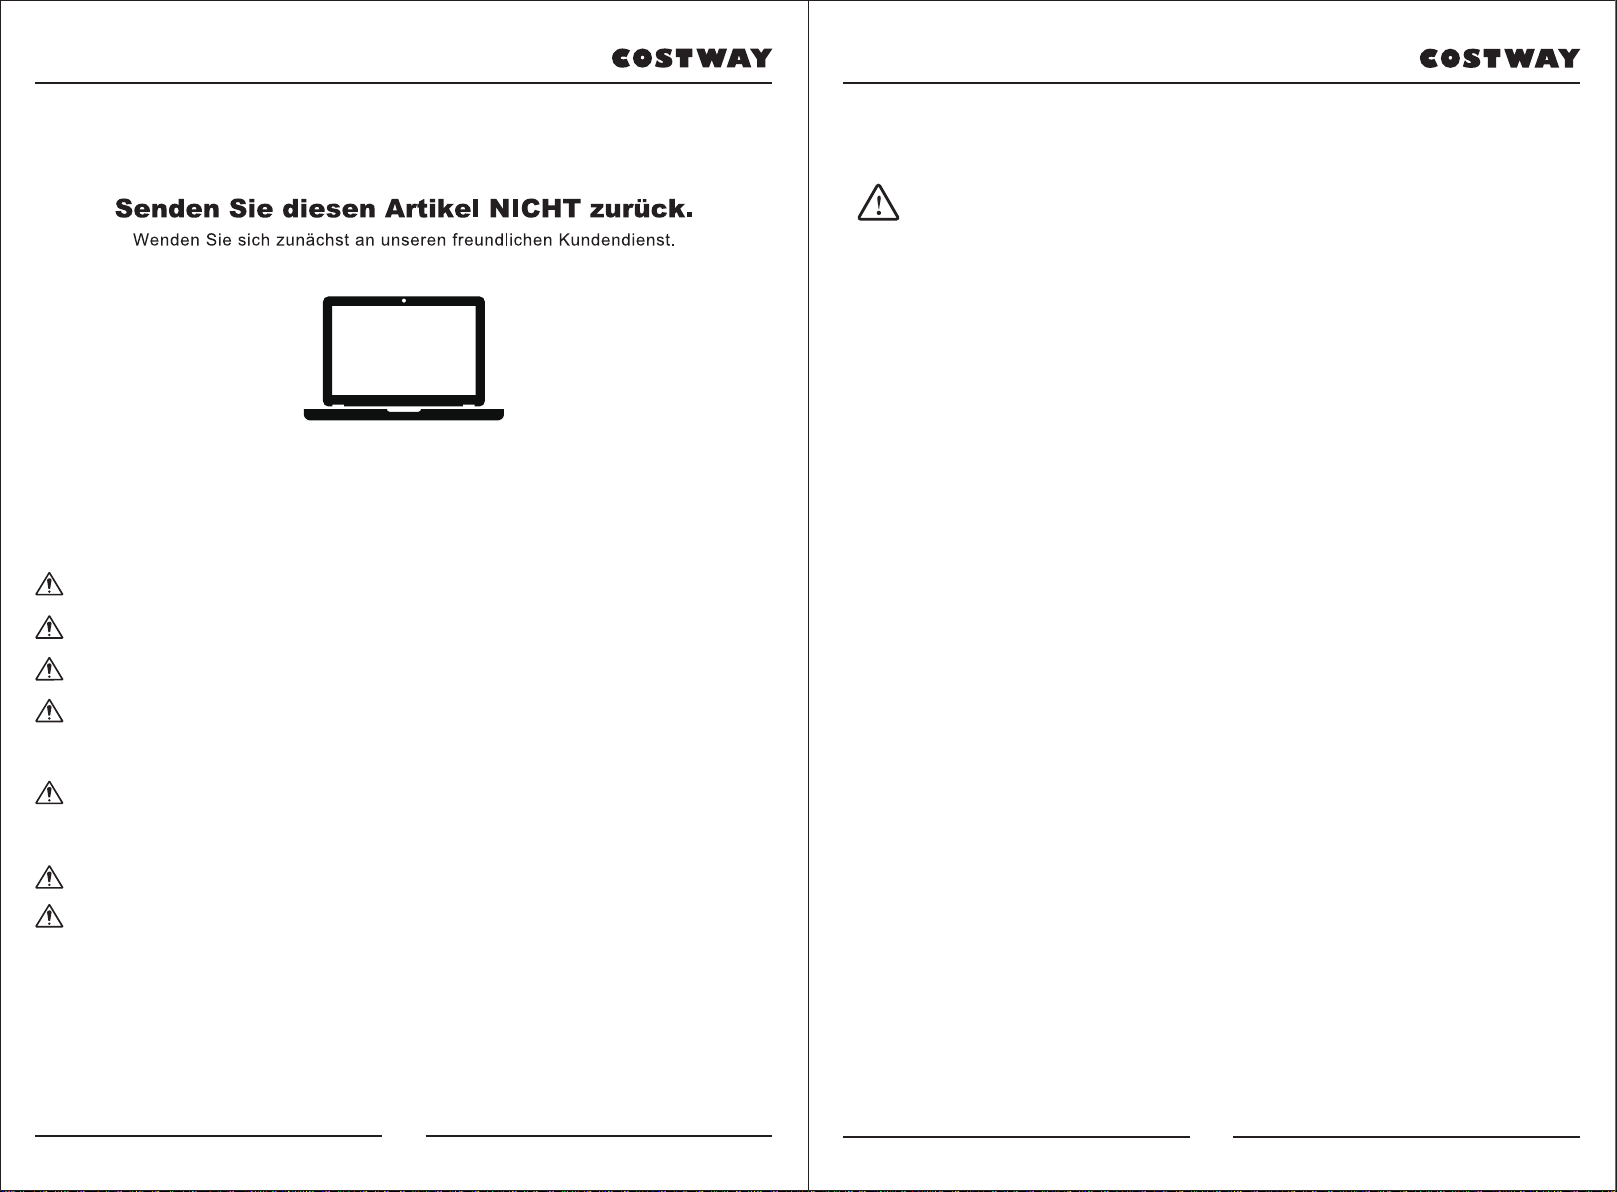
Wenden Sie sich zunächst an unseren freundlichen Kundendienst.
Ersatz für fehlende oder beschädigte Teile wird so schnell wie möglich versendet!
DAS HANDBUCH ENTHÄLT WICHTIGE SICHERHEITSHINWEISE. BITTE LESEN UND BEWAHREN SIE FÜR DIE ZUKÜNFTIGE VERWENDUNG AUF.
Folgen Costway
HANDBUCH
EN DE FR ES IT PL
Elektronische Klaviertastatur
MU70009DE
16 17
Kontakeren Sie uns!
E-mail
DE:cs.de@costway.com
Vor dem Beginnen
Bitte lesen Sie alle Anweisungen sorgfältig durch.
Bewahren Sie die Anweisungen zum zukünftigen Verwendung auf.
Separieren und zählen Sie alle Teile und Hardware.
Lesen Sie jeden Schritt sorgfältig durch und befolgen Sie die richtige
Reihenfolge.
Wir empfehlen, wenn möglich, alle Artikel in der Nähe des Einsatzortes zu
montieren, um ein unnötiges Bewegung des Artikels zu vermeiden.
Stellen Sie den Artikel immer auf eine glatte, flache und stabile Oberfläche.
Halten Sie alle kleinen Teile und Verpackungsmaterialien dieses Artikels von
Babys und Kindern fern, da sie zur ernsthaften Erstickungsgefahr führen
können.
HINWEIS
Bitte lesen Sie vor dem Gebrauch den HINWEIS durch!
HINWEIS
● Es muss ein spezielles Netzteil verwendet werden. Falls das Adapter
beschädigt ist, muss es sofort ersetzt werden.
● Die Tastatur kann nur von Fachleuten zerlegt werden, und an der internen
Struktur können keine Änderungen vorgenommen werden. Bei
Funktionsstörungen während der Leistung die Leistung sofort einstellen und
die Tastatur zur Wartung an Fachleute senden.
● Stellen Sie beim Anschließen der Tastatur an ein anderes Gerät sicher, dass
sowohl die Tastatur als auch das anzuschließende Gerät vor dem Anschließen
ausgeschaltet sind.
● Drehen Sie die Lautstärke nicht und halten Sie sie während der Aufführung
nicht lange auf das Maximum oder ein unangenehmes Maß.
● Halten Sie die Tastatur von der Wärmequelle fern, um ihre Teile vor
Beschädigungen zu schützen.
● Verhindern Sie, dass Flüssigkeit, Staub, kleine Partikel und andere
Fremdkörper in das Gehäuse der Tastatur gelangen, um einen Kurzschluss der
Elemente zu vermeiden.
● Ziehen Sie den Stecker heraus, bevor Sie die Tastatur reinigen, und ziehen
Sie den Stecker nicht mit nasser Hand heraus.
● Bitte reinigen Sie die Tastatur mit einem trockenen und weichen Tuch. Zur
Reinigung dürfen keine Farben, Alkohol oder andere chemische
Lösungsmittel verwendet werden, um die Tastaturoberfläche nicht zu
beschädigen.
● Bitte ziehen Sie den Stecker nach dem Durchführen oder wenn die Tastatur
längere Zeit nicht benutzt wird.
Packungsinhalt
* 61-Tasten-Beleuchtung Elektrisches Tastaturklavier mit LCD-Display x 1
* Tastaturständer x 1
* Hocker x 1
*Netzteil x 1
* Kopfhörer x 1
* Mikrofon x 1
* Notenständer x 1
* Handbuch x 1
18 19
Table of contents
Languages:
Other Costway Musical Instrument manuals

Costway
Costway MU70002DE User manual

Costway
Costway MU10054 User manual

Costway
Costway MU70017 User manual

Costway
Costway MU70008DE User manual

Costway
Costway MU70009 User manual

Costway
Costway TM10027 User manual

Costway
Costway SONART MU10053 User manual

Costway
Costway TM10021 User manual

Costway
Costway Sonart MU10082US User manual

Costway
Costway Sonart MU10079US User manual


