CAUTION
Check there are no hidden cables or pipes
before drilling holes for wall plugs.
Exercise great care when using power
tools near water. The use of a residual
current device (RCD) is recommended.
9
SECTION
RISER RAIL
FITTING INSTRUCTIONS
TIPS
A piece of insulating or masking tape
applied to the wall before marking out the
fixing holes will help stop the drill from
wandering, particularly on tiled surfaces.
When working near a basin or bath, insert
the plug in the waste fitting so that small
parts cannot be lost. Take care not to drop
accessories or tools into basin or bath.
4. The crimped end of the riser
rail. NOTE If it is necessary to
shorten the rail, use a junior
hacksaw to cut the excess material
from the plain end of the rail.
3. Locate the crimped end of
the riser rail (Figure 4) into the
mounting bracket, then fit the
upper bracket. Ensure the rail is
vertical, then mark the wall for
the fixing.
8. Re-assemble the rail and
screw the upper mounting
bracket in place.
5. The three components that
comprise the Handset Height
Adjuster assembly are produced
with alphabetical ‘A’s and ‘B’s
moulded into the end section of
each part. Simply just match the
letter identification of each part with the central
piece i.e. ‘A’ to ‘A’ and ‘B’ to ‘B’ for correct
assembly.
6. With the showerhead height
adjuster lever set a 3 o’clock
and the showerhead holder in
the upright position, slide the
assembly onto the rail. Tighten
to the rail by turning the lever.
7. To lock the Handset Height
Adjuster at your chosen position
on the rail. Turn the lever up
right. This action is also used for
holding the showerhead at the
angle required.
9. Slide the end cap onto the
mounting brackets.
Maintenance:
Clean regularly with a non-abrasive liquid
bathroom cleaner.
10
SECTION
CLEANING THE FILTERS
WARNING!
Instructions for INSTALLERS and
SERVICE ENGINEERS ONLY!
Note: Turn off the electricity and both
HOT and COLD water supplies to the
unit before proceeding further.
Remove the single retaining screw
from either the upper or lower filter
cover, depending upon whether
top/rear entry or bottom entry is used.
Pull off the filter cover. Carefully hook
out the filters together with ‘O’ rings.
Thoroughly clean and replace making
sure the ‘O’ rings are in position.
Refit the filter cover and secure with
the retaining screw.
Refit cover - connecting plug and socket
from printed circuit board and cover
assembly.
Secure with the retaining screws.
Before removing the cover please ensure
that the temperature control knob (bottom
knob) is turned fully clockwise to the STOP
position.
Remove the two screws - top and bottom -
that secure the cover to the back plate.
Be careful not to damage the lead that
connects the unit to the cover assy.
10. Firmly attach flexible hose to
the showerhead making sure
sealing washer is in place.
NOTE the adjustable slider grips the
conical end of the hose, not the
handle of the showerhead.
Switch on the electricity supply to the unit
and then turn on both water supplies.
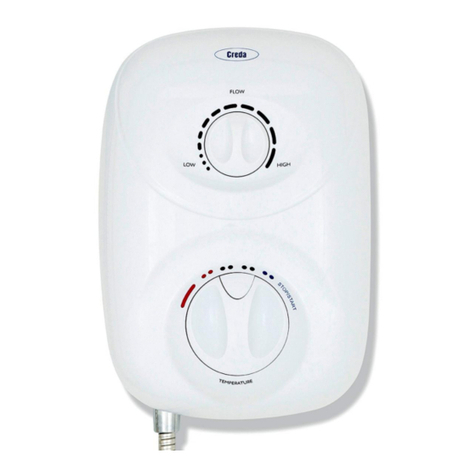
9. Turn temperature control dial until the
override button is facing vertical.
10. Switch unit off by depressing the
STOP button.
11. Fit showerhead (supplied).
12. Unit is now ready for use.
IMPORTANT:
This procedure is used to ensure that
there are no air locks in your system.
Failure to follow this procedure may
result in damage to your unit. This
damage will not be covered by your
manufactures warranty.
1. Establish position for the
riser rail, and mark the wall for
the lower mounting bracket.
Make allowances for the tallest
person likely to use the shower
regularly.
2. Use a No 10/5.5mm masonry
drill to make a hole 35mm deep,
and fit the wall plug. (NB some
wall constructions may require the
use of alternative types of wall
fixings).Screw the lower bracket
base to the wall.
11
SECTION
SHOWERHEAD CLEANING
INSTRUCTIONS
The shower head should be cleaned
periodically to remove limescale or debris
which will reduce the performance of the
shower. The frequency of cleaning will vary
according to local water quality. In hard
water areas cleaning will be needed more
often than in soft water areas. A liquid
non-abrasive bathroom cleaner may be
used on external surfaces of the handset.
Daily Cleaning
To break away scale on a
daily bases, rub your thumb
over the surface whilst the
shower is running.
Periodical Maintenance
If scale deposits are stubborn,
soak the shower head in
proprietary limescale remover
and rinse thoroughly before
use.
