HOW TO MAINTAIN YOUR AQUAWAVE SHOWER
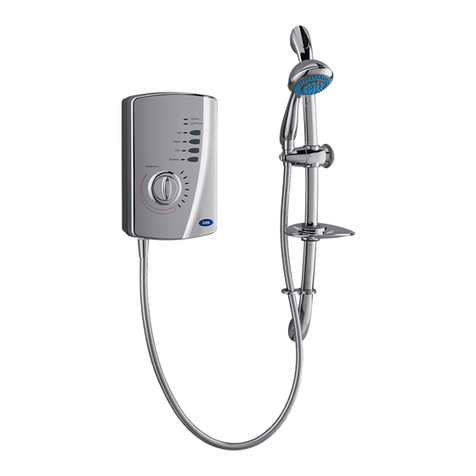
ASSEMBLYOF ACCESSORIES
Diagram 5a
Contemporary Colour Model
Fitting Instructions
(Refer to the separate fitting instruction sheet
packed with the accessories for more details)
1. Establish height of riser rail to suit user
requirements.
This should be a maximum of 0.6 metres
(2ft) above the level of the heater,
see (a) below and Diagram1 on page 3.
2. Remove covers from the wall brackets(b).
3. Position the lower bracket and mark the
wall for the screw fixing (c). Then drill and
plug the wall and fix the lower bracket
without the rail location notch.
4. Fit therail into the lower bracket. Place the
remaining bracket with the rail location
notch on top of the riser rail, making sure
that the rail slot is located into the notch.
Ensure the hole position is vertically
aligned and mark the wall (d).
Remove the rail and bracket, then drill
and plug the wall.
5. Assemble the height adjuster (e).
6. Compress the height adjuster assembly
and slide onto the rail. Fit the hose
retaining ring and then the soap dish on
thebottom ofthe rail (f). Lockthe soap
dish into position bytightening the lock nut.
7. Replace the rail assembly into the lower
bracket. Refit the top bracket,ensuring the
slot in the rail is located into the bracket
notchand fix to the wall.
Slide coversonto both brackets.
NOTE:Theadjustable slidergrips the conical nut on the
shower hose (g).
Diagram 5b
Contemporary
White Model
Fitting Instructions
It isrecommended that the showerunit andhose etc. be cleaned usinga soft clothand that the use of
abrasive or solvent basedcleaning fluid be avoided, especially onany plated finishes.
We recommend that before any cleaning, the isolating switch be turnedoff, thus avoiding accidentally
switching on the shower.
WARNING: YOU MUST REGULARLY INSPECTTHE SHOWER HOSE FOR WEAR
AND DAMAGE. REPLACE IF NECESSARY, OR EVERY TWOYEARS,
WITH AN APPROVED PART.
WARNING: IN ORDERTO MAINTAIN THE PERFORMANCE OF YOUR SHOWER,
YOU MUST REGULARLY CLEAN THE SHOWERHANDSET.
All water contains particles oflime-scale, which buildup intheshower handset and
unit reducing the performance.
It istherefore importantto clean the shower handset by simply rubbingthe rubber
nozzles,orsoaking inproprietary lime-scale removerand rinsing thoroughly before use.
NOTE: After useit is normalforsome water to drip fromtheshower handset fora
few moments. This inhibits scale build-up over prolonged use.
IF WATER IS TOO COLD
Turn knob “C” anti-clockwise to 11 o’clock
and continue turning anti-clockwise until you get
the water temperature ofyour liking.
Wait 20 seconds after each adjustment for the
water temperature to stabilise.
The final adjustment may be anywhere onthe
dial.
If after turning fully anti-clockwise water is still
too cold, set shower patternon shower handset to
outer or inner pattern only.
IF WATERIS TOO HOT
Turn knob “C” clockwise to 1 o’clock and
continue turning clockwise until youget the water
temperature of your liking.
Wait20 seconds after each adjustment for the
water temperature to stabilise.
The final adjustment may be anywhere on the
dial.
If after turning fully clockwise, water is still too
hot, adjust knob “A” to “Medium / ” setting and
re-adjust as above.
Water flow will be reduced onthis setting.
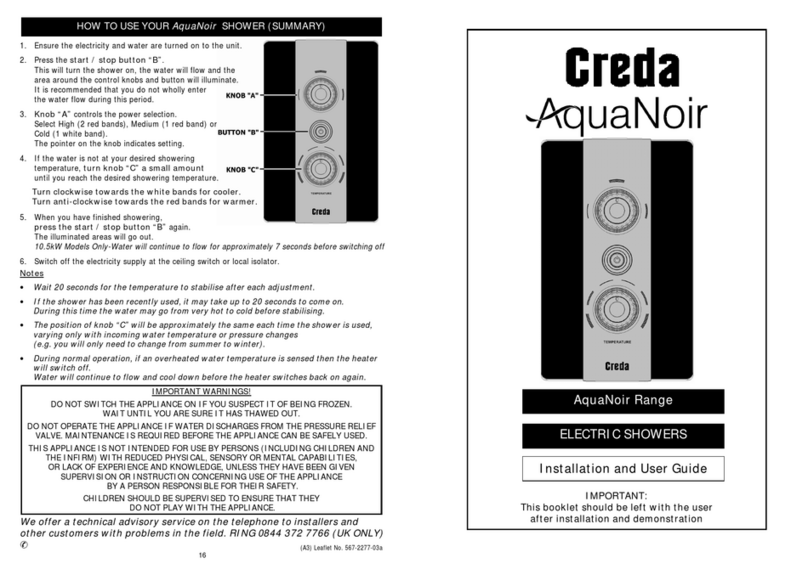
1. Ensure the electricity and water are turned on tothe unit.
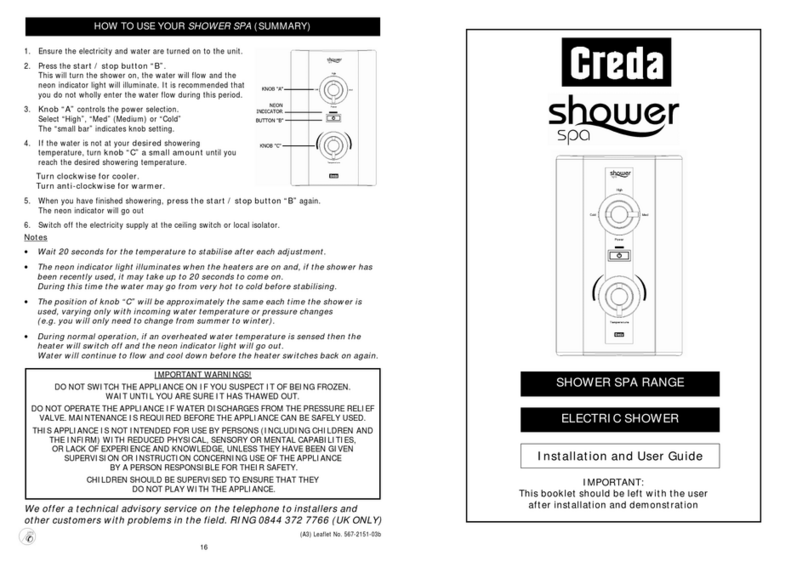
2. Your shower has 2 controlknobs(see Diagram 6a).
Knob “A” controls the 3 power settings.
The most popular is “High” which is marked “ ”.
There are also options for a “Medium” marked “ ”
or “Cold” marked “ ” shower (see notes 7 and 8).
Knob “C”controls the temperature of the water.
For this example turn knob “A” to “High/ ”
and setknob “C” to “12 o’clock”, as shownin
Diagram 6a. The“small bar”indicates knobsetting.
3. Press button“B”.
The water will flow and the neon indicator will illuminate.
4. Allow about 20 seconds for the temperature ofthe water to stabilise.
It is recommended that you do not wholly enter the water spray during
this period, even ifthe shower has just been used.
5. Once a temperature setting to your liking has been achieved, knob “C” will rarely need adjusting.
You must however take into account required adjustments for variations of incoming mains water
temperature betweensummer and winter (see “Effect of Seasonal Incoming Water Temperature
Changes” see page 13).
6. When you have finished showering, press button “B” only.
You have no need to adjust knobs“A or C”.
The water will stop flowing and the neon indicator will go out.
10.5kW Variants Only - Water will continue to flow forapproximately 7 secondsbefore switchingoff.
Switch off the electricity at the ceiling switch or local isolator.
7. The “Medium / ” settingofknob “A”reduces the power used bythe shower giving acooler shower or
the option of reduced water flow.
This option is mainly used for summer usage and ifthis is used then knob “C” must be re-adjusted.
8. The “Cold / ” setting of knob “A” will supply water without anyheating.
9. Your shower is designedtostabilisetemperature changes caused by water pressure fluctuations
(see “Effectof Other Water Devices on Incoming Water Supply” see page 13).
WARNING: DONOT SWITCHTHE SHOWER ON IF YOU SUSPECT IT OF BEING FROZEN.
WAIT UNTIL YOUARE SURE IT HAS THAWEDOUT.
WARNING: DONOT OPERATE THE SHOWER IF WATER IS DISCHARGED FROM THE PRESSURE RELIEF
VALVE. MAINTENANCE IS REQUIREDBEFORE THE SHOWER CANBE USED.
WARNING: CONSIDERATION SHOULDBE GIVEN TO SUPERVISING THEYOUNG, ELDERLY ANDTHE
INFIRM WHILST THEY USE THIS SHOWER.
HOW TO USE YOUR AQUAWAVE CONTEMPORARY SHOWER (DETAILED)
Relates to the Contemporary Shower Range ONLY,see unique section for Heritage Range
