Copyright® 2014 The Crosby Group LLC
All Rights Reserved
7
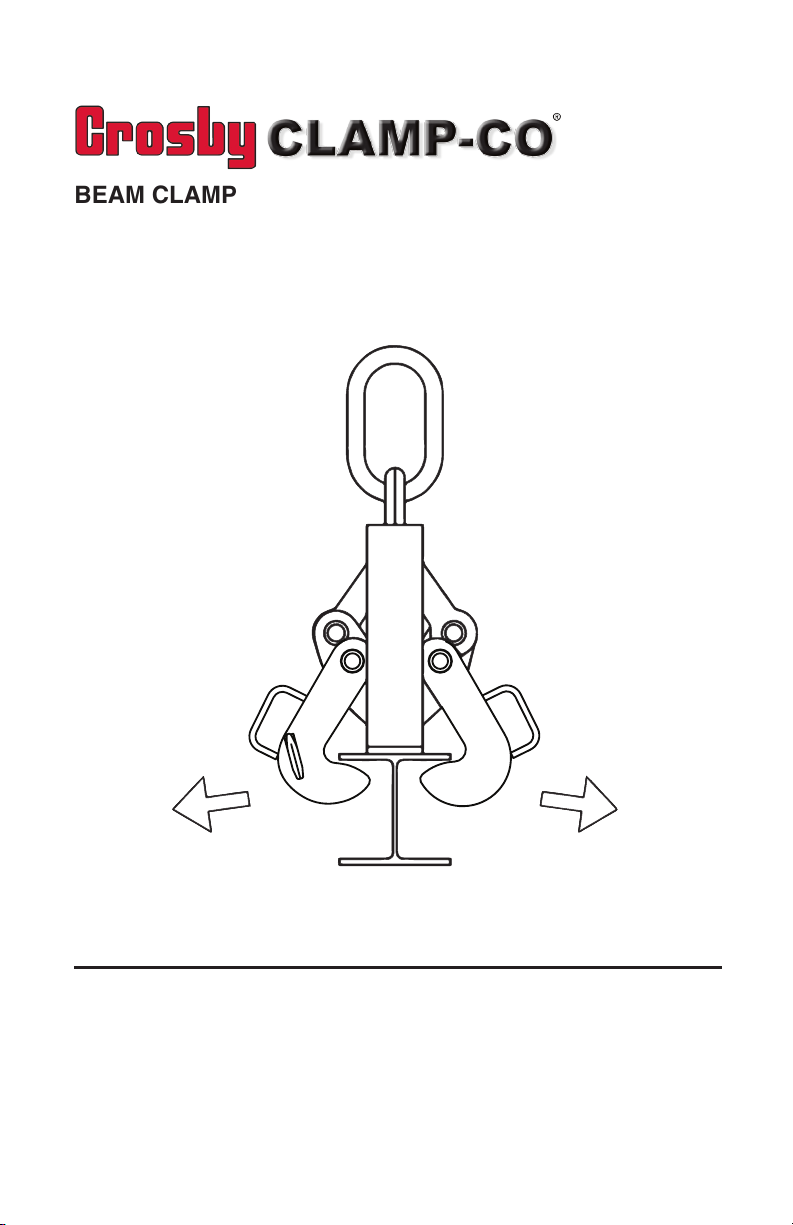
BEAM CLAMP MODELS
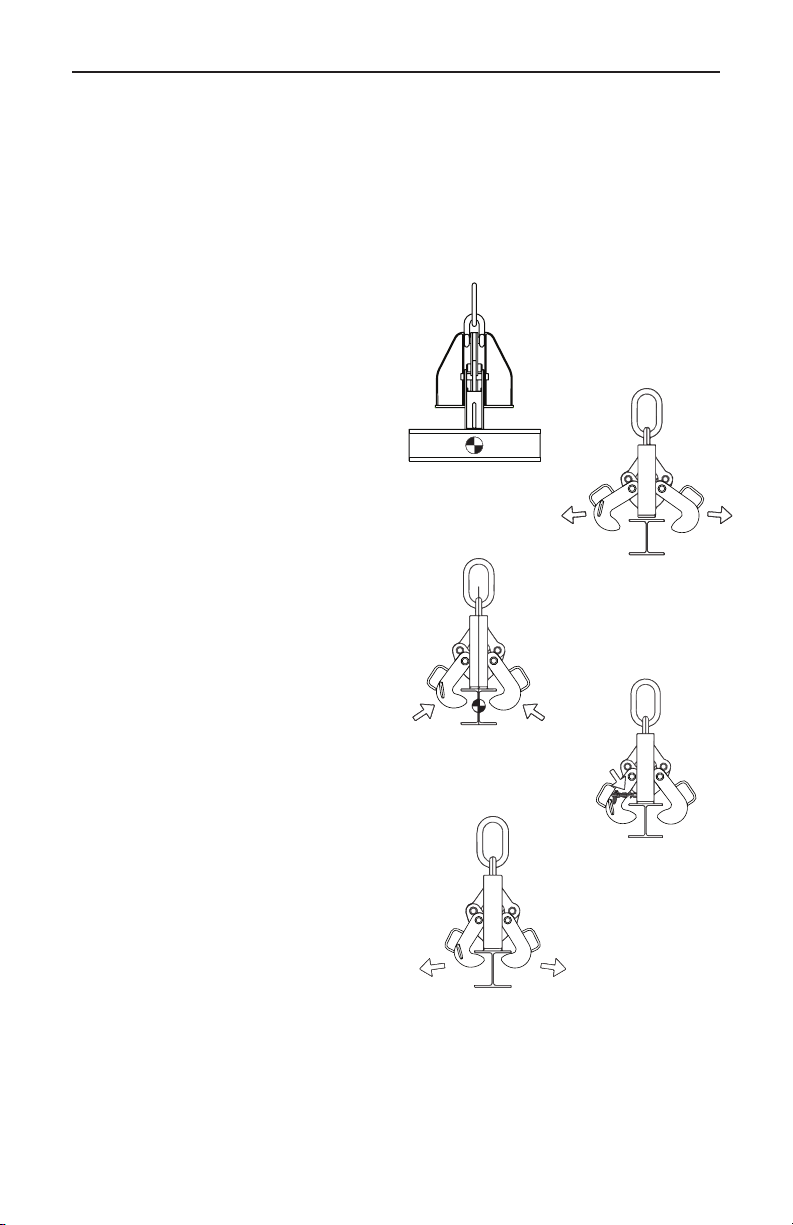
There our several Crosby Clamp-CO beam clamp models. They are designed for use with
beams of different weights and ange dimensions. See list of models on this page. It is
important that the correct clamp model is used for each beam size and weight that is lifted.
Each clamp should have an identication plate which shows the clamp model, the
maximum Working Load Limit (WLL), and the minimum and maximum ange dimension
the clamp is authorized to lift.
The clamp model must be selected to t the ange dimensions of the beam to be lifted.
Smaller or larger beam anges will not t properly, and will interfere with the clamping
action of the beam clamp. Never exceed the Working Load Limit (WLL) that is shown on
this page and also shown on the clamp’s identication plate. If the person using the clamp
is uncertain as to the beam’s weight and ange dimensions, the project engineer should be
consulted to obtain the correct information.
Beam Clamp - Imperial
Model
No.
BCFG
Stock
No.
Working
Load
Limit
(T)
Flange Grip
Range
(in.)
Weight
Each
(lbs.)
Dimensions
(in.)
Width Thickness A B C D E F G H I
F-5 2732000 5 4 - 10 .5 - 1 70.0 9.50 26.00 12.00 20.00 25.50 16.00 .75 4.00 1. 0 0
F-15 2732009 15 7 - 17 .5 - 2 153 15.50 34.00 1 7. 0 0 27.00 34.50 25.00 7. 0 0 1 7. 0 0 2.00
NS-15 2732018 15 7 - 17 .5 - 2 153 15.50 34.00 1 7. 0 0 27.00 34.50 25.00 7. 0 0 1 7. 0 0 2.00
F-25 2732027 25 16 - 24 1 - 3 290 23.00 48.00 22.25 36.00 53.00 37.25 16.00 24.00 3.00
NS-25 2732036 25 16 - 24 1 - 3 290 23.00 48.00 22.25 36.00 53.00 37.25 16.00 24.00 3.00
F-35 2732045 35 16 - 36 1.63 - 4 519 30.00 64.00 27.50 48.00 58.00 53.00 16.00 36.00 4.00
NS-35 2732045 35 16 - 36 1.63 - 4 519 30.00 64.00 27.50 48.00 58.00 53.00 16.00 36.00 4.00
* Maximum Proof load is 2 times the Working Load Limit.
Beam Clamp - Metric
Model
No.
BCFG
Stock
No.
Working
Load
Limit
(t)*
Flange Grip
Range
(mm) Weight
Each
(kg)
Dimensions
(mm)
Width Thickness A B C D E F G H I
F-5 2732000 4.54 102 - 254 13 - 25 31.8 241 660 305 508 648 406 102 254 25.4
F-15 2732009 13.6 178 - 432 13 - 51 69.4 394 864 432 686 876 635 178 432 50.8
NS-15 2732018 13.6 178 - 432 13 - 51 69.4 394 864 432 686 876 635 178 432 50.8
F-25 2732027 22.7 406 - 610 25 - 76 132 584 1219 565 914 1346 946 406 610 76.2
NS-25 2732036 22.7 406 - 610 25 - 76 132 584 1219 565 914 1346 946 406 610 76.2
F-35 2732045 31.8 406 - 914 41 - 102 235 762 1626 699 1219 1473 1346 406 914 102
NS-35 2732045 31.8 406 - 914 41 - 102 235 762 1626 699 1219 1473 1346 406 914 102
* Maximum Proof load is 2 times the Working Load Limit.
The above information is for standard size clamp models. For special clamp models
not located in table, please refer to I.D. tag affixed to product for proper
Working Load Limit and size limitations.