Tel: +44 (0)1291 620796 www.reidlifting.com
WUJL Inspection / Maintenance
The jack legs and brackets should be subjected to periodic
inspections by a competent person in line with gantry
inspection and maintenance guidelines (see page 6).
It is recommended that when not in use the jack legs are
removed and stored in a clean and dry manner.
The jack leg should be lubricated with EP2 grease on the
internal thread and gears, at regular intervals (up to 6
months maximum), depending on service conditions.
Ratchet Beam Elevation
System option
(Two Person Operation Recommended – one on each
A-Frame)
Always wear gloves when using this item.
1. Decide on the height required (always use the lowest
setting for the work in hand).
2. Ensure the claw-hook at the end of ratchet strap is
positively engaged with the bottom hole on A-Frame
upright.
3. Remove lower bolt on trap plate.
4. Tension ratchet strap to take the upright/beam weight.
5. Remove upper bolt on trap plate.
WUJL Inspection / Maintenance
The jack legs and brackets should be subjected to periodic
inspections by a competent person in line with gantry
inspection and maintenance guidelines (see page 6).
It is recommended that when not in use the jack legs are
removed and stored in a clean and dry manner.
The jack leg should be lubricated with EP2 grease on the
internal thread and gears, at regular intervals (up to 6
months maximum), depending on service conditions.
Fig. 3
Example application
Fig.1
Wind Up Jack Leg in
‘parked’ position
Fig.2
Jacks secured with locking
pins and clips
Tel: +44 (0)1291620796 www.reidlifting.com
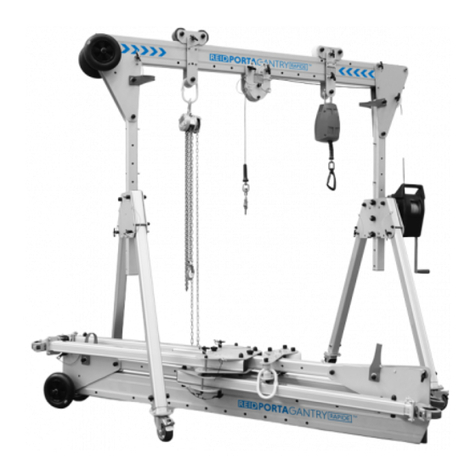
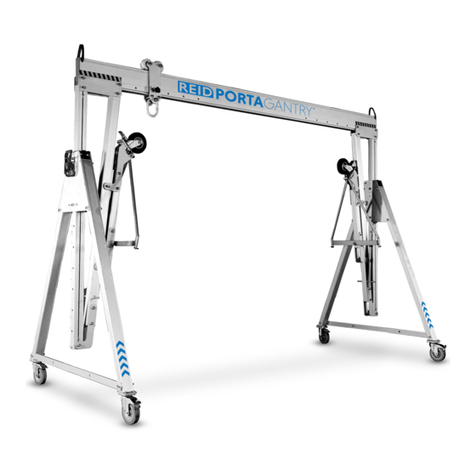
Ratchet Beam Elevation
System option
(Two Person Operation Recommended – one on each
A-Frame)
Always wear gloves when using this item.
1. Decide on the height required (always use the lowest
setting for the work in hand).
2. Ensure the claw-hook at the end of ratchet strap is
positively engaged with the bottom hole on A-Frame
upright.
3. Remove lower bolt on trap plate.
4. Tension ratchet strap to take the upright/beam weight.
5. Remove upper bolt on trap plate.
6. Operate ratchet to adjust height to required setting,
ensuring that the bolt holes are aligned.
7. Re-insert upper bolt and nut/washer assembly.
8.
Ease tensioned strap aside, and re-insert lower bolt
and secure.
9. Repeat steps 2-8 on the second A-Frame, ensuring
that both A-Frames finish at the same height (or do
both in parallel with second person).
10. Check all bolts on the gantry are sufficiently secure by
ensuring all spring washers are fully depressed.
11. If the hoist is not already attached to the suspension
point on the trolley, do so now (using stepladder if
height setting requires). If this is not safe, disassemble
gantry and re-start from the scissoring operation of
the Gantry Assembly Instructions - Step 11.
PG O&M v15 EN.indd 15 11/04/2017 15:13:31
6. Operate ratchet to adjust height to required setting,
ensuring that the bolt holes are aligned.
7. Re-insert upper bolt and nut/washer assembly.
8.
Ease tensioned strap aside, and re-insert lower bolt
and secure.
9. Repeat steps 2-8 on the second A-Frame, ensuring
that both A-Frames finish at the same height (or do
both in parallel with second person).
10. Check all bolts on the gantry are sufficiently secure by
ensuring all spring washers are fully depressed.
11. If the hoist is not already attached to the suspension
point on the trolley, do so now (using stepladder if
height setting requires). If this is not safe, disassemble
gantry and re-start from the scissoring operation of
the Gantry Assembly Instructions - Step 11.