Crosswater EV1253EC User manual

Kia Thermostatic Shower Valve Exposed
EV1253EC
INSTALLATION INSTRUCTIONS
This product should only be fitted by a qualified plumber to NVQ (National Vocational Qualification)
or SNVQ (Scottish National Vocational Qualification) Level 3. Should the installation be completed
by a non-qualified person then the guarantee may be considered invalid.
For a claim made under our warranty written certification of your installers credentials can be
required. For further information or to find a qualified installer in your area please visit the Institute
of Plumbers website - www.iphe.org.uk
THE QUALIFICATIONS
At present, to be a plumber you need to follow the National Vocational Qualification (NVQ) route
(Scottish National Vocational Qualification - SNVQ - in Scotland). These qualifications are made up
of theory and practical work in the classroom/purpose built training facility and work based
experience with a working plumber. Colleges should help students find a work placement,
although many students organise it themselves.
The S/NVQ qualification works in levels. All recently qualified plumbers should hold S/NVQ Level 2
as basic with Level 3 as the preferred level. Level 2 will give you the foundation you need for a
career in plumbing and teach you domestic plumbing to a satisfactory level. Level 3 is more
comprehensive and deals with domestic, commercial and industrial plumbing along with aspects
such as gas - if you want to one day set up your own business, this is the level to reach. The
Institute of Plumbing and Heating Engineering, and the industry as a whole recommends that all
plumbers reach a minimum of Level 3.
Reaching Level 3 has other advantages. The Institute runs a Master Plumber Certificate, which
only those attaining Level 3 or equivalent can reach as long as they have the relevant experience as
well. Those with S/NVQ Level 3 can (once in membership with the Institute for five years as a
Member MIPHE) gain Engineering Technician EngTech status with the Engineering Council (UK).
For any further information please contact
Crosswater on: 0845 873 8840
Or visit our web-site at www.crosswater.co.uk
The manufacturer reserves the right to make technical
modifications without prior notice.

EV1253EC
INTRODUCTION
Please read these instructions carefully and keep in a safe place for future reference.
General Installation Requirements
The installation must comply with regulations of the Local Water Authority as contained in their
bylaws. All of the taps in this range are single flow (the hot and cold water mix in the body) and
should therefore be supplied with hot and cold water at balanced pressures, both from the tank or
both from the mains (via a combination boiler for example). If the taps are not supplied at balanced
pressures then the mixer will not function correctly. The mixer is provided with non-return valves
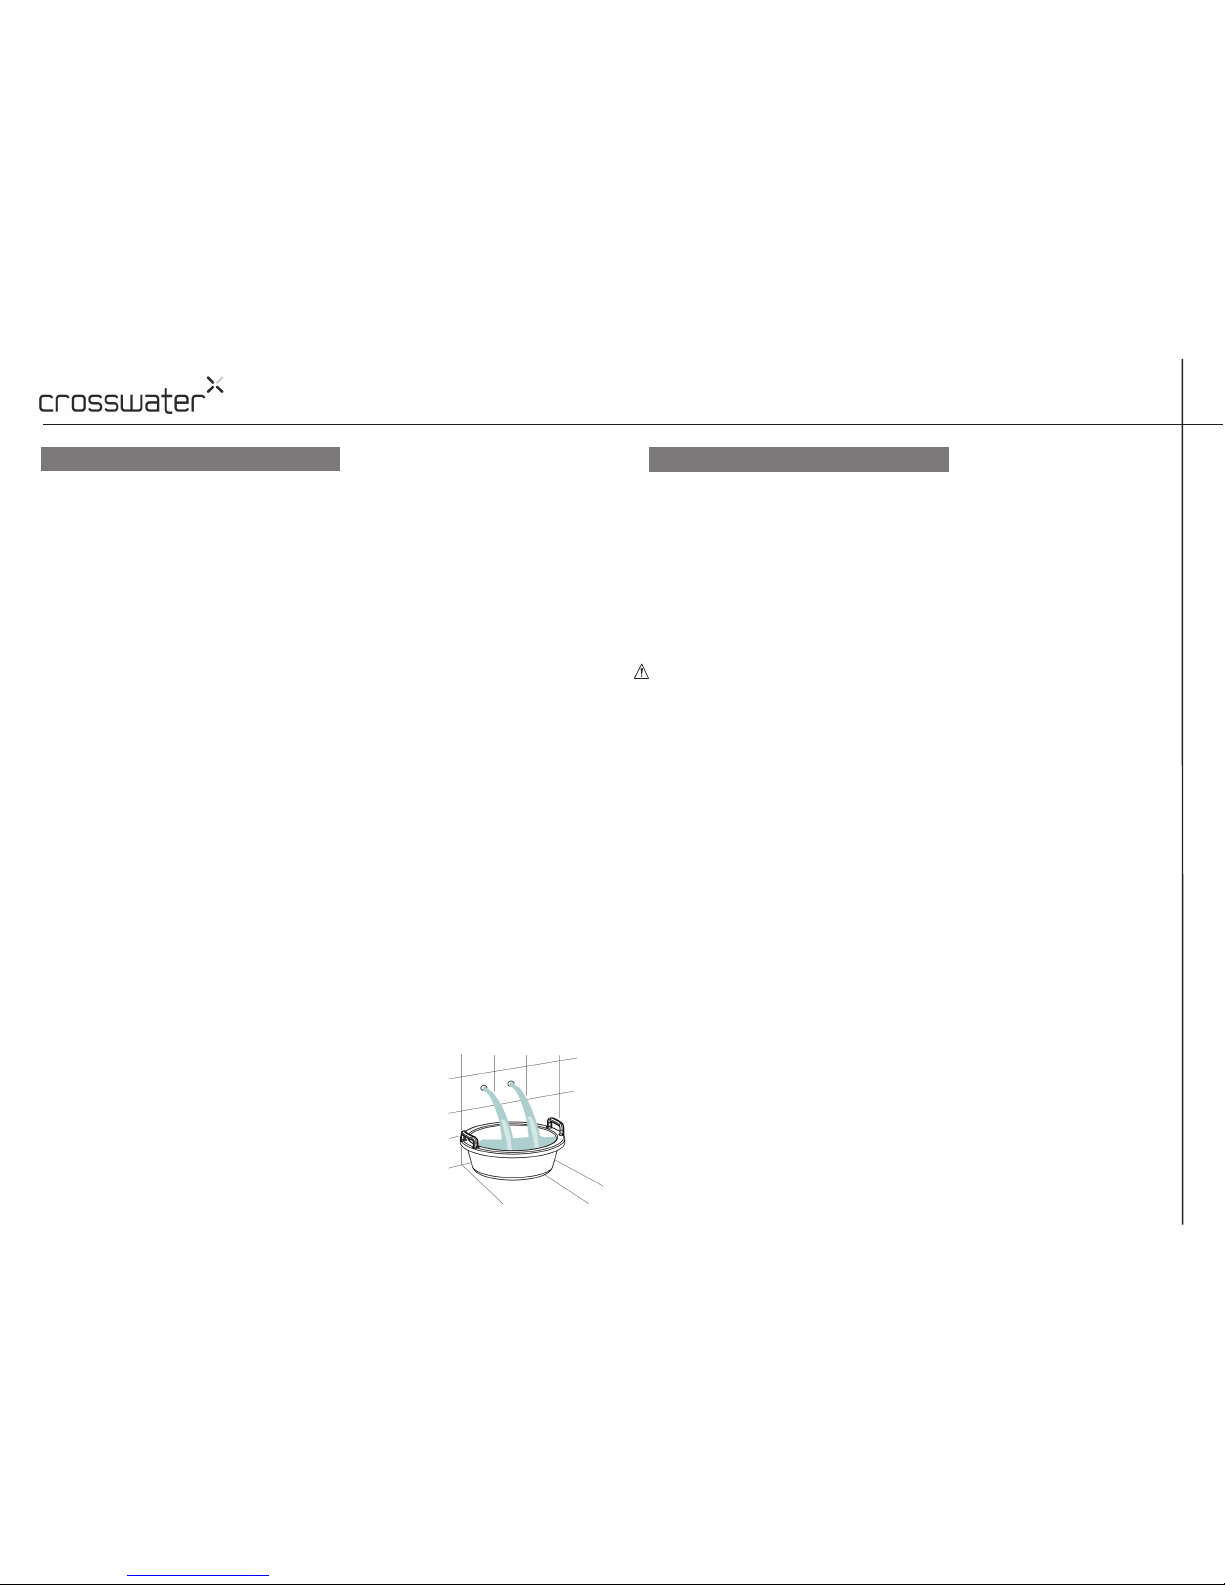
on both hot and cold feeds. It is very important that al pipe work is flushed thoroughly after
installation to avoid damaging the ceramic discs.
Standard Specifications
1. Recommended working pressure:..................................................................... 0.2 - 5 bar
2. Maximum test pressure: .........................................................................................10 bar
3. Maximum hot water temperature : .......................................................................... 80 °C
4. Recommended temperature: .............................................................................. 50-60 °C
5. Pressure difference between hot and cold water: ......................................... max. 1,0 bar
6. We recommend to install filters in the water system and if necessary in the product.
7. Warning :
- if the above mentioned conditions (see points 1,4,5 and 6) are not observed, the
product may not correctly work or not work at all.
- if during installation, before setting the product on the sanitary fittings, faults due to
the special finishing are evident you may require the replacement of the tap.
Approvals
All two hole taps are manufactured complying with requirements of European Standard
UNI EN 1111 : 2000.
Preparation and bylaw requirements
These taps are single flow so the hot and cold water mix in the body. Water bylaws require
that where the hot water is supplied from a tank and cold from the mains, non return valves
are fitted on both hot and cold pipes as close as possible to the tap.
Where combination boilers are fitted it is only necessary to shut off the incoming mains and
turn the boiler off and non return valves are not required.
WARNING
- Installation Performed By Qualified Personnel Only!
- Clean Carefully The Water Pipes Before Installing The Tap.
6
1
CLEANING
CALIBRATION
to a safe showering temperature under ideal conditions
at the factory, appropriate for most systems.
Proceed to the 38 setting by turning the spindle under the following conditions
- Hot water temperature at least 55 C
- Cold water temperature from 10 C to 25 C
(9)
covering plate(1) (9)
(10)
handle in place
Make sure that the hot water temperature is at least 55°C and that there is
sufficient supply.
Before testing the mixer, make sure that the hot and cold water is flowing
correctly by exercising the temperature selector knob between the cold and hot
stops.
Caution!
of
the water from the shower outlet is hot enough.If hot temperature is not the
disered, rotate slowly the handle to position 45º.
If disered hot temperature stil can not be reached, follow next steps.
Position temperature handle to 38º .
Remove the of temperature handle with carefull and use a
suitable screwdriver to uncrew the screw handle .
Remove temperature handle without change position of stop assembly.
Insert temperature handle so that 35º is in line with the stop assembly.
The mixer has been adjusted
:
°
° °
Turn the temperature handle to 38º position and test that the temperature
depress the override button and
position
Rotate temperature handle to 38º and wait for the water to stabilise.If desired hot
tempertaure is not acheived, repeat procedure.
Do not exceed maximum safe temperature at position 45º.
Once finished, put the and proceed in the opposite way to
assemble.

FUNCTION
INSTALLATION
INSTALLATION
First shut off your water heating system then. With your mains stop cock closed, open the
lowest hot and cold taps in the house and allow to run until the cold storage tank and pipes are
empty (the hot water storage cylinder always remains full).
Fitting isolating valves to the inlet feeds is recommended for ease of maintenance.
Screw the Z-connector (4) to the pipe installation (hot and cold water entrances) checking the
hermetic holding.
Pre-screw the cover (3) on the Z-connectors (4). Connect the mixer (1), inserting the filter (2)
in the nuts and screw them on the Z-connectors, checking the hermetic seal. After having
connected the bath mixer body to the system, open the stopcocks and verify the correct
functioning of the mixer moving the handle in all the possible directions. Check the connection
seal.
Having first checked all new connections, turn on the mains stop cock, close all taps except the
new mixer and as the system starts to refill check for leaks. Once you have satisfied yourself
that there are no leaks, switch on the water heating.
INSTALLATION
Remember to turn off the mains water supply before connecting to any
existing pipe work.
ATTENTION
34
Hot Water
Cold Water Open
EV1253EC
TEFLON
ENSURE THE SEAL OF
THE SYSTEM
4 -
2 -
3 -
1 -
DIMENSIONS
UNIT DIMENSIONS milimeters:
193
150±22
20
G1/2"
67
175

EV1252EC
52
MAINTENANCE
1- COVERING
PLATE
2 - SCREW
3 - HANDLE
4 - VALVE
5 - BODY 6 - THERMOSTATIC
CARTRIDGE
7 - CARTRIDGE
NUT 8 - RING - 38º
9 - HANDLE
1- COVERING
PLATE
10 - SCREW
CALIBRATION
EV1253EC
CLEANING
The chrome plate we use on our taps is very durable, nevertheless care should be taken when
cleaning them. They should be cleaned only with warm soapy water followed by rinsing with
clean water and drying with a soft cloth. All finishes are vulnerable to acid attack and some
strong substances such as household cleaners, disinfectants, denture cleaners, hair dyes, wine
making and photographic chemicals can cause the surface to go black or peel.
CLEANING THE THERMOSTATIC CARTRIDGE
To remove the thermostatic cartridge.
First shut off the water supply to the tap.
CLEANING THE VALVE CONNECTION
To remove the valve connection.
First shut off the water supply to the tap.
The concealed cartridge should give trouble free service, but in the event of any problems,
servicing is straight forward.
Close the hot and cold water entrances.
Remove the handle covering plate (1) using a thin blade paying attention not to damage the
surface of the tap.
Unscrew the screw (2), extract the handle (3) and the ring nut (4).
Unscrew the hexagon screw (6) using a 3mm allen wrench and extract the thermostatic
cartridge (5).
Once finished, put the cartridge back and proceed in the opposite way to assemble.
Before fixing the handle, repeat set up following the instructions in the "CALIBRATION" section
in the preceding page.
The concealed valve connection should give trouble free service, but in the event of any
problems, servicing is straight forward.
Close the hot and cold water entrances.
Remove the handle covering plate (1) using a thin blade paying attention not to damage the
surface of the tap.
Unscrew the screw (2), extract the handle (3), the stop ring (10) and the broached ring (9).
Unscrew the valve (8)using a 17mm allen wrench.
Once finished, screw in the valve (8) and proceed in the opposite way to assemble.
Other Crosswater Control Unit manuals

Crosswater
Crosswater KL0007WC User manual

Crosswater
Crosswater US-WF1000EV User manual

Crosswater
Crosswater WLBP3001R Plus User manual

Crosswater
Crosswater TH2-RGH User manual

Crosswater
Crosswater SE350DC User manual

Crosswater
Crosswater PBS-RGH User manual

Crosswater
Crosswater US-BL1000EV User manual

Crosswater
Crosswater US-DL2001RC User manual