manuals.online logo
Brands
  1. Home
  2. •
  3. Brands
  4. •
  5. Crosswater
  6. •
  7. Indoor Furnishing
  8. •
  9. Crosswater Berea Robe Hook 11-51 User manual

Crosswater Berea Robe Hook 11-51 User manual

Installation Instructions
2
Tools You Will Need
Berea Robe Hook
11-51
Installation Instructions
For ease of installation you will need:
●To read the installation instructions completely before
beginning.
●To read all warnings, care, and maintenance information.
Flat Head ScrewdriverPencil Drill Philips Screwdriver Level
11-51-PC
11-51-SN
11-51-PN
11-51-BZ
1
Determine the location of the robe
hook.
Align bracket and mark drill
holes in desired location Drill 1/4" holes in marked locations
Drive the wall anchors into the
drilled holes with a Phillips
screwdriver.
Place the mounting bracket over
the wall anchors. Secure it to the
wall using the supplied screws.
Temporarily place the robe hook on
the mounting bracket to check
alignment. If necessary, loosen the
screws and realign the mounting
bracket.
Place robe hook on the mounting
brackets. Secure it to the wall using
the bottom set screw.
Before beginning installation, check for any damage
that may have occurred during transport.
Note: Damage claims cannot be made during or
after installation.
Installation Instructions
2
Series # 11
Robe Hook
Tools You Will Need
11-51-PC
11-51-SN
11-51-PN
11-51-BZ
Installation Instructions
For easy installation of your robe hook you will need:
● To read all the installation completely before beginning.
● To read all warnings, care, and maintenance information.
Flat Head ScrewdriverPencil Drill Philips Screwdriver Level
11-51
1
Determine the location of the robe
hook.
Align bracket and mark drill
holes in desired location Drill 1/4" holes in marked locations
Drive the wall anchors into the
drilled holes with a Phillips
screwdriver.
Place the mounting bracket over
the wall anchors. Secure it to the
wall using the supplied screws.
Temporarily place the robe hook on
the mounting bracket to check
alignment. If necessary, loosen the
screws and realign the mounting
bracket.
Place robe hook on the mounting
brackets. Secure it to the wall using
the bottom set screw.
3
11-51-PC
11-51-SN
11-51-PN
11-51-BZ
11-51
Replacement Parts
4
Installation Dimensions
Cleaning Instructions
No. Description Part No.
1 Mounting screws, anchors & plate 00071
2 Post set screw 00309
Rinse away any traces of soap and gently dry with a clean, soft cloth after each use. Rinse completely with water and dry any overspray.
This will maintain the finish and avoid water spotting.
To remove mineral deposits, use a 50/50 solution of white vinegar and water. Do not allow the solution to soak on the product.
Simichrome Polish® contains a protective film to enhance maintenance and is helpful in preventing water spot buildup. Follow instructions to ensure
optimum results.
Never use an abrasive material such as a brush or scouring pad to clean the surface. The use of abrasive cleaners, cleansers or disinfectants will
alter the surface finish and void the warranty.
Do not allow certain materials such as toothpaste, cologne, shaving cream, nail polish remover, vinegar, wine, drain and glass cleaners to remain on
the surface. Prolonged contact will alter surface finishes and void the warranty.
We DO NOT recommend using any household cleaners as many can cause damage to the finish.
Please see the website for care instructions for specific finishes.
3
11-51
11-51
Replacement Parts
4
Installation Dimensions
● Only use a soft, dampened sponge or cloth to clean and polish the fixture.
● Wipe fixtures and the immediate areas clean and rinse completely with water immediately after installation and after
applying any cleaner.
● If you are using a cleaning compound on or close to the product, please test the compound on a hidden area of the
trim to ensure it will not damage the finish.
● Do not allow cleaners to soak anywhere on the product.
Cleaning Instructions
No. Description Part No.
1 Mounting screws, anchors & plate 00071
2 Post set screw 00309
Warranty - This Crosswater London product is covered by a limited lifetime warranty. For full details, terms and conditions please visit our website.
For further information contact:Crosswater London, 393 Fortune Blvd., Milford, MA 01757 www.crosswaterlondon.com
Toll free number: 844-XWATER-1 (844-992-8371) tel: 508-381-0433 fax: 508-381-6068 email: technical@crosswaterlondon.com
Issue date: 15092019

Other Crosswater Indoor Furnishing manuals

Crosswater Mada User manual

Crosswater

Crosswater Mada User manual

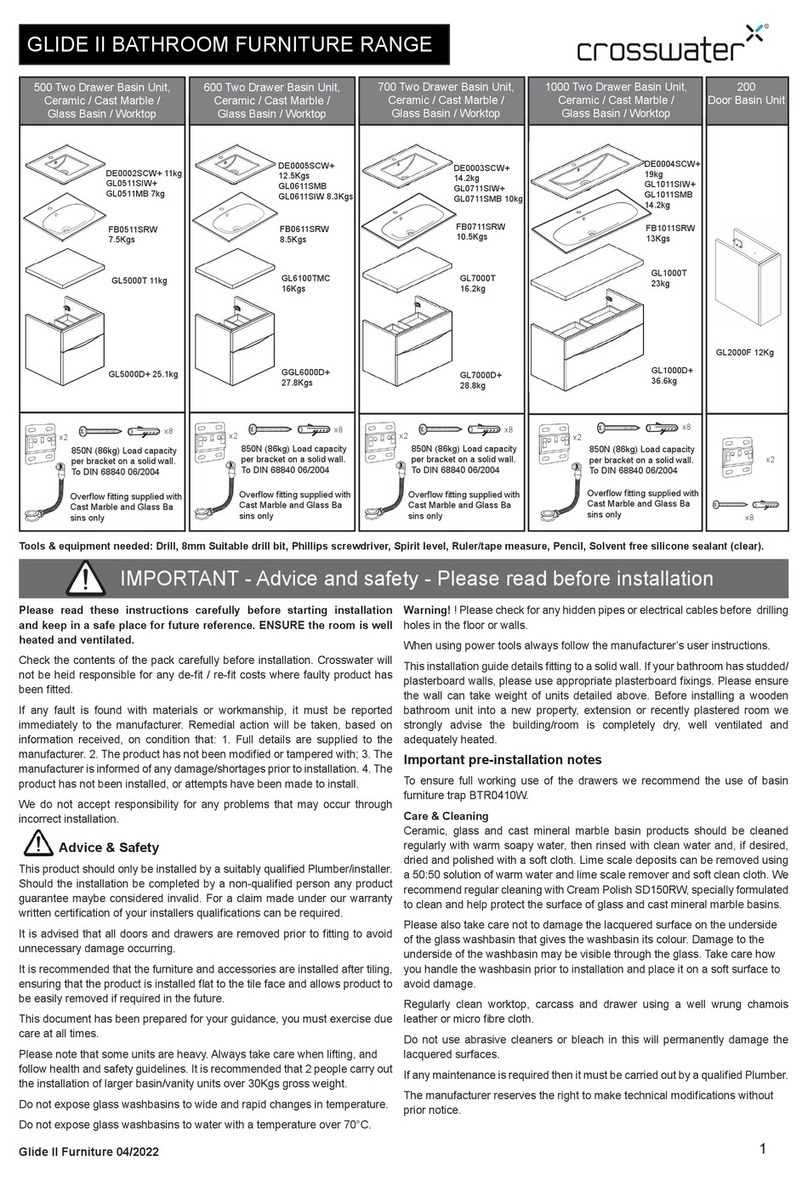
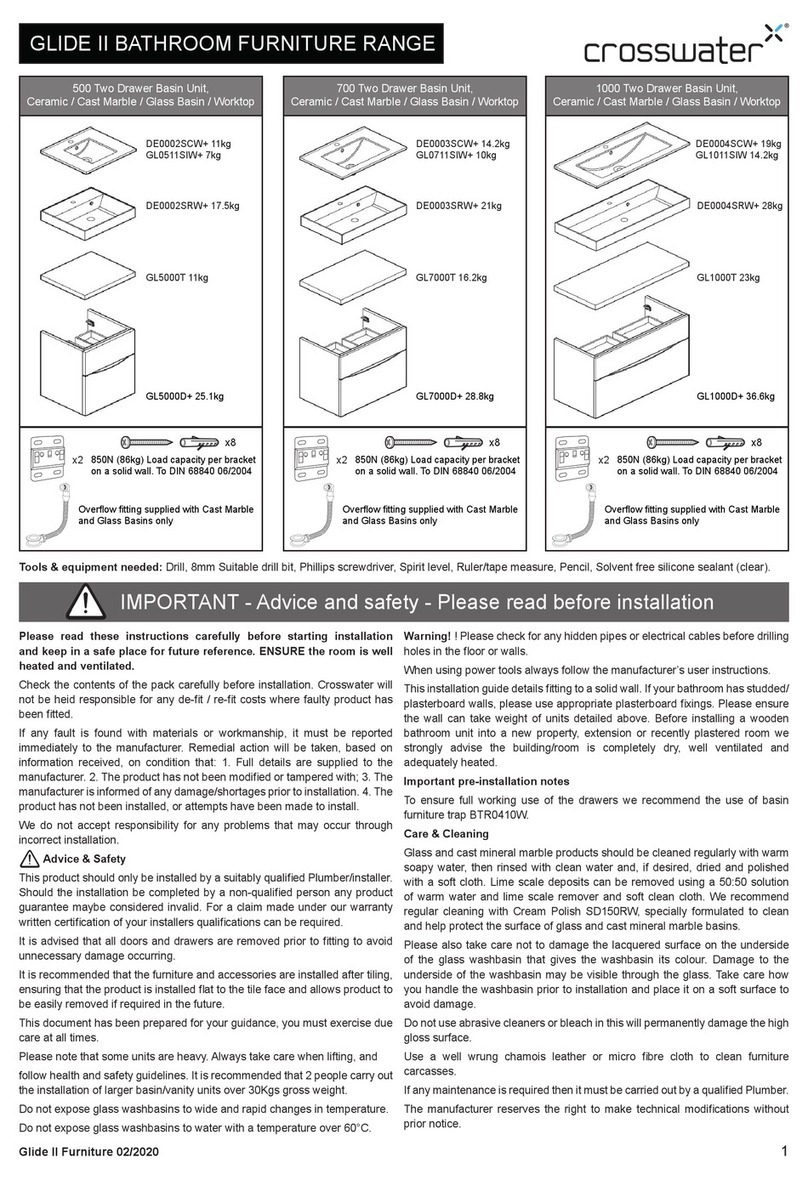
Crosswater GLIDE II Series User manual
Crosswater

Crosswater GLIDE II Series User manual

Crosswater Optix 10 User manual

Crosswater

Crosswater Optix 10 User manual

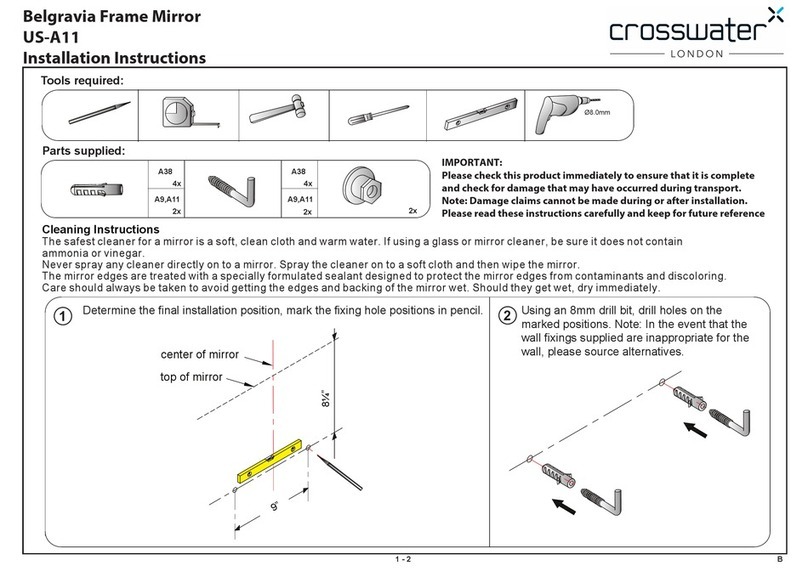
Crosswater Belgravia US-A11 User manual

Crosswater

Crosswater Belgravia US-A11 User manual

Crosswater GLIDE II 200 User manual

Crosswater

Crosswater GLIDE II 200 User manual

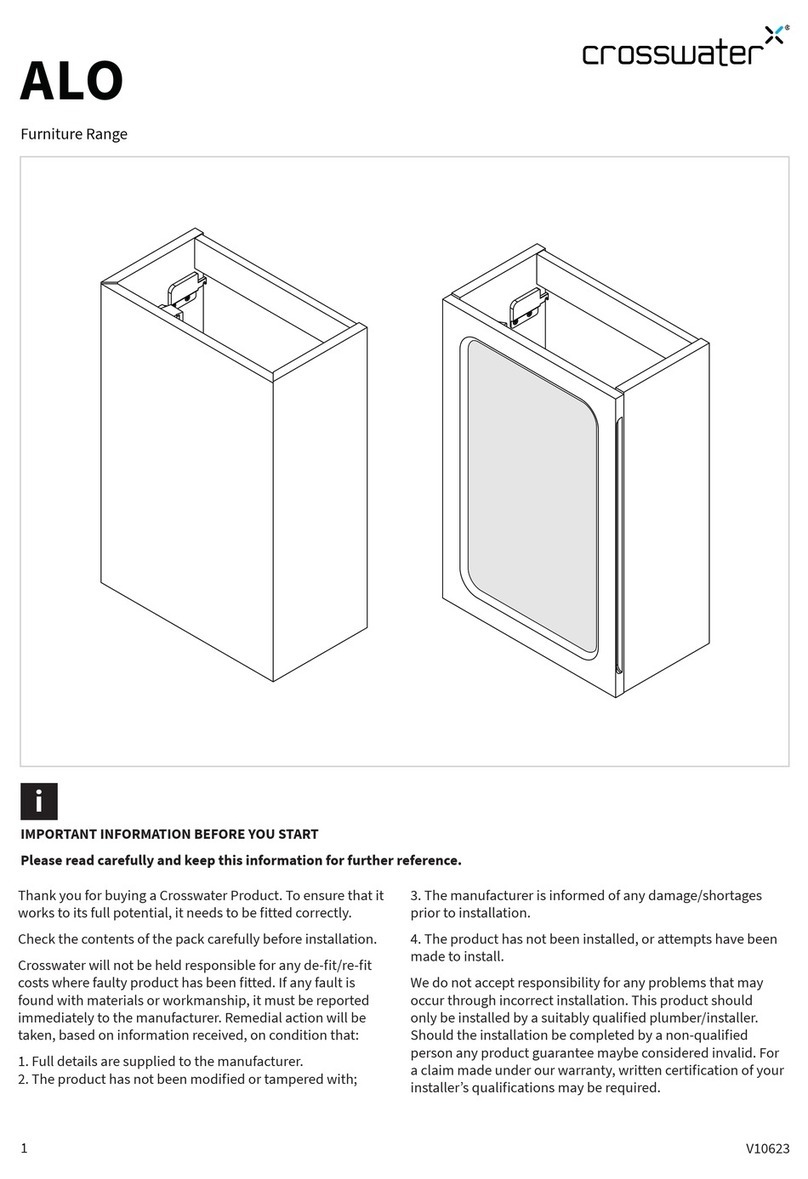
Crosswater Alo Furniture Range User manual

Crosswater

Crosswater Alo Furniture Range User manual

Crosswater GLIDE II User manual

Crosswater

Crosswater GLIDE II User manual

Crosswater Optix 10 User manual

Crosswater

Crosswater Optix 10 User manual

Crosswater SVELTE 600 Series User manual

Crosswater

Crosswater SVELTE 600 Series User manual

Crosswater Leyden 14-58 User manual

Crosswater

Crosswater Leyden 14-58 User manual

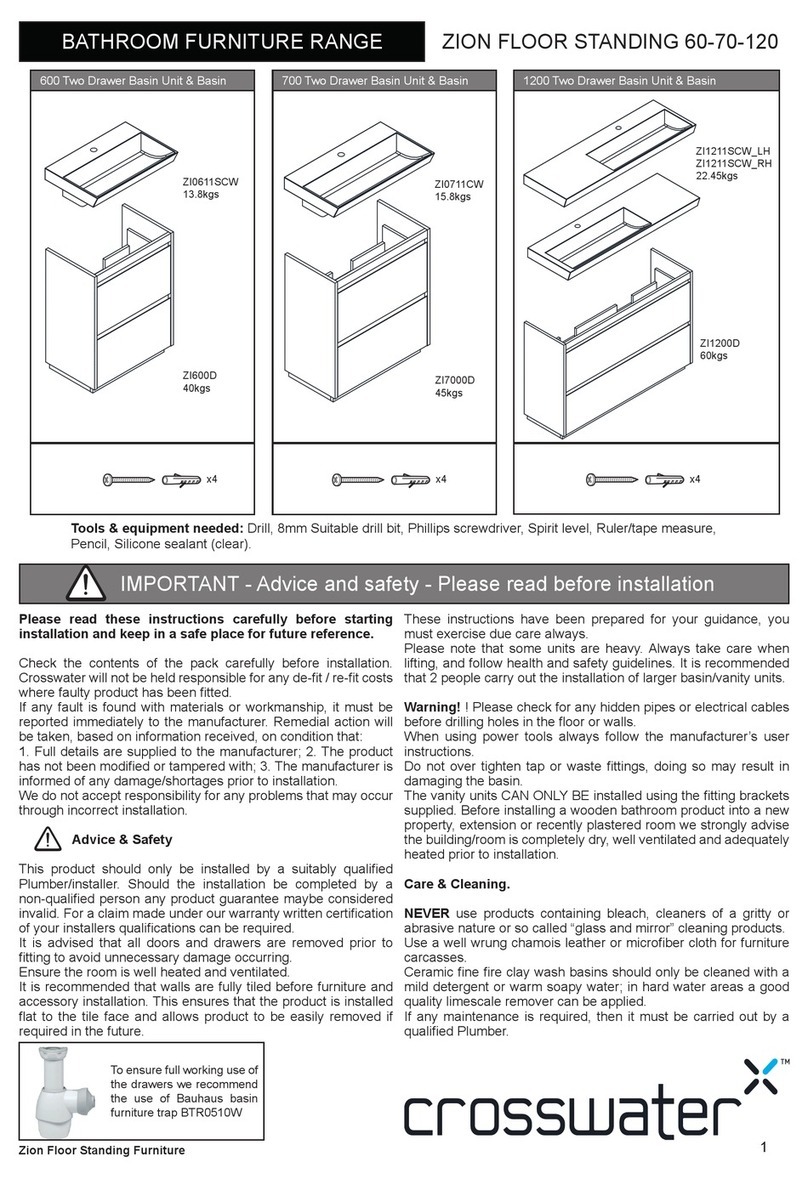
Crosswater ZION FLOOR STANDING 60 User manual

Crosswater

Crosswater ZION FLOOR STANDING 60 User manual

Crosswater CANVASS FURNITURE Series User manual
Crosswater

Crosswater CANVASS FURNITURE Series User manual

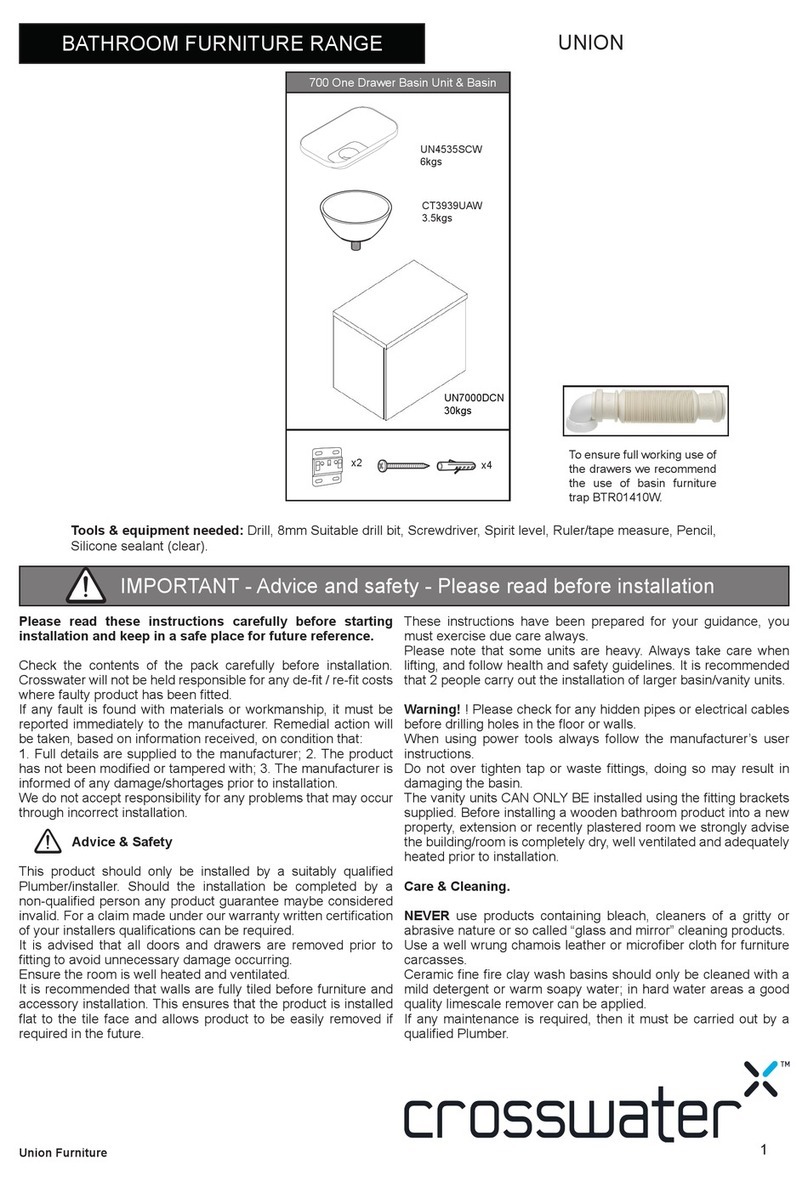
Crosswater UNION Series User manual

Crosswater

Crosswater UNION Series User manual

Crosswater MPRO User manual

Crosswater

Crosswater MPRO User manual

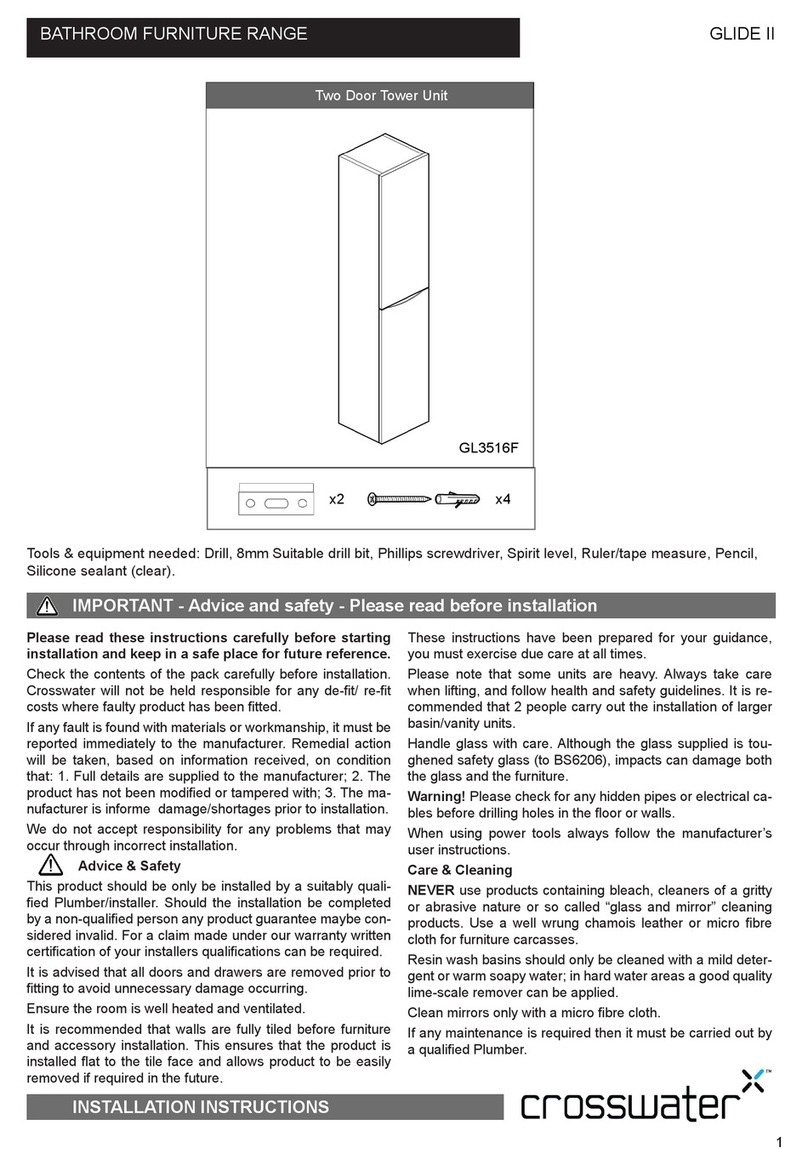
Crosswater GLIDE II GL3516F User manual

Crosswater

Crosswater GLIDE II GL3516F User manual

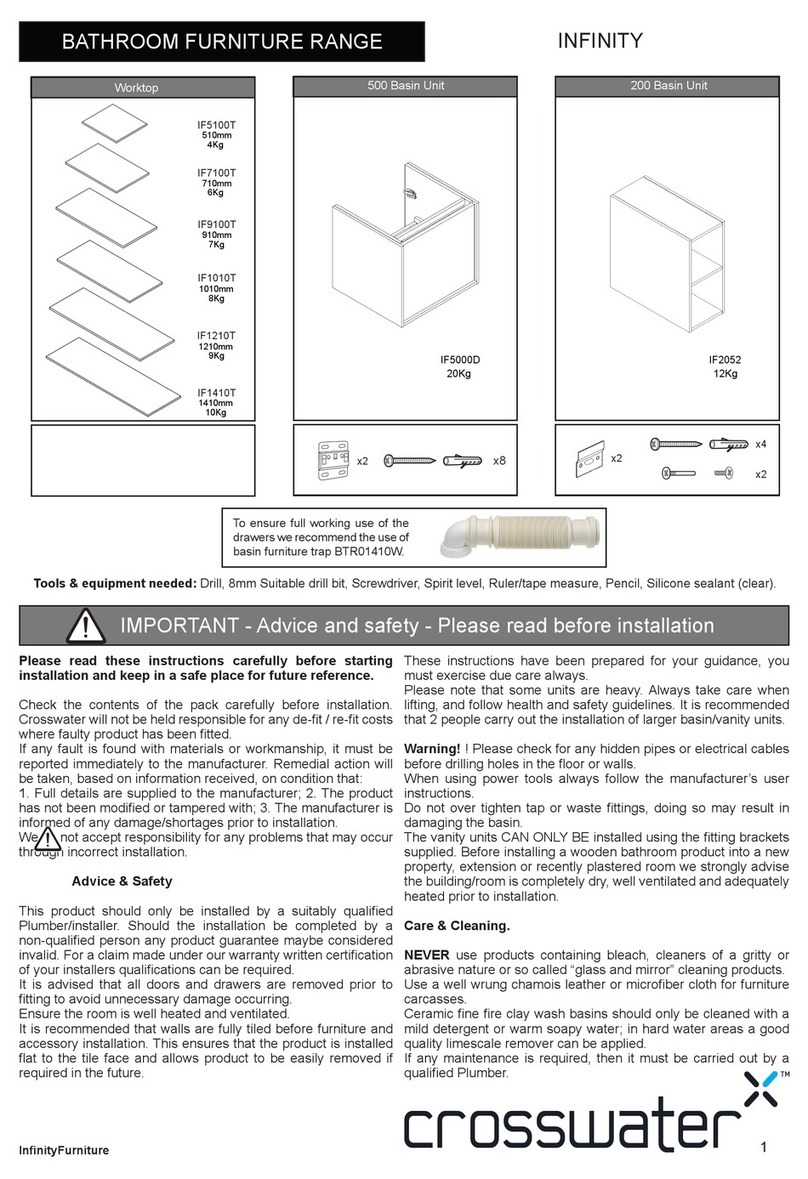
Crosswater INFINITY IF5000D User manual

Crosswater

Crosswater INFINITY IF5000D User manual

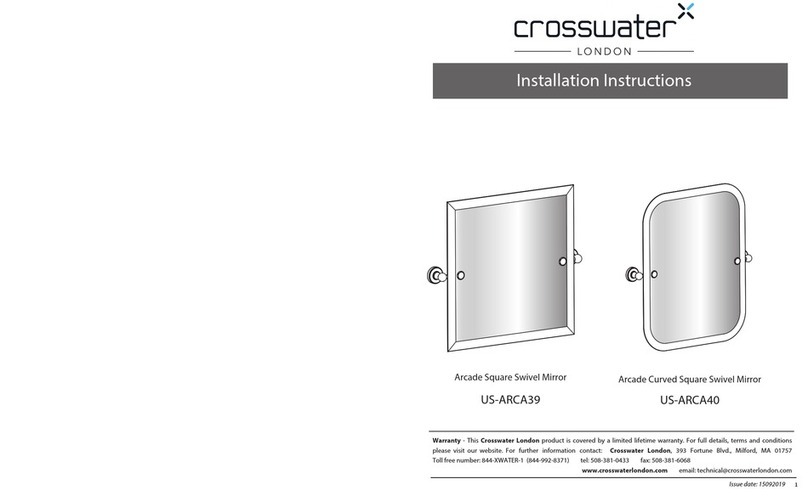
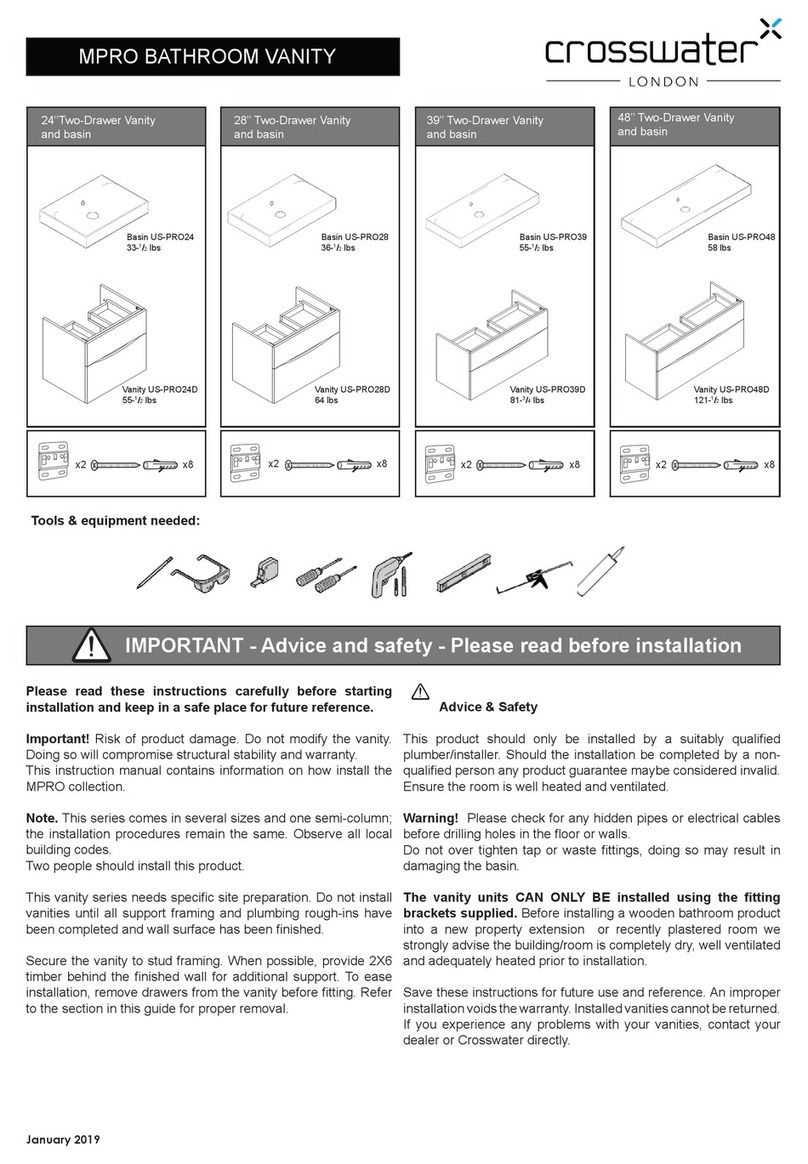
Crosswater Arcade US-ARCA39 User manual
Crosswater

Crosswater Arcade US-ARCA39 User manual

Popular Indoor Furnishing manuals by other brands

Fab Glass Teardrop installation manual

Fab Glass

Fab Glass Teardrop installation manual

seenda MU-211 user manual

seenda

seenda MU-211 user manual

Vivo DESK-V000VN instruction manual

Vivo

Vivo DESK-V000VN instruction manual

L.L.Bean ADIRONDACK BISTRO TABLE 30" quick start guide

L.L.Bean

L.L.Bean ADIRONDACK BISTRO TABLE 30" quick start guide

4HOUSE DESIGN LAZIO 140 Assembly instructions

4HOUSE DESIGN

4HOUSE DESIGN LAZIO 140 Assembly instructions

Safavieh Furniture COF4213 quick start guide

Safavieh Furniture

Safavieh Furniture COF4213 quick start guide

Furniture of America Belva CM7174T Assembly instructions

Furniture of America

Furniture of America Belva CM7174T Assembly instructions

Furniture of America CM7131 Assembly instructions

Furniture of America

Furniture of America CM7131 Assembly instructions

Cult 5059413395918 quick start guide

Cult

Cult 5059413395918 quick start guide

URBAN OUTFITTERS ELENA Assembly instructions

URBAN OUTFITTERS

URBAN OUTFITTERS ELENA Assembly instructions

Knoll Generation Assembly instructions

Knoll

Knoll Generation Assembly instructions

Coaster 222880KE Assembly instructions

Coaster

Coaster 222880KE Assembly instructions

Livoo DOS183 instruction manual

Livoo

Livoo DOS183 instruction manual

PROGRESSIVE DESK DS-03 user manual

PROGRESSIVE DESK

PROGRESSIVE DESK DS-03 user manual

Sauder OfficeWorks AFFIRM 427444 Instruction booklet

Sauder

Sauder OfficeWorks AFFIRM 427444 Instruction booklet

Cooper Lighting Lumiere 1049 Specification sheet

Cooper Lighting

Cooper Lighting Lumiere 1049 Specification sheet

Patio Sense 61908 Assembly instructions

Patio Sense

Patio Sense 61908 Assembly instructions

Gautier 250 manual

Gautier

Gautier 250 manual

manuals.online logo
manuals.online logoBrands
  • About & Mission
  • Contact us
  • Privacy Policy
  • Terms and Conditions

Copyright 2025 Manuals.Online. All Rights Reserved.