manuals.online logo
Brands
  1. Home
  2. •
  3. Brands
  4. •
  5. Crosswater
  6. •
  7. Indoor Furnishing
  8. •
  9. Crosswater Leyden 14-58 User manual

Crosswater Leyden 14-58 User manual

Installation Instructions
2
Tools You Will Need
For ease of installation you will need:
●To read the installation instructions completely before
beginning.
●To read all warnings, care, and maintenance information.
Flat Head ScrewdriverPencil Drill Philips Screwdriver Level
14-58-PC
14-58-SN
14-58-PN
14-58-BZ
1
Determine the handing of the accessory. If you would like to flip the bar, please
follow steps 2 – 3.
Slide the bar into the post and secure
it to the post using the philips head
screw.
Determine the location of the
accessory. Mark drill holes in desired location.
Drive the wall anchors into the drilled
holes with a Phillips screwdriver.
Place the mounting bracket over the
wall anchors. Secure it to the wall using
the supplied screws.
Inside the post, remove the philips head
screw with a screw driver and slide out
the bar.
Drill 1/4" holes in marked locations.
Temporarily place the accessory on
the mounting bracket to check
alignment. If necessary, loosen the
screws and realign the mounting
Place accessory on the mounting
bracket. Secure it to the wall using
the bottom set screw.
bracket.
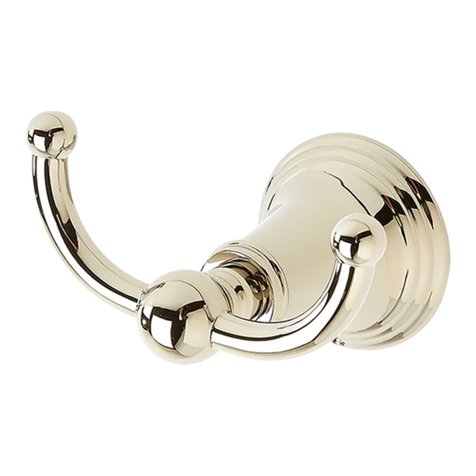
Leyden Paper Holder / Towel Ring
14-58
Installation Instructions
Before beginning installation, check for any
damage that may have occurred during transport.
Note: Damage claims cannot be made during
or after installation.
Installation Instructions
2
Series # 14
Paper Holder – Towel Ring
Tools You Will Need
14-58-PC
14-58-SN
14-58-PN
14-58-BZ
Installation Instructions
For easy installation of your paper holder – towel ring you will need:
● To read all the installation completely before beginning.
● To read all warnings, care, and maintenance information.
Flat Head ScrewdriverPencil Drill Philips Screwdriver Level
14-58
1
Determine the handing of the accessory. If you would like to flip the bar, please
follow steps 2 – 3.
Slide the bar into the post and secure
it to the post using the philips head
screw.
Determine the location of the
accessory. Mark drill holes in desired location.
Drive the wall anchors into the drilled
holes with a Phillips screwdriver.
Place the mounting bracket over the
wall anchors. Secure it to the wall using
the supplied screws.
Inside the post, remove the philips head
screw with a screw driver and slide out
the bar.
locations
Drill 1/4" holes in marked locations.
Temporarily place the accessory on
the mounting bracket to check
alignment. If necessary, loosen the
screws and realign the mounting
Place accessory on the mounting
bracket. Secure it to the wall using
the bottom set screw.
bracket.
Replacement Parts
Rinse away any traces of soap and gently dry with a clean, soft cloth after each use. Rinse completely with water and
dry any overspray. This will maintain the finish and avoid water spotting.
To remove mineral deposits, use a 50/50 solution of white vinegar and water. Do not allow the solution to soak on the
product.
Simichrome Polish® contains a protective film to enhance maintenance and is helpful in preventing water spot buildup.
Follow instructions to ensure optimum results.
Never use an abrasive material such as a brush or scouring pad to clean the surface. The use of abrasive cleaners,
cleansers or disinfectants will alter the surface finish and void the warranty.
Do not allow certain materials such as toothpaste, cologne, shaving cream, nail polish remover, vinegar, wine, drain
and glass cleaners to remain on the surface. Prolonged contact will alter surface finishes and void the warranty.
We DO NOT recommend using any household cleaners as many can cause damage to the finish.
Please see the website for care instructions for specific finishes.
Cleaning Instructions
14-58-PC
14-58-SN
14-58-PN
14-58-BZ
34
Installation Dimensions
No. Description Part No.
1 Mounting screws, anchors & plate 00072
2 Philips head screw 06803
3 Set screw 00309
4 Sleeve Assembly 00073
14-58
Replacement Parts
● Only use a soft, dampened sponge or cloth to clean and polish the fixture.
● Wipe fixtures and the immediate areas clean and rinse completely with water immediately after installation and after
applying any cleaner.
● If you are using a cleaning compound on or close to the product, please test the compound on a hidden area of the
trim to ensure it will not damage the finish.
● Do not allow cleaners to soak anywhere on the product.
Cleaning Instructions
14-58-PC
14-58-SN
14-58-PN
14-58-BZ
34
Installation Dimensions
No. Description Part No.
1 Mounting screws, anchors & plate 00072
2 Philips head screw 06803
3 Set screw 00309
4 SleeveAssembly 00073
14-58
Warranty - This Crosswater London product is covered by a limited lifetime warranty. For full details, terms and conditions please visit our website.
For further information contact:Crosswater London, 393 Fortune Blvd., Milford, MA 01757 www.crosswaterlondon.com
Toll free number: 844-XWATER-1 (844-992-8371) tel: 508-381-0433 fax: 508-381-6068 email: technical@crosswaterlondon.com
Issue date: 15092019

Other Crosswater Indoor Furnishing manuals
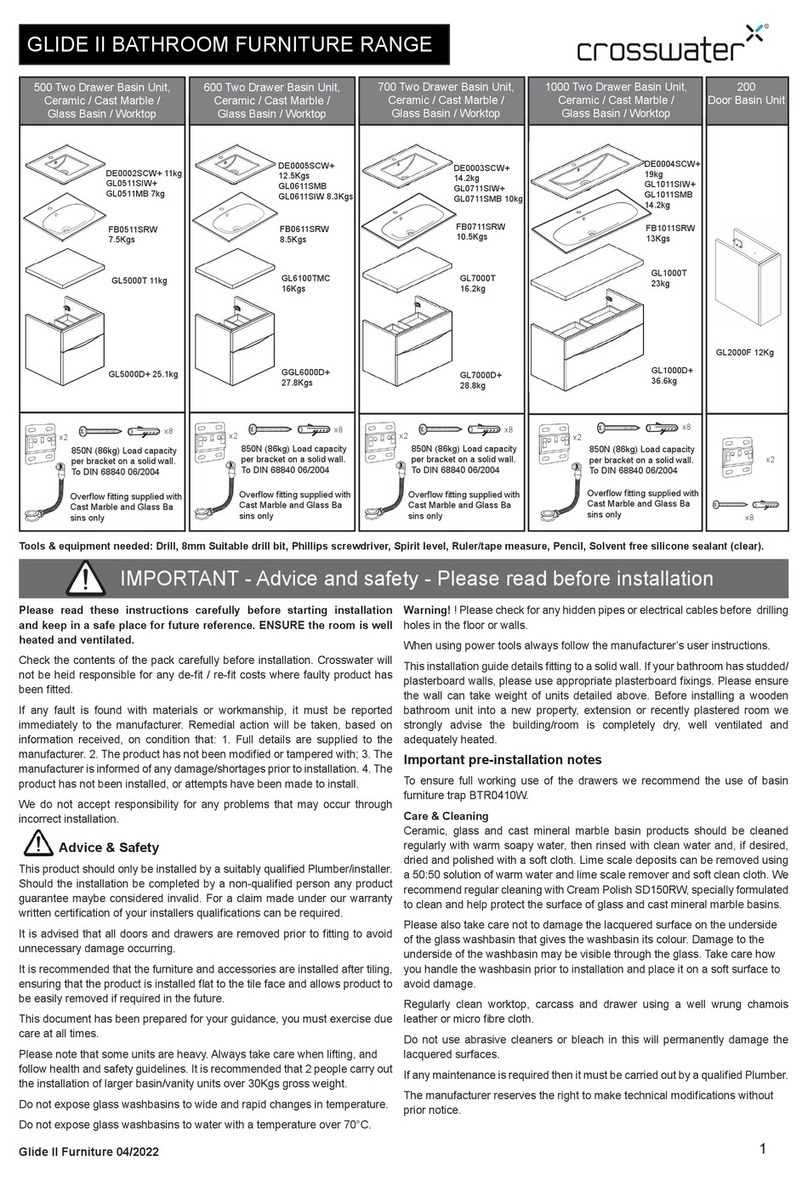
Crosswater GLIDE II 200 User manual

Crosswater

Crosswater GLIDE II 200 User manual

Crosswater Berea Robe Hook 11-51 User manual

Crosswater

Crosswater Berea Robe Hook 11-51 User manual

Crosswater Optix 10 User manual

Crosswater

Crosswater Optix 10 User manual

Crosswater Belgravia US-A11 User manual

Crosswater

Crosswater Belgravia US-A11 User manual

Crosswater Arcade US-ARCA39 User manual

Crosswater

Crosswater Arcade US-ARCA39 User manual

Crosswater CANVASS FURNITURE Series User manual

Crosswater

Crosswater CANVASS FURNITURE Series User manual

Crosswater GLIDE II GL3516F User manual

Crosswater

Crosswater GLIDE II GL3516F User manual

Crosswater UNION Series User manual

Crosswater

Crosswater UNION Series User manual

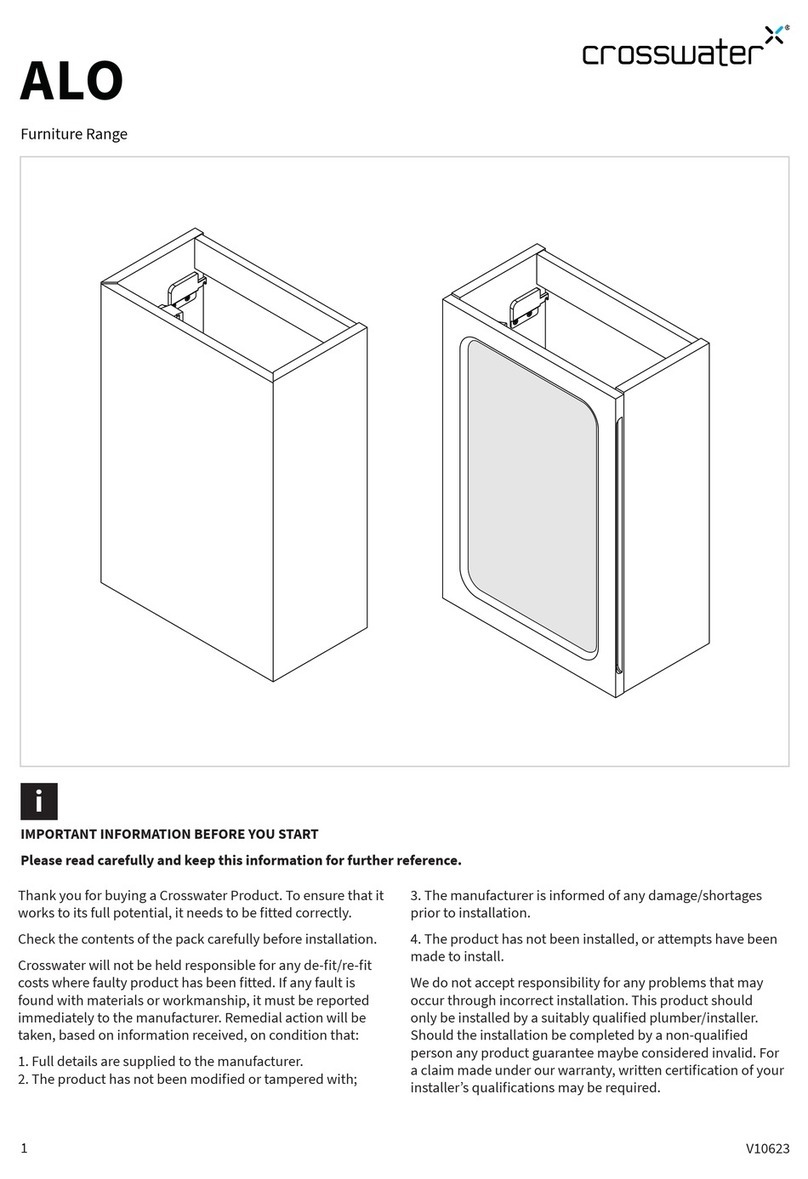
Crosswater Alo Furniture Range User manual

Crosswater

Crosswater Alo Furniture Range User manual

Crosswater Mada User manual

Crosswater

Crosswater Mada User manual

Crosswater MPRO User manual

Crosswater

Crosswater MPRO User manual

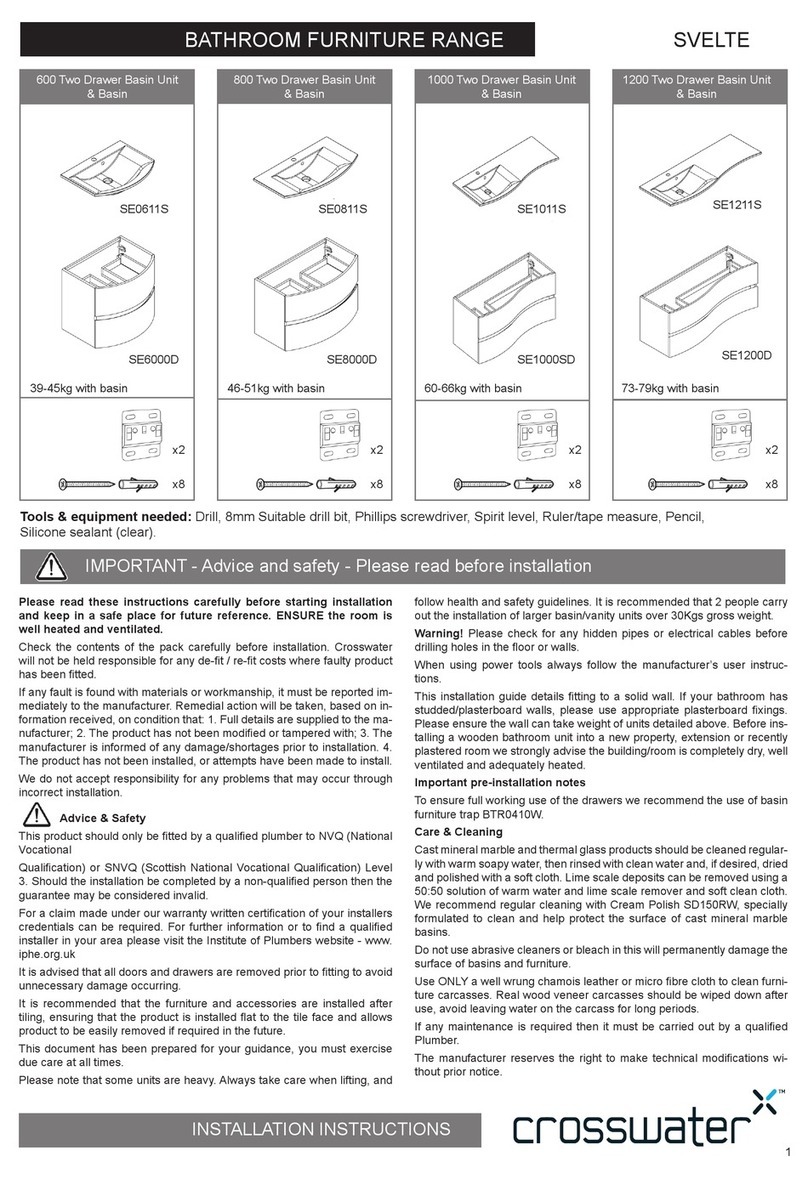
Crosswater GLIDE II Series User manual

Crosswater

Crosswater GLIDE II Series User manual

Crosswater Optix 10 User manual

Crosswater

Crosswater Optix 10 User manual

Crosswater SVELTE 600 Series User manual

Crosswater

Crosswater SVELTE 600 Series User manual

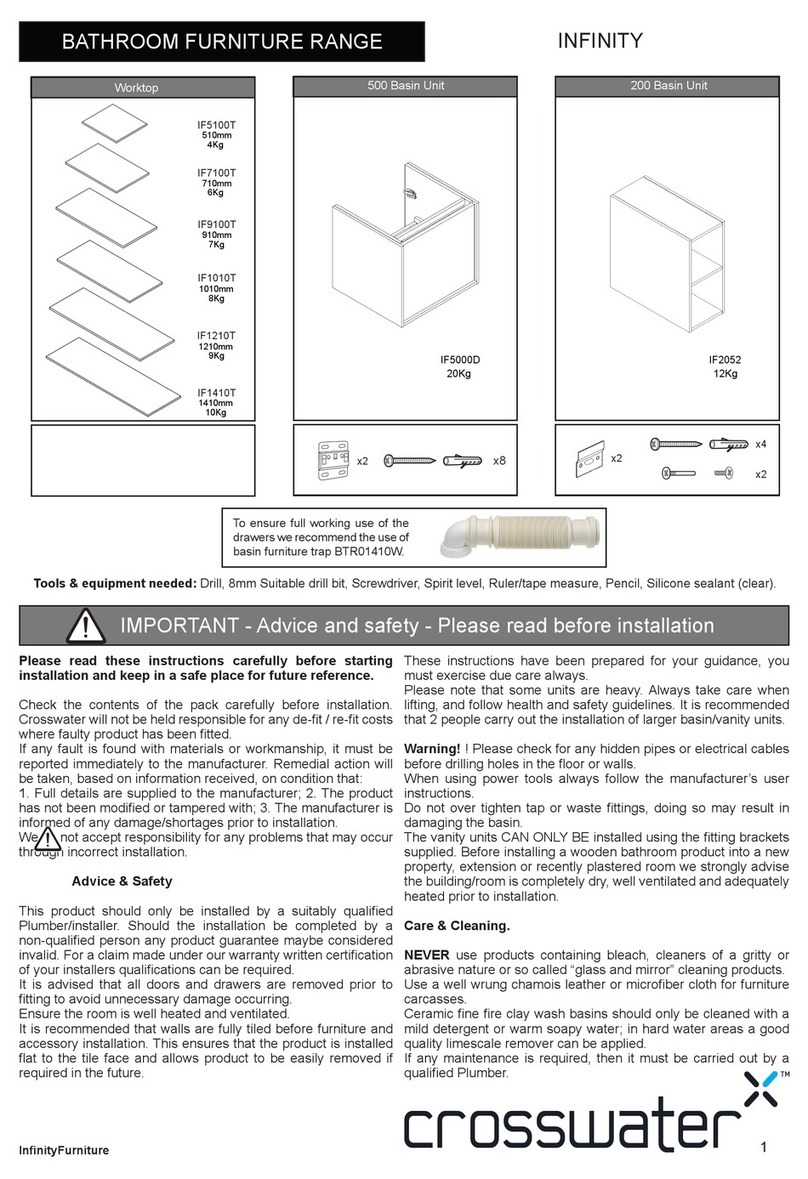
Crosswater INFINITY IF5000D User manual

Crosswater

Crosswater INFINITY IF5000D User manual

Crosswater ZION FLOOR STANDING 60 User manual
Crosswater

Crosswater ZION FLOOR STANDING 60 User manual

Crosswater GLIDE II User manual

Crosswater

Crosswater GLIDE II User manual
Popular Indoor Furnishing manuals by other brands

Regency LWMS3015 Assembly instructions

Regency

Regency LWMS3015 Assembly instructions

Furniture of America CM7751C Assembly instructions

Furniture of America

Furniture of America CM7751C Assembly instructions

Safavieh Furniture Estella CNS5731 manual

Safavieh Furniture

Safavieh Furniture Estella CNS5731 manual

PLACES OF STYLE Ovalfuss Assembly instruction

PLACES OF STYLE

PLACES OF STYLE Ovalfuss Assembly instruction

Trasman 1138 Bo1 Assembly manual

Trasman

Trasman 1138 Bo1 Assembly manual

Costway JV10856 manual

Costway

Costway JV10856 manual

moss DESIGN Caisson Credenza Assembly instructions

moss DESIGN

moss DESIGN Caisson Credenza Assembly instructions

Aquaglide FULL DECK 15.0 owner's manual

Aquaglide

Aquaglide FULL DECK 15.0 owner's manual

AREBOS AR-HE-SW30 user manual

AREBOS

AREBOS AR-HE-SW30 user manual

Till-Hilft Fulda 87005.330 Assembly instructions

Till-Hilft

Till-Hilft Fulda 87005.330 Assembly instructions

Twoey Outside 2010 quick start guide

Twoey Outside

Twoey Outside 2010 quick start guide

Hettich Easys 200 operating instructions

Hettich

Hettich Easys 200 operating instructions

The bedboss RELAX 404 Series owner's manual

The bedboss

The bedboss RELAX 404 Series owner's manual

Oeseder Möbelindustrie Bern 991 720 Assembly instructions

Oeseder Möbelindustrie

Oeseder Möbelindustrie Bern 991 720 Assembly instructions

Costway HW68469 user manual

Costway

Costway HW68469 user manual

Next ALIX A27743 Assembly instructions

Next

Next ALIX A27743 Assembly instructions

BROSA Hans Assembly guide

BROSA

BROSA Hans Assembly guide

Prodigg MINIKA PBA015T-FUR installation manual

Prodigg

Prodigg MINIKA PBA015T-FUR installation manual

manuals.online logo
manuals.online logoBrands
  • About & Mission
  • Contact us
  • Privacy Policy
  • Terms and Conditions

Copyright 2025 Manuals.Online. All Rights Reserved.