manuals.online logo
Brands
  1. Home
  2. •
  3. Brands
  4. •
  5. CRU Dataport
  6. •
  7. Storage
  8. •
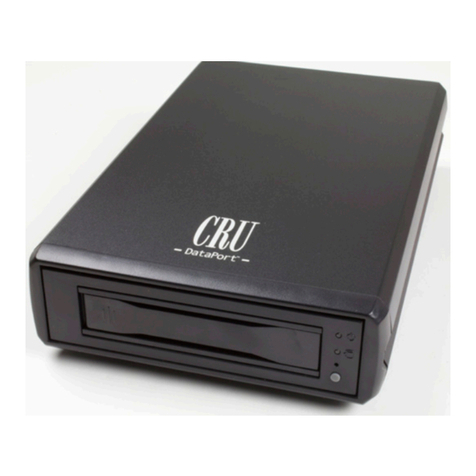
  9. CRU Dataport DataPort V User manual

CRU Dataport DataPort V User manual

Rugged, Reliable, Mobile, SecureTM
1-800-260-9800 www.CRU-DataPort.com
DataPort V & V plus IDE Installation Guide
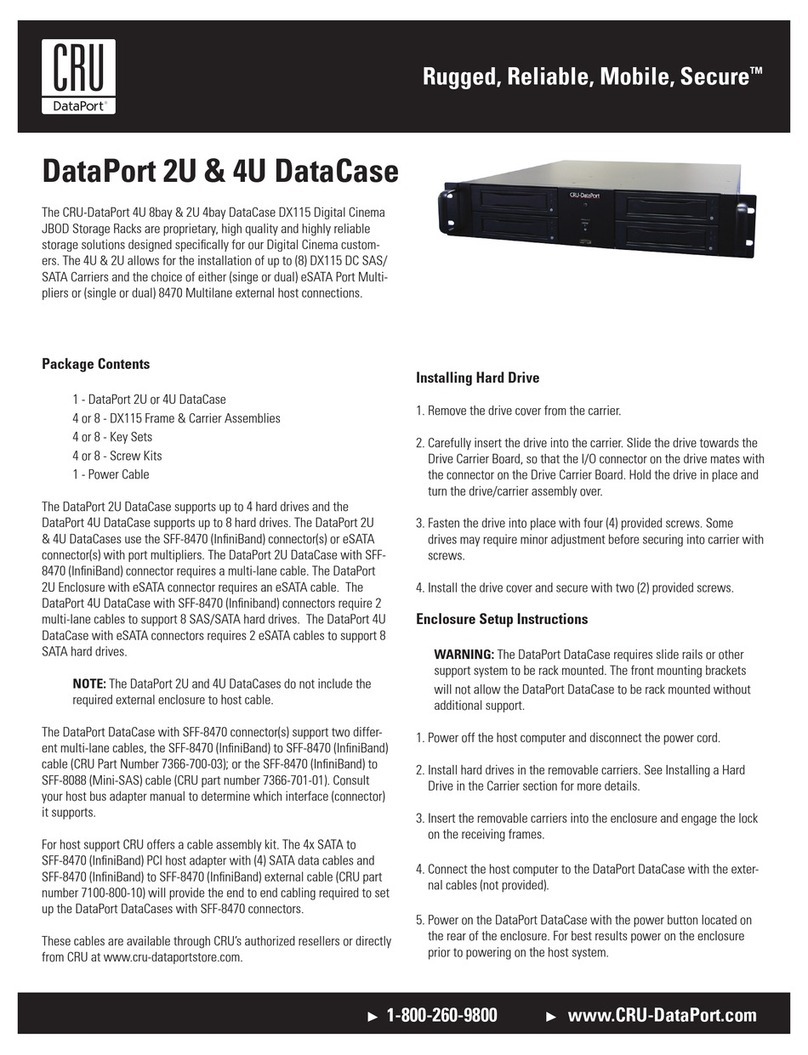
Package Contents
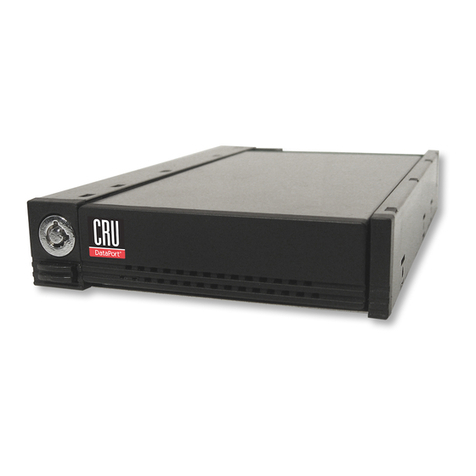
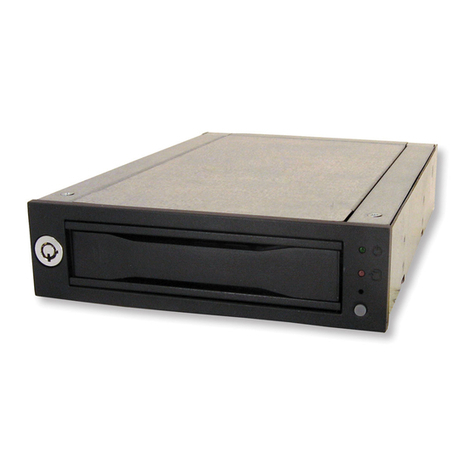
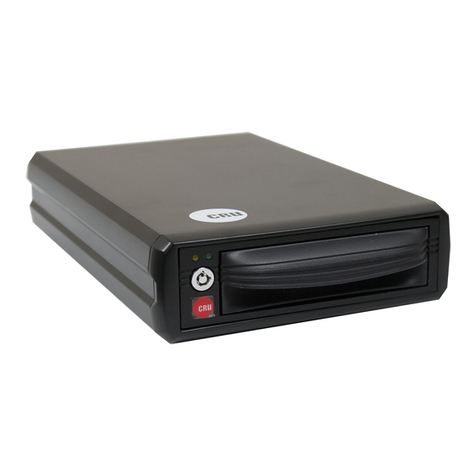
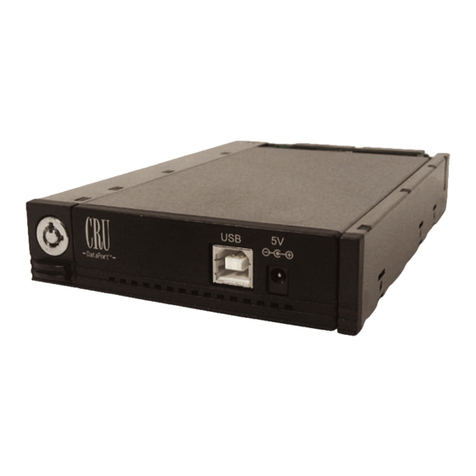
1 - DataPort frame assembly
1 - DataPort carrier assembly
2 - Metal covers
4 - 6 x 32 x 3/8” flat-head screws for hard drive mounting
4 - M3 x 10mm Phillips pan-head screws for frame mounting
2 - Keys for lock
1 - Cover removal tool
Mounting The Frame In The Computer
1. Turn off the computer and disconnect the power cord from the
electrical outlet. Before working on your computer, wait one
minute for any residual energy to dissipate. Ground yourself
by touching the chassis of the computer.
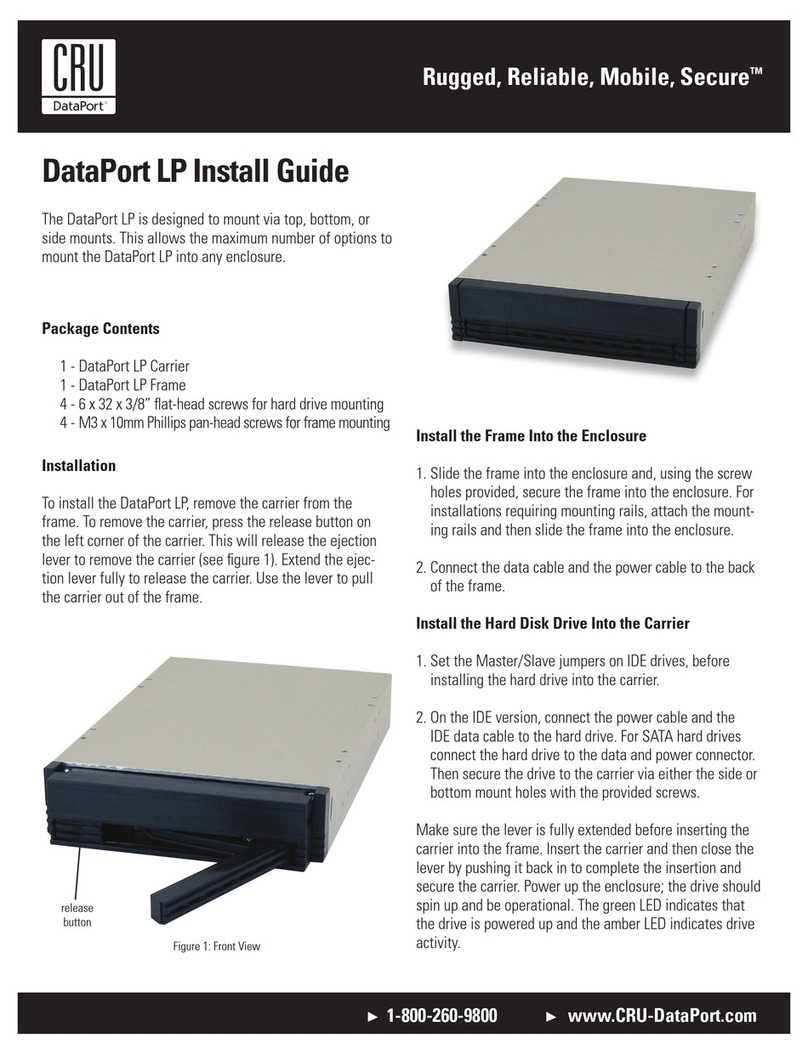
2. Locate an available 5.25” drive bay with external access.
Remove the cover of the computer. Identify the 5.25” half-
height bay in which you plan to mount the DataPort frame
assembly. Examine the bay to determine the location of mount-
ing holes or whether mounting rails are required. Remove any
filler plates that may be present on the computer.
3. Rail mounting the frame.
If the drive bay requires mounting rails, install one on each
side of the frame. The mounting rails should be provided with
your computer system.
4. Direct mounting the frame.
Slide the frame into the 5.25” bay, some computer bezels will
not allow the frame to be inserted from the front. Install the
frame from inside the computer. Secure the frame with the
screws provided.
5. Connect the DC power cable to the frame.
Locate an available 4-pin DC power cable from the computer
power supply and plug it into the receptacle on the frame.
6. Connect the data cable to the frame.
Locate the computer’s data cable and connect it to the data
connector on the frame. Ensure that “pin-1” of the data con-
nector (printed on the circuit board) matches pin-1 on the cable
(identified by the red dots).
The frame installation is now complete.
Mounting A Hard Drive In The Carrier
1. Remove the carrier’s top and bottom covers. The metal covers
for the DataPort carrier are snapped into place on the carrier
without any screws. The supplied cover removal tool or a small
flat head screwdriver is handy for this task.
2. Set the jumper on the drive as Master or Cable Select before
placing the hard drive in carrier. See the Hard drive’s manual
for details.
3. Plug the 4-pin DC power cable into the power connector on the
hard drive and ensure it is fully seated.
4. Connect the data cable in the carrier to the hard drive.
5. Place the drive in the carrier and use the four screws provided to
side-mount the hard drive. Position the cables inside the carrier
assembly so that they are completely enclosed within the carrier.
For DataPort V plus , attach the Temperature Control Cooling Sen-
sor (TCCS) to the top of the hard drive with an adhesive strip (or a
piece of tape.) Replace the top and bottom covers on the carrier.
6. Position the carrier on the frame’s guide rails and slide the car-
rier in. Using thumb pressure, fully seat the carrier in the frame
and lock the carrier with the keylock. You have finished the
installation and your DataPort is ready for operation.
Rugged, Reliable, Mobile, SecureTM
1-800-260-9800 www.CRU-DataPort.com
Operation
DataPort V and V plus LED functions.
The green LED on the DataPort V and V plus will light up when the DataPort is locked and powered up. The green LED will blink when the
fan is not functioning. The red LED is the drive activity LED and will flash when there is drive activity.
Fan Alarm
The DataPort V plus has a fan alarm that will sound if the fan no longer functions properly. The alarm can be silenced by removing
the jumper between the fan and the alarm on the back of the DataPort frame. Save the jumper and re-install it after replacing the fan.
Please contact CRU to obtain a replacement fan.
Limited Product Warranty
CRU-DataPort (CRU) warrants the DataPort V and V plus to be free of significant defects in material and workmanship for a period of five
(5) years from the original date of purchase. CRU’s warranty is nontransferable and is limited to the original purchaser.
Limitation of Liability
The warranties set forth in this agreement replace all other warranties. CRU expressly disclaims all other warranties, including but not
limited to, the implied warranties of merchantability and fitness for a particular purpose and noninfringement of third-party rights with
respect to the documentation and hardware. No CRU dealer, agent or employee is authorized to make any modification, extension, or
addition to this warranty. In no event will CRU or its suppliers be liable for any costs of procurement of substitute products or services,
lost profits, loss of information or data, computer malfunction, or any other special, indirect, consequential, or incidental damages aris-
ing in any way out of the sale of, use of, or inability to use any CRU product or service, even if CRU has been advised of the possibility
of such damages. In no case shall CRU’s liability exceed the actual money paid for the products at issue. CRU reserves the right to make
modifications and additions to this product without notice or taking on additional liability.
Register your product at www.CRU-DataPort.com.
A5-005-0004 Rev. 2.1

This manual suits for next models

1

Other CRU Dataport Storage manuals

CRU Dataport Dataport 25 SL User manual

CRU Dataport

CRU Dataport Dataport 25 SL User manual

CRU Dataport LP User manual

CRU Dataport

CRU Dataport LP User manual

CRU Dataport RTX 100-3Q User manual

CRU Dataport

CRU Dataport RTX 100-3Q User manual

CRU Dataport 25 User manual

CRU Dataport

CRU Dataport 25 User manual

CRU Dataport Dataport 25 SL User manual

CRU Dataport

CRU Dataport Dataport 25 SL User manual

CRU Dataport Data Express DX115 SAS/SATA 6G User manual

CRU Dataport

CRU Dataport Data Express DX115 SAS/SATA 6G User manual

CRU Dataport RTX100-3SJ User manual

CRU Dataport

CRU Dataport RTX100-3SJ User manual

CRU Dataport 2U DataCase User manual

CRU Dataport

CRU Dataport 2U DataCase User manual

CRU Dataport DataPort 10 User manual

CRU Dataport

CRU Dataport DataPort 10 User manual

CRU Dataport Data Express DX115 SAS/SATA 6G User manual

CRU Dataport

CRU Dataport Data Express DX115 SAS/SATA 6G User manual

CRU Dataport DX115-DC User manual

CRU Dataport

CRU Dataport DX115-DC User manual

CRU Dataport RTX400H-SV User manual

CRU Dataport

CRU Dataport RTX400H-SV User manual

CRU Dataport RTX Secure 410-QR User manual

CRU Dataport

CRU Dataport RTX Secure 410-QR User manual

CRU Dataport RTX Secure 410-3QR RTXS410-3QR User manual

CRU Dataport

CRU Dataport RTX Secure 410-3QR RTXS410-3QR User manual

CRU Dataport RTX Secure 410-QR User manual

CRU Dataport

CRU Dataport RTX Secure 410-QR User manual

CRU Dataport HotDock User manual

CRU Dataport

CRU Dataport HotDock User manual

CRU Dataport DataPort SecureDock AES 128 User manual

CRU Dataport

CRU Dataport DataPort SecureDock AES 128 User manual

CRU Dataport DataPort 25 Enhanced Carrier User manual

CRU Dataport

CRU Dataport DataPort 25 Enhanced Carrier User manual

CRU Dataport RTX410-3QJ User manual

CRU Dataport

CRU Dataport RTX410-3QJ User manual

CRU Dataport 25d User manual

CRU Dataport

CRU Dataport 25d User manual

CRU Dataport ToughTech Duo-QR User manual

CRU Dataport

CRU Dataport ToughTech Duo-QR User manual

Popular Storage manuals by other brands

Western Digital AC2540 Quick installation

Western Digital

Western Digital AC2540 Quick installation

trueCall Call Recorder Guide

trueCall

trueCall Call Recorder Guide

HP P9000 user guide

HP

HP P9000 user guide

Sony VAIO PCGA-CDRWX1 Service manual

Sony

Sony VAIO PCGA-CDRWX1 Service manual

Promise VSky A1100 product manual

Promise

Promise VSky A1100 product manual

HD Radio HDS100 user manual

HD Radio

HD Radio HDS100 user manual

Iomega eGo 34837 Specifications

Iomega

Iomega eGo 34837 Specifications

NordicTrack Freestrider 35 Si Elliptical manual

NordicTrack

NordicTrack Freestrider 35 Si Elliptical manual

Transcend TS2G-8GCF266 technical information

Transcend

Transcend TS2G-8GCF266 technical information

Qualstar XLS Series Technical & service manual

Qualstar

Qualstar XLS Series Technical & service manual

Seagate ST9120315AS - Momentus 5400.6 120 GB Hard... datasheet

Seagate

Seagate ST9120315AS - Momentus 5400.6 120 GB Hard... datasheet

Lexar MOBILE MEMORY STICK MICRO M2 - DATASHEET REV... datasheet

Lexar

Lexar MOBILE MEMORY STICK MICRO M2 - DATASHEET REV... datasheet

Seagate MOMENTUS ST9500325AS datasheet

Seagate

Seagate MOMENTUS ST9500325AS datasheet

Western Digital My Passport Slim user manual

Western Digital

Western Digital My Passport Slim user manual

Compaq 230050-001 - StorageWorks NAS B3000 Model N900... Rack Installation Instructions

Compaq

Compaq 230050-001 - StorageWorks NAS B3000 Model N900... Rack Installation Instructions

HP StorageWorks 8B - FC Entry Switch user guide

HP

HP StorageWorks 8B - FC Entry Switch user guide

VERTUO 1012486 Assembly guide

VERTUO

VERTUO 1012486 Assembly guide

Iomega EN55022 quick start guide

Iomega

Iomega EN55022 quick start guide

manuals.online logo
manuals.online logoBrands
  • About & Mission
  • Contact us
  • Privacy Policy
  • Terms and Conditions

Copyright 2025 Manuals.Online. All Rights Reserved.