manuals.online logo
Brands
  1. Home
  2. •
  3. Brands
  4. •
  5. Cypress
  6. •
  7. Microcontroller
  8. •
  9. Cypress CYUSBS234 User manual

Cypress CYUSBS234 User manual

USB-SERIAL DEVELOPMENT KIT
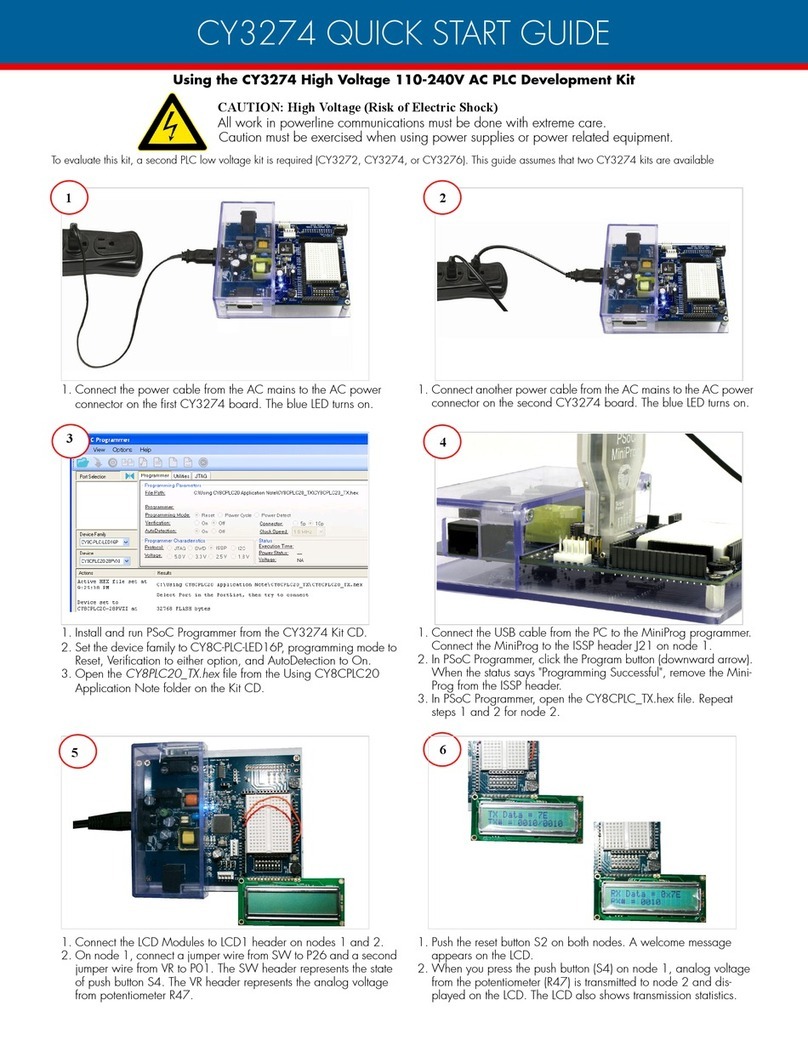
CYUSBS234 QUICK START GUIDE
Step 2: Powering the Board*
• Connect the board to the PC using the USB cable
• LEDs D2 and D4 glow to indicate that the board
is powered
Step 1: Software Installation
• Download and unzip the ISO le from
www.cypress.com/go/CYUSBS234
• Run cyautorun.exe and follow the steps in the
installer window
• Install Tera Term from the following location:
<Install directory>/Cypress/CYUSBS234 DVK/
1.0/teraterm
Step 3: Enumeration
• The device appears as a USB Serial Port (COM#)
in the Device Manager. (To launch the Device Manager
in Windows 7, click Start and type Device Manager in
‘Search programs and les’ box)
Step 4: Testing Basic UART Functionality
• Connect J15.3 (TXD) to J15.2 (RXD) with the provided
jumper wire
as shown above
• Run Tera Term (Start > All Programs > Tera Term)
• Click Serial and select Port (COM#) in the 'Tera Term:
New Connection' window, and then click OK
• Enable local echo option (go to Setup > Terminal
and check the local echo box)
• Type 'HELLO WORLD'. The text appears on the same
terminal and each character appears twice -
'HHEELLLLOO WWOORRLLDD'
* Connect the board to the PC only after software installation. For the latest software updates on
Windows, Linux, MAC, and Android, visit www.cypress.com/go/usbserial
Note:
21
4
Kit based on USB-Serial bridge - CY7C65211
LEDs D2
and D4
3
J15
1 2 3 4 5
67 8 9
CYUSBS234 QUICK START GUIDE
Step 5: 10-MB File Transfer at 1 Mbps, with no Data Loss
• Connect J15.3 (TXD) to J15.2 (RXD) and J15.7 (RTS)
to J15.8 (CTS), with the provided jumper wires
• Go to Setup > Serial Port in the Tera Term window,
and enter 1000000 in the baud rate box. Select
Hardware in the Flow control drop-down menu; go to
Setup > Terminal > Receive and select CR+LF.Click OK
• Enable le capture: go to File > Log; uncheck Append
and select <le name> to save the received data
• Go to File > Send File and select the Test.txt le from
<Install directory>\Cypress\CYUSBS234 DVK\1.0
• The 'Tera Term: Send le' window shows effective
data throughput; multiply by 2X to get uni-directional
throughput
• Compare Test.txt and received le, using any le
compare utility to verify data integrity
7
Step 7: USB–I2C Bridge Conguration
• Click the SCB tab. Select I2C from the drop-down menu
and click the Program button. The 'Program succeeded’
message appears. Click OK to continue
• Click the Disconnect button to disconnect the board
from the conguration utility
• Press the reset switch, SW3 (refer to the gure in
step 13). The board enumerates as an I2C bridge
• Set jumpers J17 and J20 as shown in the gure above
to connect I2C EEPROM to the CY7C65211 device
Step 6: Device Connection to Conguration Utility
• Run the conguration utility from Start > All Programs
> Cypress > CYUSBS234 DVK > USB Serial
Conguration Utility
• Click the Select Target tab. Select the device
USB-Serial (Single Channel) Vendor MFG from the
drop down menu and click Connect
Step 8: USB–I2C Test Utility
• Run the USB Serial Test Utility from Start > All
Programs > Cypress > CYUSBS234 DVK >
USBSerialTestUtility
• Change the Product ID to 0004 to match the default
Cypress PID. The test utility lists the I2C interface on
the board. Click OK to continue
6
8
5
J17 J20
J15
1 2 3 4 5
67 8
7
(RTS) (CTS)
(RXD) (TXD)
8
23
9
CYUSBS234 QUICK START GUIDE
Step 9: USB–I2C Bridge Testing
• Click the Write data button. Data gets written at the
default EEPROM page address
• Click the Read & verify data button. When the received
and transmitted data is identical, the ‘Data verication
successful’ message appears at the bottom of the
window. The test proves successful data transfer with
the I2C interface
9
Step 12: USB–SPI Bridge Testing
• Click the Write data button. Data gets written at the
default EEPROM page address
• Click the Read & verify data button. When the received
and transmitted data is identical, the ’Data verication
successful’ message appears. The test proves successful
data transfer with the SPI interface
12
11
Step 10: USB–SPI Bridge Conguration
• Repeat step 6
• Click the SCB tab. Select SPI from the drop-down menu
and click the Program button. The 'Program succeeded’
message appears. Click OK to continue
• Click the Disconnect button. Press the reset switch, SW3
(refer to the gure in step 13). The board enumerates
as an SPI bridge
• Set jumpers J17, J19, J20, and J21 as shown above
10
Step 13: CapSense Button
• Touch the CapSense®button B1, as shown in the gure.
The D7 LED glows to indicate that the button is sensed
• Remove the nger from the B1 CapSense button and
the LED turns OFF to indicate that the button is released
13
LED D7 SW3
Step 11: USB–SPI Test Utility
• Run the USB Serial Test Utility from Start > All
Programs > Cypress > CYUSBS234 DVK >
USBSerialTestUtility
• Change the Product ID to 0004 to match the default
Cypress PID. The test utility lists the SPI interface
available on the board. Click OK to continue
J17 J19 J21 J20
USB-SERIAL DEVELOPMENT KIT
For the latest information about this kit and to download kit software and hardware les,
visit www.cypress.com/CYUSBS234
© 2013 - 2018 Cypress Semiconductor Corporation. All rights reserved.
All trademarks or registered trademarks referenced herein are the properties of their respective owners.
Doc.#: 001-88345 Rev.*F
DB9 Connector
J15
I2C
EEPROM U7
CapSense®
Button B1
SPI
EEPROM U8
SCB (Serial Communicaton Block)
Conguration Jumpers
J17, J19, J21, J20
GPIO Header J23
RS232
Line Driver U5
DC
Power Jack J1
Power LEDs
D2 and D4
Battery
Switch SW2
Reset Switch SW3
CapSense
LED D7
USB Micro-B
Connector J2
Power Switch
SW1
CY7C65211
(USB-Serial)
Battery
Connector BH1
Battery
Charger IC U3
CYUSBS234 QUICK START GUIDE
Note: By default, the SCB conguration jumpers are set for the USB-UART bridge as shown above. Refer to the
Table 3-1 in the kit guide for additional information on default jumper settings.
Kit operation: The CY7C65211, USB-Serial bridge controller can be congured as an USB-UART bridge,
an USB-I2C bridge, or an USB-SPI bridge. As an USB-UART bridge, data is transmitted from USB to UART (TXD).
TXD-RXD loop back connection enables the data to be fed back to the UART (RXD) to USB and is displayed
on the Tera Term window. The CY7C65211 controller also supports battery charger detection and congurable
CapSense functionality, providing best-in-class signal-to-noise ratio (SNR) and water-tolerance

Other Cypress Microcontroller manuals

Cypress CYW9P62S1-43438EVB-01 User manual

Cypress

Cypress CYW9P62S1-43438EVB-01 User manual

Cypress CY8C28623-24LTXI User manual

Cypress

Cypress CY8C28623-24LTXI User manual

Cypress PERFORM MB96630 Series User manual

Cypress

Cypress PERFORM MB96630 Series User manual

Cypress CY8CKIT-147 Manual

Cypress

Cypress CY8CKIT-147 Manual

Cypress FM3 Series User manual

Cypress

Cypress FM3 Series User manual

Cypress PSoC 3 User manual

Cypress

Cypress PSoC 3 User manual

Cypress FR81S CY91F52 Series Operating instructions

Cypress

Cypress FR81S CY91F52 Series Operating instructions

Cypress SPANSION FM4 MB9BF568 Series User manual

Cypress

Cypress SPANSION FM4 MB9BF568 Series User manual

Cypress CY4531 EZ-PD CCG3 EVK User manual

Cypress

Cypress CY4531 EZ-PD CCG3 EVK User manual

Cypress CY3650 User manual

Cypress

Cypress CY3650 User manual

Cypress CY8CKIT-001 Manual

Cypress

Cypress CY8CKIT-001 Manual

Cypress CY3642 User manual

Cypress

Cypress CY3642 User manual
Cypress CY3652 User manual

Cypress

Cypress CY3652 User manual

Cypress PSoC User manual

Cypress

Cypress PSoC User manual

Cypress EZ-USB CYUSB3KIT-001 User manual

Cypress

Cypress EZ-USB CYUSB3KIT-001 User manual

Cypress PSoC CY8CTMG20 Series Product manual

Cypress

Cypress PSoC CY8CTMG20 Series Product manual

Cypress MB2146-301A-E User manual

Cypress

Cypress MB2146-301A-E User manual

Cypress CY3280-BSM User manual

Cypress

Cypress CY3280-BSM User manual

Cypress FM0+ S6E1C SERIES User manual

Cypress

Cypress FM0+ S6E1C SERIES User manual
Cypress CapSense CY8CMBR2010 Guide

Cypress

Cypress CapSense CY8CMBR2010 Guide

Cypress PSoC 4000 Series Use and care manual

Cypress

Cypress PSoC 4000 Series Use and care manual

Cypress CY8CKIT-041-41XX User manual

Cypress

Cypress CY8CKIT-041-41XX User manual

Cypress CY3276 User manual

Cypress

Cypress CY3276 User manual

Cypress CY3633 User manual

Cypress

Cypress CY3633 User manual

Popular Microcontroller manuals by other brands
Espressif Systems ESP32-H2 Series Hardware Design Guidelines

Espressif Systems

Espressif Systems ESP32-H2 Series Hardware Design Guidelines

NXP Semiconductors LPC11U3x user manual

NXP Semiconductors

NXP Semiconductors LPC11U3x user manual

ICP DAS USA PMDK quick start

ICP DAS USA

ICP DAS USA PMDK quick start

Infineon XMC1000 Getting started

Infineon

Infineon XMC1000 Getting started

sparkfun MaKey MaKey quick start guide

sparkfun

sparkfun MaKey MaKey quick start guide

Renesas V853 user manual

Renesas

Renesas V853 user manual

TECSYSTEM NT538 ETH instruction manual

TECSYSTEM

TECSYSTEM NT538 ETH instruction manual

Renesas RX63N user manual

Renesas

Renesas RX63N user manual

Atmel QT600 quick start guide

Atmel

Atmel QT600 quick start guide

mikroElektronika Clicker 2 manual

mikroElektronika

mikroElektronika Clicker 2 manual

NEC 78K/0 Series user manual

NEC

NEC 78K/0 Series user manual

NXP Semiconductors IOTZTB-DK006 user guide

NXP Semiconductors

NXP Semiconductors IOTZTB-DK006 user guide

Infineon XC800 Series Using Guide

Infineon

Infineon XC800 Series Using Guide

EMTRION VERNO-4 quick start guide

EMTRION

EMTRION VERNO-4 quick start guide

Toshiba TLCS-900/L1 Series manual

Toshiba

Toshiba TLCS-900/L1 Series manual

Terasic DE0-Nano-SoC user manual

Terasic

Terasic DE0-Nano-SoC user manual

ST STM32L0x3 Reference manual

ST

ST STM32L0x3 Reference manual

Freescale Semiconductor FRDM-MC-LVBLDC user guide

Freescale Semiconductor

Freescale Semiconductor FRDM-MC-LVBLDC user guide

manuals.online logo
manuals.online logoBrands
  • About & Mission
  • Contact us
  • Privacy Policy
  • Terms and Conditions

Copyright 2025 Manuals.Online. All Rights Reserved.